| [version en cours de rédaction] | [version en cours de rédaction] |
| Ligne 46 : | Ligne 46 : | ||
}} | }} | ||
{{Tuto Step | {{Tuto Step | ||
| − | |Step_Title=<translate>Check Belts</translate> | + | |Step_Title=<translate>Check Saw Blade</translate> |
| − | |Step_Content=<translate></translate> | + | |Step_Content=<translate>Tutorial for Saw Blade change: |
| + | |||
| + | [[Changing Main Saw Blade|https://stuga.dokit.app/wiki/Changing_Main_Saw_Blade]]</translate> | ||
| + | }} | ||
| + | {{Tuto Step | ||
| + | |Step_Title=<translate>Check Saw Belts</translate> | ||
| + | |Step_Content=<translate>Change the saw belts if they are showing signs of wear or fraying</translate> | ||
}} | }} | ||
{{Notes}} | {{Notes}} | ||
Version du 3 octobre 2019 à 19:57
Carry out these checks once per month alongside daily and weekly checks
Difficulté
Facile
Durée
20 minute(s)
Sommaire
- 1 Pièces et outils
- 2 Tutoriels prérequis
- 3 Étape 1 - Open the Guard doors
- 4 Étape 2 - Clean and Lubricate the Pusher Chain
- 5 Étape 3 - Lubricate Saw Lift Bearings
- 6 Étape 4 - Open the saw access hatch
- 7 Étape 5 - Lubricate Eject bearings
- 8 Étape 6 - Check Saw Blade
- 9 Étape 7 - Check Saw Belts
- 10 Commentaires
- Pièces et outils
- Tutoriels prérequis
Pièces et outils
Tutoriels prérequis
Étape 1 - Open the Guard doors
Étape 2 - Clean and Lubricate the Pusher Chain
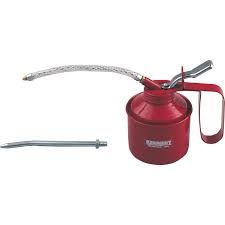
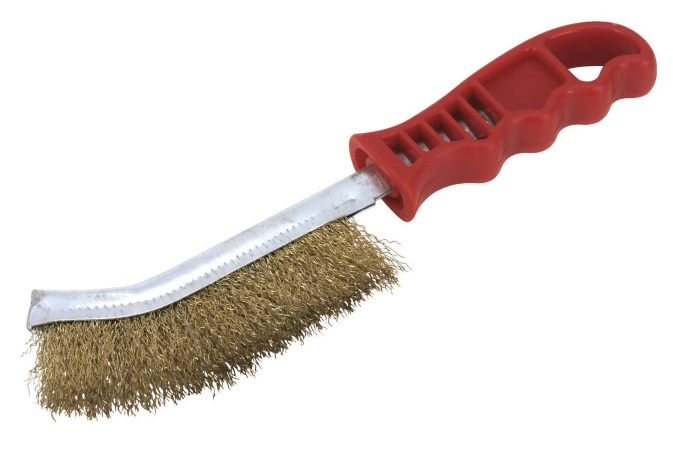
Lubricate the chain every 500mm with a drop of oil - use a wire brush to really give a good clean at the same time.
Étape 3 - Lubricate Saw Lift Bearings
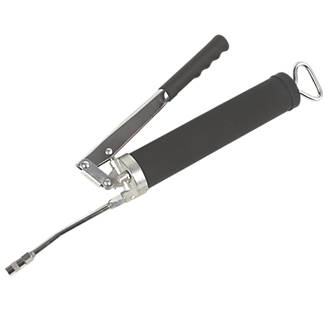
There are 4 grease nipples on the main saw blade assembly - 1 pump of grease is required for each nipple.
Étape 4 - Open the saw access hatch
This is the hatch below the eject table area - there is 4 x M6 bolts to take out
Étape 5 - Lubricate Eject bearings
There are 4 grease nipples under eject - 1 pump of grease is required for each nipple.
Étape 6 - Check Saw Blade
Tutorial for Saw Blade change:
Étape 7 - Check Saw Belts
Change the saw belts if they are showing signs of wear or fraying
Draft


 Français
 English
 Deutsch
 Español
 Italiano
 Português