
| [version en cours de rédaction] | [version en relecture] |
| (Une révision intermédiaire par le même utilisateur non affichée) | |||
| Ligne 12 : | Ligne 12 : | ||
}} | }} | ||
{{Materials | {{Materials | ||
| − | |ItemList={{ItemList}} | + | |ItemList={{ItemList |
| + | |Item=Small Pozi Head Screwdriver | ||
| + | }} | ||
}} | }} | ||
{{EPI}} | {{EPI}} | ||
| Ligne 53 : | Ligne 55 : | ||
}} | }} | ||
{{Tuto Status | {{Tuto Status | ||
| − | |Complete= | + | |Complete=Published |
}} | }} | ||
Version actuelle datée du 20 septembre 2019 à 10:29
Instructions on how to change a Pneumax valve slice


Difficulté
Facile
Durée
5 minute(s)
- Pièces et outils
Pièces et outils
Small Pozi Head Screwdriver 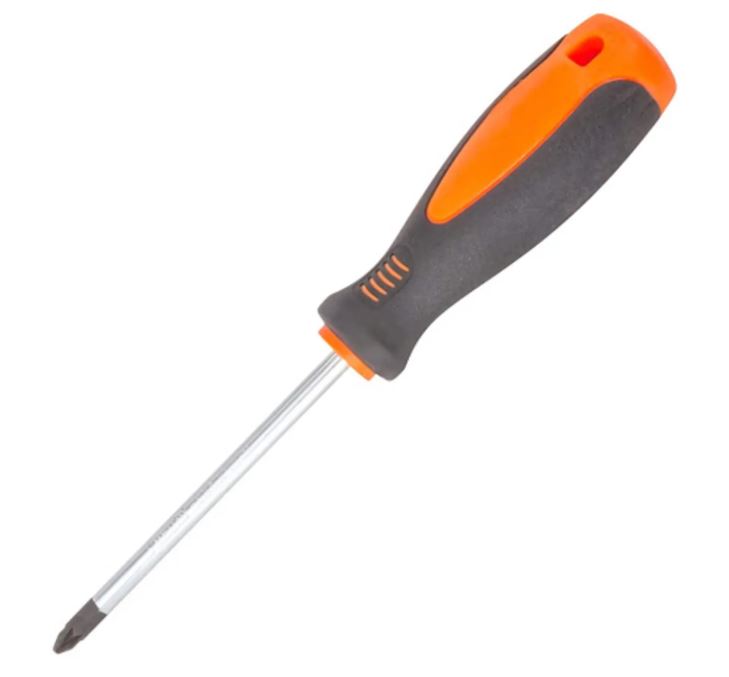

Pozi Sxrewdriver
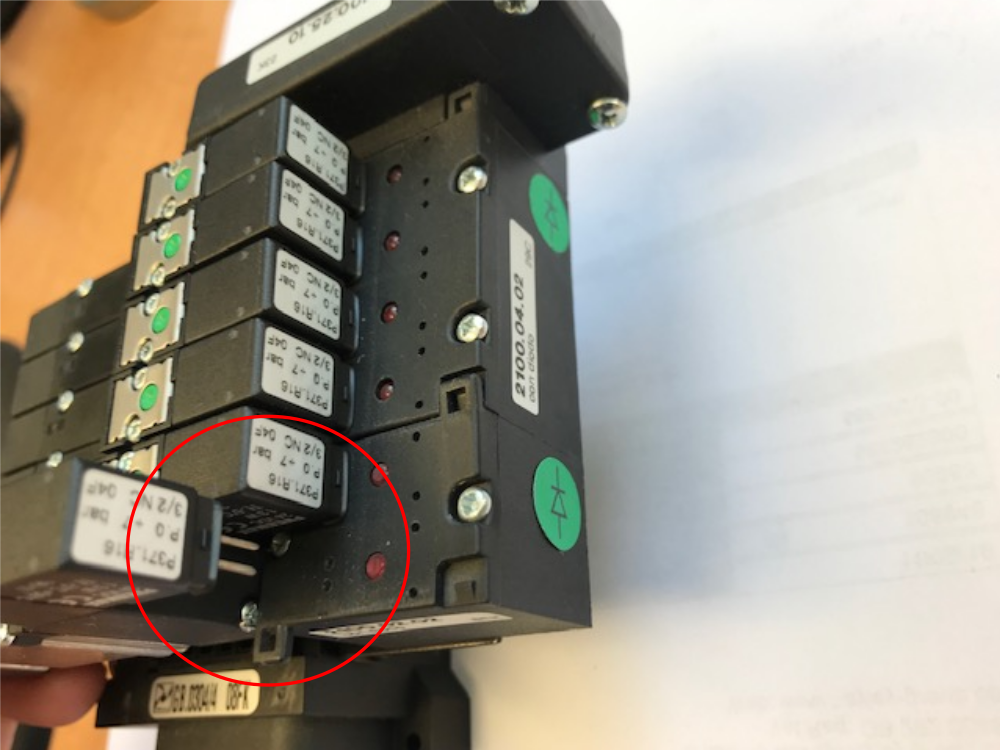
Étape 1 - Undo fixing screws using small pozi Screwdriver.
Please ensure screwdriver is a good fit to avoid wearing the head of the screw.
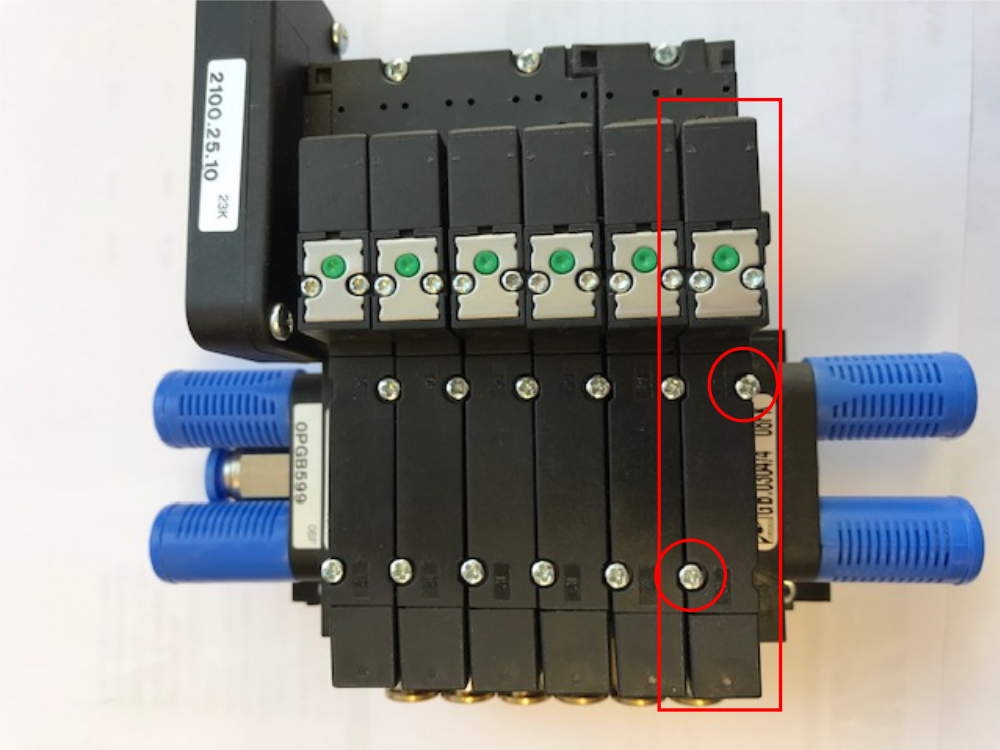
Étape 2 - Removing old Valve Slice
Pull Valve slice off, holding at the bottom and top of the slice.

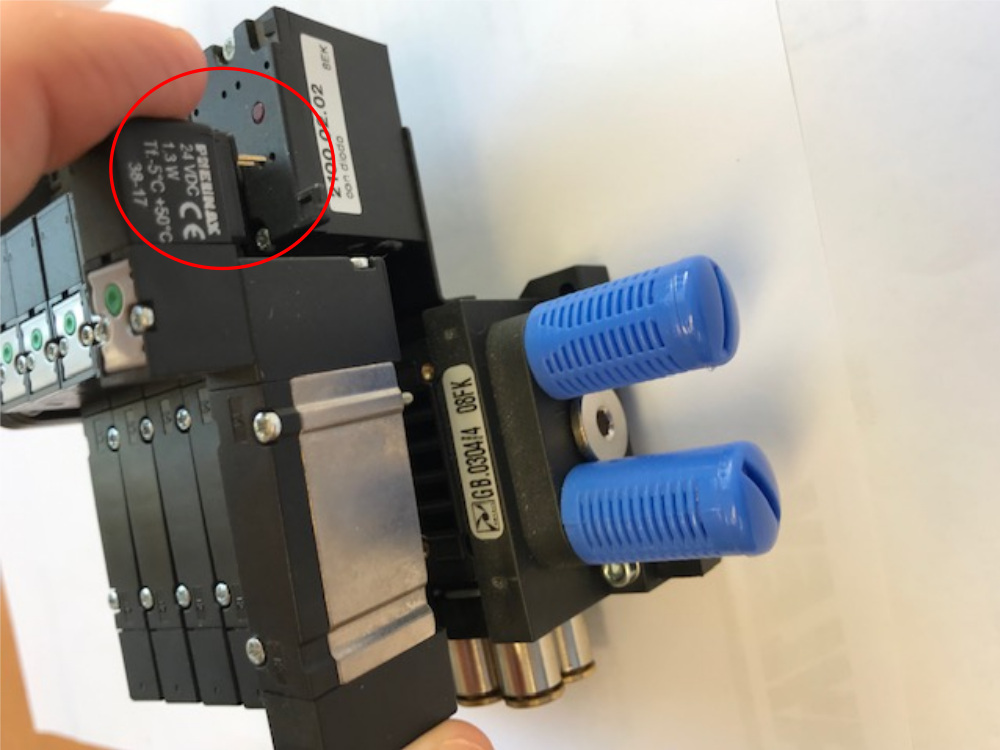
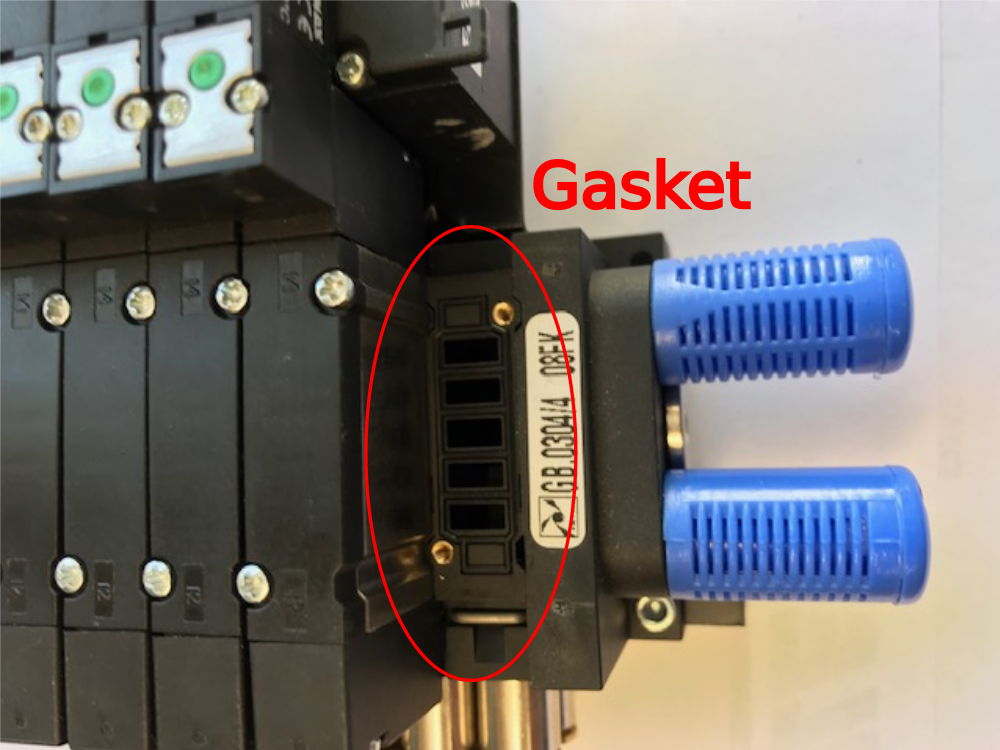

Étape 3 - Fitting New Valve Slice
Ensure pins line up correctly and are carefully inserted. Push valve slice into position.
Étape 4 - Tighten Screws
When tightening the screws, screw in 2 turns on each of the side until tight to ensure a square fit.

Published
 Français
 English
 Deutsch
 Español
 Italiano
 Português