How to download a new mint file (.mnt) using mint workbench

Difficulté
Moyen
Durée
2 minute(s)
Sommaire
- 1 Introduction
- 2 Étape 1 - Acquire latest / relevant software version
- 3 Étape 2 - Copy to correct machine folder
- 4 Étape 3 - Open Workbench
- 5 Étape 4 - Connect to machine
- 6 Étape 5 - Back up Old version
- 7 Étape 6 - Close any previous versions of open files
- 8 Étape 7 - Open the new version
- 9 Étape 8 - Download and run
- 10 Étape 9 - Exit workbench
- 11 Étape 10 - Update the Software version Log
- 12 Commentaires
Introduction
- Updating software can be very complicated, so care must be taken and always ensure there is a route to retrace your steps in the event of a failure – with Baldor .mnt files this is easy because each version is a separate file and therefore easy to load the old one back in again
- In general, the Baldor (.mnt) software has been designed to be backwards compatible, but there are a few steps that needed to be taken that made this impossible. In these cases, the front end software (winMulti or winSaw) also needs to be updated – you will get an error to tell you that this is the case
- Version numbers have always followed a numerical order, so the higher the number, the later the version
- Mnt files should always be stored in
- c:\multi on MH side – called Multi X.xxx.mnt
- c:\saw on Saws or Saw side of flowline – called IgSaw X.xx.mnt
Étape 1 - Acquire latest / relevant software version
- Contact Stuga service to download latest version to the machine via teamviewer
- On the g:\ drive G:\Builds\Latest Software Versions.
- From Dropbox service\Machine Software\
Étape 2 - Copy to correct machine folder
| Machine | Folder |
|---|---|
| Flowline MH side | c:\multi |
| Flowline Saw Side | c:\saw |
| Standalone Saw | c:\saw |
| Ecoline | c:\ecoline |
Étape 3 - Open Workbench

Étape 4 - Connect to machine
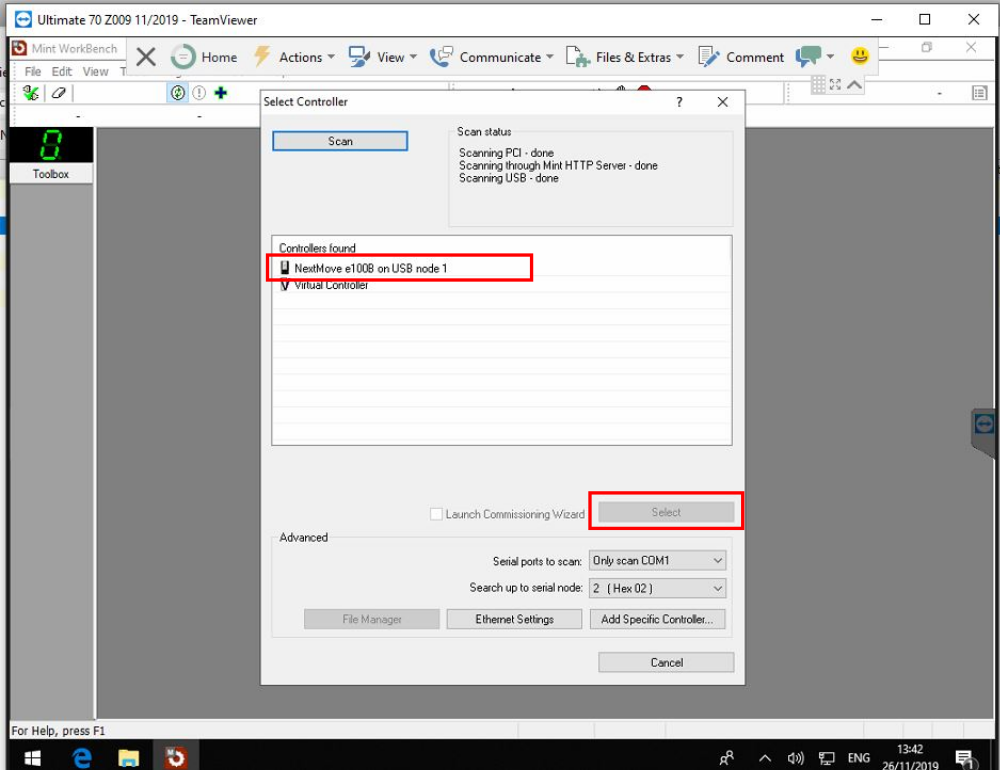
If this is a brand new setup, you will need to search for the Nextmove card.
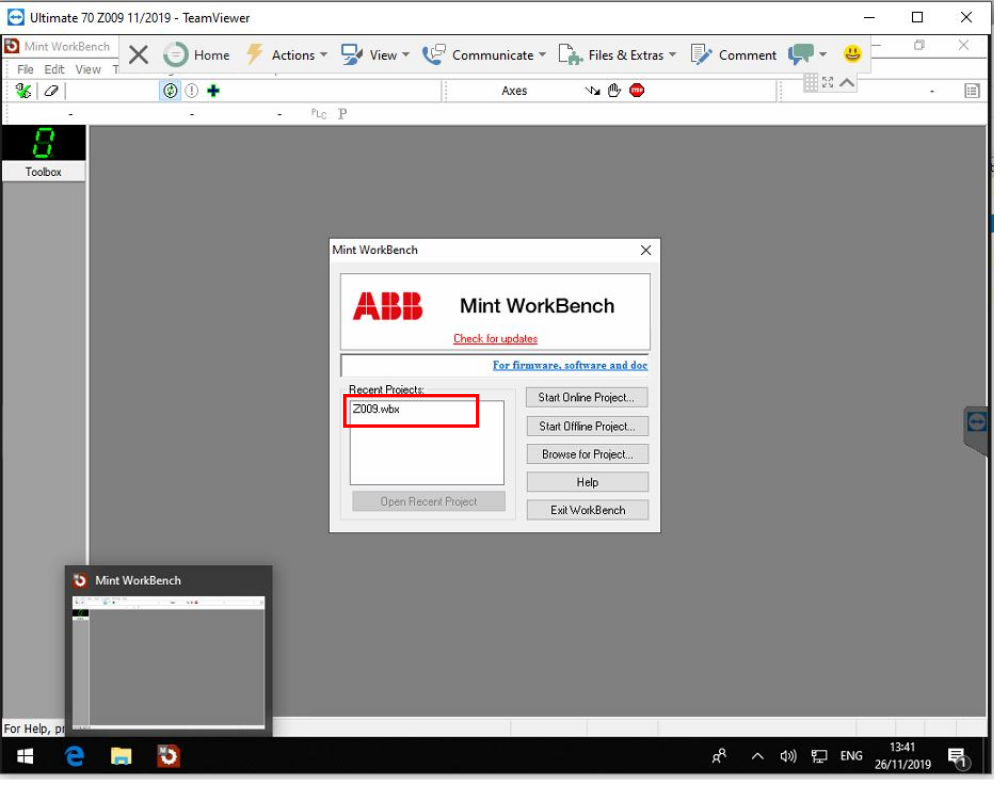
If this is an established machine, the connection details are stored in a "project" which should be visible as the build number of the machine
If no Recent Project found Start online project
- Select Nextmove e100B on USB node 1
- Click Select
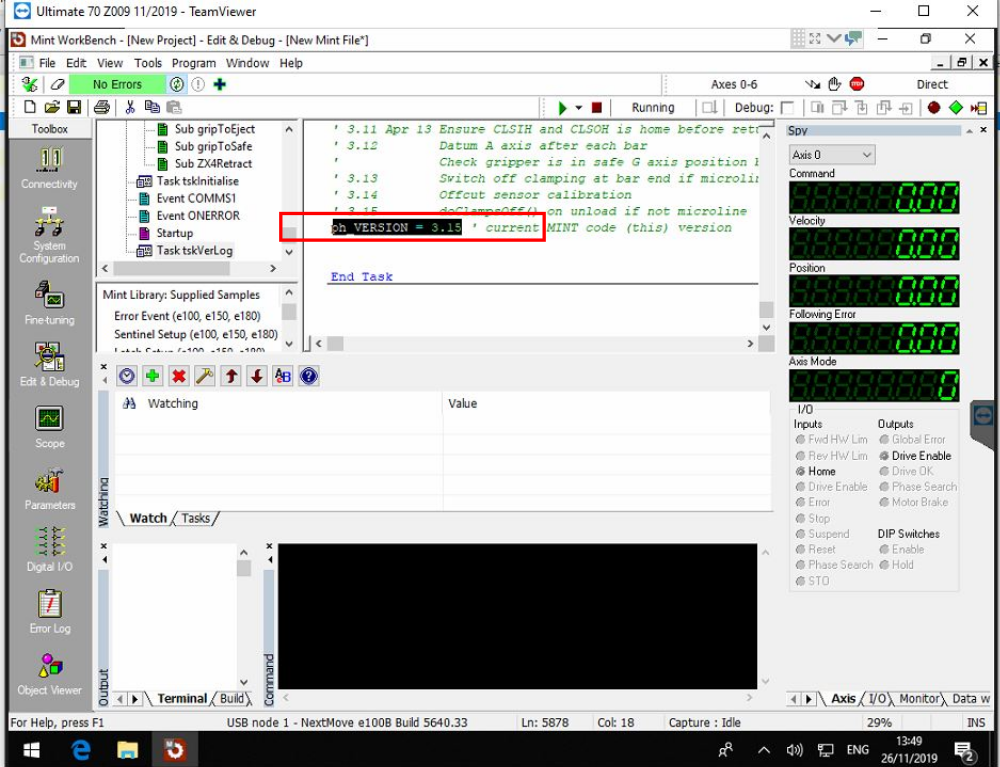
Étape 5 - Back up Old version
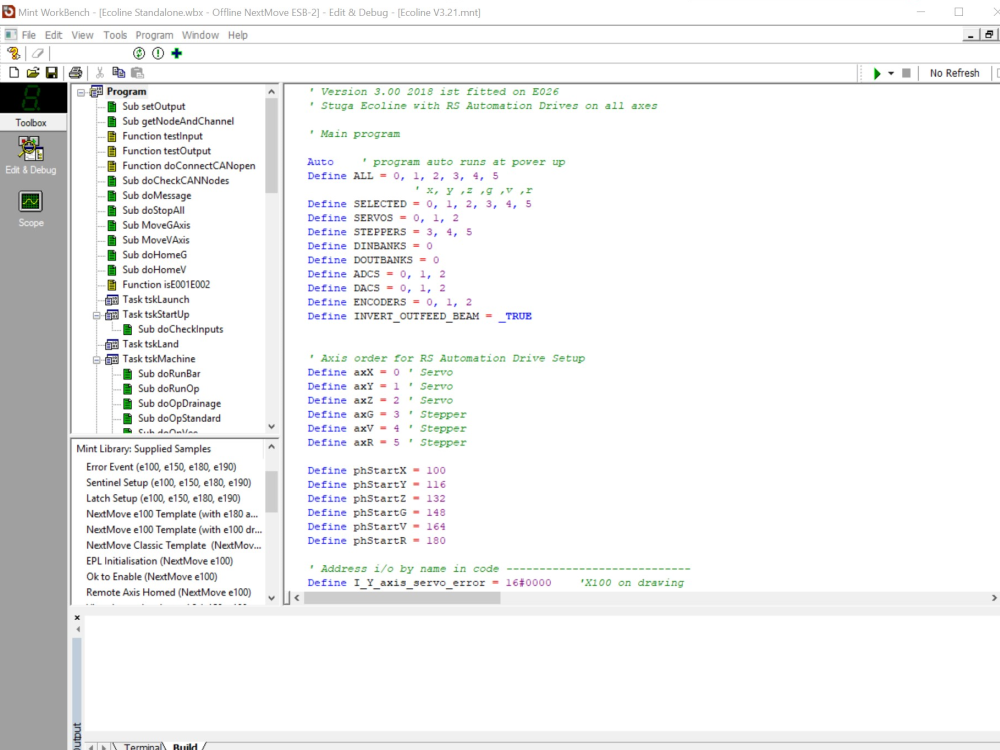
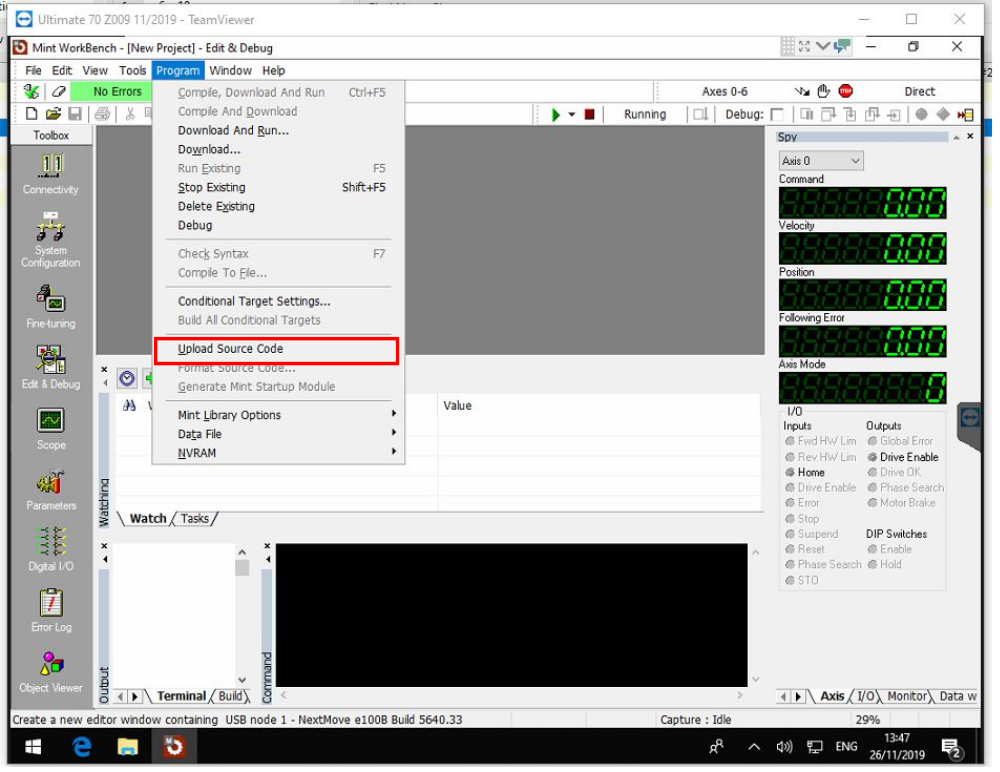
- Programs > Upload Source Code
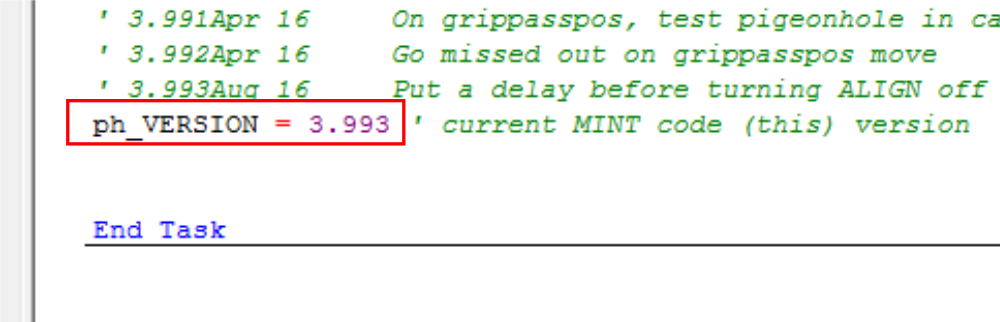
- Scroll down to find Current version number
- File > Save File As
- Navigate to C:\multi
- Save name as 'Multi (Version number).mnt'

Étape 6 - Close any previous versions of open files
Use File->Close File to close any previous versions that are open

Étape 7 - Open the new version
File > Open File > Select the newest version saved in the C:\multi folder (Highest number)

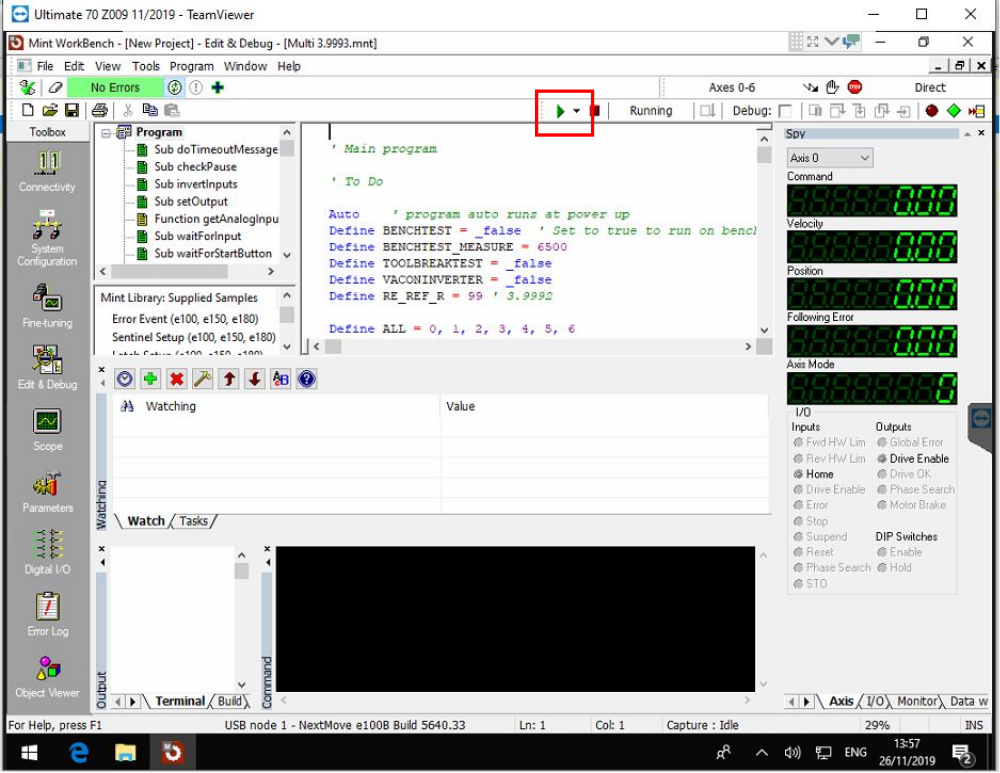
Étape 8 - Download and run
Press the play button to download and run
Étape 9 - Exit workbench
Exit Workbench and click Yes to save the project (this means it will auto load the new version mnt file when Workbench is opened next time
Save project as (Machine number).wbx
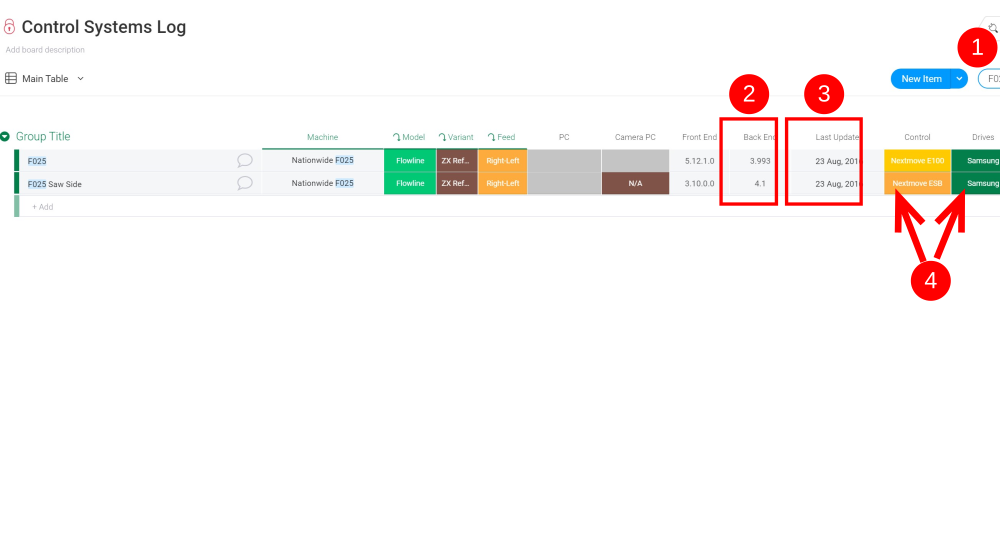
Étape 10 - Update the Software version Log
https://stugaltd.monday.com/boards/304269981
Find the build number (1) of the machine and update the software version (2) and date(3).
Also update the "control" and "drive" log if it is not done already
Draft
 Français
 English
 Deutsch
 Español
 Italiano
 Português