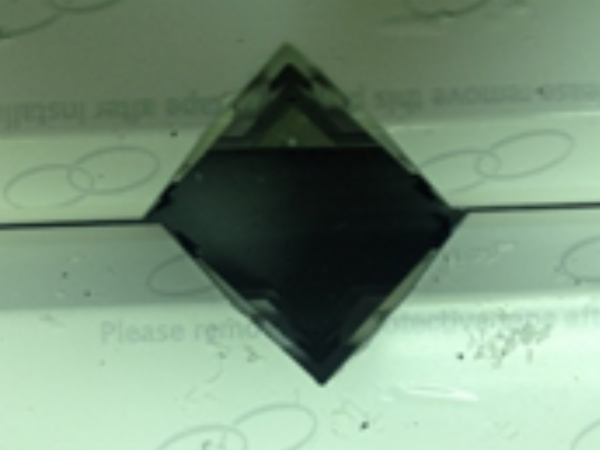
It has long been known that profile lengths grow and shrink with thermal expansion. This bulletin explains a method used to visually prove that this is a root cause of accuracy issues
Problem
The quoted “linear Thermal Coefficient of Expansion” of PVC-U is 0.00005/°C.
Therefore, for 10°C temperature difference, a 6000mm profile will grow by
6000 x 0.00005 x 10 = 3.0mm
Theory
The machining side datums from one end (Std hand machine used for demo example). Imagine the bar is 6000mm long, brought in from outside at 4 deg. C. It is put through the machine immediately, and the machine does a pos test (2 pieces 400mm \ / with V notch in the middle). The V notches will be put in a position, relative to the gripper end, of 5800mm and 5600mm.
(The allowance for a trim cut and kerf have been removed from the calculations to make it easier to follow)
The bar length will look like this:
Under normal conditions, you would expect the saw to produce this:
And lining up the cut pieces front to front:
With 10°C temperature rise
· If the bar is left on the transfer table in a warm factory environment, it is inevitable that it will heat up and therefore it will grow.
· If the time it takes to warm up is less than the time between machining and sawing, then the bar will be a different length when it gets sawn to when it was machined
· For a 10°C, a 6000mm bar will grow by 3.0mm
Therefore, the 6000mm bar that was machined at 4°C (taken in from storage outside), left on a transfer table for 10 minutes and warmed up to 14°C will now be 6003mm long, and look like this:
Inevitably, the saw will still be expecting the bar to be 6000mm long, and also the V notch operations to be at 5600 and 5800. Therefore when it actually cuts the bar, the V notch operations will now be 2.8 and 2.9mm out. Back to back this totals an enormous 5.8mm positional error. This happens because the saw datum end is the same as the machining datum end.
NOTES:
· The error gets progressively less as you work towards the pusher end – at 100mm from the pusher, the error is only (100x0.00005x10) 0.05mm
· On later machines with a laser hole, the laser will correct for this error at the “start” of the bar, however the problem is reflected, so the error will progress towards the pusher end.
In Practice
First of all, using a non-contact temperature probe, determine if there could be a problem.
· Look for a temperature difference of 5°C or more between the profile storage area and the transfer table area
· Measure the temperature of the profile during normal operation
· Look at where the profile is stored – outside, in a cold area of the factory?
· Is the machine in a much warmer environment than the storage?
· Even if the profile is inside – it may still be very cold. A full stillage of profile will take hours to warm up, one length on the transfer table will take minutes
I carried out a simple test to prove this theory:
1. Run a pos test on a 6m length straight through the machine with no delays on transfer table (This is normal practice). Take one bar from the rack / stillage where it is normally kept
2. Mark the pieces once cut, ensure the test lines up ok.
3. Run same test again under the same conditions to ensure repeatable results
4. Run the same test again, this time, after machining, allow the bar to stand on transfer table for 10 minutes (this is not an uncommon amount of time if the machine is running a batch and the transfer table is full.
Results
- At the customer site, the profile is stored outside, but the main profiles are pulled in on a stillage.
- The door is open all day.
- On the day I visited, it was 3°C, the factory near the transfer table was around 17°C.
- The profile in the stillage indoors had been inside for at least 4 hours, but when it was pulled out, the temperature was only 4°C
- On machining, the profile was around 7°C
Test 1, minimal delay on transfer table
- Profile temperature during machining - 7°C
- Profile temperature during sawing - 10°C
Test 2, 10 minute delay on transfer table
Profile temperature during machining - 7°C
Profile temperature during sawing - 15°C
- The overall error was around 2mm on each piece, so 4mm in total.
- The test was repeated, with exactly the same results.
- The test was done under the supervision of the factory manager and he was in complete agreement with the findings.
Solution
The solution to this problem has to come from the customer and their handling of the profile. The following guidance can be given:
The problem is all down to the temperature difference between machining and sawing. It is not simply “because it is cold”.
- A difference of 5°C or more will cause an accuracy problem
- Allow the profile to warm up on the infeed for 10 minutes before machining starts
- Make sure there are no heaters over the transfer table creating a hotspot
- Be very careful with profile stored outside
- Be very careful on Monday morning after a cold weekend – even if the profile is indoors, it will be cold
- A stillage takes hours to heat up, do not assume because it is indoors that it is at room temperature
- Customer could use a temperature probe
Draft


 Français
 English
 Deutsch
 Español
 Italiano
 Português