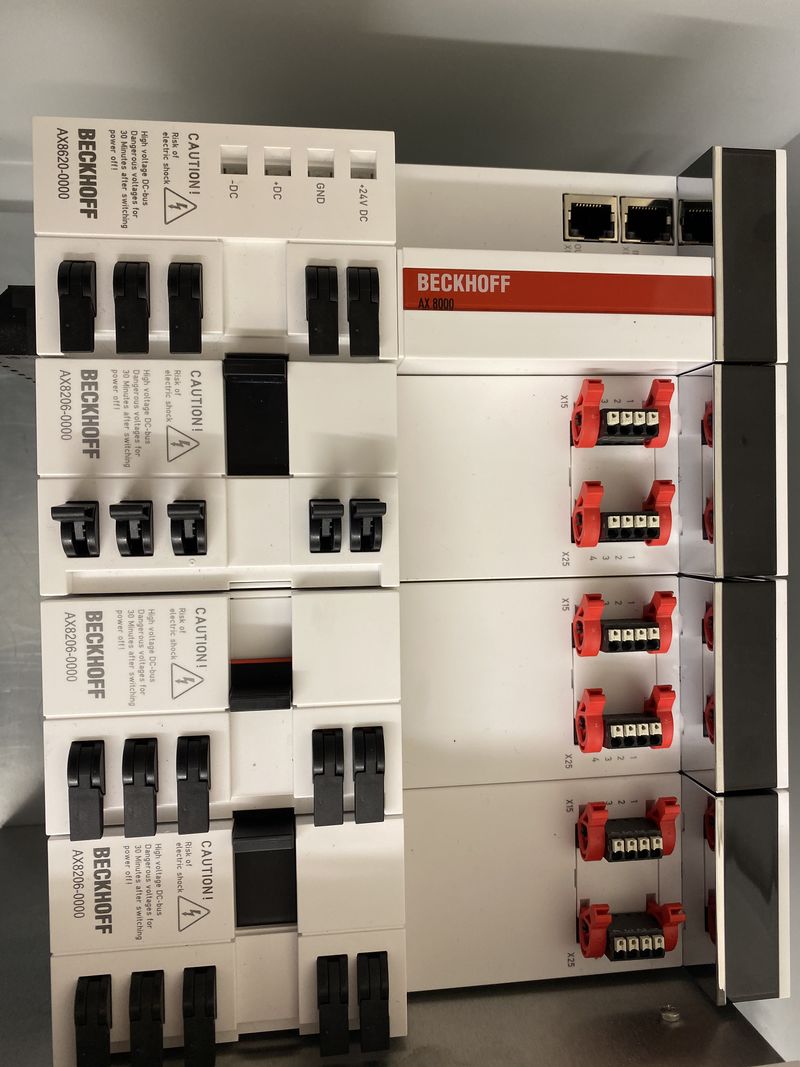
This is the process of removing or changing a Beckhoff AX8000 series servo drive. Unlike the AX5000 series, these drives are all supplied by one power unit containing the 3-phase and 24v connections (underneath) as well as the EtherCAT connections (on the front). All the drives in the unit are then connected together by design.
Sommaire
- 1 Pièces et outils
- 2 Étape 1 - Power off drives at circuit breaker
- 3 Étape 2 - Remove servo cables from bottom of drive
- 4 Étape 3 - Unclip connections on front of drive
- 5 Étape 4 - Remove all bolts holding on the drive being changed
- 6 Étape 5 - Remove drive by pulling towards you
- 7 Étape 6 - Insert new drive and reverse steps to connect
- 8 Commentaires
- Pièces et outils
Pièces et outils
Étape 1 - Power off drives at circuit breaker
Circuit breaker will be labelled 'Servo Drives'
Étape 2 - Remove servo cables from bottom of drive
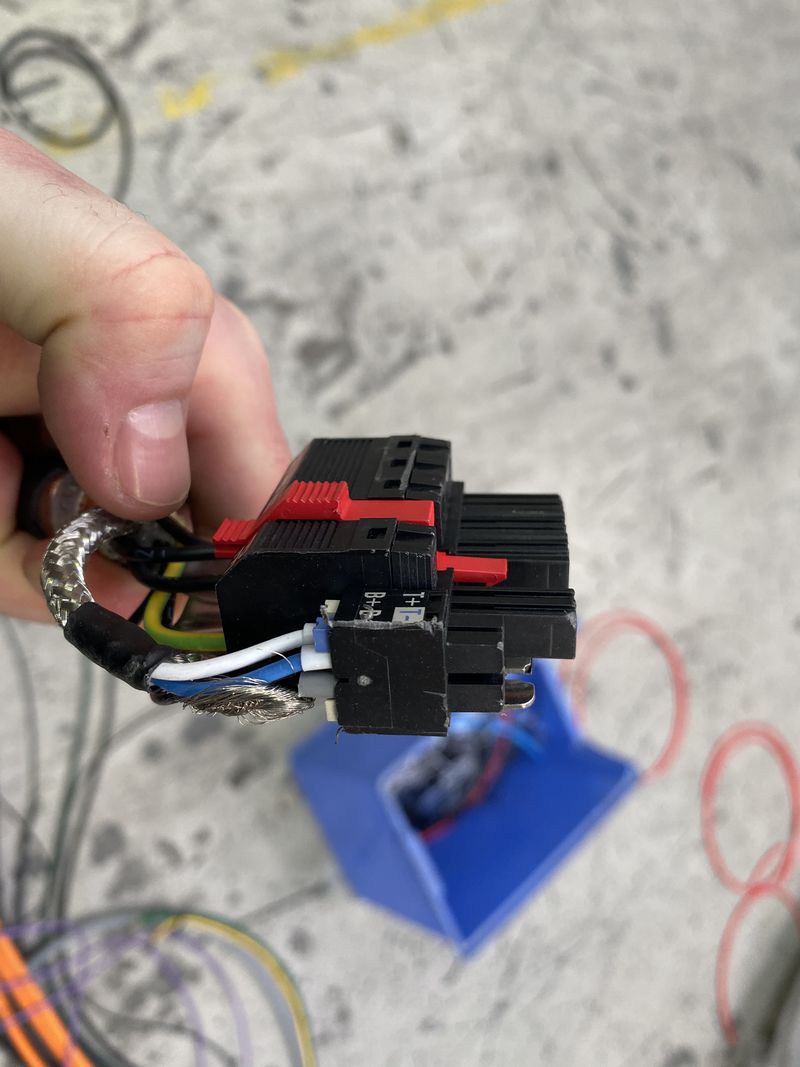
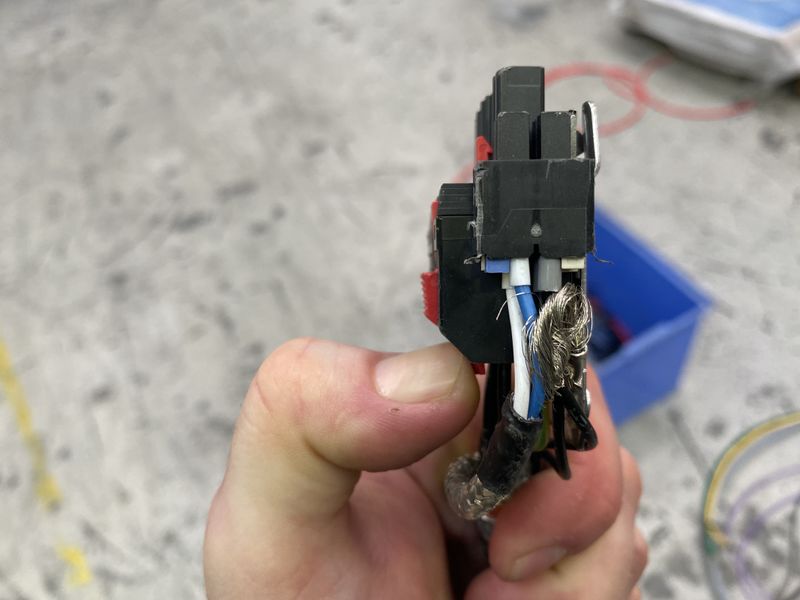
Underneath the drive is the connections to the servo motors. The plug is as pictured. Find the red plastic catch and press in towards the metal part of the plug as shown. The movement on this is very minimal so can be deceptive as to whether it is doing anything or not.
When pressed in, wiggle the plug until it comes out.
Étape 3 - Unclip connections on front of drive
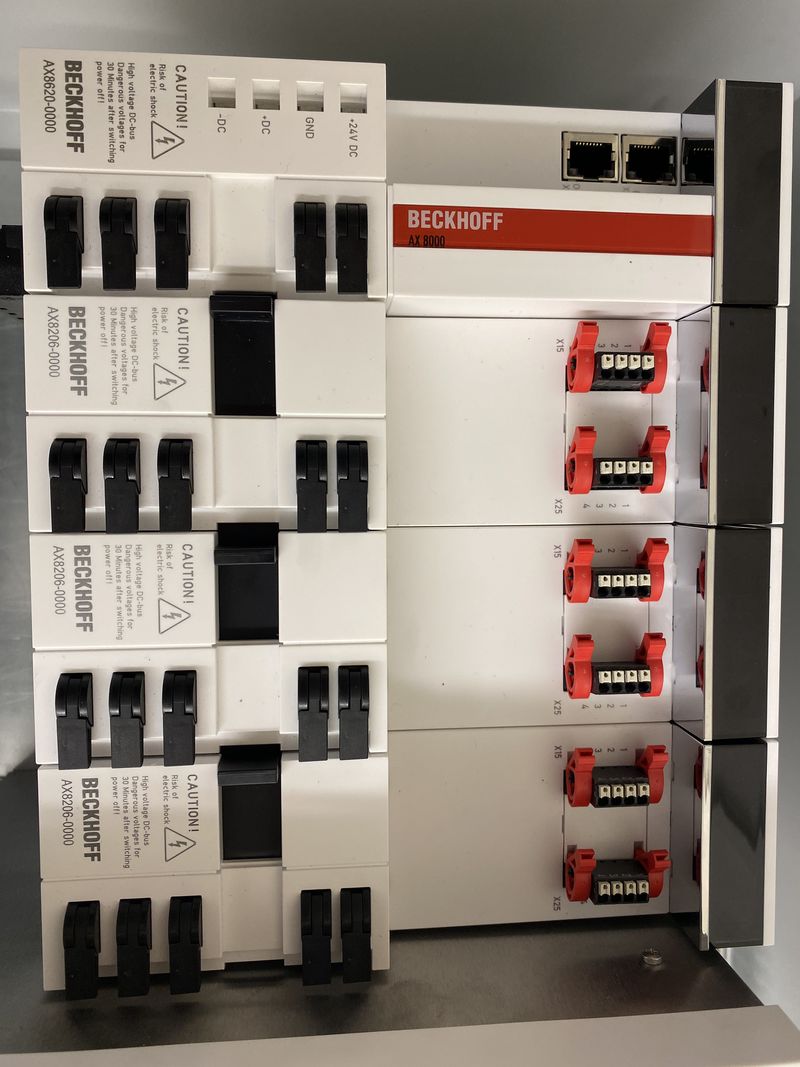
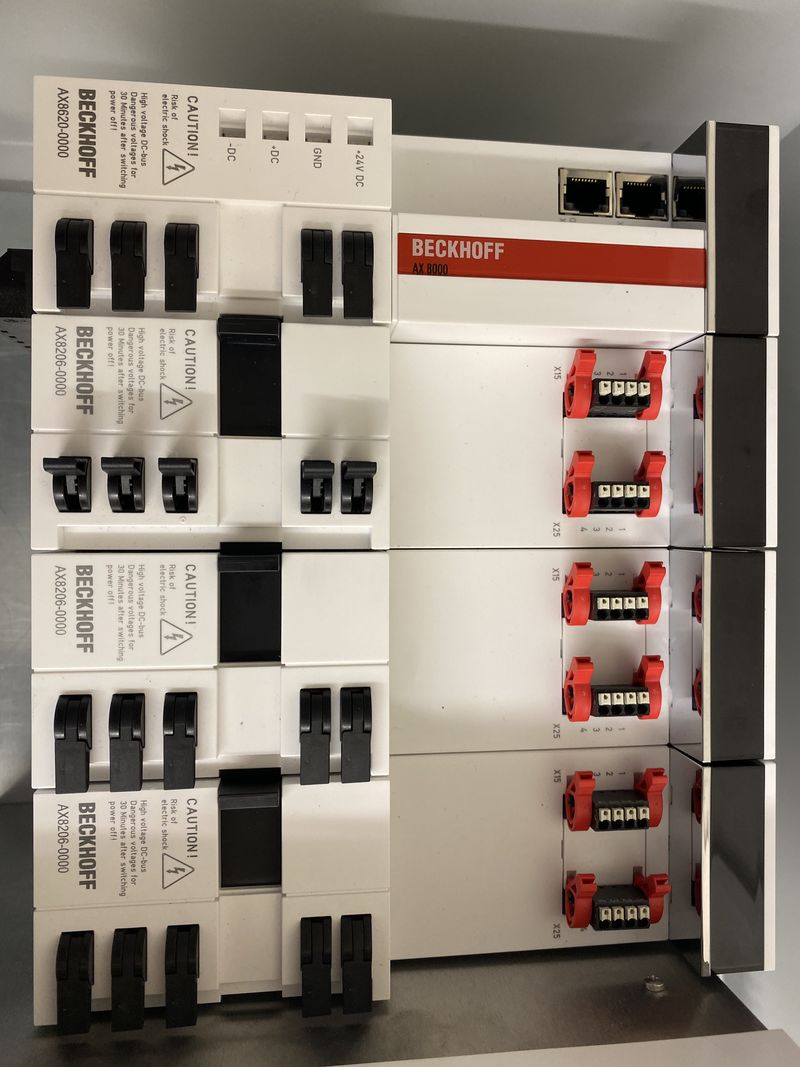
Slide the big black plastic connector all the way to the right.
This needs to be done for the drive that is being removed and for any drive that is connected to it so the pins do not get bent when removing.
Étape 4 - Remove all bolts holding on the drive being changed
Étape 5 - Remove drive by pulling towards you
Étape 6 - Insert new drive and reverse steps to connect
Published
 Français
 English
 Deutsch
 Español
 Italiano
 Português