Editing the content n a Dokit Work Instruction


Difficulté
Facile
Durée
10 minute(s)
Sommaire
- 1 Introduction
- 2 Warnings
- 2.1 Étape 1 - Open the Work Instruction
- 2.2 Étape 2 - Make sure you are logged in
- 2.3 Étape 3 - Edit
- 2.4 Étape 4 - Steps
- 2.5 Étape 5 - Title and Text
- 2.6 Étape 6 - Numbering and Bullet Points
- 2.7 Étape 7 - Add a Step Picture
- 2.8 Étape 8 - Picture Upload
- 2.9 Étape 9 - Picture - Navigate to file
- 2.10 Étape 10 - Picture - Upload this File
- 2.11 Étape 11 - Picture - Click on Photo
- 2.12 Étape 12 - Edit the photo
- 2.13 Étape 13 - Add Arrows
- 2.14 Étape 14 - Add Step Number bubbles
- 2.15 Étape 15 - Add Coulored Text
- 2.16 Étape 16 - Save
- 2.17 Étape 17 - Update to the Monday Work Instruction board
- 2.18 Commentaires
Introduction
This tutorial shows you how to edit the content of a work instruction, allowing you to
- Add New Steps
- Add numbering and bullets to the text
- Add and crop Photos
- Annotate photos with arrows, numbers and text
- Change step sequence and insert steps
- Add Call-outs and warnings
- Add Links to other websites or other Dokit pages
Warnings
Étape 1 - Open the Work Instruction
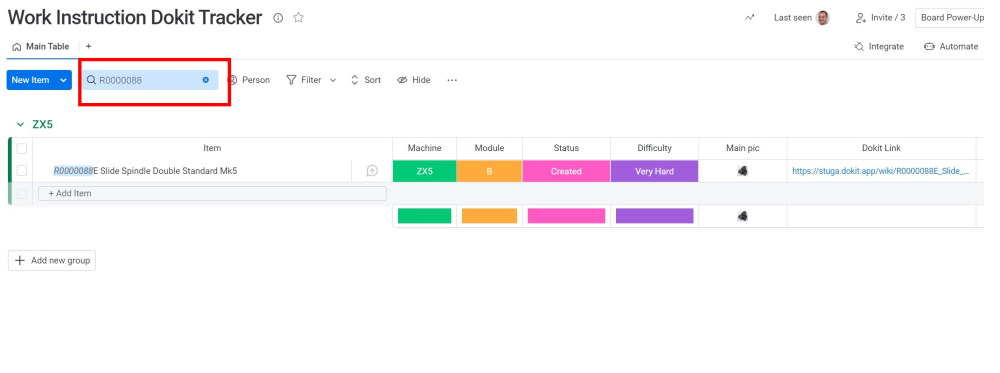
The dokit references for work instructions are tracked and stored on the monday board
Work Instruction Dokit Tracker
Check to see if the instruction is already there using the search, there should be a link for it in the link column which will take you straight to the page.
If it does not exist, it needs to be created first with this tutorial Dokit - Creating A Work Instruction
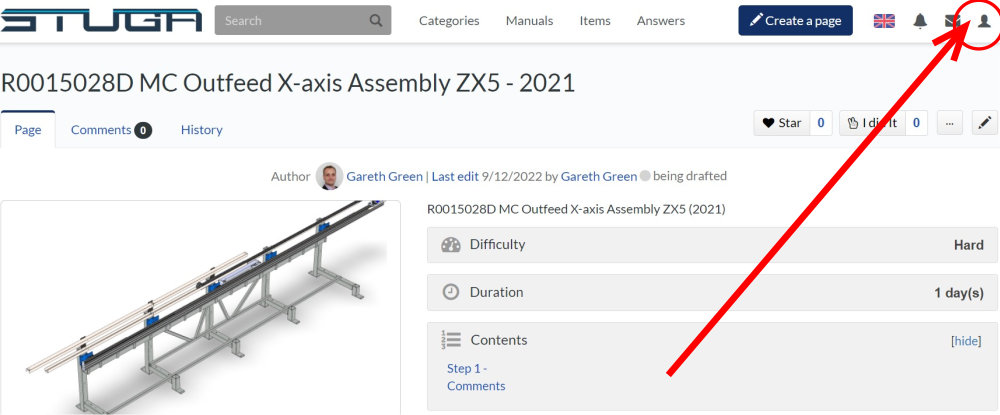
Étape 2 - Make sure you are logged in
To Edit a Dokit, you need to login as a editor
The Username is Gareth Green
Password is available from the IT department
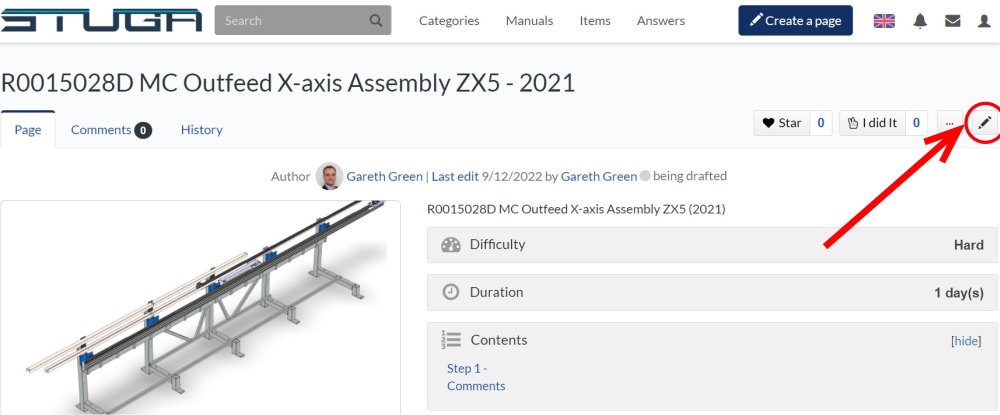
Étape 3 - Edit
Click on the Edit Icon (pencil) to enter edit mode
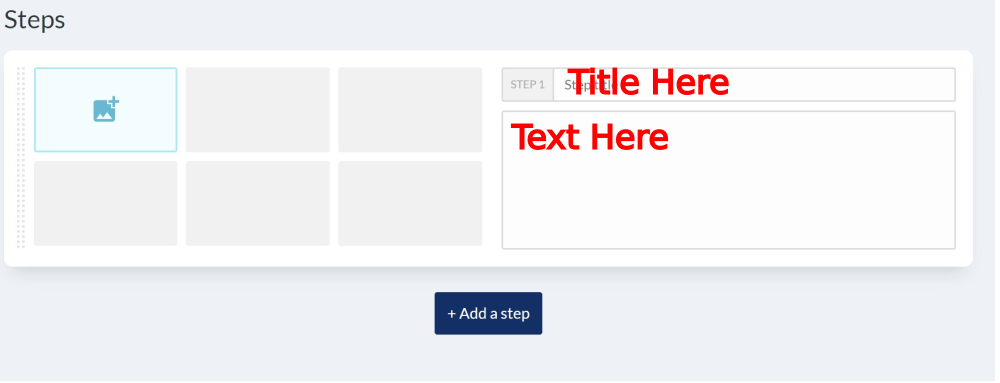
Étape 4 - Steps
Steps can be added by clicking on the Add a Step button at the bottom. This adds an empty step at the end
or
The insert arrow at the top right corner of the step . This inserts an empty step above the current one
Steps can be deleted with the cross in the top right corner
Steps can be easily moved around with the drag bar on the edge

Étape 5 - Title and Text
Ttile and test go in the boxes, it is automatically formatted to a consistent size and look
Étape 6 - Numbering and Bullet Points
Use drop down box for Numbering or bullet points of lists

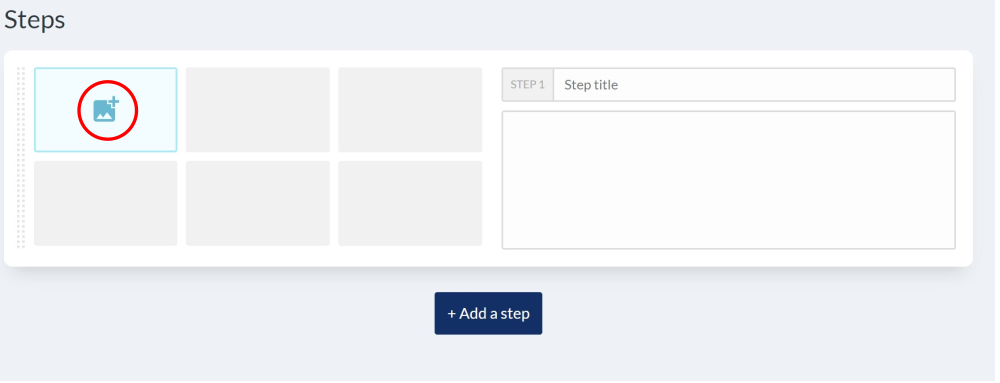
Étape 7 - Add a Step Picture
Pictures are very important to Dokit, and a picture on the step is vital if possible. Each picture needs to be uploaded to dokit first. This process (in my opinion) takes far too many mouse clicks !!!
Click on the + icon on the picture box
Étape 8 - Picture Upload
Click on Upload Tab on Media Gallery
Click on Select Files
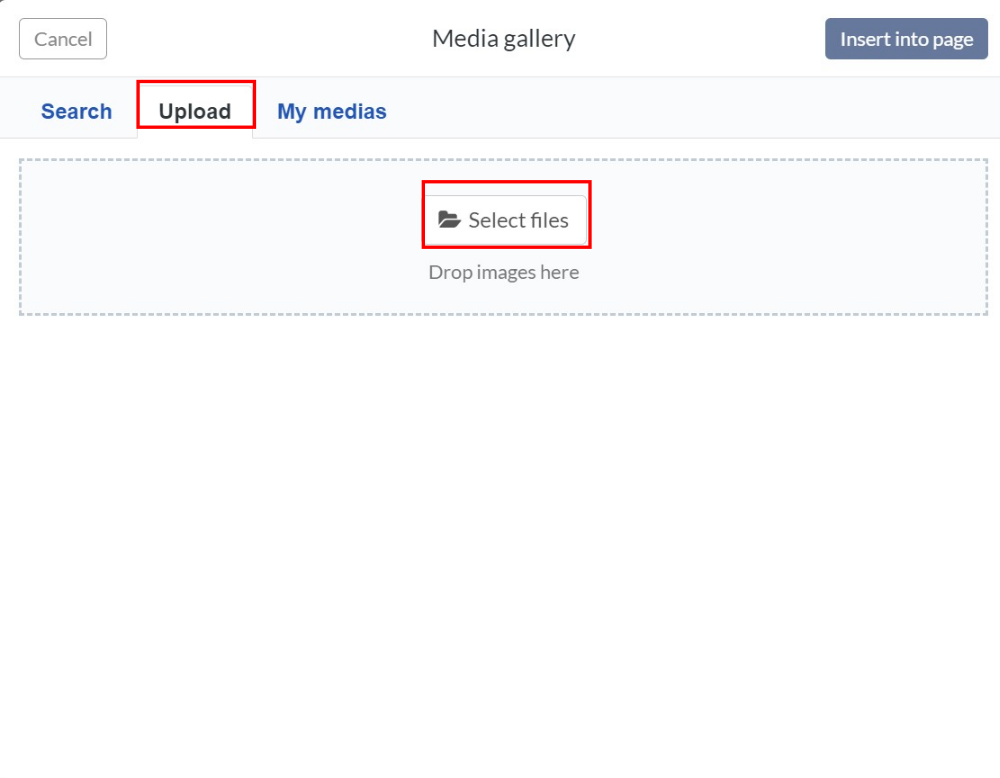
Navigate to the picture to upload. Most R numbers will have a thumbnail jpg saved in the general photos folder g:\photos

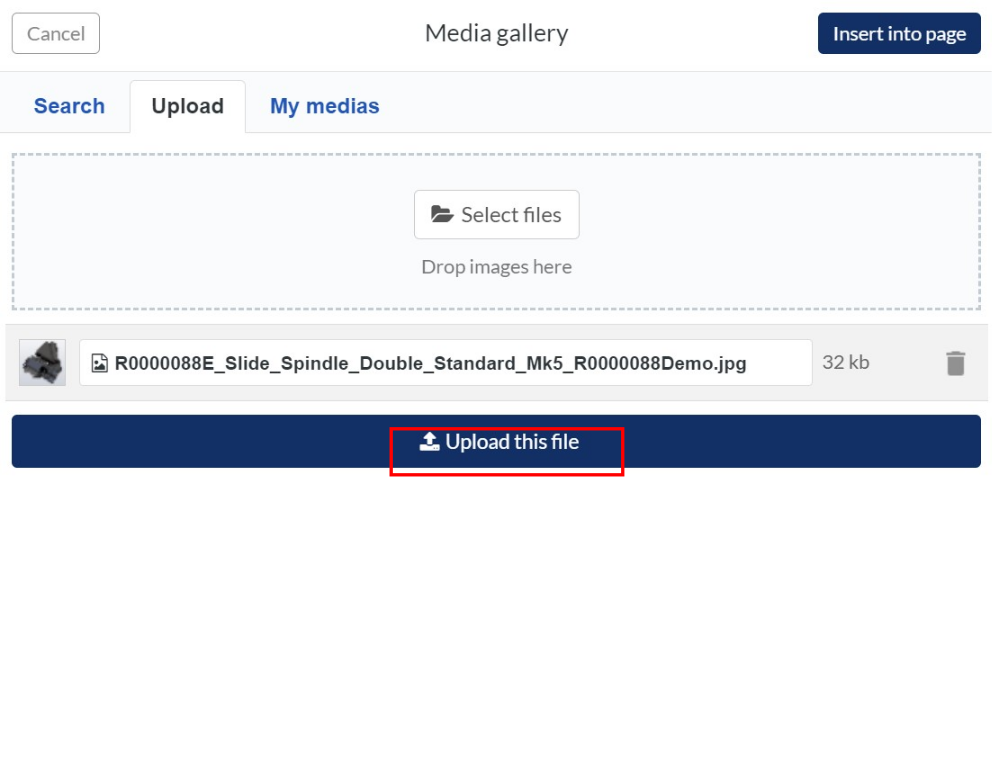
Étape 10 - Picture - Upload this File
Click on 'Upload this File'
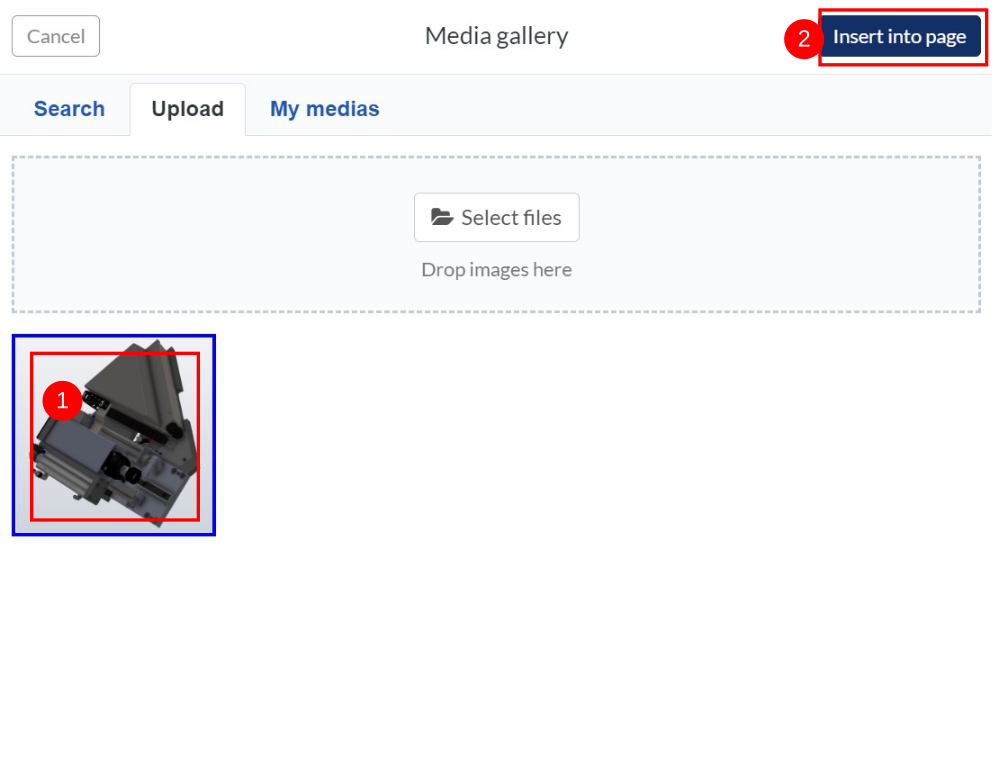
Étape 11 - Picture - Click on Photo
Click on the Photo
Click on "Insert Into Page"
Étape 12 - Edit the photo
Hovering over the photo gives you a squiggly line and a bin
- Squiggly line is Edit
- Bin means delete
Editing the photo allows you to add annotations
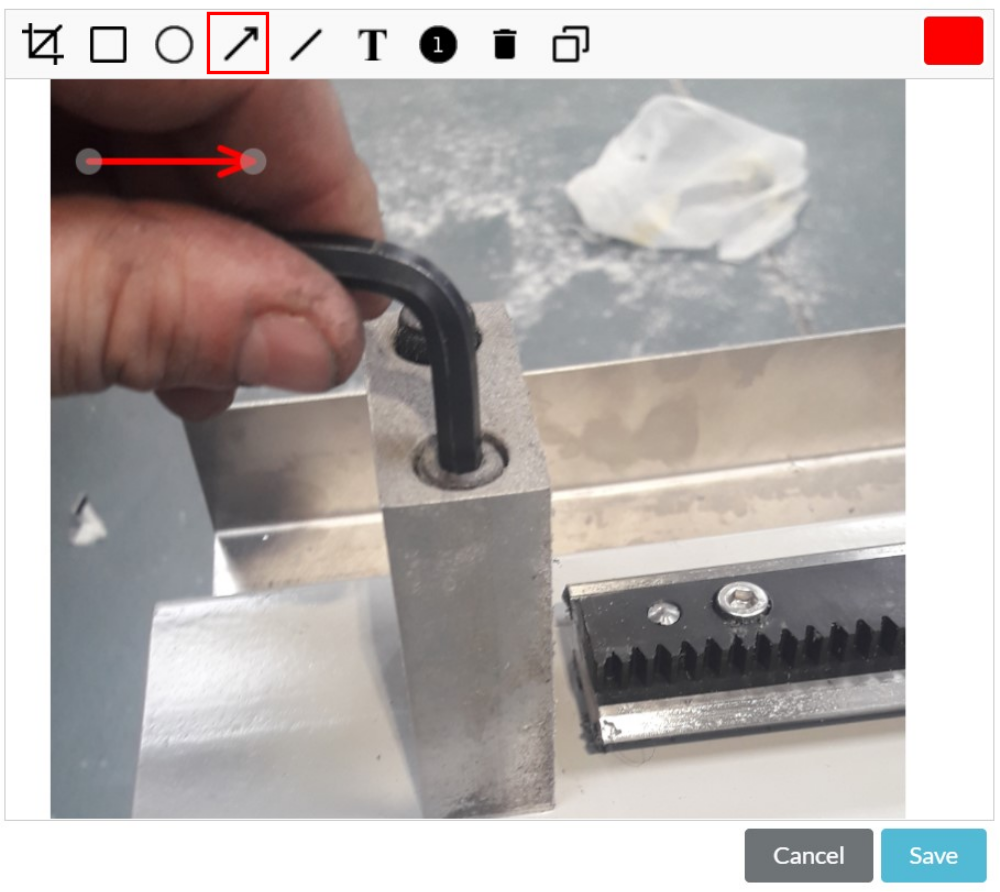
Étape 13 - Add Arrows
Click on the Arrow icon to add an arrow
Arrows can be deleted by clicking on them then delete
Change colour with the colour square in the top corner

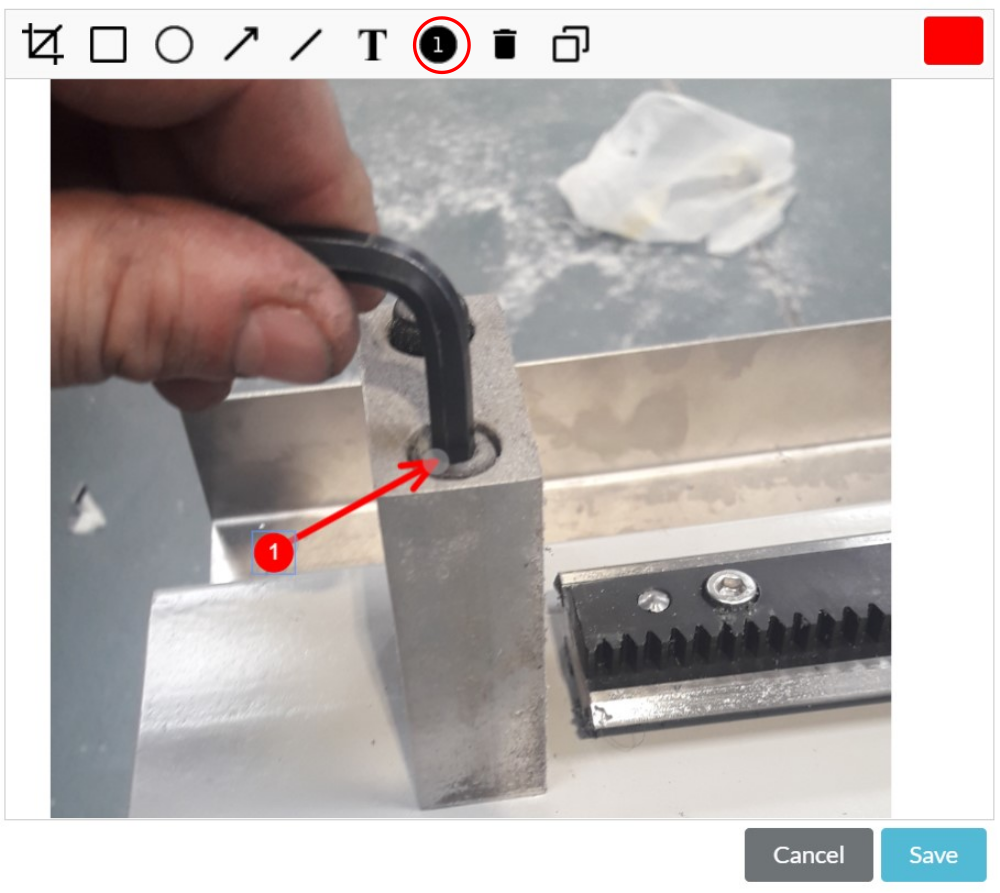
Étape 14 - Add Step Number bubbles
Click on the step number bubble to create numbers
Clicking multiple times creates more numbers
Delete and start again if it looks wrong
Change the colour with the colour box in top right corner
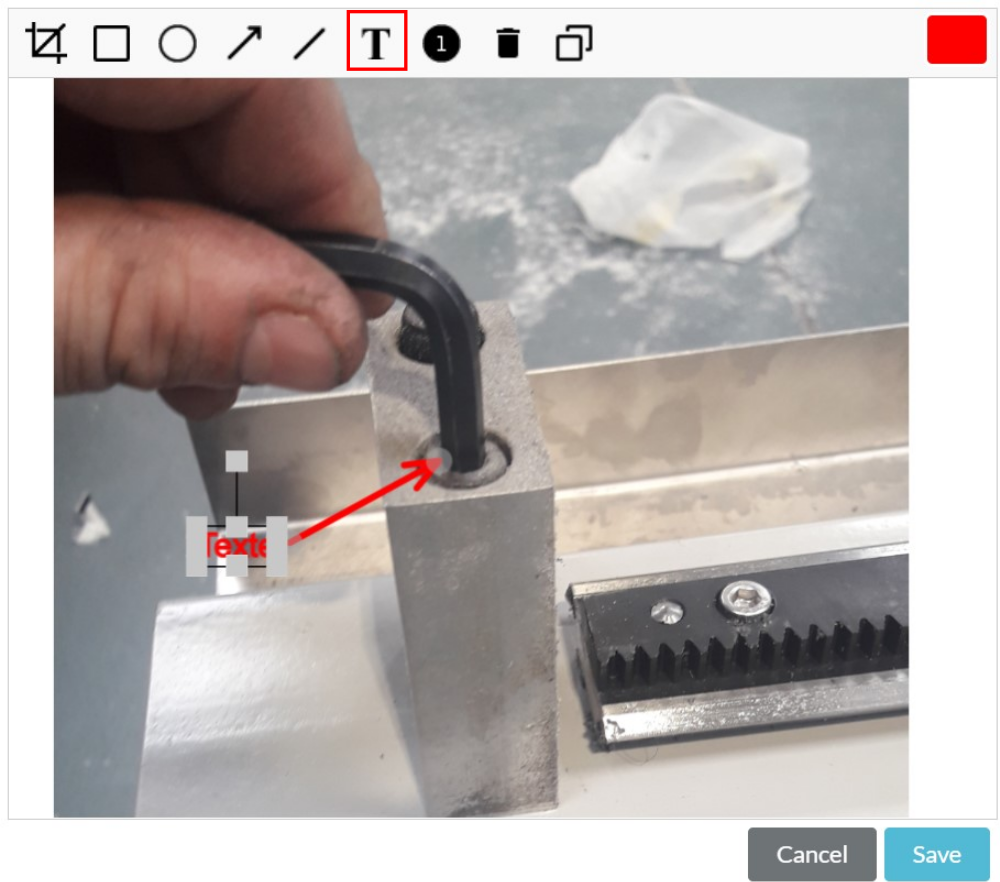
Étape 15 - Add Coulored Text
Click on the text icon to add text
Delete and start again if it looks wrong
Change the colour with the colour box in top right corner
Étape 16 - Save
Don't forget to Click Save at the bottom of the page once the dokit has been created.
Étape 17 - Update to the Monday Work Instruction board
Update the Work Instruction Monday board. This allows others to easily track progress
Draft
 Français
 English
 Deutsch
 Español
 Italiano
 Português