How to create aInstruction in Dokit


Difficulté
Facile
Durée
10 minute(s)
Sommaire
- 1 Introduction
- 2 Warnings
- 2.1 Étape 1 - Check if the Dokit is already created
- 2.2 Étape 2 - Navigate to the website
- 2.3 Étape 3 - Log In to Dokit as an Editor
- 2.4 Étape 4 - Create a page
- 2.5 Étape 5 - Create a Tutorial and Name it
- 2.6 Étape 6 - Fill in the description
- 2.7 Étape 7 - Set the Category
- 2.8 Étape 8 - Set the difficulty
- 2.9 Étape 9 - Set the Duration
- 2.10 Étape 10 - Add the Main Picture - Step 1
- 2.11 Étape 11 - Add the Main Picture - Upload
- 2.12 Étape 12 - Add the Main Picture - Navigate to file
- 2.13 Étape 13 - Add the Main Picture - Upload this File
- 2.14 Étape 14 - Add the Main Picture - Click on Photo
- 2.15 Étape 15 - Add the Main Picture - Crop and size
- 2.16 Étape 16 - Save
- 2.17 Étape 17 - Add to the Monday Work Instruction board
- 2.18 Étape 18 - Edit the content
- 2.19 Commentaires
Introduction
This tutorial guides you in how to create Work Instructions in Dokit and to avoid the pitfalls.
If the Work Instruction is already created, follow the process Dokit - Editing Work Instructions
Warnings
Étape 1 - Check if the Dokit is already created
The dokit references for work instructions are tracked and stored on the monday board
Work Instruction Dokit Tracker
Check to see if the instruction is already there, there should be a link for it in the link column which will take you straight to the page.
If it already exists, there is no need to continue this procedure, follow the process Dokit - Editing Work Instructions

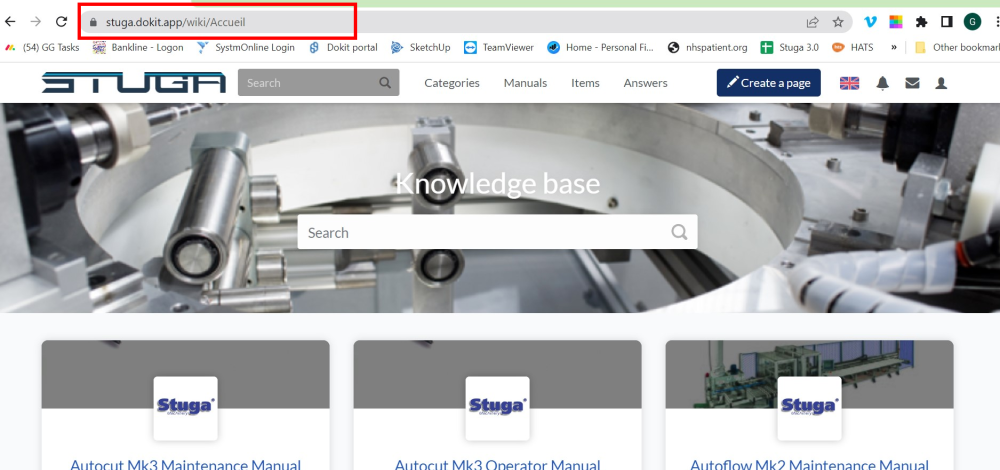
stuga.dokit.app
This site is a french production, so there will be an occasional French word pop up
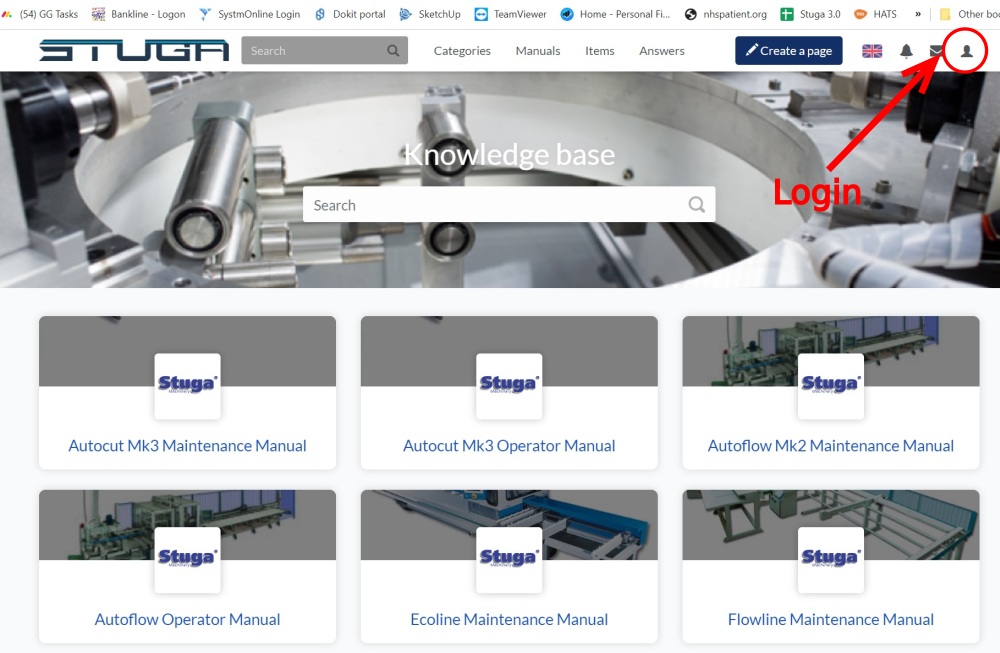
Étape 3 - Log In to Dokit as an Editor
To create a new Dokit, you need to login as a editor
The Username is Gareth Green
Password is available from the IT department
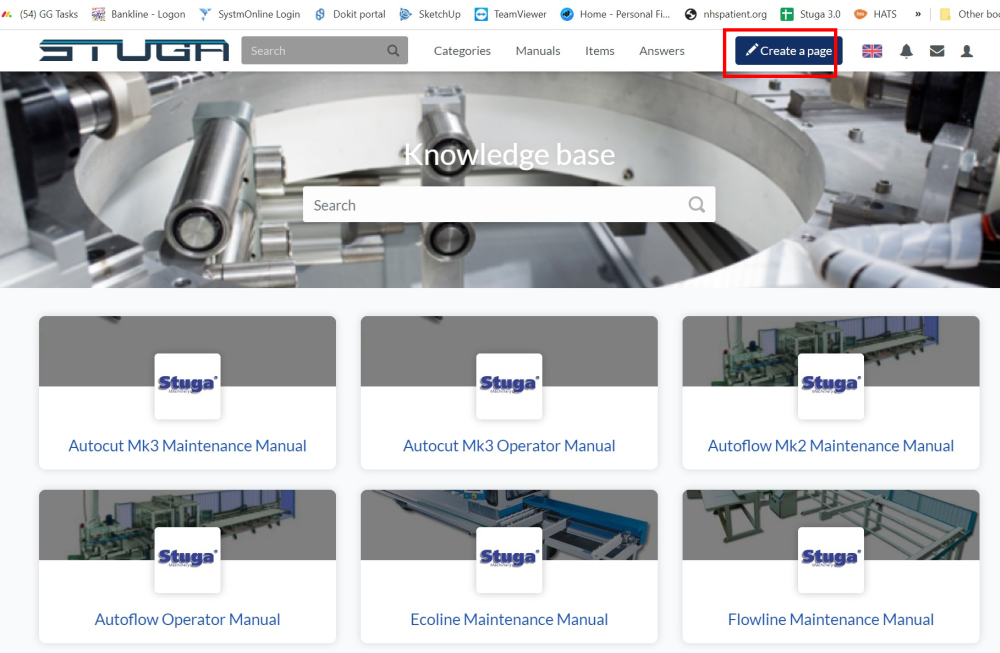
Étape 4 - Create a page
Click on the create a Page button
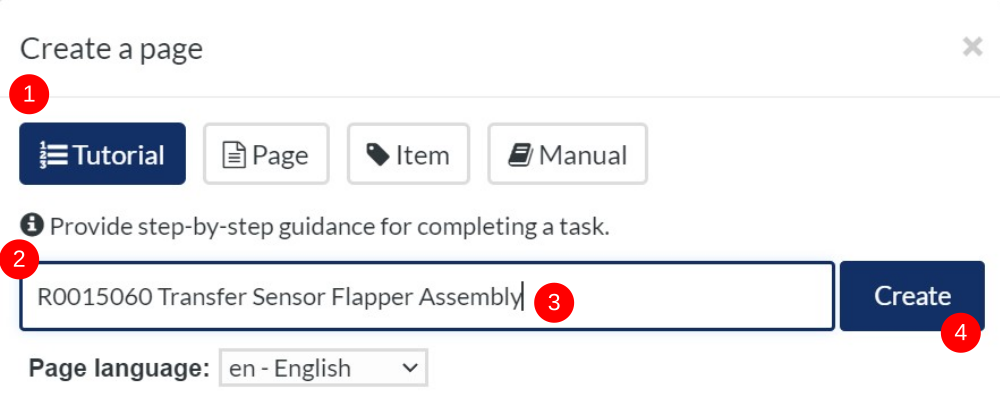
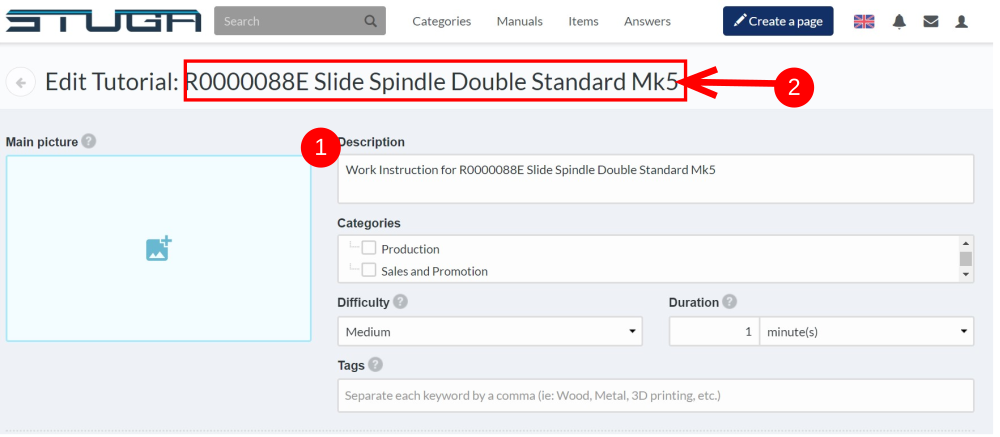
Étape 5 - Create a Tutorial and Name it
- Click on the tutorial button
- Name the Work instruction, following the naming convention, paticularly the R00nnnnn code.
- Double check the name and spelling - it is a bit of a pain to change the name of a Dokit after it has been created
- Click Create
If you do need to change the name, finish creating the dokit then change it using this processNaming Convention:
R00nnnnn [ Title of Subassembly ]
Étape 6 - Fill in the description
(1) The description should be standard:
(Obviously replace the R00nnnnn with the Assembly R number!)Work Instruction for R00nnnnn [Title of Assembly]
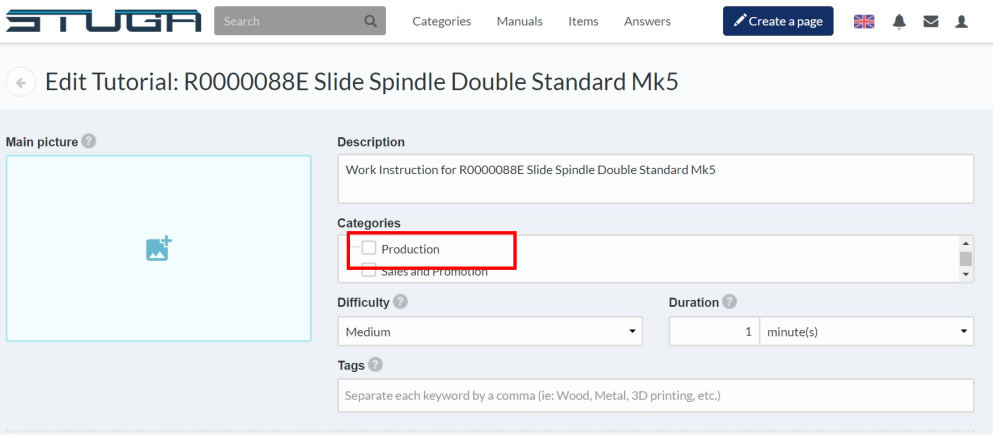
Étape 7 - Set the Category
Work Instructions should be assigned to the 'Production' category
Étape 8 - Set the difficulty
Hover over the (i) to see the skill assignment
Most Work instructions will be the top 3
Very easy: Accessible to everyone. An 8 year old child can follow the tutorial without difficulty
Easy: Accessible to all. An adult can follow the tutorial without difficulty
Middle: Only an informed adult can follow the tutorial. Requires no special skills
Difficult: Requires mastery of technical skills. An amateur may, however, follow the tutorial
Very difficult: Usually reserved for professionals. Requires the mastery of complex technical skills

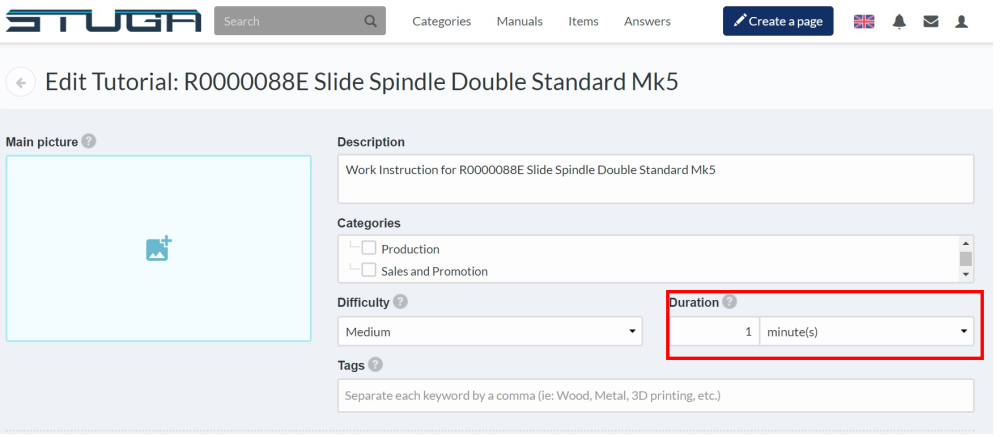
Étape 9 - Set the Duration
Provide an estimate for how long this should take.
If unsure, set at 1 day and it can be edited later
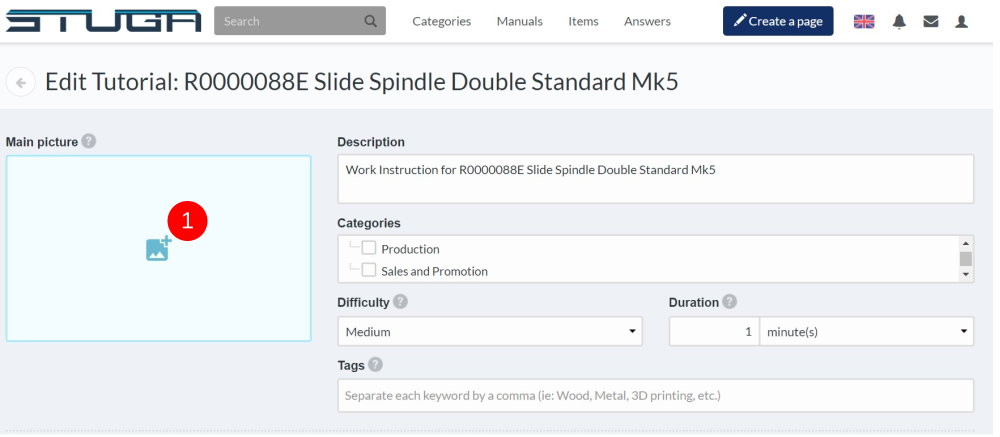
Étape 10 - Add the Main Picture - Step 1
Pictures are very important to Dokit, and a main picture gives the whole tutorial an identity. Each picture needs to be uploaded to dokit first. This process (in my opinion) takes far too many mouse clicks !!!
Click on the + icon on the main picture box
Étape 11 - Add the Main Picture - Upload
Click on Upload Tab on Media Gallery
Click on Select Files
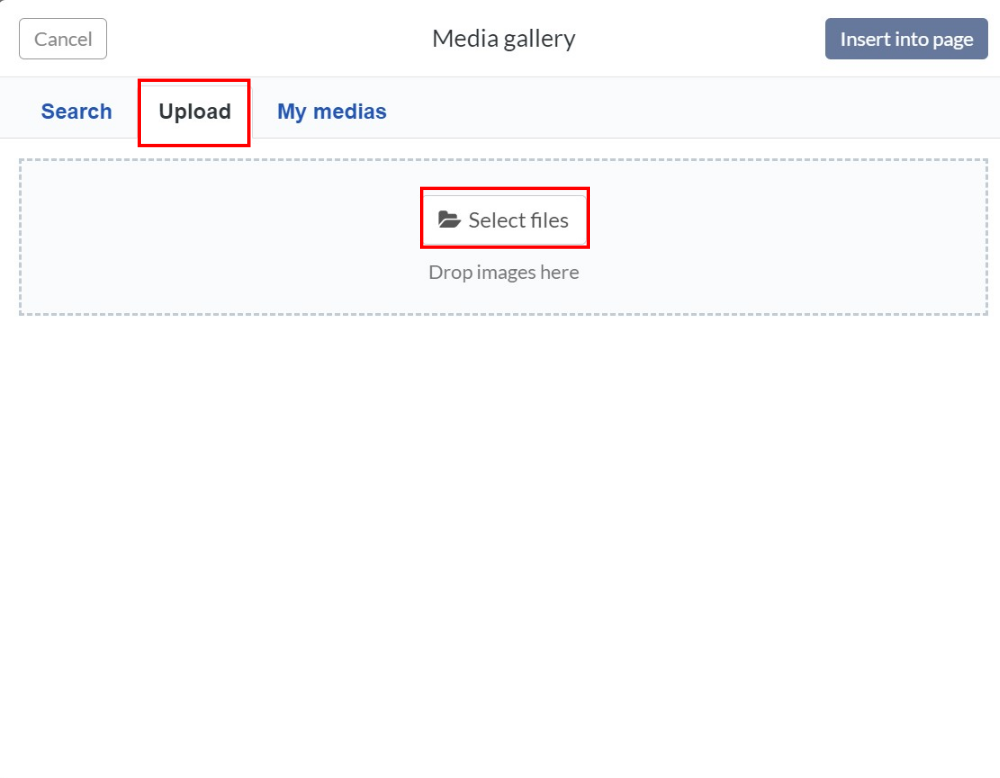
Navigate to the picture to upload. Most R numbers will have a thumbnail jpg saved in the general photos folder g:\photos

Étape 13 - Add the Main Picture - Upload this File
Click on 'Upload this File'

Étape 14 - Add the Main Picture - Click on Photo
Click on the Photo
Click on "Insert Into Page"

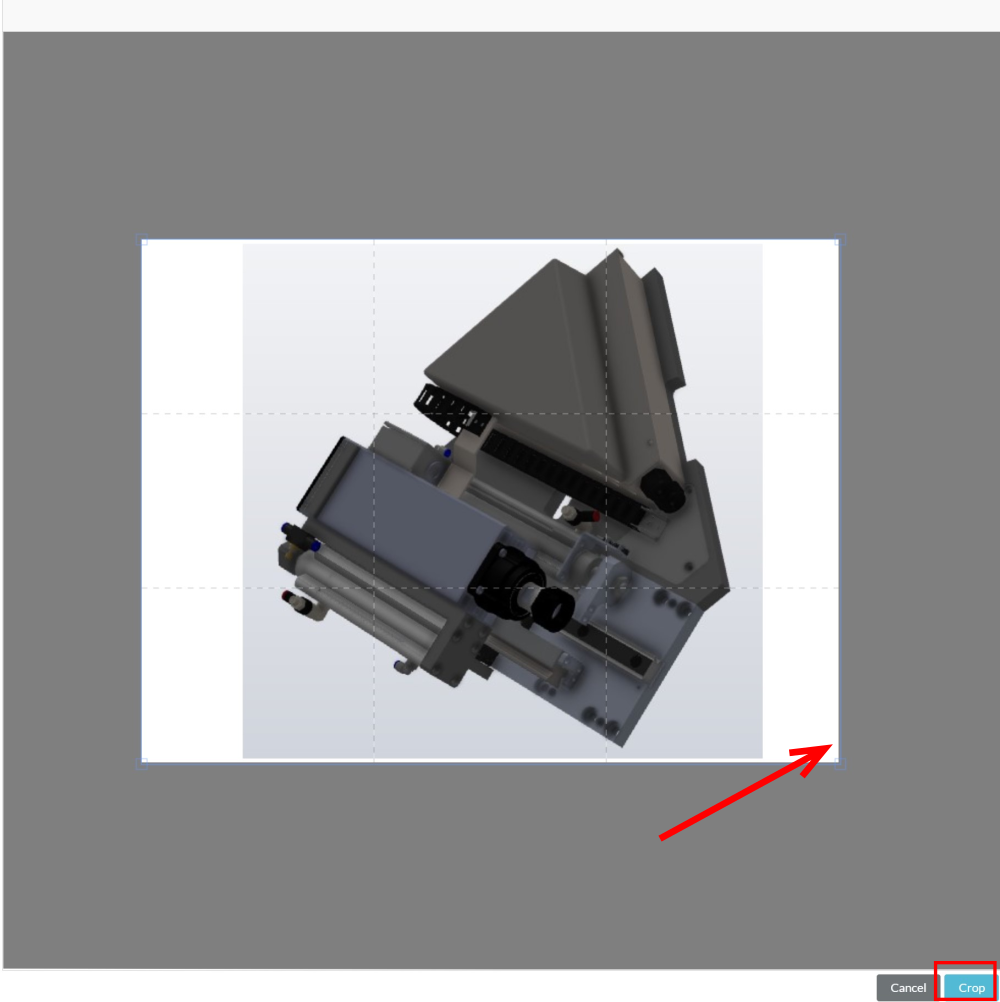
Étape 15 - Add the Main Picture - Crop and size
Crop the picture by dragging the window size handle and position the frame
Click Crop to finish
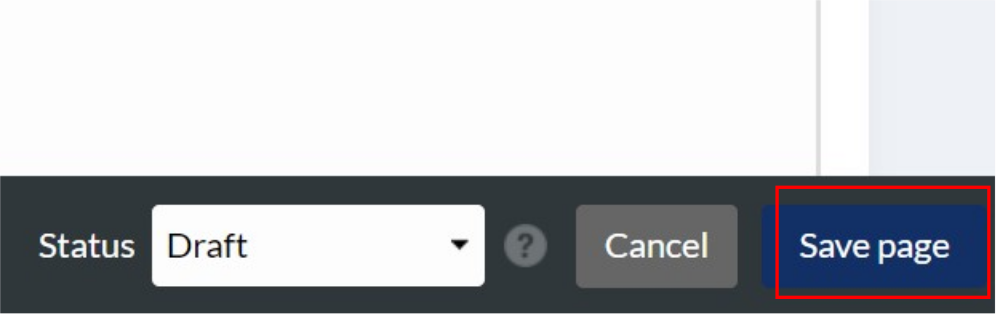
Étape 16 - Save
Don't forget to Click Save at the bottom of the page once the dokit has been created.
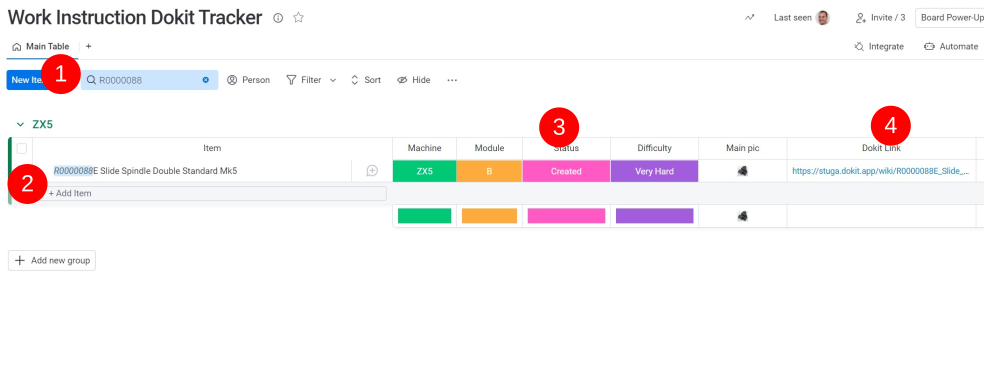
Étape 17 - Add to the Monday Work Instruction board
To keep organised, all the work instructions are being tracked on this board. This allows others to easily access it from a central place
- Search on this board to see if there is an entry already
- Copy and paste the title of the instruction if it does not exist
- Set the Status columns -
- Machine Type,
- Module,
- Status "Created"
- Difficulty - match the difficulty in the Dokit
- Copy and paste the internet address into the link column
Étape 18 - Edit the content
The Dokit entry is now saved in the system.
Follow
Dokit - Editing Work Instructions
To add some content
Draft
 Français
 English
 Deutsch
 Español
 Italiano
 Português