Weekly and Monthly Maintenance Procedures for Autoflow Gripper

Difficulté
Facile
Durée
30 minute(s)
Introduction
The following preventative maintenance tasks should be carried out regularly on the machine. The frequency depends on the machine use, but as a guide:
2-3 Shifts        Weekly
40 Hrs/Week       Bi-Weekly
20 Hrs/Week       Monthly
Étape 1 - Linear Slide Rails
Wipe away any excess oil, dirt or swarf. Apply oil lubricant and wipe of excess
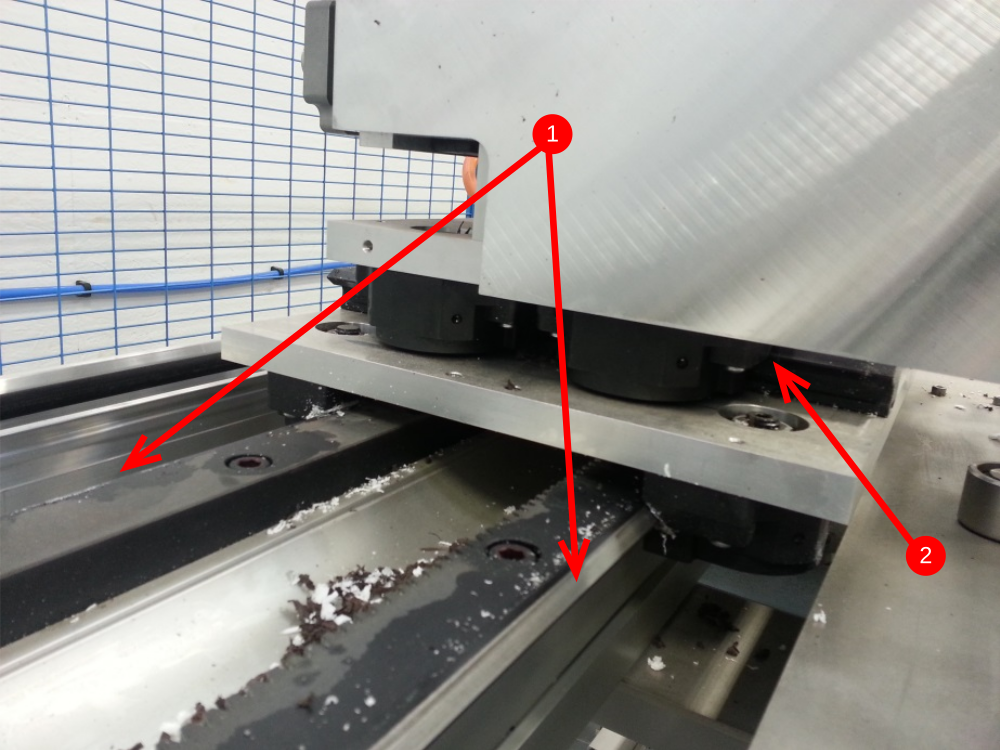
- Main X axis slideways
- GY Gripper Y axis Slideway
- GZ Gripper Z axis slideway
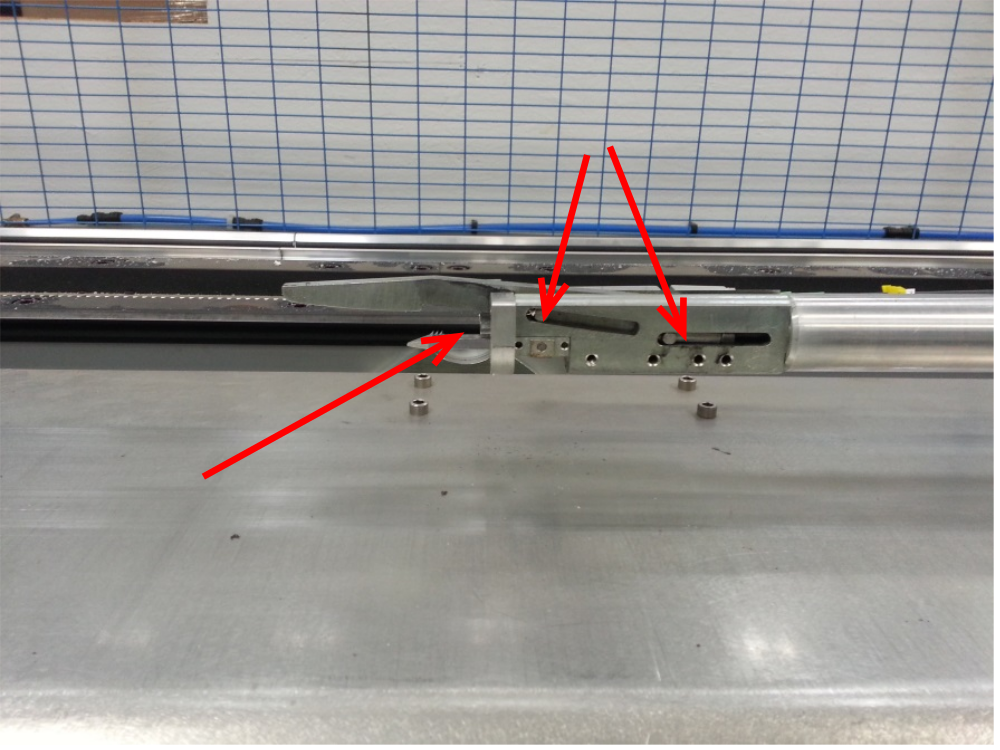
Étape 2 - Gripper finger
- clean away any swarf or excess oil from the mechanism; inspect gripper finger teeth for damage, wear or play
- visually check gripper finger teeth and shear pin for damage / wear
- clean away any excess swarf or oil, lightly oil pins for the movement mechanism with supplied oil
- Activate the gripper from the Service screen, ensure the gripper closes securely to 0.5mm-1mm

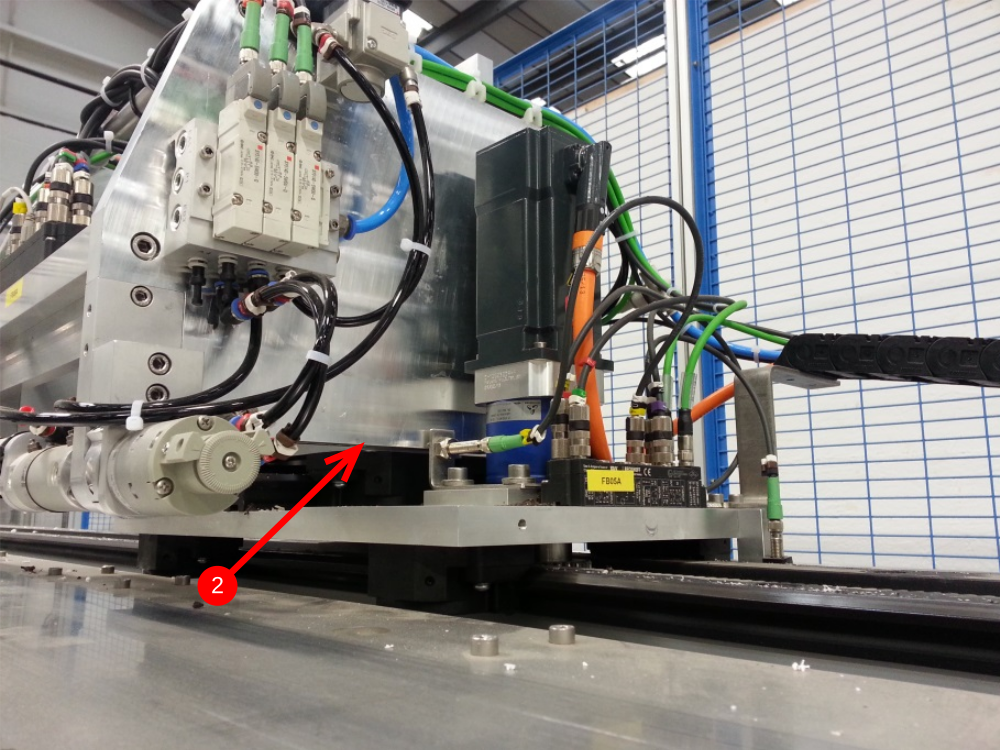
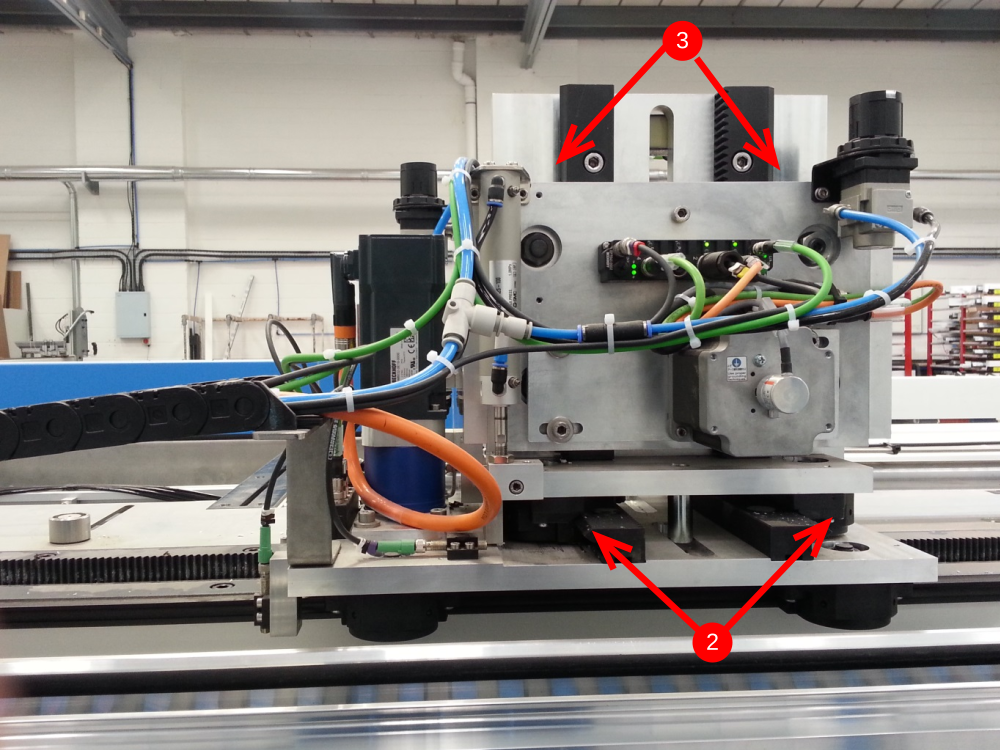
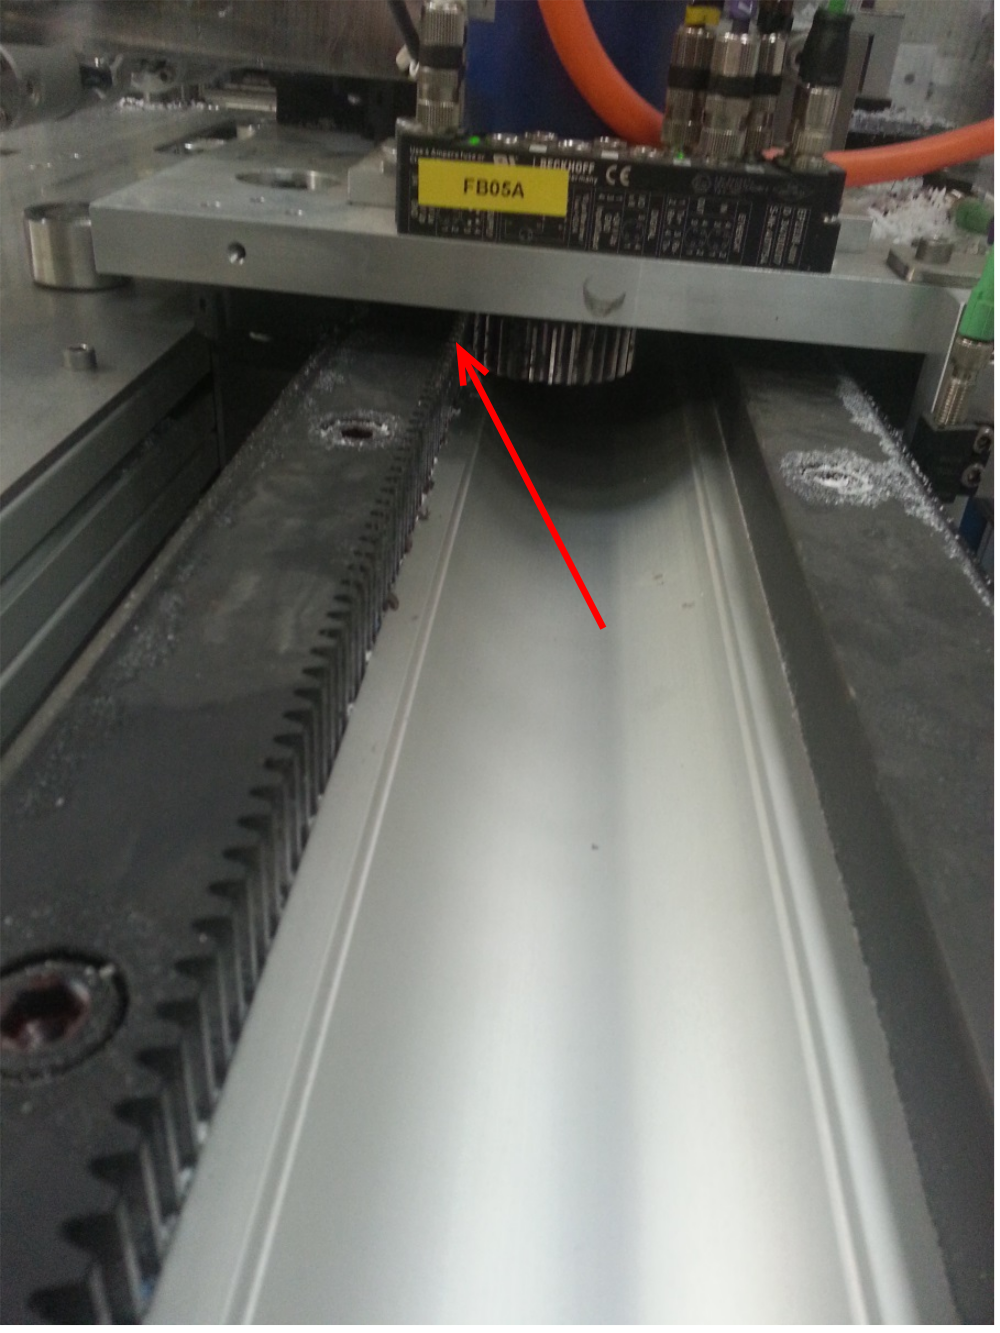
Étape 3 - Pinion Wheel and Rack
- Clean area of swarf
- visually check rack and pinion wheel for any damage, chips or cracks, remove any debris that may have become caught up in the teeth
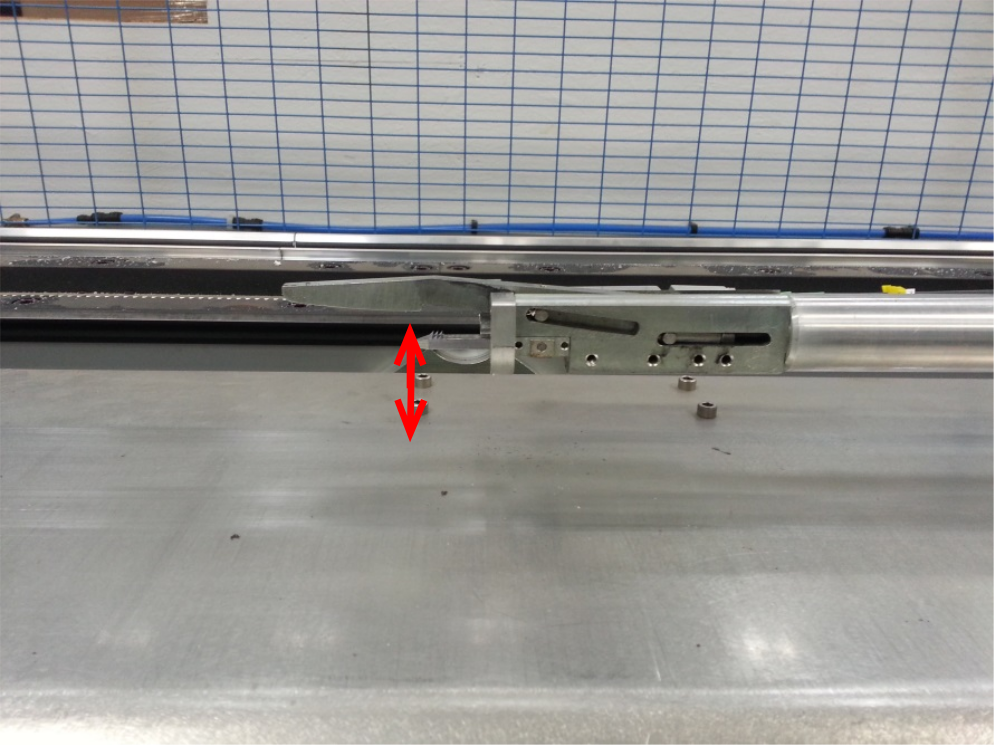
Étape 4 - Check Gripper Datum Position
The gripper GY and GZ position can become misaligned if there has been an impact with a stray offcut.
- Datum the machine
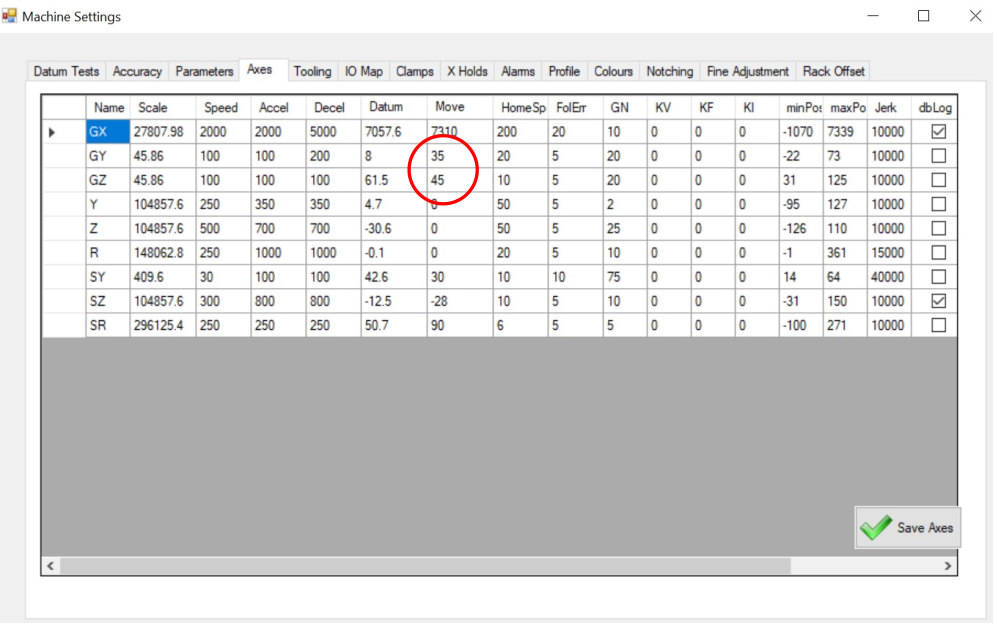
- Check the height of the centreline of the gripper teeth is within a millimetre of the GZ "Move" position in the parameter settings
- Check the same on GY
If these positions are very different, the gripper may not align with the openings on the profile. The gripper can be gently but firmly manhandled back into its correct position
Draft
 Français
 English
 Deutsch
 Español
 Italiano
 Português