| [version en cours de rédaction] | [version en cours de rédaction] |
(Page créée avec « {{Tuto Details |Description=<translate>How to change the depth and position of the V notch on a ZX5 machine</translate> |Categories=Maintenance |Difficulty=Very easy |Dura... ») |
|||
| Ligne 1 : | Ligne 1 : | ||
{{Tuto Details | {{Tuto Details | ||
| + | |Main_Picture=ZX5_Improvements_and_Upgrades_24872-print-132a.jpg | ||
| + | |Main_Picture_annotation={"version":"2.4.6","objects":[{"type":"image","version":"2.4.6","originX":"left","originY":"top","left":-249,"top":-403,"width":1600,"height":1067,"fill":"rgb(0,0,0)","stroke":null,"strokeWidth":0,"strokeDashArray":null,"strokeLineCap":"butt","strokeDashOffset":0,"strokeLineJoin":"miter","strokeMiterLimit":4,"scaleX":1.15,"scaleY":1.15,"angle":0,"flipX":false,"flipY":false,"opacity":1,"shadow":null,"visible":true,"clipTo":null,"backgroundColor":"","fillRule":"nonzero","paintFirst":"fill","globalCompositeOperation":"source-over","transformMatrix":null,"skewX":0,"skewY":0,"crossOrigin":"","cropX":0,"cropY":0,"src":"https://stuga.dokit.app/images/a/a8/ZX5_Improvements_and_Upgrades_24872-print-132a.jpg","filters":[]}],"height":450,"width":600} | ||
|Description=<translate>How to change the depth and position of the V notch on a ZX5 machine</translate> | |Description=<translate>How to change the depth and position of the V notch on a ZX5 machine</translate> | ||
|Categories=Maintenance | |Categories=Maintenance | ||
| Ligne 76 : | Ligne 78 : | ||
{{Notes}} | {{Notes}} | ||
{{PageLang | {{PageLang | ||
| + | |Language=en | ||
|SourceLanguage=none | |SourceLanguage=none | ||
|IsTranslation=0 | |IsTranslation=0 | ||
| − | |||
}} | }} | ||
{{Tuto Status | {{Tuto Status | ||
|Complete=Draft | |Complete=Draft | ||
}} | }} | ||
Version actuelle datée du 2 octobre 2019 à 12:09
How to change the depth and position of the V notch on a ZX5 machine

Difficulté
Très facile
Durée
2 minute(s)
Introduction
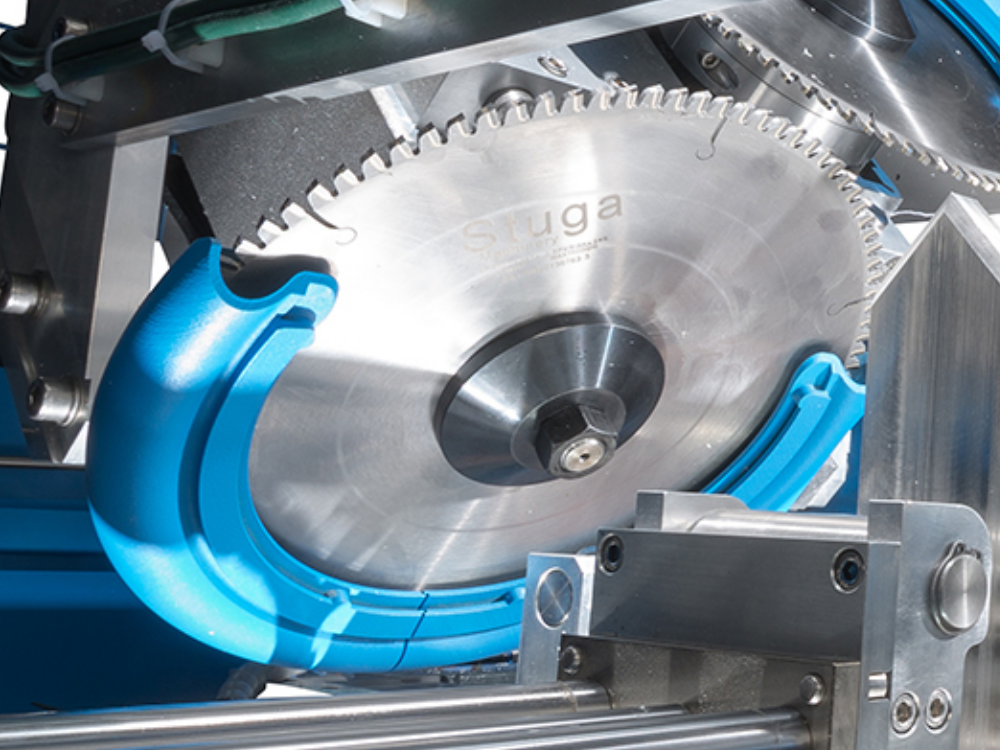
The ZX5 has a twin blade system for the V notches that is designed to be easier to set up.
The overall process is:
- Set the shape of the V notch (Mechanical adjustment)
- Set the Depth of the V notch (Software adjustment in Notching Tab)
- Set the Position of the V notch (Software adjustment in Notching Tab)
Étape 1 - Check the shape of the V notch
If the blades do not meet properly, or form a "W" shape, the mechanical setup is not correct. Please follow procedure:
https://stuga.dokit.app/wiki/ZX5_V_Notch_Blade_Mechanical_Setup

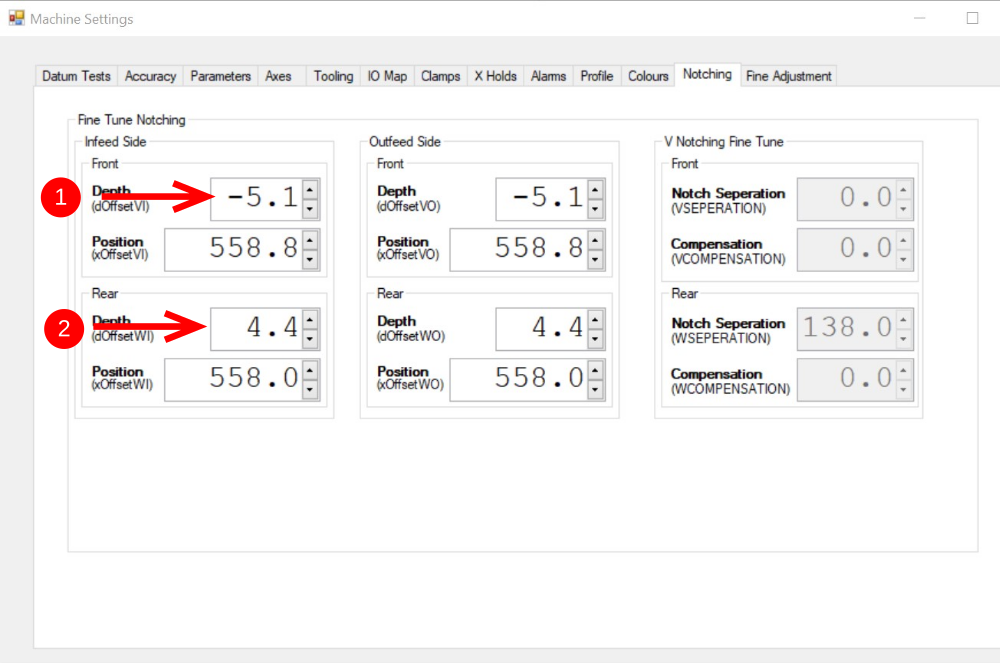
Étape 2 - Adjust the V Notch Depth
Open the 'Settings' screen and the 'Notching' tab
- For the front V Notches, the depth is adjusted by changing the dOffsetVI variable
- For the rear V Notches, the depth is adjusted by changing the dOffsetWI variable
+ will make the V notch deeper, - will make it shallower
Étape 3 - Check V notch position compared to Datum hole
Run a manual test with a shallow V notch and datum hole in the same x axis position
The goal is to adjust the 'xOffset' variable to get the datum hole and V notch to line up


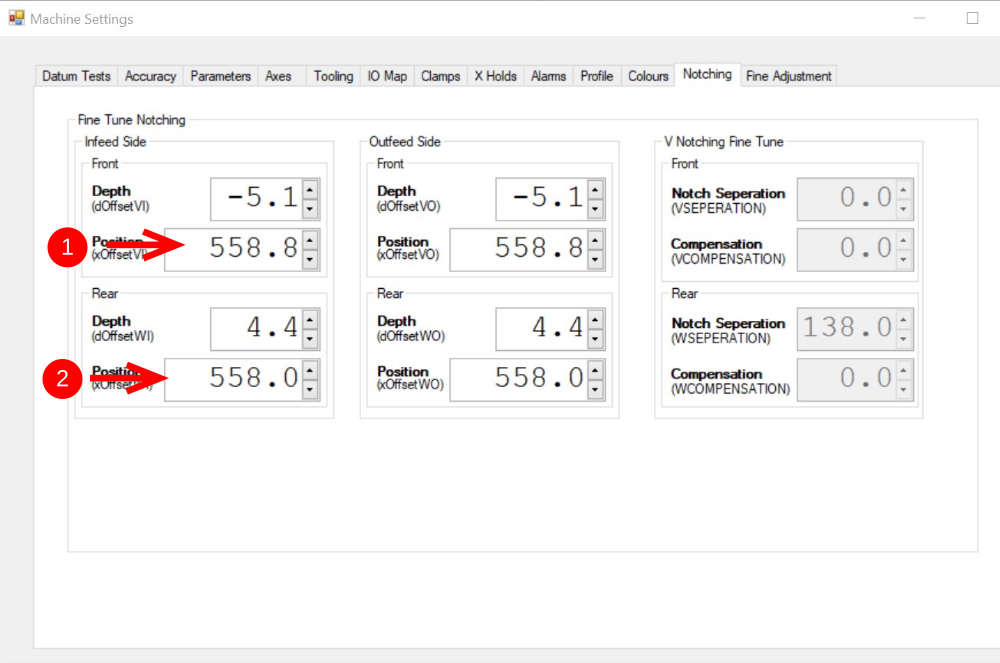
Étape 4 - Adjust the Position
Open the 'Settings' screen and the 'Notching' tab
- For the front V Notches, the position is adjusted by changing the xOffsetVI variable
- For the rear V Notches, the position is adjusted by changing the xOffsetWI variable
The direction of change will depend on the handing or feed direction of the machine:-
| Feed Direction | + Value | - Value |
|---|---|---|
| Right to Left | V Notch moves left | V Notch moves right |
| Left To Right (OH) | V Notch moves right | V Notch moves left |
Draft
 Français
 English
 Deutsch
 Español
 Italiano
 Português