How to set up a gripper on a Flowline Mk3 with a Toothed Gripper

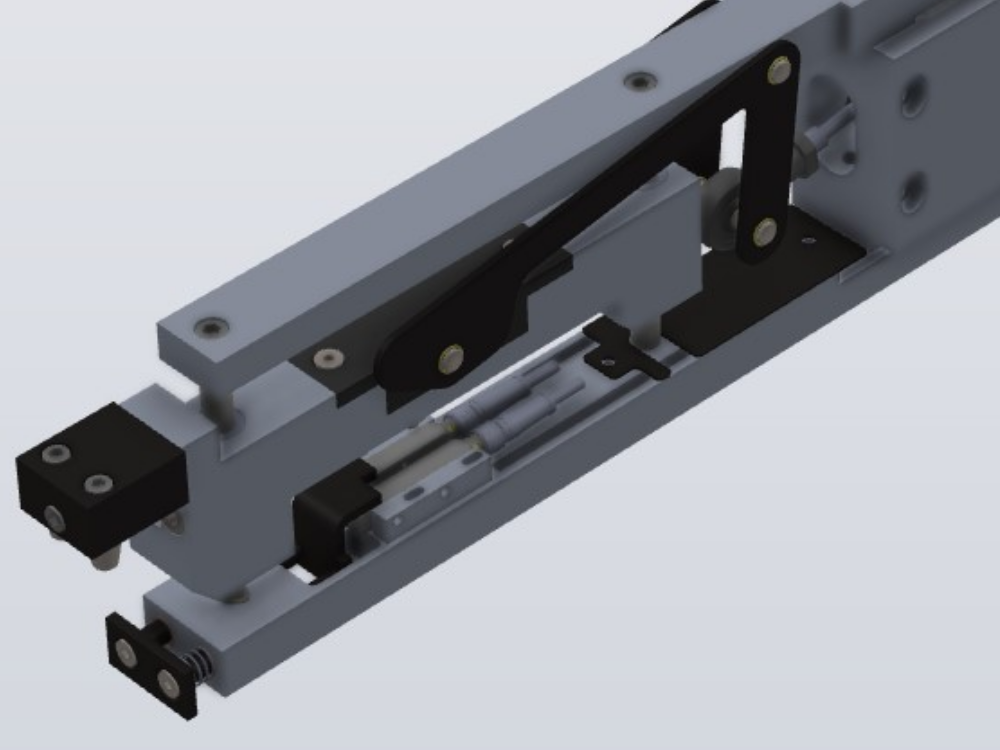
Mechanical Setup
This gripper design has two gripper switch inputs. This design was implemented to ensure the system can load a bar with an uneven or angled cut on the end. The sensors are activated by a long stroke on a spring, which has at least 10mm range of movement.
| Sensor | Function |
|---|---|
| Grip Min | Senses that a profile is gripped in the jaws. It should be active just after the spring is depressed |
| Grip Max | Activates when profile hits "end stop" of gripper mechanism whn loading. This ensures a reliable datum point. It should be active when the spring is fully depressed |
Software Process on Machining Centre side
| Step | Action | Notes |
|---|---|---|
| 1 | Move to loadingpos plus 5mm | |
| 2 | Wait for gripper max input | (completely bottom out gripper) |
| 3 | Wait for gripper to be within 0.25mm of expected position and 100ms to pass (to allow system to settle) | |
| 4 | Clutch and material load motor off | |
| 5 | Move to loadingpos | Pushes profile back to |
| 6 | Clutch on | holds profile steady |
| 7 | Wait for trim Pause | |
| 8 | Move x axis to loadingpos+200mm | Clear of tooling head |
| 9 | Run datum hole routine | |
| 10 | Move to loadingpos | |
| 11 | Grip | |
| 12 | Wait for grip on time | |
| 13 | Check that grip min switch is active | Ensure the bar is gripped |
| 14 | Grip lock on | Locks the gripper in its current position so it does not force the profile to "wheelie" |
Draft
 Français
 English
 Deutsch
 Español
 Italiano
 Português