Setting up the Hikvision cameras and recording system
Difficulté
Moyen
Durée
10 minute(s)
Sommaire
[masquer]
Introduction
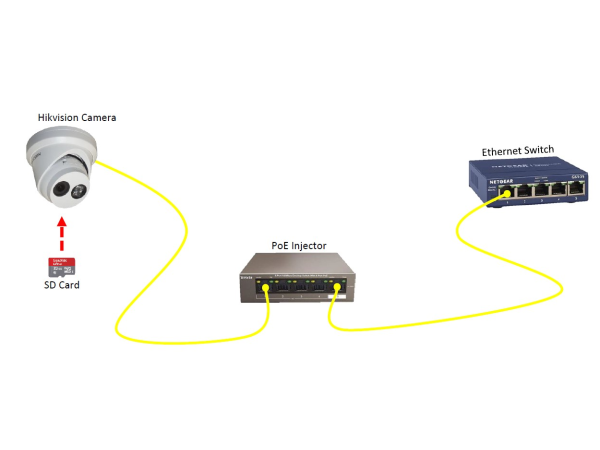
These are the Hikvision DS-2CD2343G0-I Cameras (C0001152) that will replace the obsolete UCAMs that have been used on previous machines.
Connected via a multi way PoE injector (C0001238).
And with SD card (C0001239).Étape 2 - Activate Camera
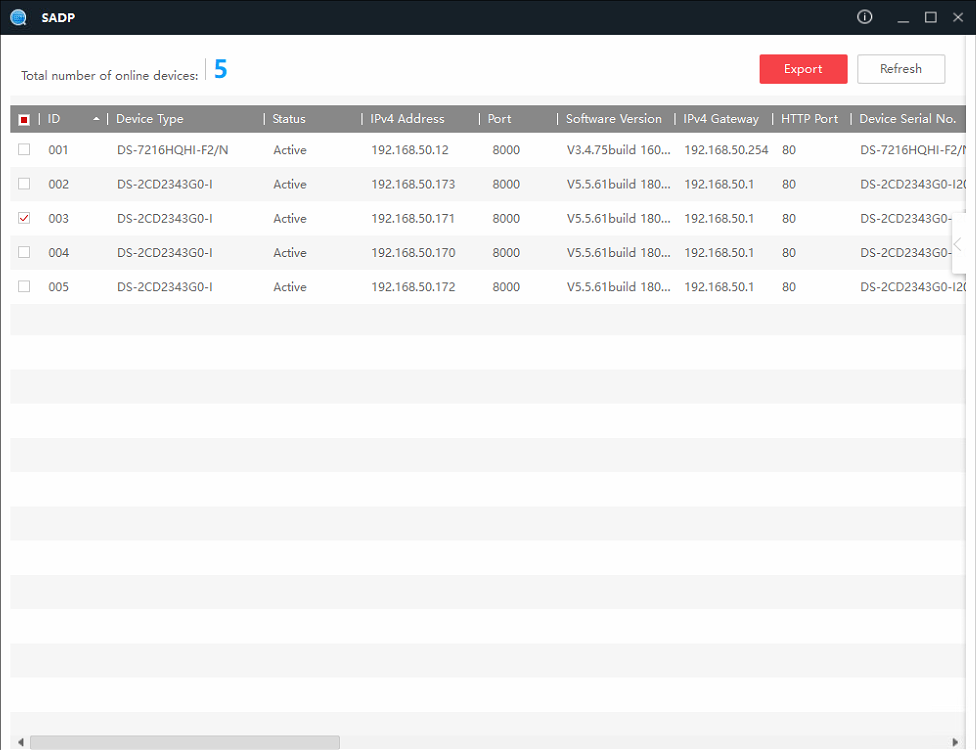
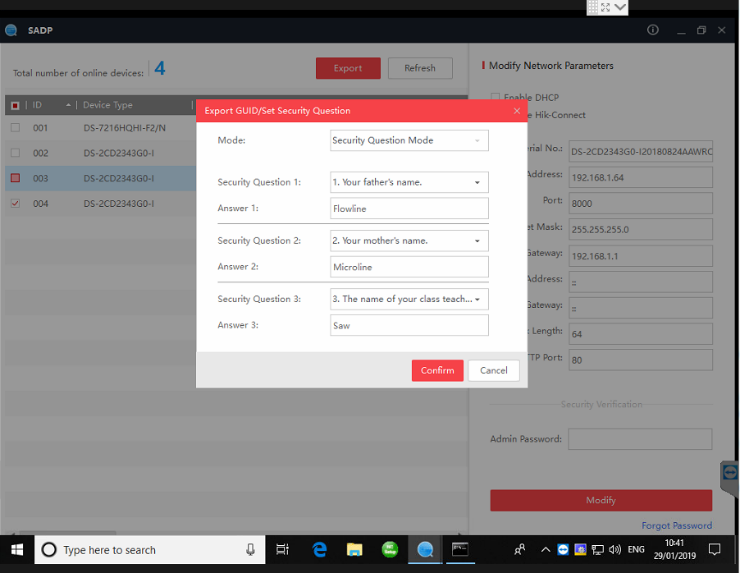
When open, the SADP Tool will display all Hikvision cameras on the connected network. If the IP address has not been modified before going to site the camera needs to be “Activated” , given a password (Stuga001) and an IP address set in an appropriate range (preferably given by the customer IT team). 3.Étape 4 - Open in Internet Explorer
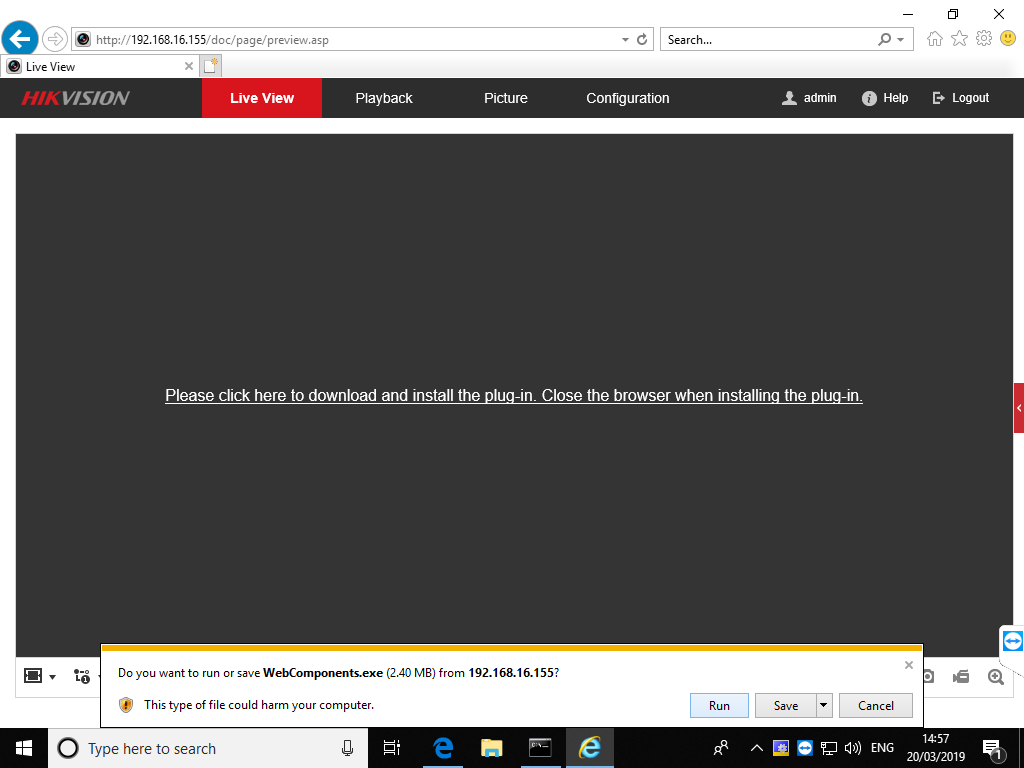
Using internet explorer (Not chrome or edge) type the IP address into the web address bar.
Étape 6 - Setup SD Card Storage
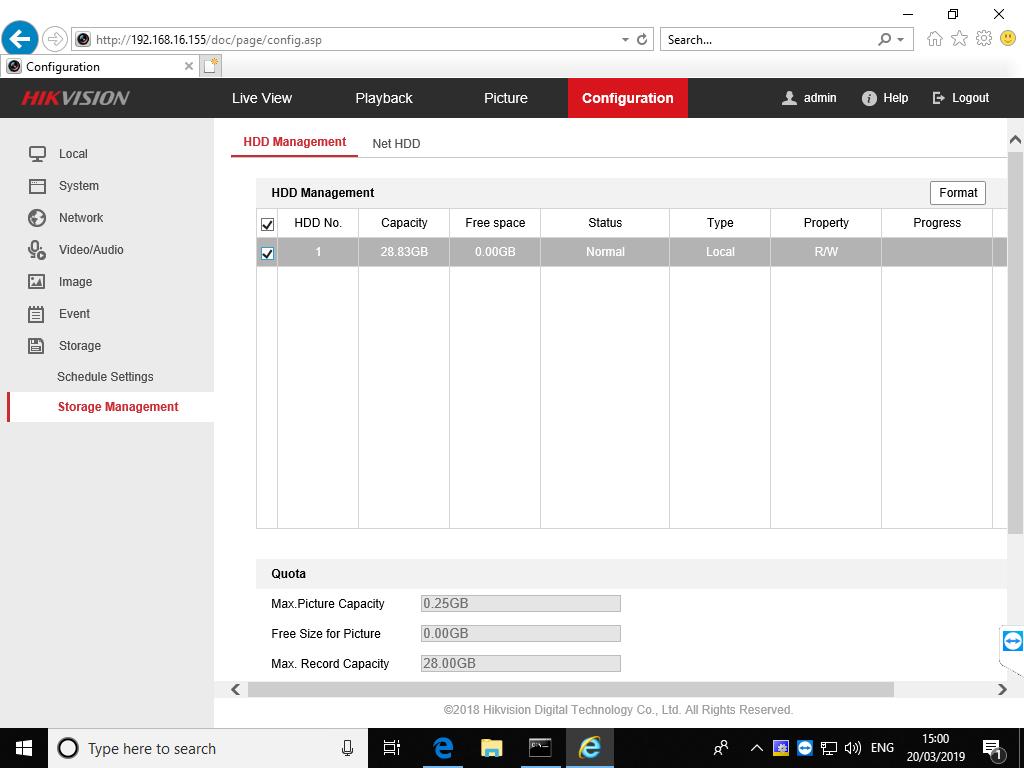
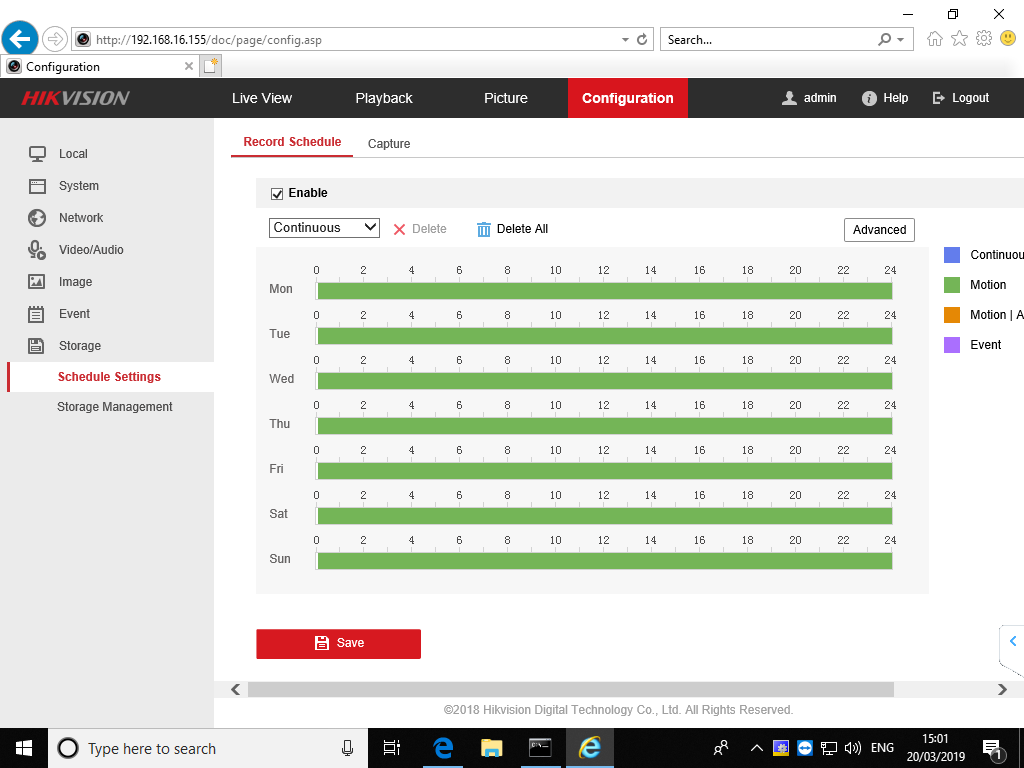
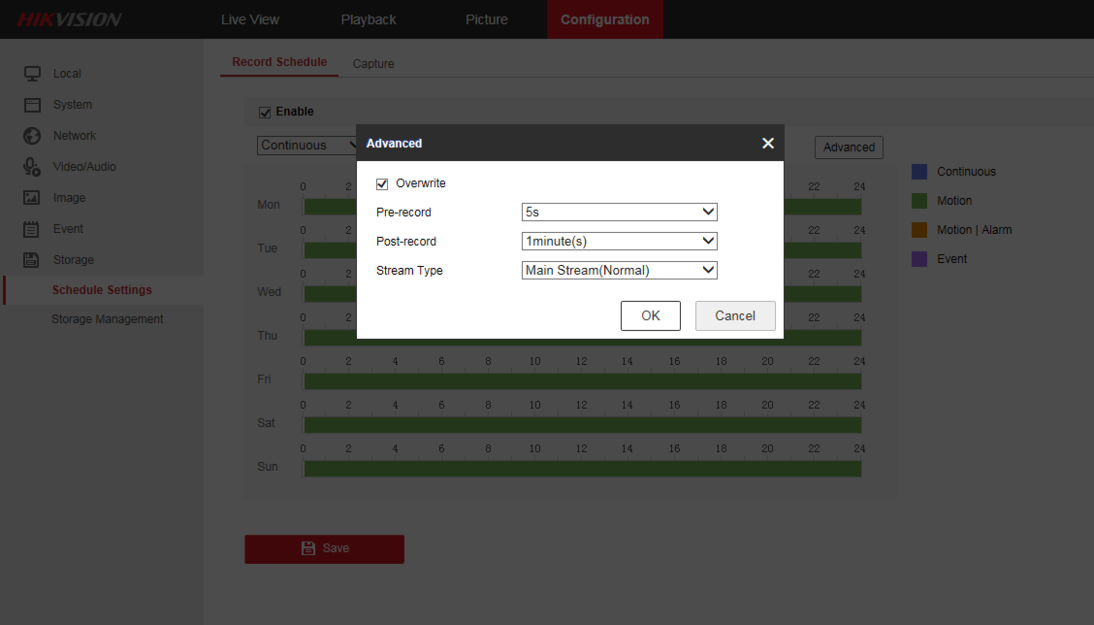
You will now have a live view of the camera on the “Live View” tab. Other tabs here are: “Playback” – used for viewing video footage recorded to the SD card; “Picture” – Will be unused by us but is used for viewing pictures captured to the SD card; “Configeration” – Where all settings are aultered such as SD card formatting and display labeling. Go to: Configeration > Storage > Storage Management > HDD Management If the SD card has been installed properly a memory store should be displayed in the HDD management window. Select this, then on the top right of the HDD Management click “Format”. Formatting may take up to 2 minuites. After this the SD card is ready to be written too. Press SAVEDraft

 Français
 English
 Deutsch
 Español
 Italiano
 Português