| [version en cours de rédaction] | [version en cours de rédaction] |
| Ligne 32 : | Ligne 32 : | ||
If the file does not exist, follow the procedure for installing the netedit software using a 'netsetgo' disk | If the file does not exist, follow the procedure for installing the netedit software using a 'netsetgo' disk | ||
| − | + | [[ACEpc Installing netedit with NetSetGo disk|https://stuga.dokit.app/wiki/ACEpc_Installing_netedit_with_NetSetGo_disk]]</translate> | |
| − | [ | ||
}} | }} | ||
{{Tuto Step | {{Tuto Step | ||
Version actuelle datée du 19 septembre 2019 à 17:34
Using the netedit program to change the IP address of an ACEpc running DOS software
Introduction
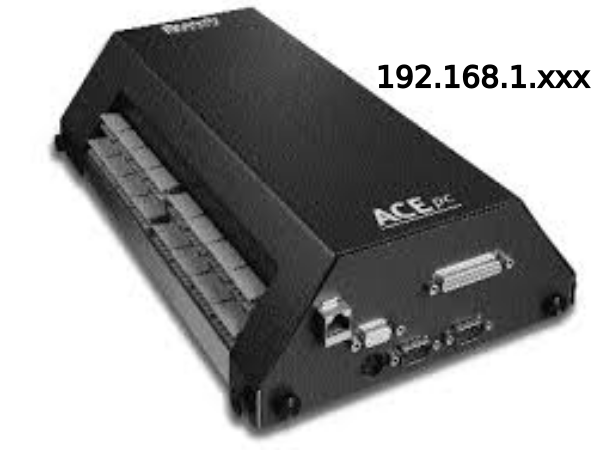
The ACEpcs use two different systems for connecting a network
- NETBeui - this was used on earlier machines but reliability depends on the customer network setup. Reconfiguration after initial setup is difficult
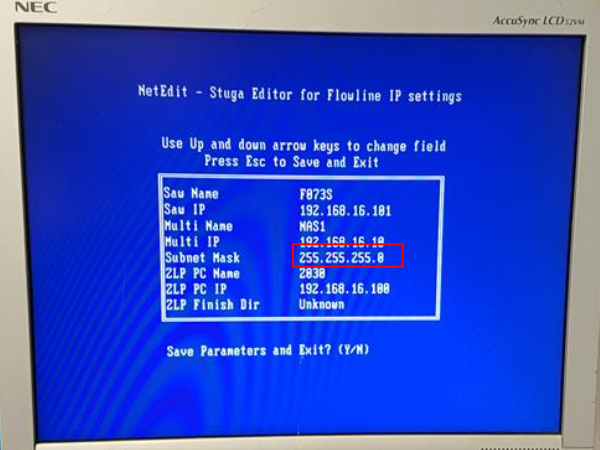
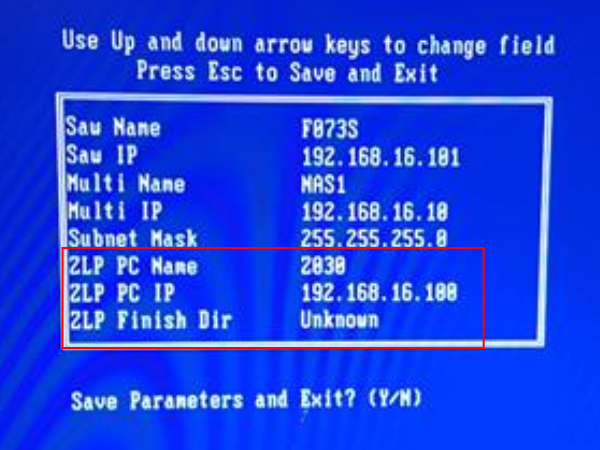
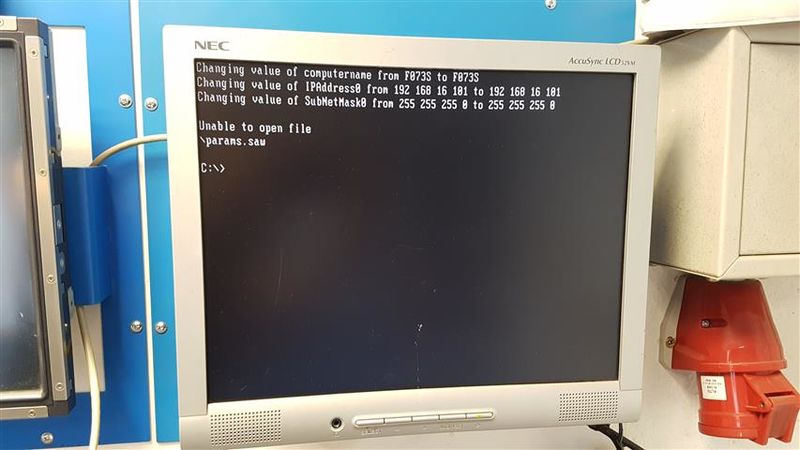
- IP addressing - A setup system was written using IP addresses to connect. This is a little harder to set up, but is easier to change later. A special program called netedit was written which updates all the correct files in the background
Étape 1 - Run NetEdit from command prompt
At DOS prompt, ensure you are on drive C: by typingc:
netedit
If the file does not exist, follow the procedure for installing the netedit software using a 'netsetgo' disk
https://stuga.dokit.app/wiki/ACEpc_Installing_netedit_with_NetSetGo_disk
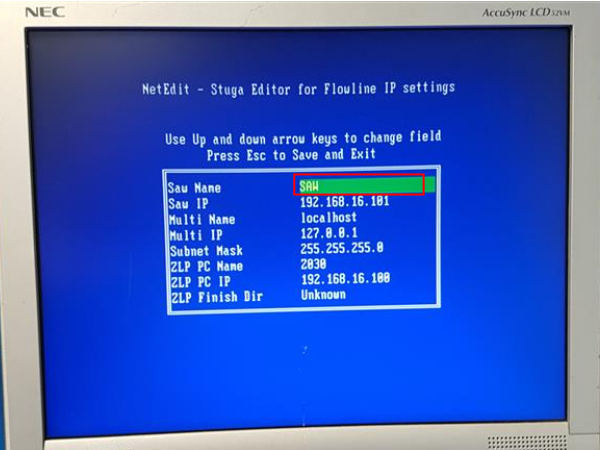
Étape 2 - Set the saw name
Build number must be unique. If a flowline saw put an "s" on the end. i.e. F073S
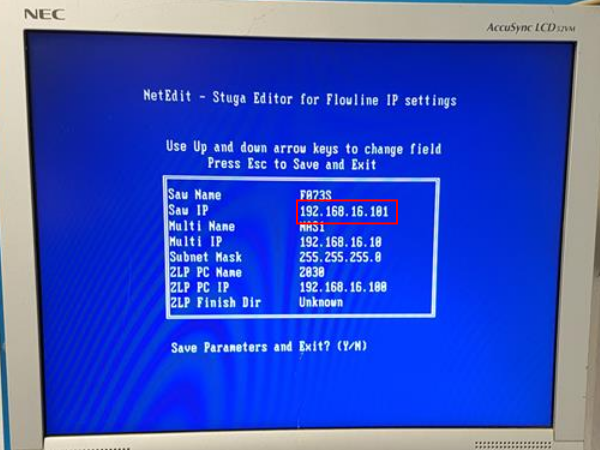
Étape 3 - Saw IP address
This is supplied by customer. IT department
If testing in house it needs to be on the 192.168.16.xxx range.
e.g 192.168.16.101
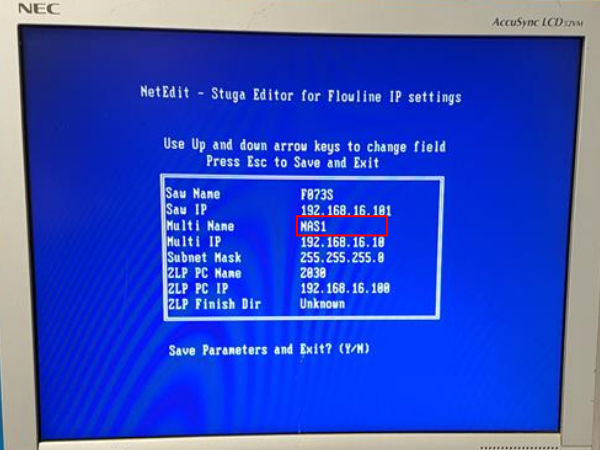
Étape 4 - Multi Name
If this is for a Flowline - Build Number of Flowline machining center
Otherwise this will be the net NETBEUI name of the pc you are connecting to.
For testing at stuga this will be NAS1
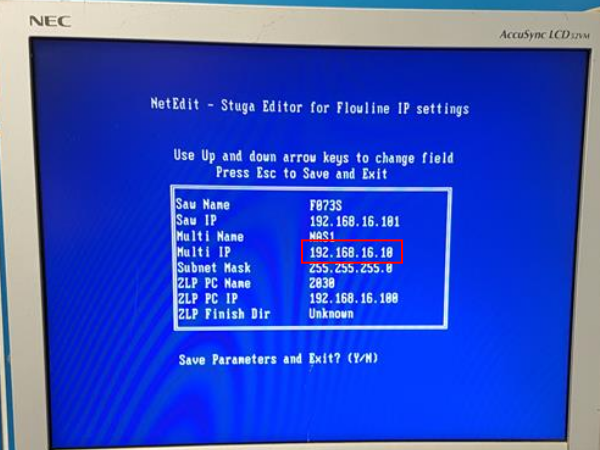
Étape 5 - Multi IP
If this is for a Flowline - IP Address of Flowline machining center
Otherwise this will be the IP address of the pc you are connecting to.
For testing at stuga this will be 192.168.16.6
Étape 9 - Remove Disk and reboot
Ensure the floppy disk is removed and reboot
Success will be seen if the machine boots into Drive D:
If the saw is connected to a flowline, the saw software should run automatically
Draft
 Français
 English
 Deutsch
 Español
 Italiano
 Português