| [version en cours de rédaction] | [version en cours de rédaction] |
(Page créée avec « {{Tuto Details |Description=<translate>How to install a Stuga Ecoline</translate> |Categories=Maintenance |Difficulty=Medium |Duration=4 |Duration-type=hour(s) }} {{Introd... ») |
|||
| (3 révisions intermédiaires par le même utilisateur non affichées) | |||
| Ligne 1 : | Ligne 1 : | ||
{{Tuto Details | {{Tuto Details | ||
| + | |Main_Picture=Ecoline_Site_Installation_Guide_Media_6-5409E17B-E436-4433-9DEC-337B536C4920.jpg | ||
|Description=<translate>How to install a Stuga Ecoline</translate> | |Description=<translate>How to install a Stuga Ecoline</translate> | ||
|Categories=Maintenance | |Categories=Maintenance | ||
| Ligne 21 : | Ligne 22 : | ||
{{Materials}} | {{Materials}} | ||
{{EPI}} | {{EPI}} | ||
| + | {{Tuto Step | ||
| + | |Step_Title=<translate>Forklift machine</translate> | ||
| + | |Step_Content=<translate>{{Warning|...The lifting balance point is not the centre of the machine - the centre of gravity is towards the maching head end}}{{Warning|...The machine weight is 2t, so an appropriate forklift is necessary}}</translate> | ||
| + | }} | ||
| + | {{Tuto Step | ||
| + | |Step_Title=<translate>Ensure services are in place</translate> | ||
| + | |Step_Content=<translate>Services Required | ||
| + | |||
| + | * '''Electrical''' - 16A 3ph + Neutral. The machine is supplied with a 32A Quick-Connect Socket | ||
| + | * '''Pneumatic''' - 10cfm 6 bar | ||
| + | * '''Network''' - Cat5e with internet access | ||
| + | {{Dont|...These services are vital for installation}}<br /></translate> | ||
| + | }} | ||
| + | {{Tuto Step | ||
| + | |Step_Title=<translate>Floor area</translate> | ||
| + | |Step_Content=<translate>{{Warning|...Ensure the floor area is level and clean of dirt and debris}}</translate> | ||
| + | }} | ||
| + | {{Tuto Step | ||
| + | |Step_Title=<translate>Health and Safety Checklist</translate> | ||
| + | |Step_Content=<translate>* Inform all personell in area that an installation is going on | ||
| + | * Lift and move the machine with 2 pallet trucks, rated capacity 2t | ||
| + | * 2 man lift is required to fit the infeed guard</translate> | ||
| + | }} | ||
| + | {{Tuto Step | ||
| + | |Step_Title=<translate>Machine Placing</translate> | ||
| + | |Step_Content=<translate>Allow adequate room around the machine for electrical door access</translate> | ||
| + | }} | ||
{{Tuto Step | {{Tuto Step | ||
|Step_Title=<translate>Plastic Feet</translate> | |Step_Title=<translate>Plastic Feet</translate> | ||
| − | |Step_Content=<translate></translate> | + | |Step_Content=<translate>The machine is supplied with plastic feed for the machine levelling bolts to sit on</translate> |
}} | }} | ||
{{Tuto Step | {{Tuto Step | ||
| Ligne 33 : | Ligne 61 : | ||
{{Tuto Step | {{Tuto Step | ||
|Step_Title=<translate>Pull infeed into place</translate> | |Step_Title=<translate>Pull infeed into place</translate> | ||
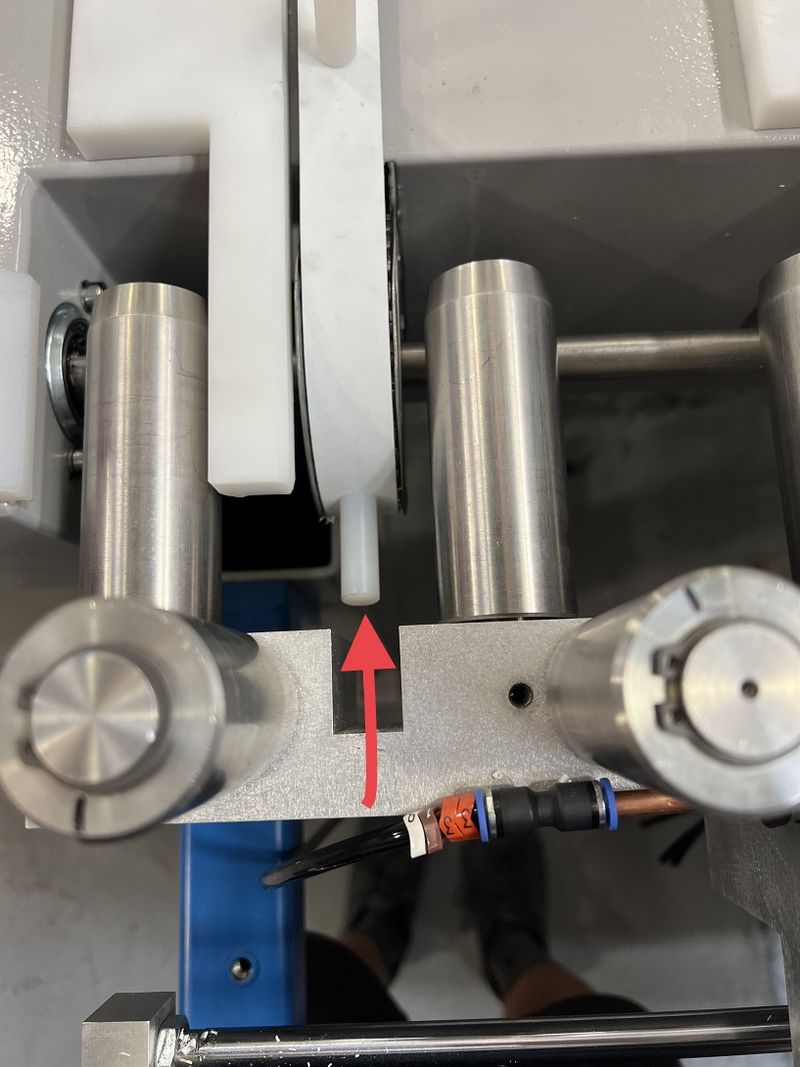
| − | |Step_Content=<translate>Ensure the pegs do not interfere with slots</translate> | + | |Step_Content=<translate>Ensure the pegs do not interfere with slots when they are at their 90 degree position, and that the table is not inserted "too deep" so the pegs bottom out |
| + | |||
| + | {{Info|...The photo here shows the infeed table position before it is pushed back to its correct position}}<br /></translate> | ||
|Step_Picture_00=Ecoline_Site_Installation_Guide_Media_1-0E0FE8EB-35B4-409C-8F55-37AB3D03BE6D.jpg | |Step_Picture_00=Ecoline_Site_Installation_Guide_Media_1-0E0FE8EB-35B4-409C-8F55-37AB3D03BE6D.jpg | ||
}} | }} | ||
{{Tuto Step | {{Tuto Step | ||
|Step_Title=<translate>Level Infeed</translate> | |Step_Title=<translate>Level Infeed</translate> | ||
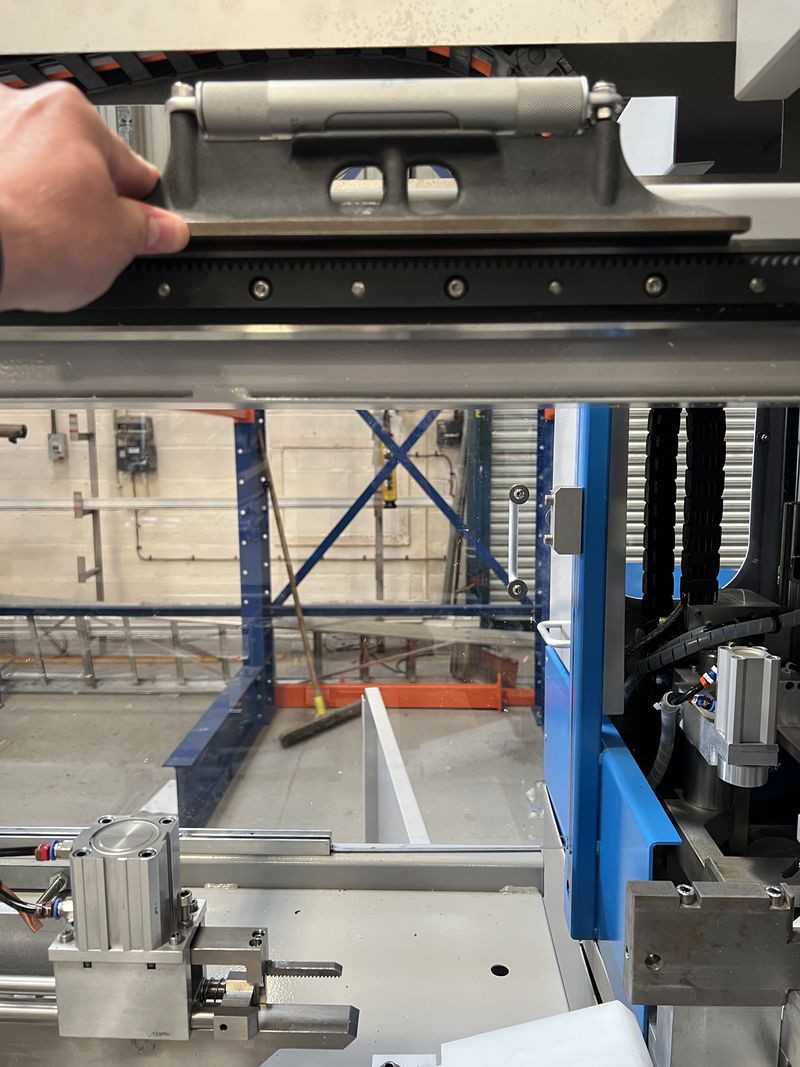
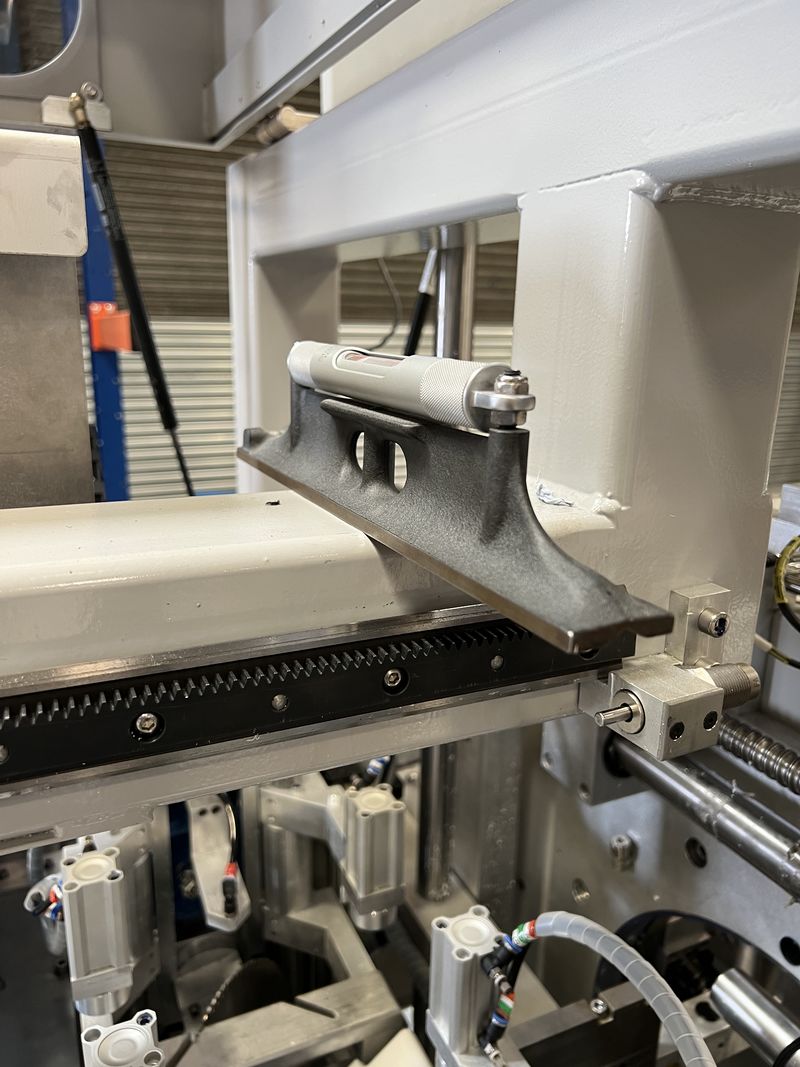
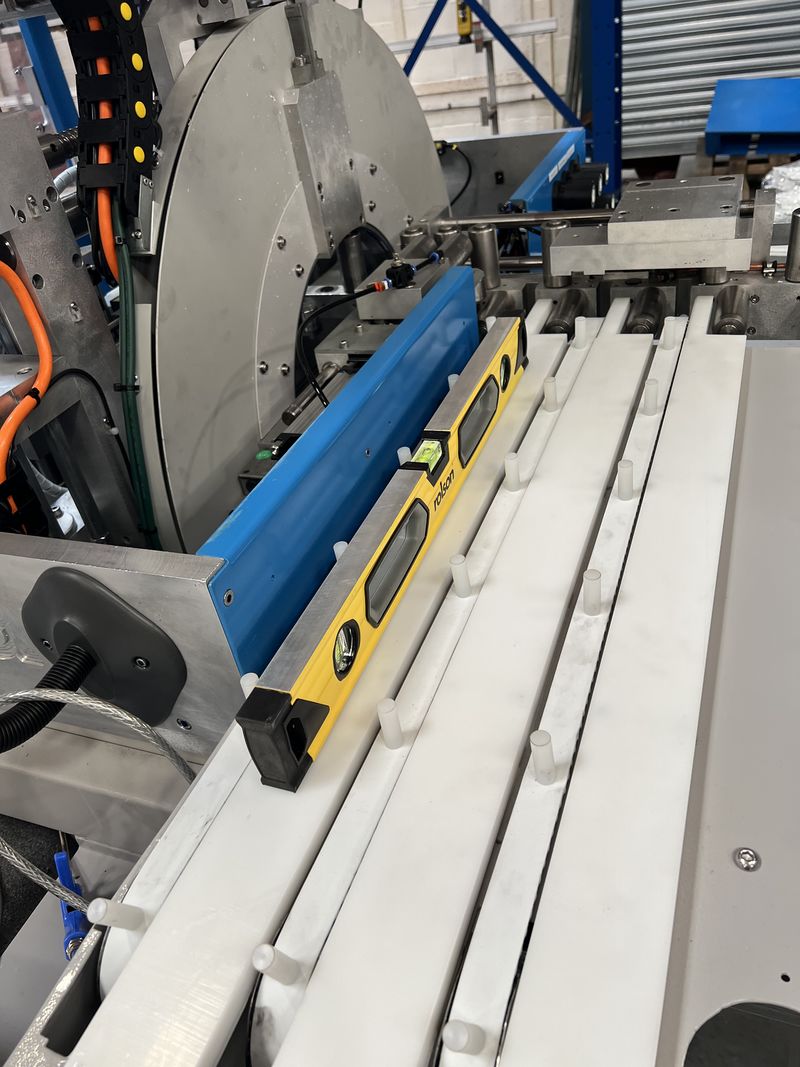
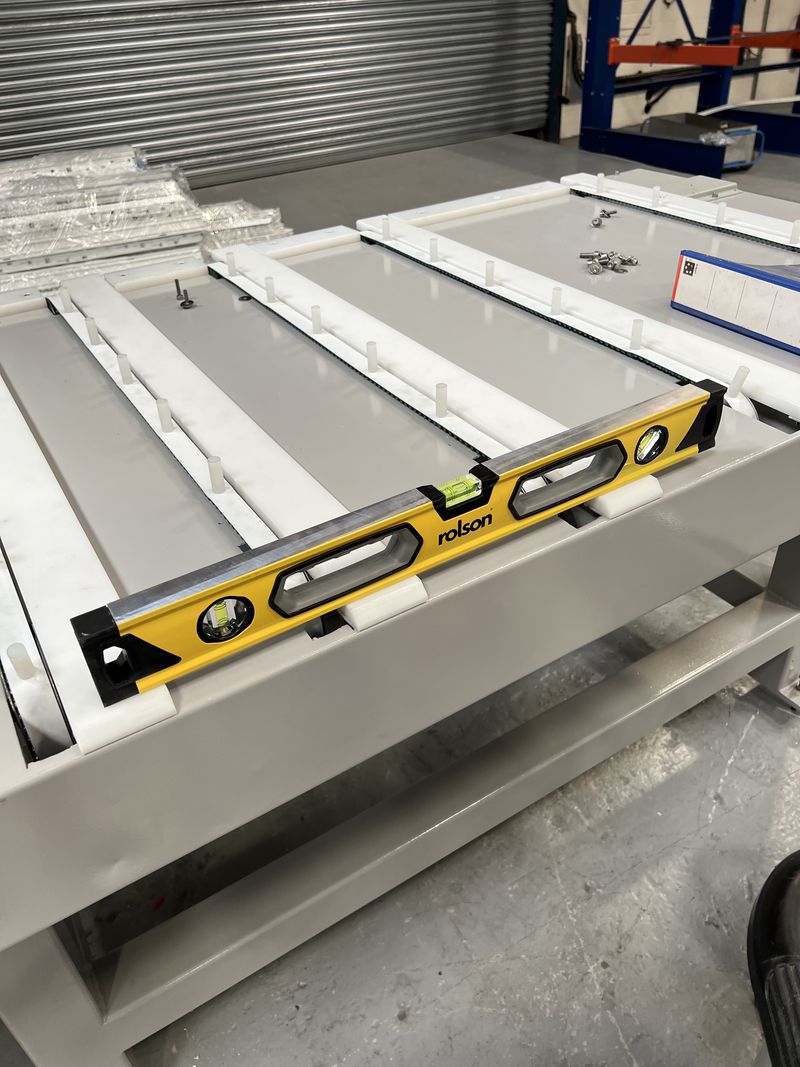
| − | |Step_Content=<translate></translate> | + | |Step_Content=<translate>Machine should be levelled to within 1mm in 1000mm</translate> |
|Step_Picture_00=Ecoline_Site_Installation_Guide_Media_2-678DD68D-D1C0-4873-9A30-236304B5023D.jpg | |Step_Picture_00=Ecoline_Site_Installation_Guide_Media_2-678DD68D-D1C0-4873-9A30-236304B5023D.jpg | ||
|Step_Picture_01=Ecoline_Site_Installation_Guide_Media_1-0FB5A43B-46CB-4EF1-9B35-5251F730A8CE.jpg | |Step_Picture_01=Ecoline_Site_Installation_Guide_Media_1-0FB5A43B-46CB-4EF1-9B35-5251F730A8CE.jpg | ||
| Ligne 47 : | Ligne 77 : | ||
|Step_Picture_00=Ecoline_Site_Installation_Guide_Media_1-6D47323E-70FB-4B8F-915B-C1CB80B5EB35.jpg | |Step_Picture_00=Ecoline_Site_Installation_Guide_Media_1-6D47323E-70FB-4B8F-915B-C1CB80B5EB35.jpg | ||
|Step_Picture_00_annotation={"version":"2.4.6","objects":[{"type":"image","version":"2.4.6","originX":"left","originY":"top","left":-3,"top":-430,"width":1284,"height":2778,"fill":"rgb(0,0,0)","stroke":null,"strokeWidth":0,"strokeDashArray":null,"strokeLineCap":"butt","strokeDashOffset":0,"strokeLineJoin":"miter","strokeMiterLimit":4,"scaleX":0.47,"scaleY":0.47,"angle":0,"flipX":false,"flipY":false,"opacity":1,"shadow":null,"visible":true,"clipTo":null,"backgroundColor":"","fillRule":"nonzero","paintFirst":"fill","globalCompositeOperation":"source-over","transformMatrix":null,"skewX":0,"skewY":0,"crossOrigin":"","cropX":0,"cropY":0,"src":"https://stuga.dokit.app/images/f/f7/Ecoline_Site_Installation_Guide_Media_1-6D47323E-70FB-4B8F-915B-C1CB80B5EB35.jpg","filters":[]}],"height":450.2857142857143,"width":600} | |Step_Picture_00_annotation={"version":"2.4.6","objects":[{"type":"image","version":"2.4.6","originX":"left","originY":"top","left":-3,"top":-430,"width":1284,"height":2778,"fill":"rgb(0,0,0)","stroke":null,"strokeWidth":0,"strokeDashArray":null,"strokeLineCap":"butt","strokeDashOffset":0,"strokeLineJoin":"miter","strokeMiterLimit":4,"scaleX":0.47,"scaleY":0.47,"angle":0,"flipX":false,"flipY":false,"opacity":1,"shadow":null,"visible":true,"clipTo":null,"backgroundColor":"","fillRule":"nonzero","paintFirst":"fill","globalCompositeOperation":"source-over","transformMatrix":null,"skewX":0,"skewY":0,"crossOrigin":"","cropX":0,"cropY":0,"src":"https://stuga.dokit.app/images/f/f7/Ecoline_Site_Installation_Guide_Media_1-6D47323E-70FB-4B8F-915B-C1CB80B5EB35.jpg","filters":[]}],"height":450.2857142857143,"width":600} | ||
| + | }} | ||
| + | {{Tuto Step | ||
| + | |Step_Title=<translate>Connect the infeed connections</translate> | ||
| + | |Step_Content=<translate>* Air Pipes | ||
| + | * Material Load Sensor | ||
| + | * Barcode Reader</translate> | ||
| + | }} | ||
| + | {{Tuto Step | ||
| + | |Step_Title=<translate>Ensure the top guard clears the infeed pull / grip assembly</translate> | ||
| + | |Step_Content=<translate></translate> | ||
}} | }} | ||
{{Notes}} | {{Notes}} | ||
{{PageLang | {{PageLang | ||
| + | |Language=en | ||
|SourceLanguage=none | |SourceLanguage=none | ||
|IsTranslation=0 | |IsTranslation=0 | ||
| − | |||
}} | }} | ||
{{Tuto Status | {{Tuto Status | ||
|Complete=Draft | |Complete=Draft | ||
}} | }} | ||
Version actuelle datée du 12 août 2022 à 11:16
How to install a Stuga Ecoline
Difficulté
Moyen
Durée
4 heure(s)
Sommaire
- 1 Introduction
- 2 Video d'introduction
- 3 Étape 1 - Forklift machine
- 4 Étape 2 - Ensure services are in place
- 5 Étape 3 - Floor area
- 6 Étape 4 - Health and Safety Checklist
- 7 Étape 5 - Machine Placing
- 8 Étape 6 - Plastic Feet
- 9 Étape 7 - Level Main Frame
- 10 Étape 8 - Pull infeed into place
- 11 Étape 9 - Level Infeed
- 12 Étape 10 - Ensure Roller Height clears Plastic
- 13 Étape 11 - Connect the infeed connections
- 14 Étape 12 - Ensure the top guard clears the infeed pull / grip assembly
- 15 Commentaires
Introduction
Installation of an Ecoline is quite straight-forward as all of the main levelling and alignment is taken care of inside the main module housing.
Installation involves 3 steps
- Levelling main module
- Attaching and Levelling Infeed Frame
- Refitting Infeed cover
Vimeo
Étape 1 - Forklift machine
Étape 2 - Ensure services are in place
Services Required
- Electrical - 16A 3ph + Neutral. The machine is supplied with a 32A Quick-Connect Socket
- Pneumatic - 10cfm 6 bar
- Network - Cat5e with internet access
Étape 3 - Floor area
Étape 4 - Health and Safety Checklist
- Inform all personell in area that an installation is going on
- Lift and move the machine with 2 pallet trucks, rated capacity 2t
- 2 man lift is required to fit the infeed guard
Étape 5 - Machine Placing
Allow adequate room around the machine for electrical door access
Étape 6 - Plastic Feet
The machine is supplied with plastic feed for the machine levelling bolts to sit on
Étape 8 - Pull infeed into place
Ensure the pegs do not interfere with slots when they are at their 90 degree position, and that the table is not inserted "too deep" so the pegs bottom out
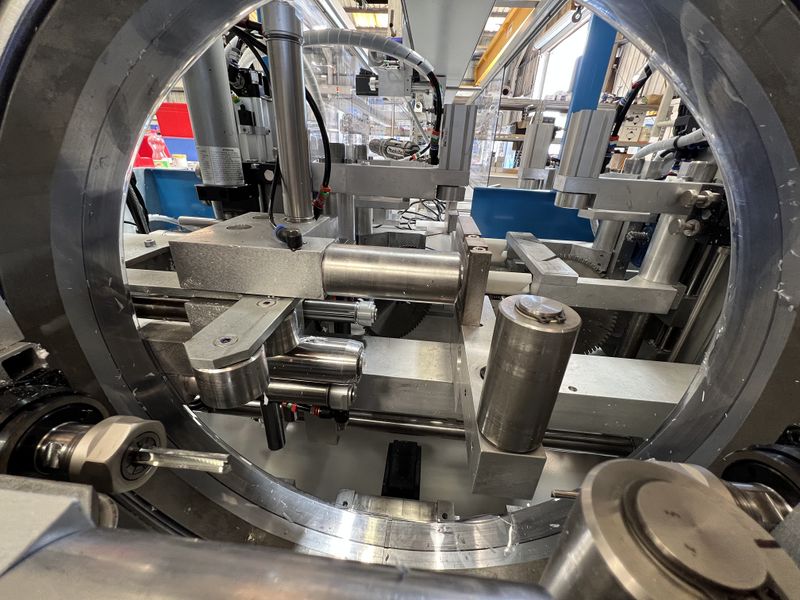
Étape 10 - Ensure Roller Height clears Plastic
This is what the taper on the roller approach is for - to raise the profile onto the rollers
Étape 11 - Connect the infeed connections
- Air Pipes
- Material Load Sensor
- Barcode Reader
Étape 12 - Ensure the top guard clears the infeed pull / grip assembly
Draft

 Français
 English
 Deutsch
 Español
 Italiano
 Português