Updating the network drivers to allow EtherCAT compatibility

Difficulté
Facile
Durée
10 minute(s)
Sommaire
- 1 Introduction
- 2 Étape 1 - Scan Devices
- 3 Étape 2 - Check drivers
- 4 Étape 3 - Open the Network and Sharing Center
- 5 Étape 4 - Click Change Adapter Settings
- 6 Étape 5 - Check which is IO Port
- 7 Étape 6 - Run TcRteInstall.exe
- 8 Étape 7 - Find Adaptor
- 9 Étape 8 - Wait for install
- 10 Étape 9 - Scan Devices again
- 11 Étape 10 - EtherCAT device now listed
- 12 Commentaires
Introduction
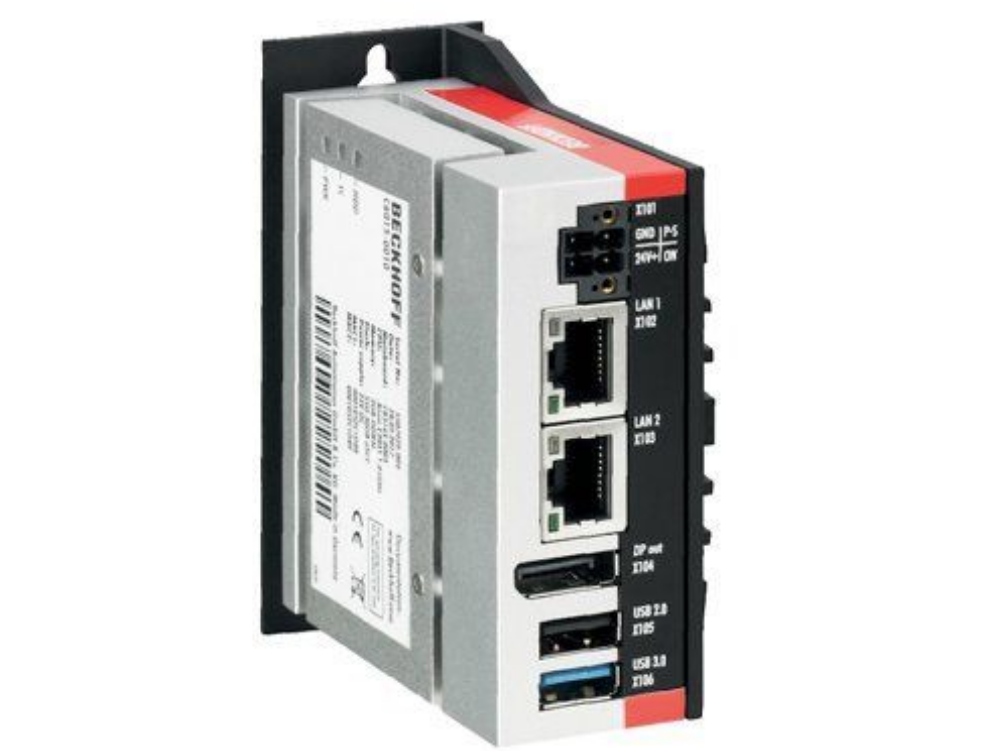
On the 6015 PC, it is often supplied without EtherCAT drivers.
This tutorial describes how to install the drivers on a specific port to allow a "Device" to be found when scanning in a Visual Studio ProjectÉtape 1 - Scan Devices

Étape 2 - Check drivers
If you have I/O connected but do not see a device with (EtherCAT) then check that the drivers have been installed.

Étape 3 - Open the Network and Sharing Center

Étape 4 - Click Change Adapter Settings

Étape 5 - Check which is IO Port
The ethernet connection should be connected to the top port - this should display "Connected"
The I/O (EtherCAT) port should be the other one.
Rename this adaptor "EtherCAT"
Étape 6 - Run TcRteInstall.exe
Open file explorer and navigate to C:\TwinCAT\3.1\System and open TcRteInstall.exe

Étape 7 - Find Adaptor
You should see the relevant adapter (Whatever name you gave it in step5 - Ethernet 2 in this instance) under Compatible devices, select it and click the Install button.

Étape 8 - Wait for install
After a brief pause you should see the adapter move to Installed and ready to use devices

Étape 9 - Scan Devices again

Étape 10 - EtherCAT device now listed
you should now see an EtherCAT device in the new I/O found list

Draft
 Français
 English
 Deutsch
 Español
 Italiano
 Português