instructions to assemble motor assembly

Difficulté
Moyen
Durée
1 heure(s)
Sommaire
- 1 Introduction
- 2 Étape 1 - Unless otherwise stated
- 3 Étape 2 - Cut chute Flap
- 4 Étape 3 - Assemble chute flap
- 5 Étape 4 - Prepare conduit
- 6 Étape 5 - Attach fixed end brackets
- 7 Étape 6 - Tap Holes in Motor R-L and L-R Machine positions
- 8 Étape 7 - Mount connection box R-L
- 9 Étape 8 - Mount connection box L-R
- 10 Étape 9 - Secure lid
- 11 Étape 10 - Orientate Motor box
- 12 Étape 11 - Attach conduit mount
- 13 Étape 12 - Attach conduit to motor
- 14 Commentaires
Introduction
Tool Required
Standard hex key set
Standard spanner set
Cutting disc
Standard hand taps
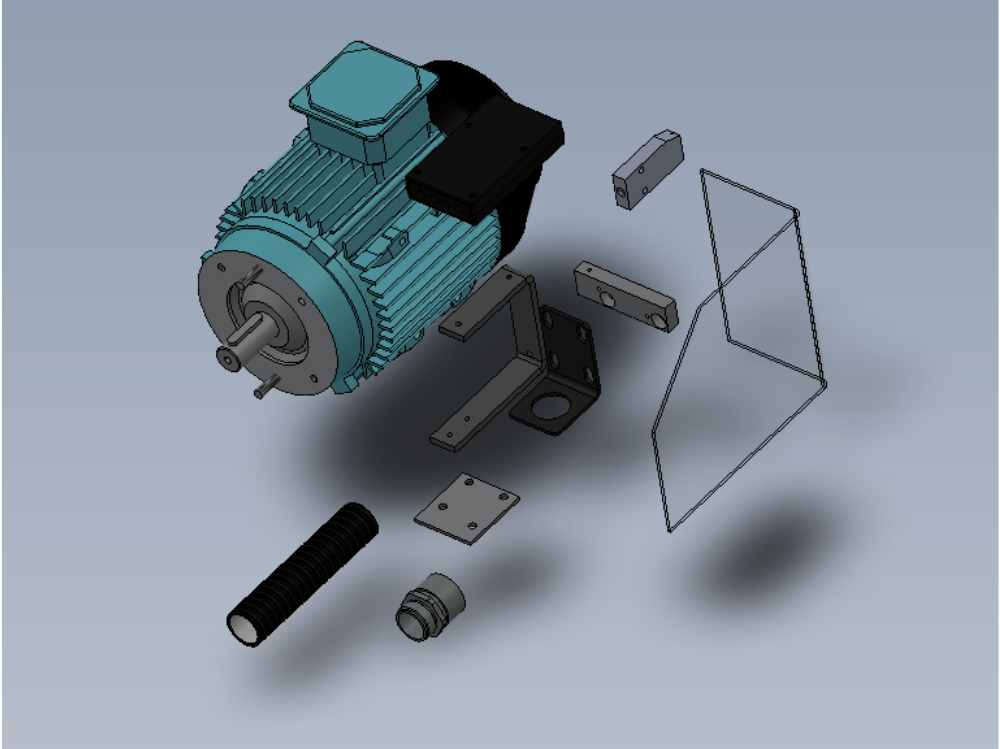
Parts Required
A0000013 32mm Conduit Adaptorx 1
A0000027 Flexible Conduit Ø32mm x 1
D0004079 Saw Motor (Modified Front Flange) x 1
D0004437 Motor Conduit Bracket x 2
D0004835 Flex conduit plate x 1
D0004997 Connector Support Block (5360) x 1
D0004999 Reed Switch Terminal Box x 1
D0005219 Turntable Nozzle x 1
D0008198 Chute Flap x 1
H0008200 Chute Flap Bracket x 1
P0000295 Elbow Adaptor 6mm - 1/8 BSPT (Metal type) x 1
Étape 1 - Unless otherwise stated
All bolts to have Loctite 243 adhesive applied unless otherwise stated
All Threaded Pneumatic connections to have Loctite 570 applied
All bolts to be pen marked once adhesive applied and correct tension added

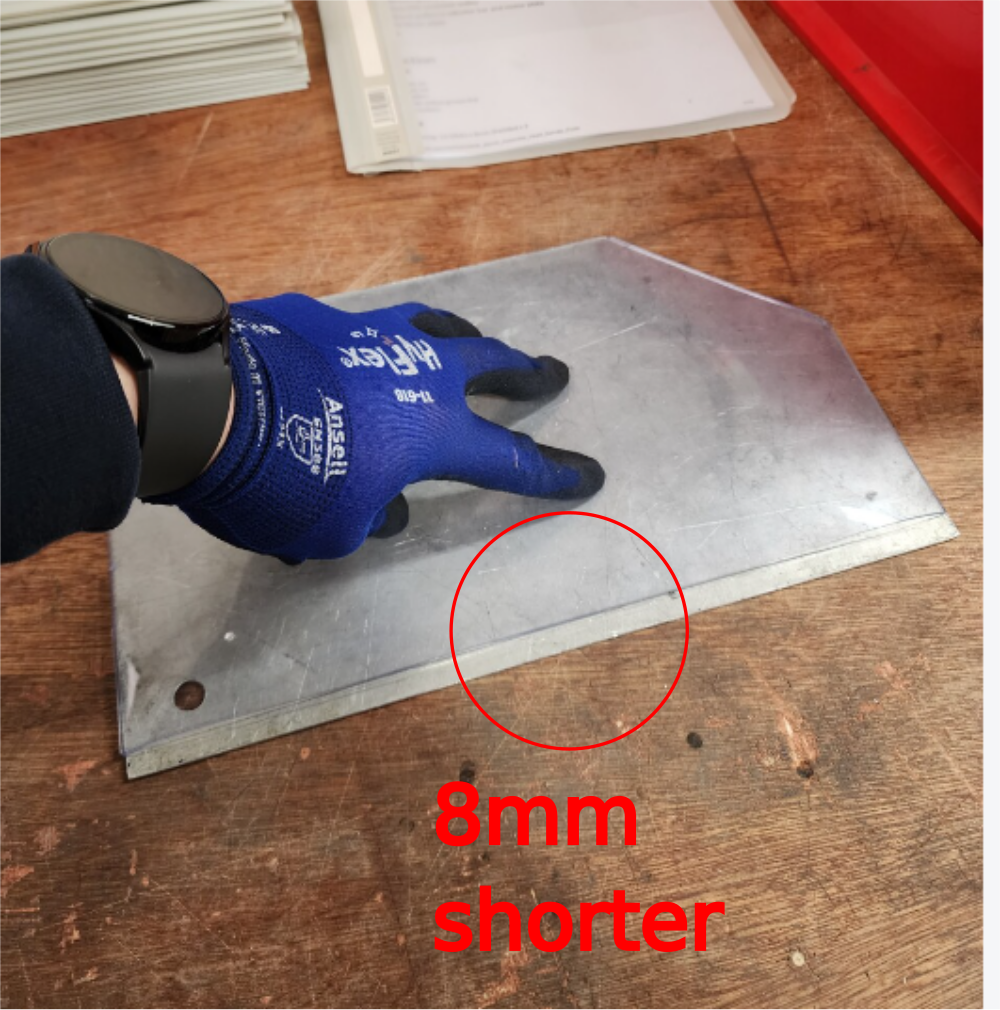
Étape 2 - Cut chute Flap
Use jig to cut safety flap
Remove additional 8mm from bottom of cut piece as shown once cut
(Jig requires amending to new correct size -8mm)


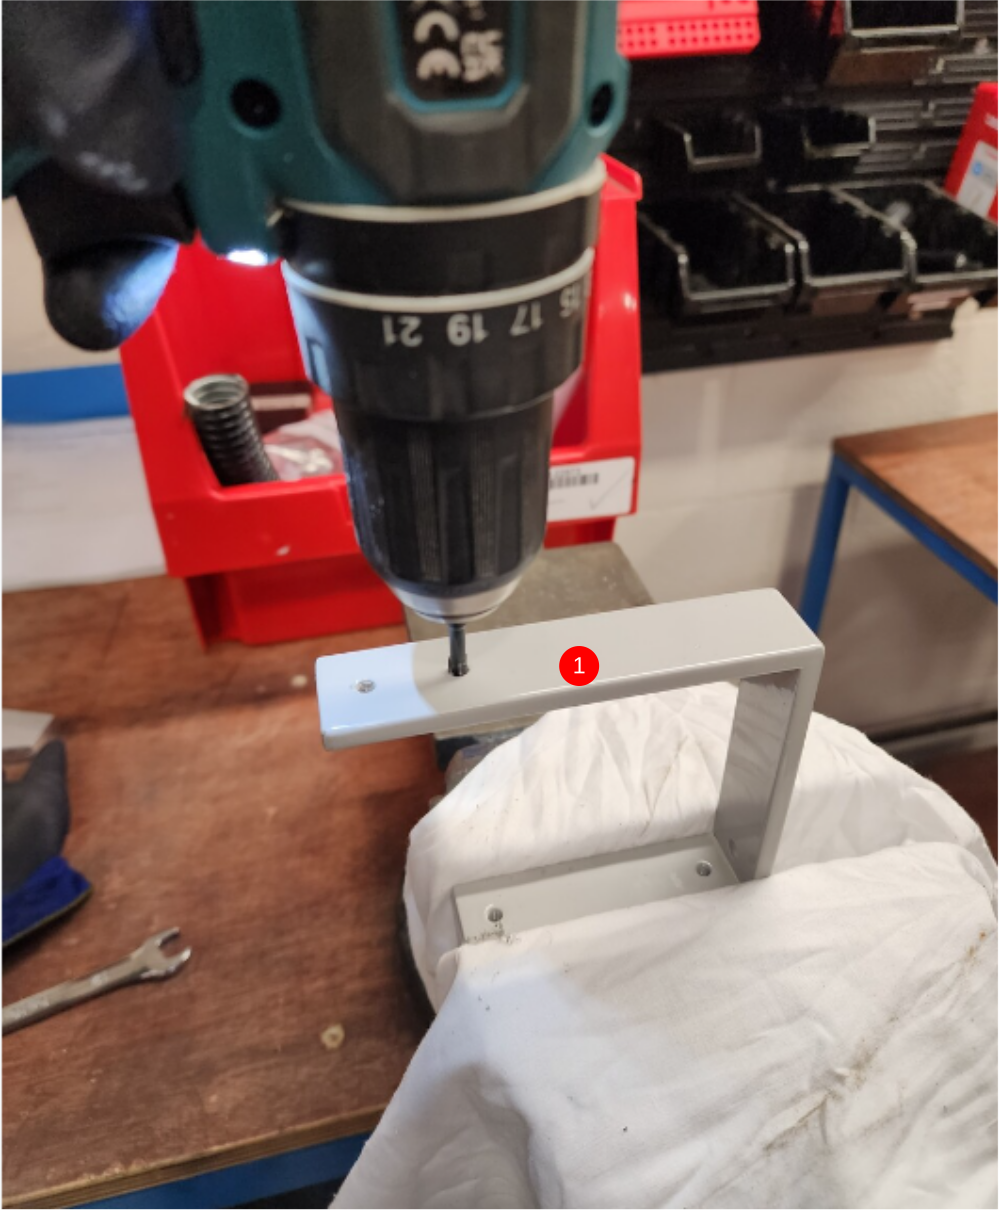
Étape 3 - Assemble chute flap
1 tap holes in chute bracket
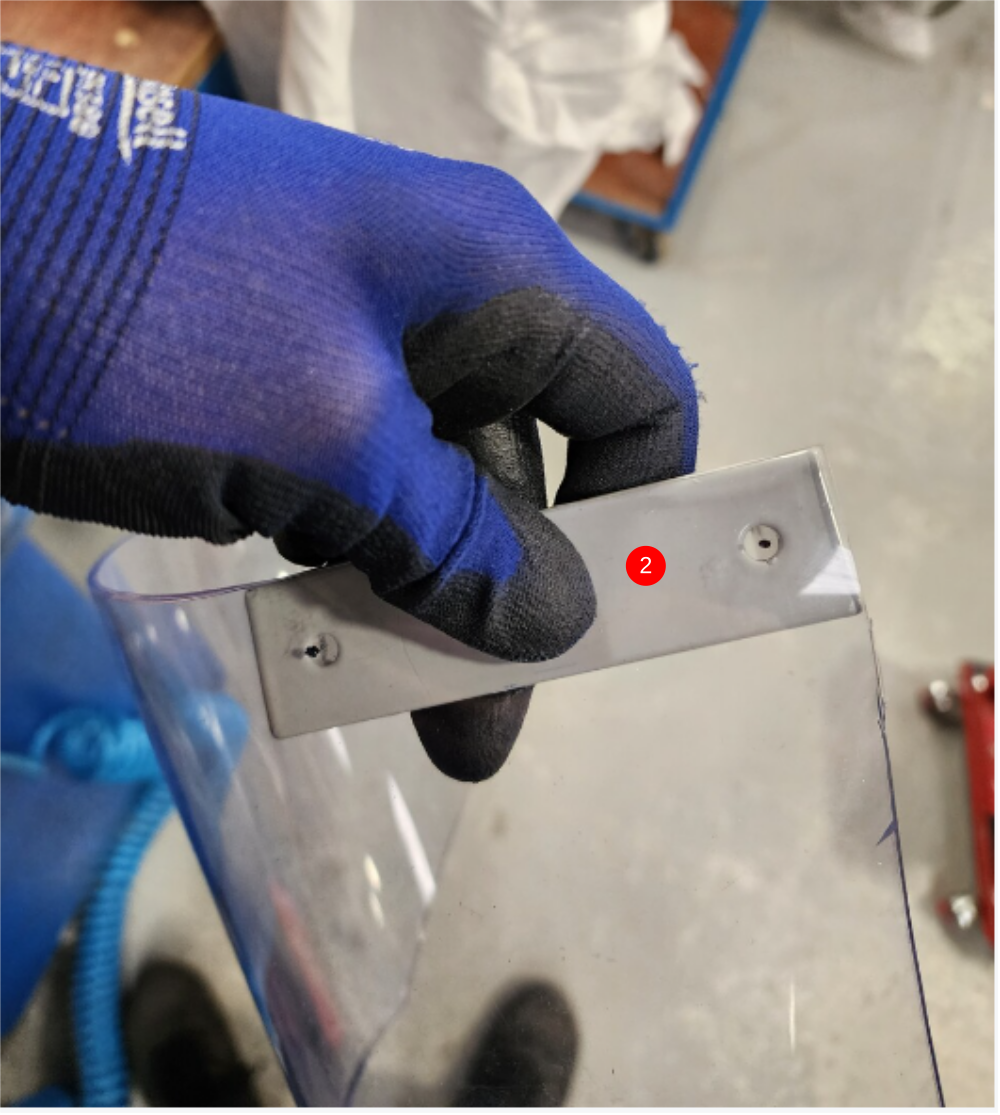
2 Orientated pre cut flap onto bracket orientated as shown. Mark 4 off holes and drill to 6.8mm . Mount to bracket using M5 x 10 socket caps 2 off and M5 penny washer 2 off
Insert 2 off M5 x 20 socket caps and 2 off M5 a form washers into bracket ready for main frame fixing
3 Assemble blower . fit p0000295 fitting to D0005219 Turntable Nozzle
4 Mount blower to bracket using M5 x 20 socket cap 2 off and 2 off M5 A form washer 2 off

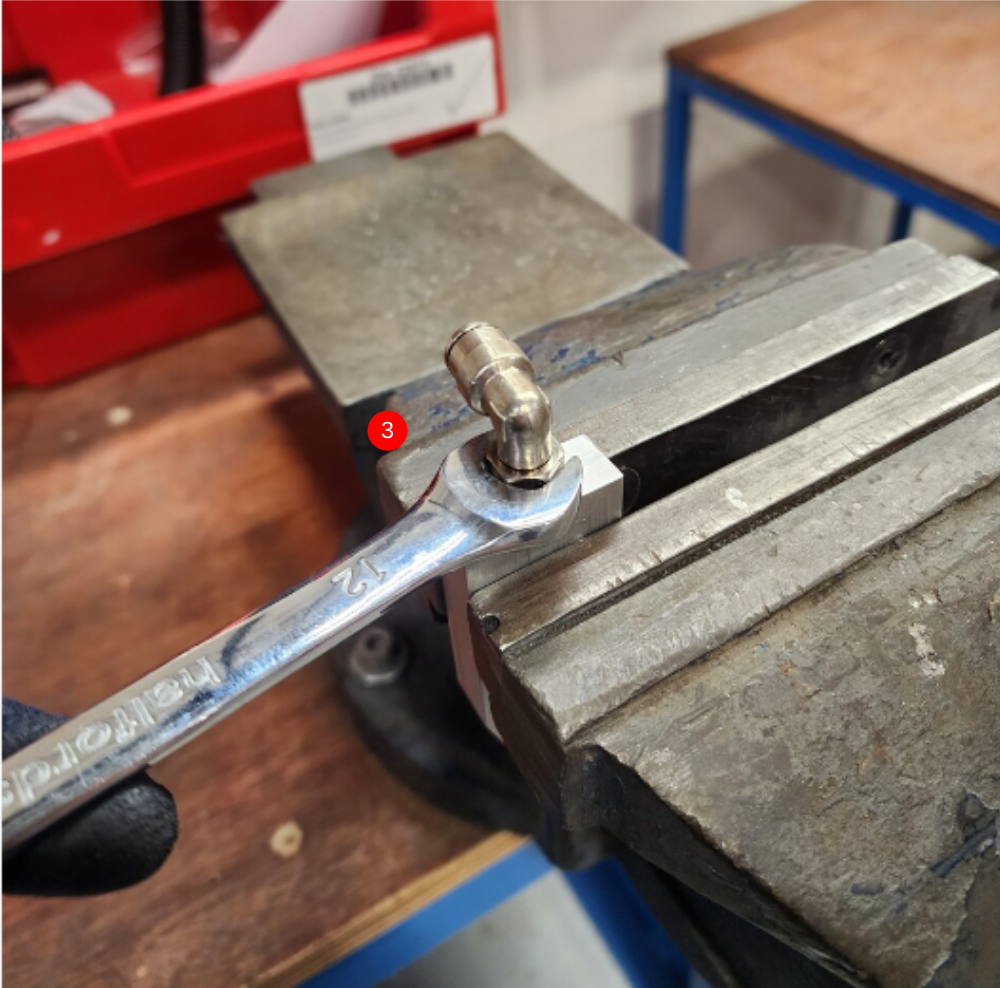
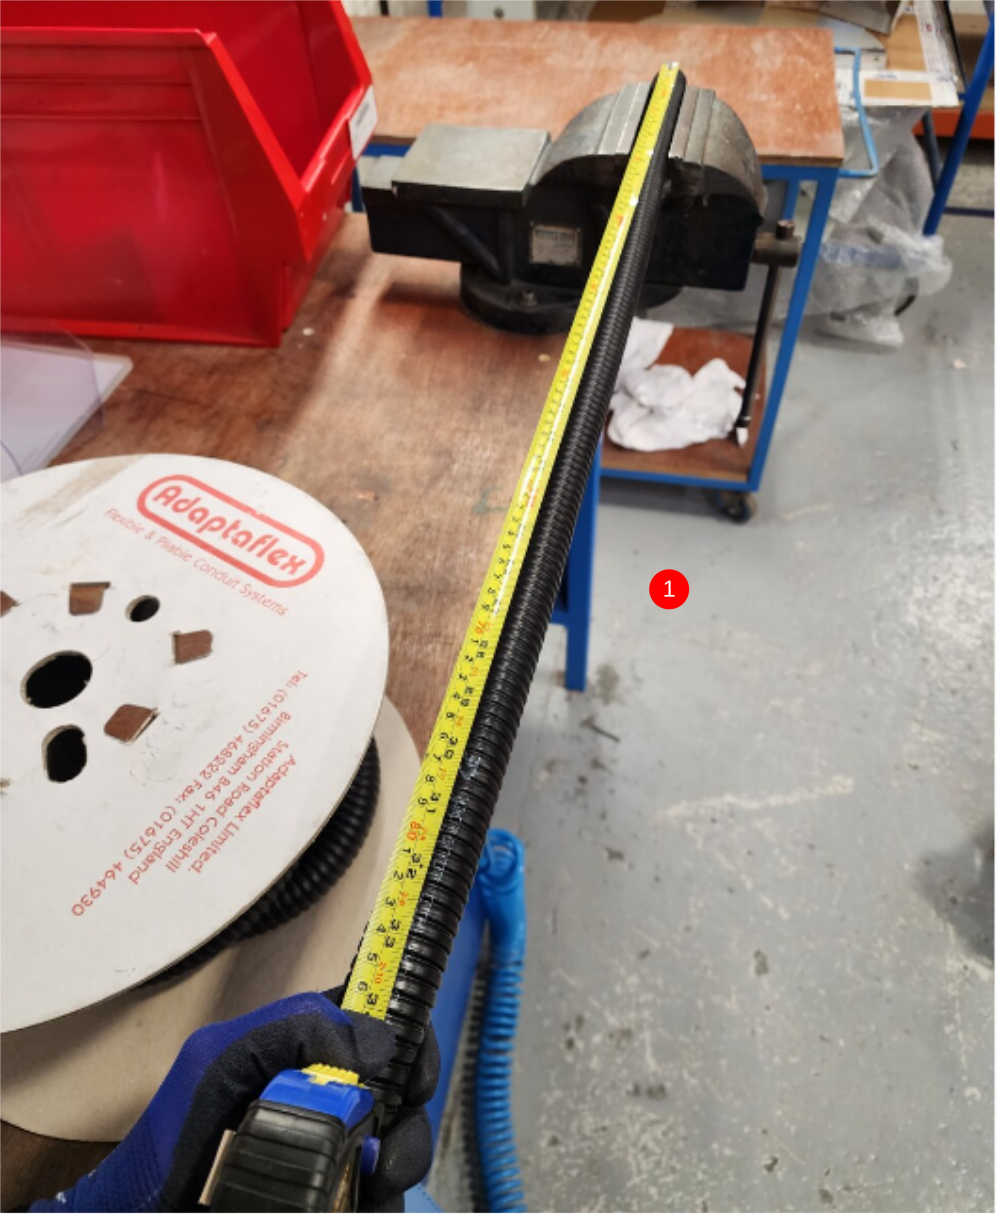
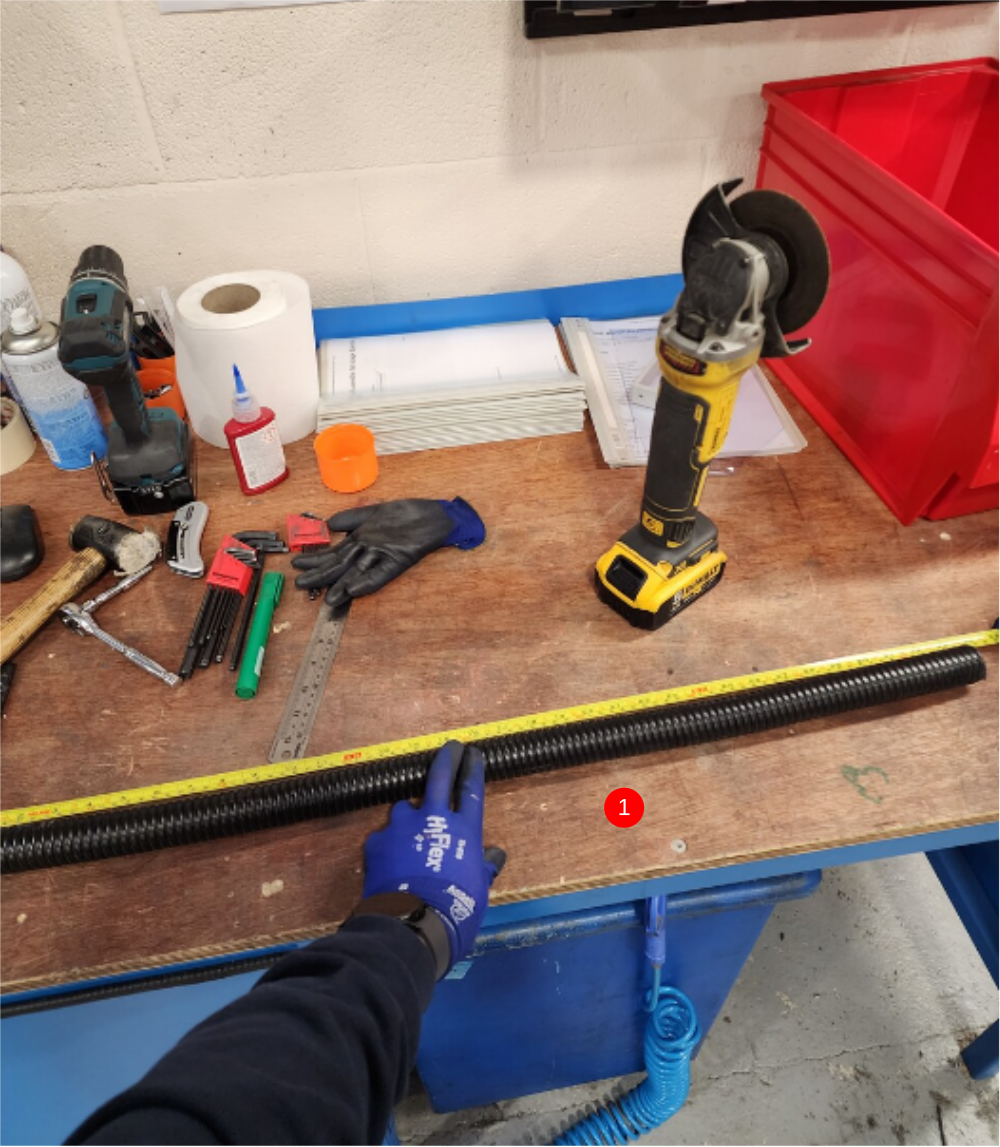
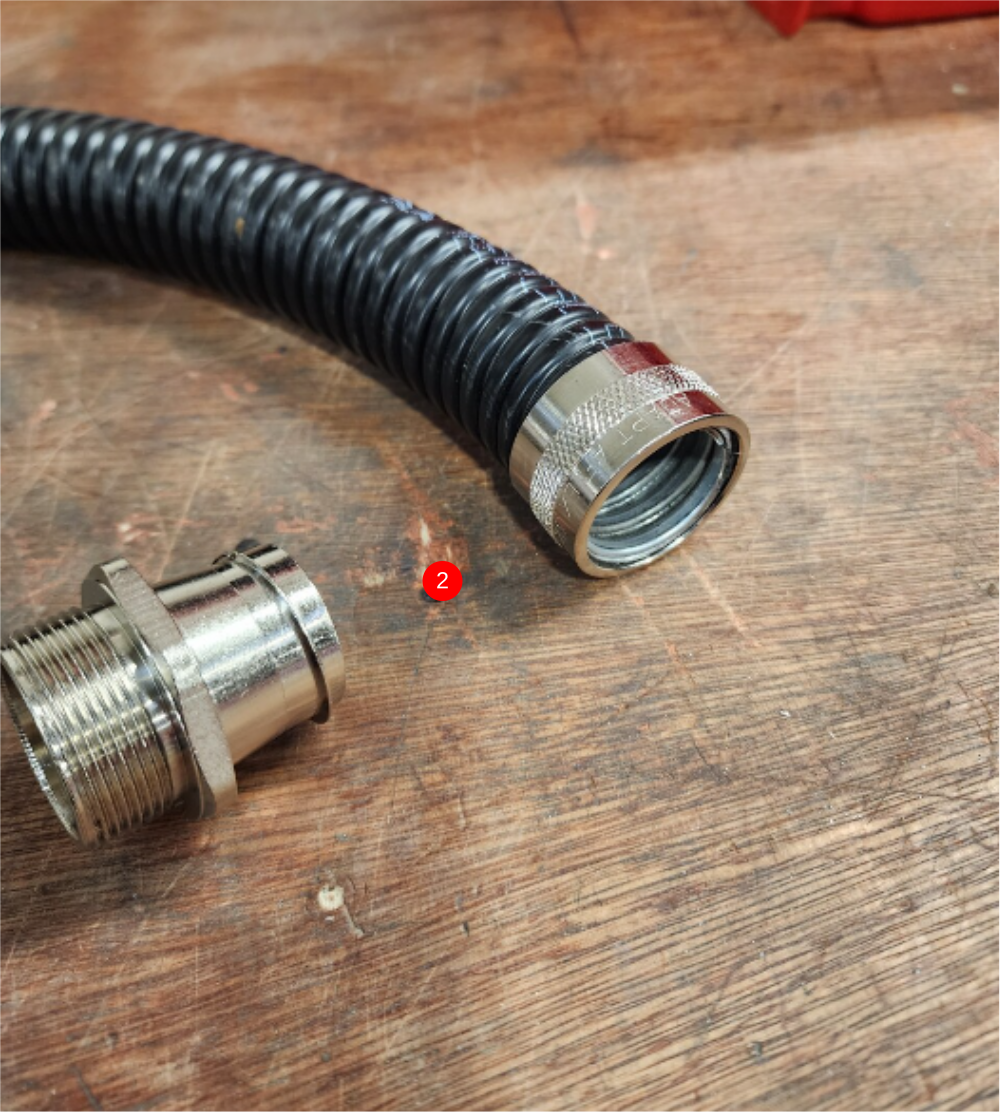
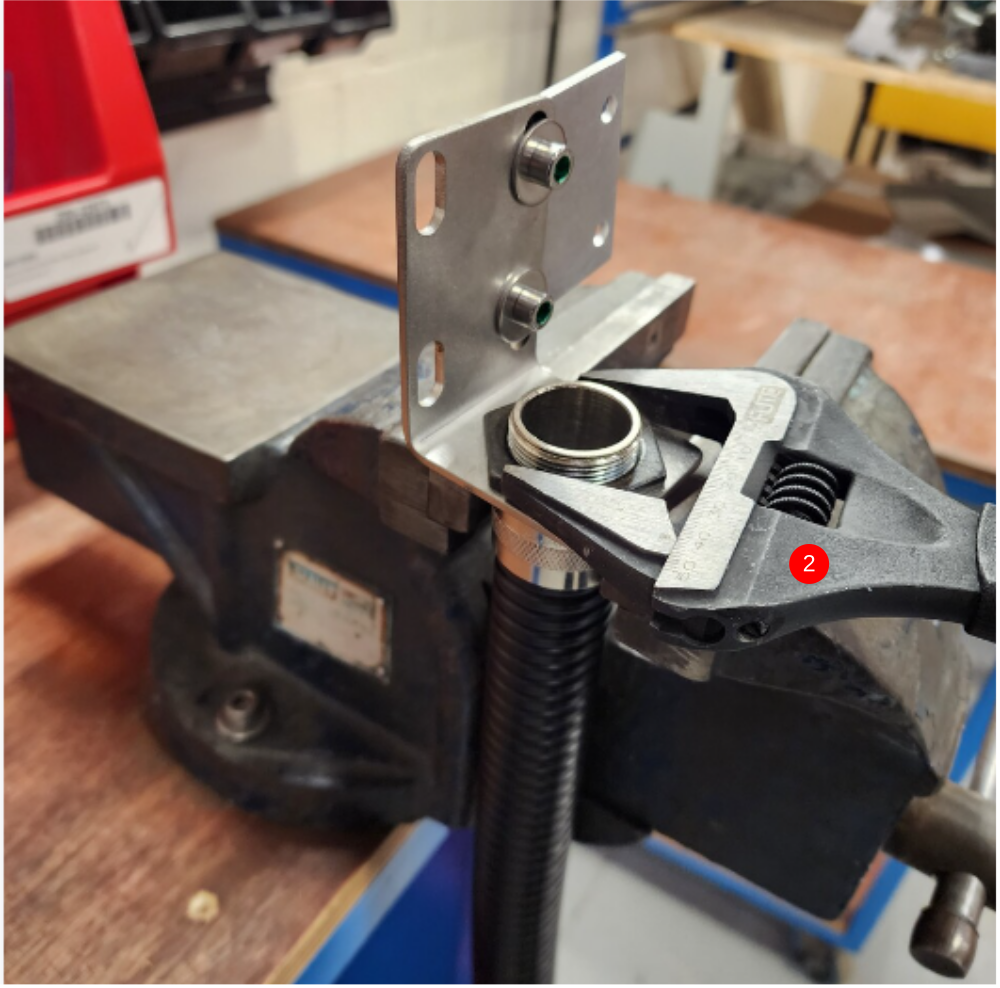
Étape 4 - Prepare conduit
1 Cut length of 32mm conduit for saw motor at 850mm Long using disc grinder
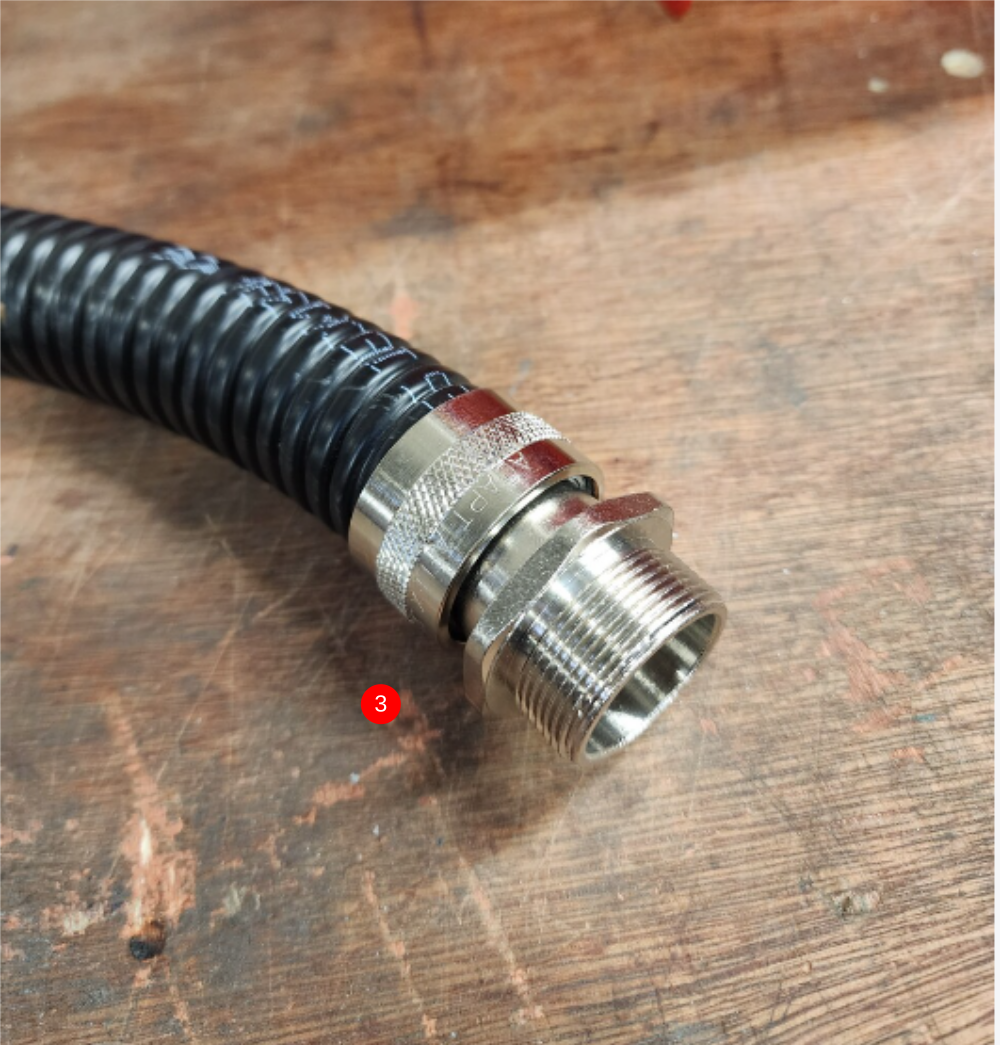
2 Fit collar as shown . Ensure static variant has been issued, not rotating
3 Fit insert as shown
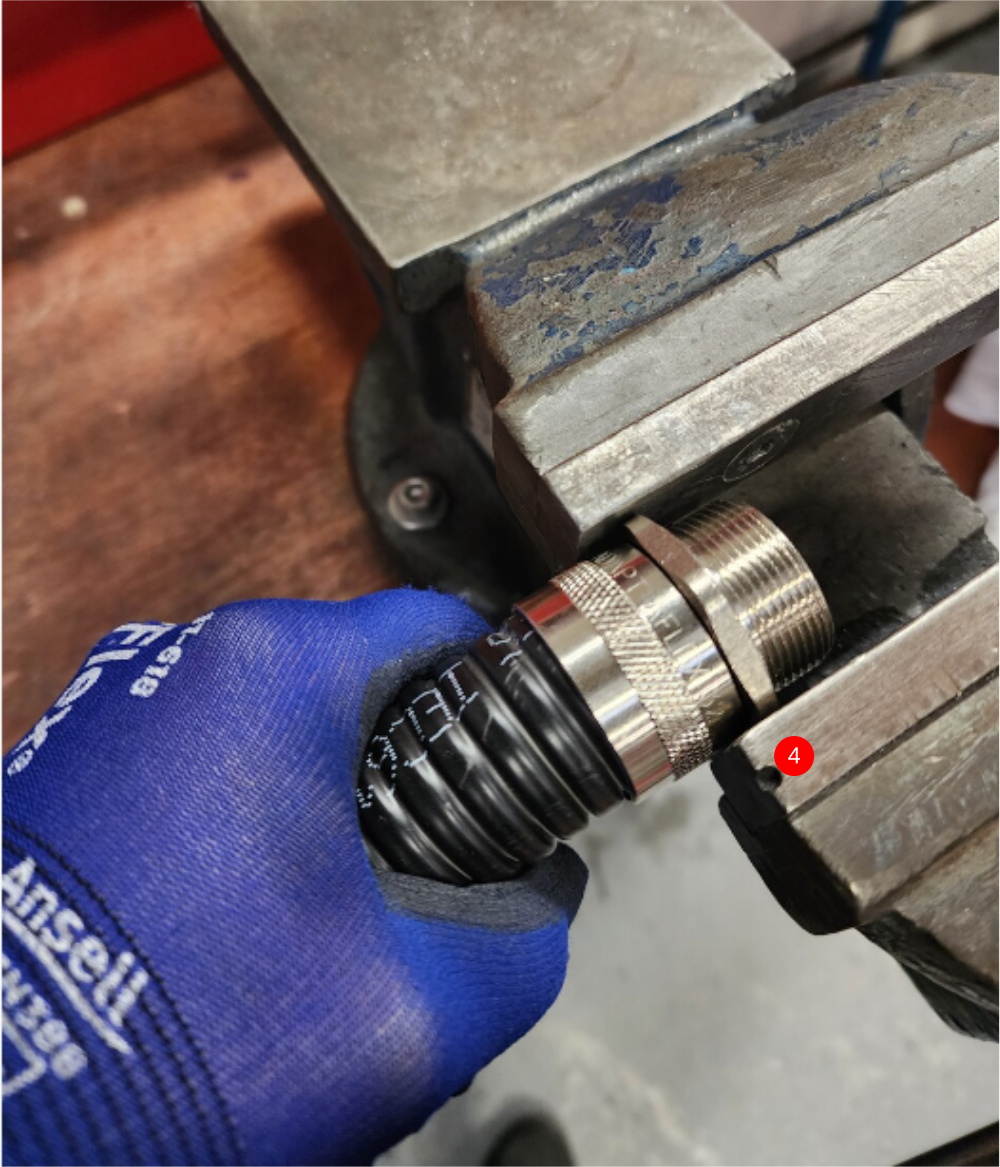
4 Tighten in vice
5 Repeat for other end
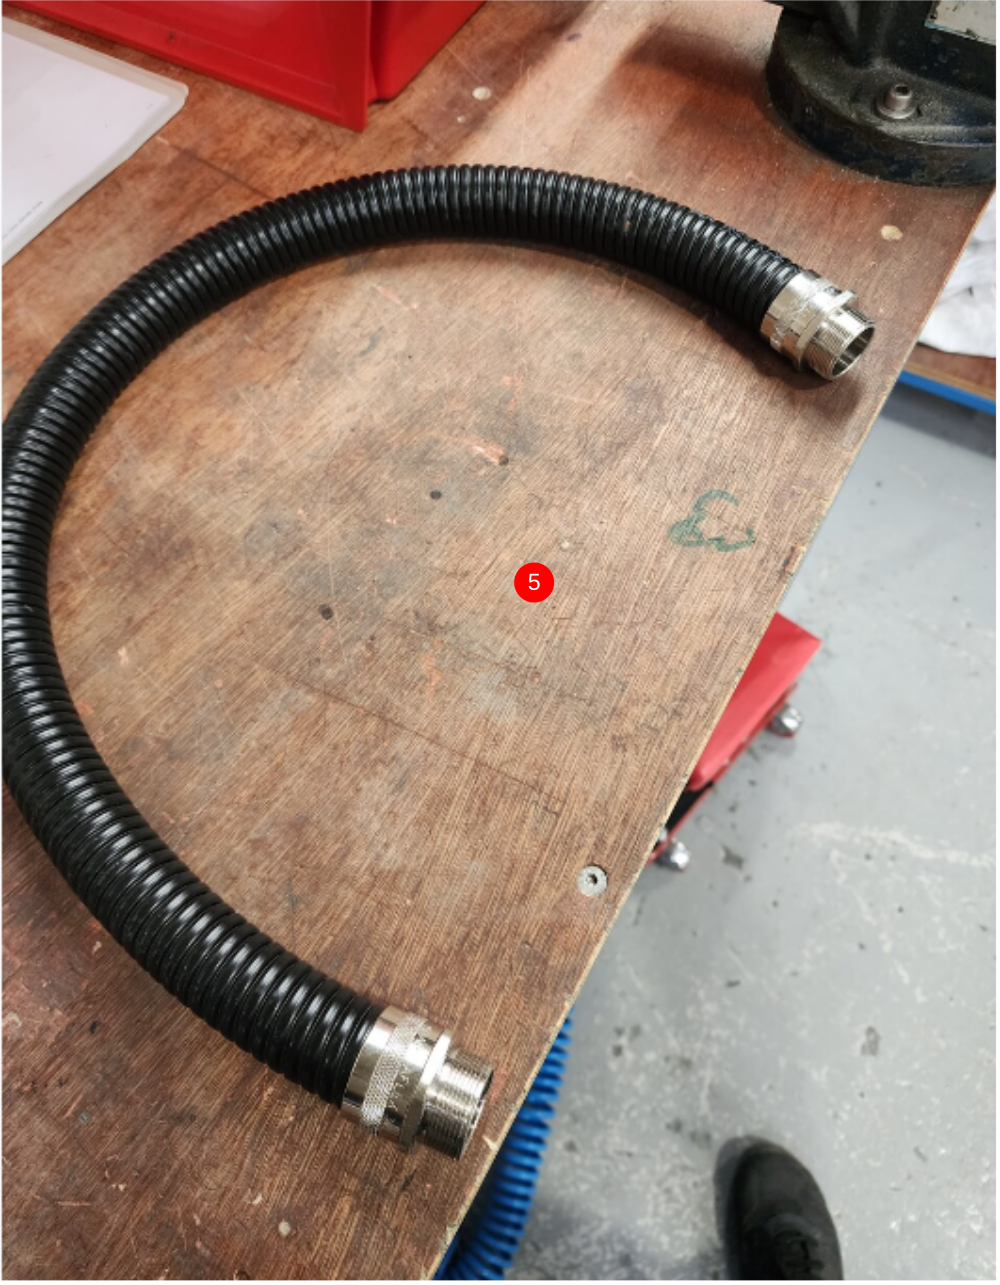
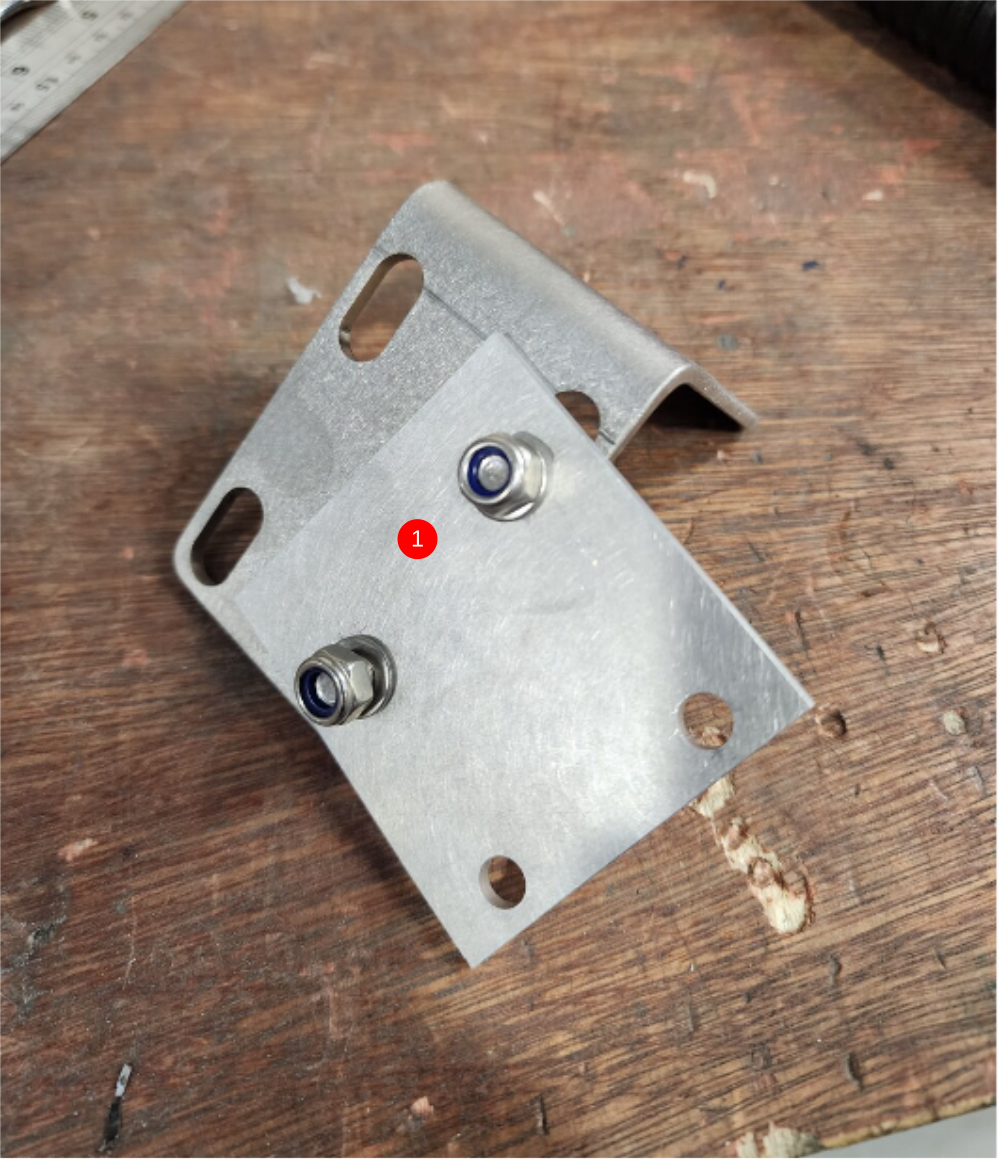
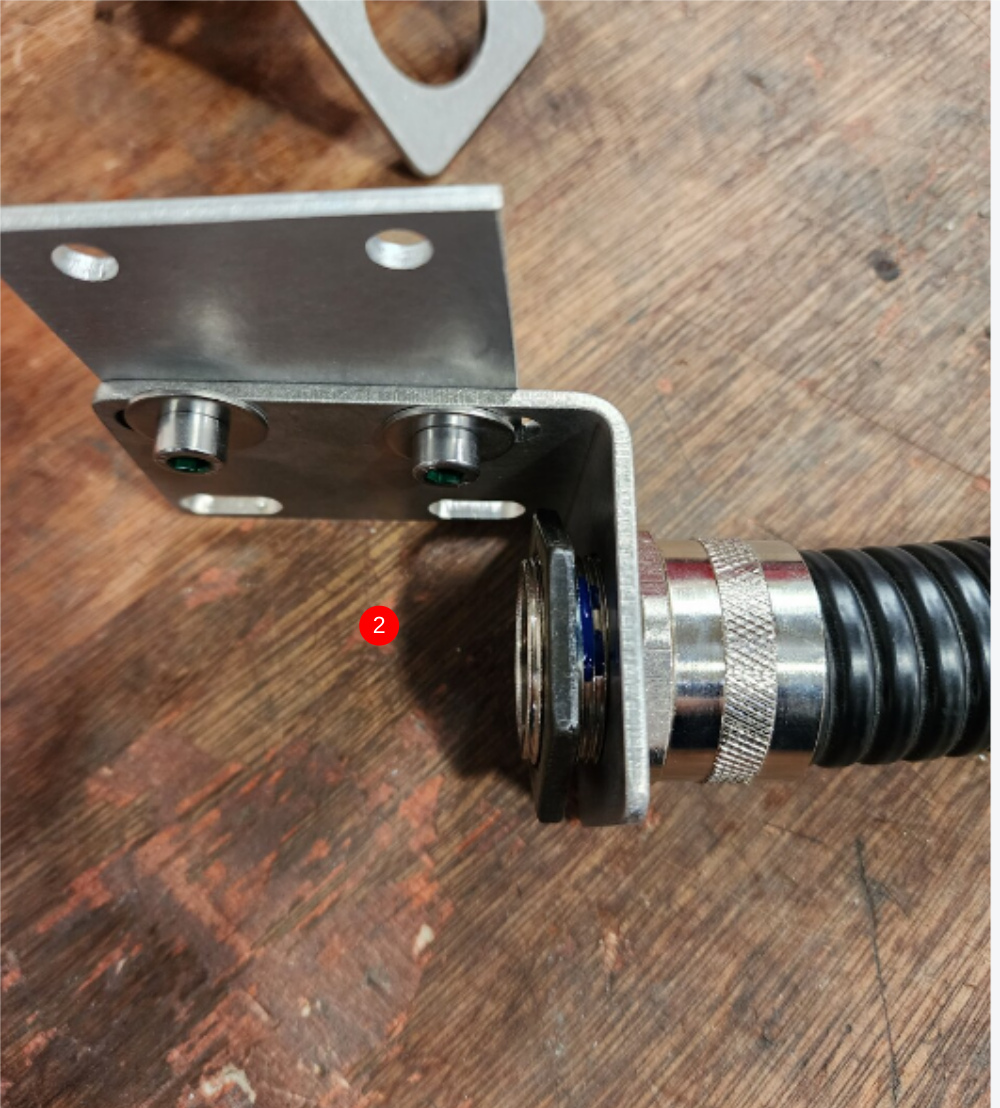
Étape 5 - Attach fixed end brackets
1 Assemble D0004437 Motor Conduit Bracket and D0004835 Flex conduit plate as shown using M6 x 16 socket cap 2 off, M6 A form washers 2 off , M6 Penny washer 2 off and M6 nyloc nut 2 off
2 Attach pre built anaconda as shown , using loctite 243 on fixing nut
Étape 6 - Tap Holes in Motor R-L and L-R Machine positions
Ensure correct holes are tapped for correct hand of machine being assembled
Tap indicated holes in main motor to M8


Étape 7 - Mount connection box R-L
1 Attach terminal mounting block to saw motor as shown using 2 off M8 x 16 socket caps
2 attach connection box using 2 of M4 x 12 button hex and 2 off M4 A form washers


Étape 8 - Mount connection box L-R

Étape 9 - Secure lid
Use making tape to secure lid, cable entry plate and screws safely together .
Do not use provided screws to fix lid

Étape 10 - Orientate Motor box
Check orientation of motor connection box shown
Glands should face black connection box
To rotate box
1 Remove lid
2 Remove 4 off screws shown
3 Rotate connection box
4 Refit 4 off screws
5 Refit lid


Étape 11 - Attach conduit mount
Attach conduit mount to main motor orientated as shown
Use 2 off M8 x 16 socket caps and A form washers to fix


Étape 12 - Attach conduit to motor
Attach conduit to motor as shown . Ensure loctite 243 is used


Draft
 Français
 English
 Deutsch
 Español
 Italiano
 Português