How to safely dismantle an Autoflow Mk4 for transport

Difficulté
Moyen
Durée
4 heure(s)
Sommaire
- 1 Étape 1 - Package Printer in original box
- 2 Étape 2 - Thoroughly clean the machine of swarf and material
- 3 Étape 3 - Prepare the infeed for transport
- 4 Étape 4 - Prepare the tooling heads for transport
- 5 Étape 5 - R Axis
- 6 Étape 6 - Y Axis
- 7 Étape 7 - Z axis
- 8 Étape 8 - Check and Pack guarding
- 9 Étape 9 - Tie All Clamps Safely
- 10 Étape 10 - JX Ejector Axis
- 11 Étape 11 - Lower Eject Assembly
- 12 Étape 12 - Air gun stowage
- 13 Étape 13 - Conveyor
- 14 Étape 14 - Extractor
- 15 Étape 15 - Tie doors shut
- 16 Commentaires
Étape 1 - Package Printer in original box

Étape 2 - Thoroughly clean the machine of swarf and material

Étape 4 - Prepare the tooling heads for transport
6 off spindles
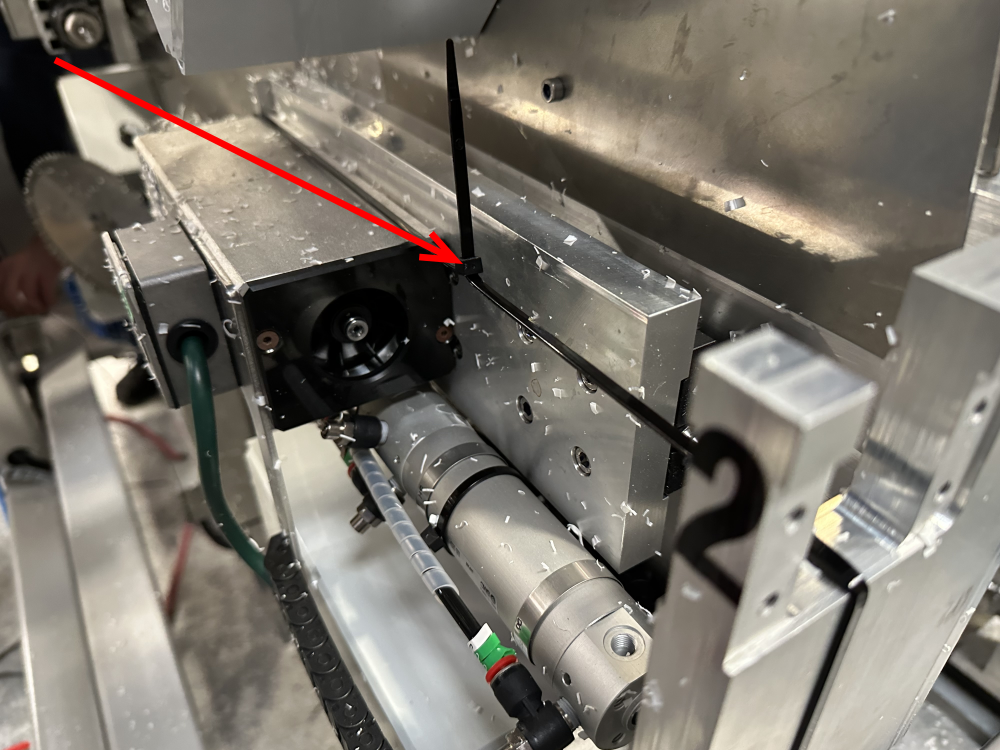
Étape 5 - R Axis
Tie the R axis at the datum assembly point

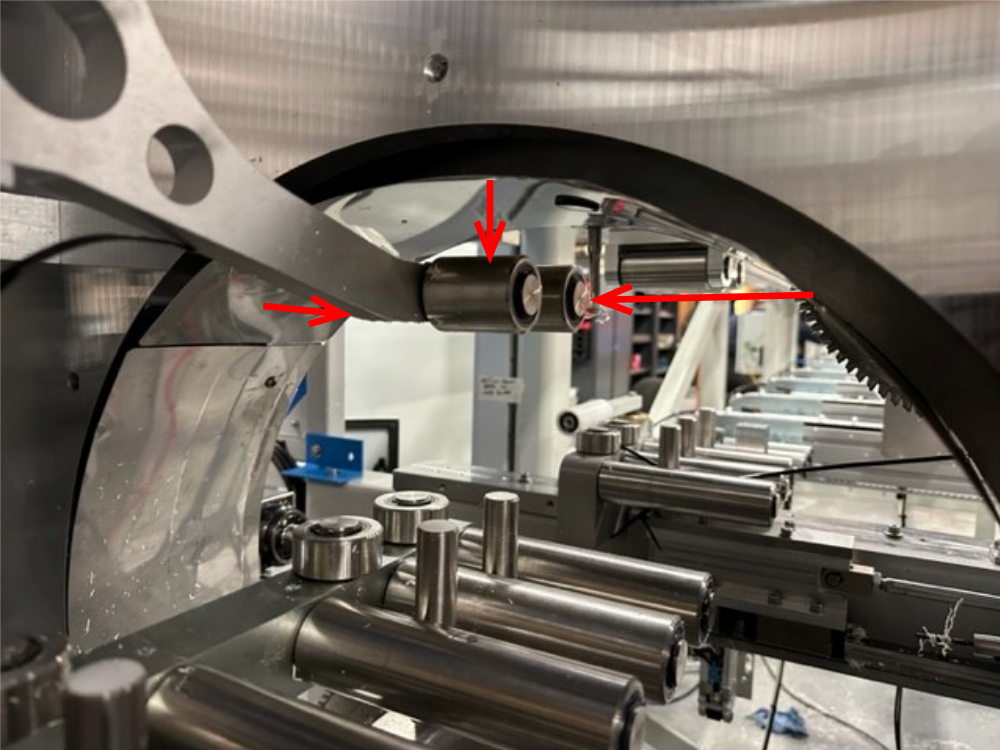
Étape 6 - Y Axis
Y axis roughly to middle
Cut profile blocks and tie in to prevent movement

Étape 7 - Z axis
Wind Z axis to bottom of travel
Take care to ensure MH outfeed top clamp is not compromised
Étape 8 - Check and Pack guarding
- Ensure the correct number of fittings sent
Étape 9 - Tie All Clamps Safely
- MH Infeed Top
- MH Infeed Side
- MH Outfeed Top
- MH Outfeed Side
- Saw Infeed Side
- Saw Outfeed Side
- Ejector top
- Saw Outfeed top


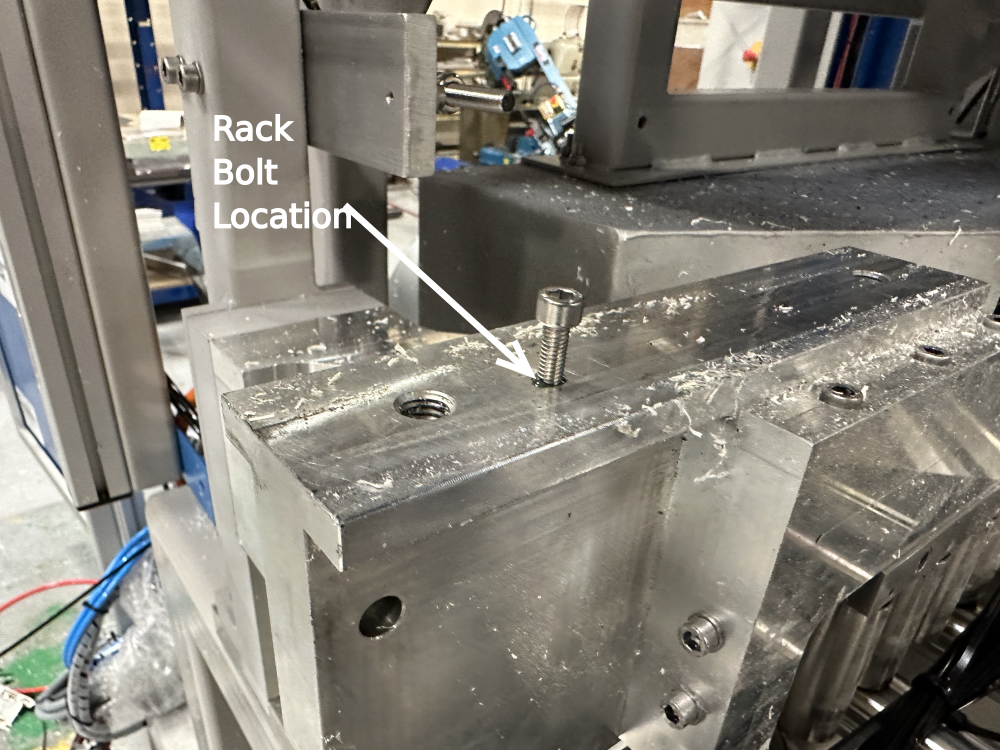
Étape 10 - JX Ejector Axis
- Detach all cables and pipes at the carriage end ensuring it is clearly labelled where they re-attach
- Remove rail mounting bolt(s) on machine side of rail
- Remove the shoulder bolts connecting the assembly to the fram
- Second person needed to support weight of carriage while lifting off
- Package carefully with bolts
- Tie back the ejector energy chain


Étape 11 - Lower Eject Assembly
Tie back the assembly

Étape 12 - Air gun stowage
Étape 13 - Conveyor
Étape 14 - Extractor
Étape 15 - Tie doors shut
Draft
 Français
 English
 Deutsch
 Español
 Italiano
 Português