How to prevent the Autoflow rear fences from twisting
Draft as Reported by Darren Clarke
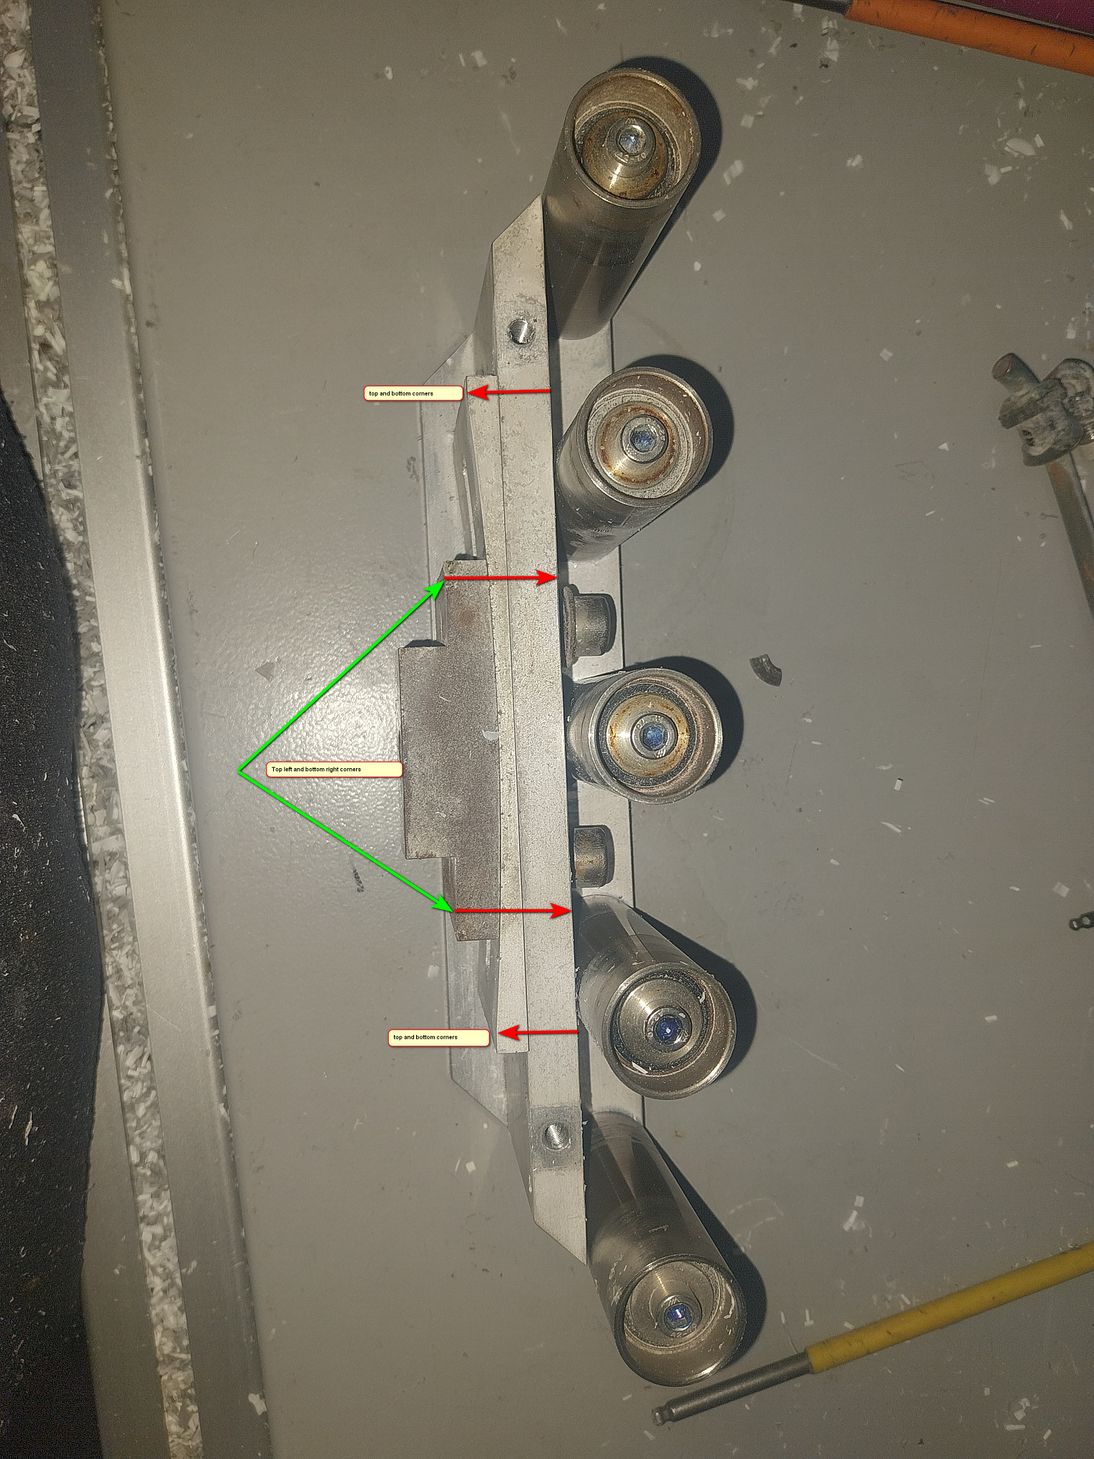
When the fences go out, it is almost never on the horizontal (saw tables to fence follers) it's always on the X axis relation to the MH and Saw rollers. Today I found them out again, but the 90 degree to beds is perfect. I took the whole assembly off to have a look and at first I thought about having the wedge plate replaced with a flat one and using grub screws as jacking point. I slackened everything off so I could start from scratch and I believe the following will work.
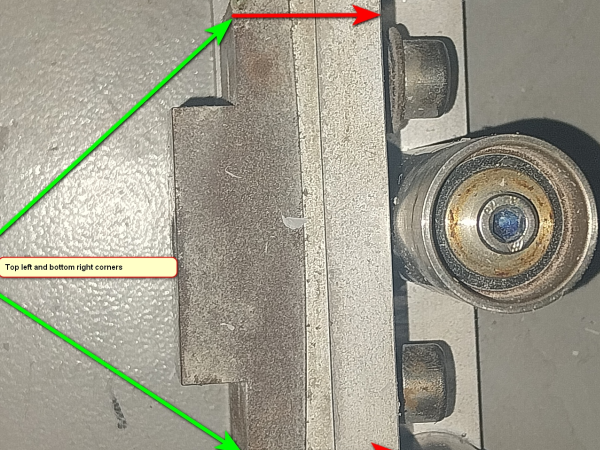
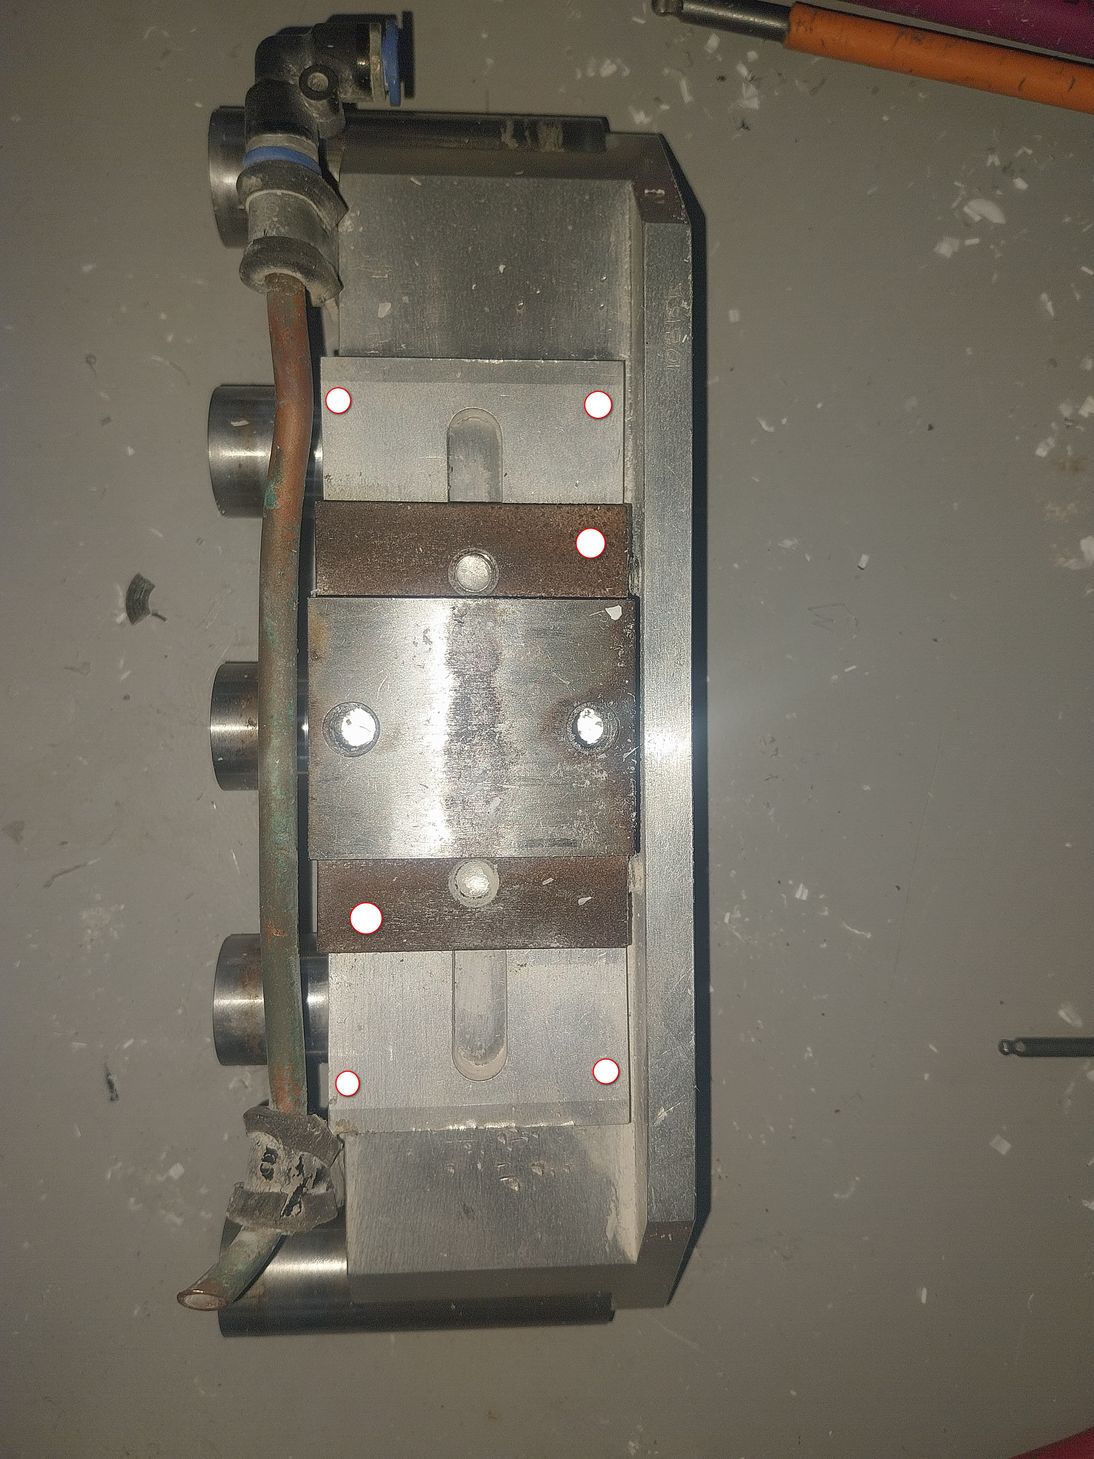
Get the 90 degree between the saw fence rollers and saw bed as close as possible, then the parallel between the multi and saw IF rollers and getting the depth of the rollers set. Little by little things will need tweaked to as good as we can get, I can usually get them to within the thickness of a bit of paper, so we're only talking two thou' or so. Get everything locked off nice and tight and rechecked. If all good, and after running test pieces, remove the one big bolt in the centre at back that sets the depth of the steel block and take the whole assembly out. Drill and tap through the three mating pieces, in all 4 corners of the aluminium wedge, and in two opposite corners of the steel plate, fix everything with domehead cap screws and refit.
The only problem here would be making absolutely sure it is correct before drilling and tapping, if it's not right then parts will need replaced to correct.
Draft


 Français
 English
 Deutsch
 Español
 Italiano
 Português