| [version en cours de rédaction] | [version en cours de rédaction] |
(Page créée avec « {{Tuto Details |Main_Picture=ZX5_V_Notch_Blade_Mechanical_Setup_Title.jpg |Description=<translate>How to mechanically set the V notches on a ZX5.</translate> |Difficulty=E... ») |
|||
| Ligne 16 : | Ligne 16 : | ||
{{EPI}} | {{EPI}} | ||
{{Tuto Step | {{Tuto Step | ||
| − | |Step_Title=<translate></translate> | + | |Step_Title=<translate>Carry out first V notch test</translate> |
| − | |Step_Content=<translate></translate> | + | |Step_Content=<translate>This step isn't really required, I personally like to do it just to see how far out we are to start with</translate> |
| + | |Step_Picture_00=ZX5_V_Notch_Blade_Mechanical_Setup_step1.JPG | ||
}} | }} | ||
{{Notes}} | {{Notes}} | ||
{{PageLang | {{PageLang | ||
| + | |Language=en | ||
|SourceLanguage=none | |SourceLanguage=none | ||
|IsTranslation=0 | |IsTranslation=0 | ||
| − | |||
}} | }} | ||
{{Tuto Status | {{Tuto Status | ||
|Complete=Draft | |Complete=Draft | ||
}} | }} | ||
Version du 25 septembre 2019 à 17:07
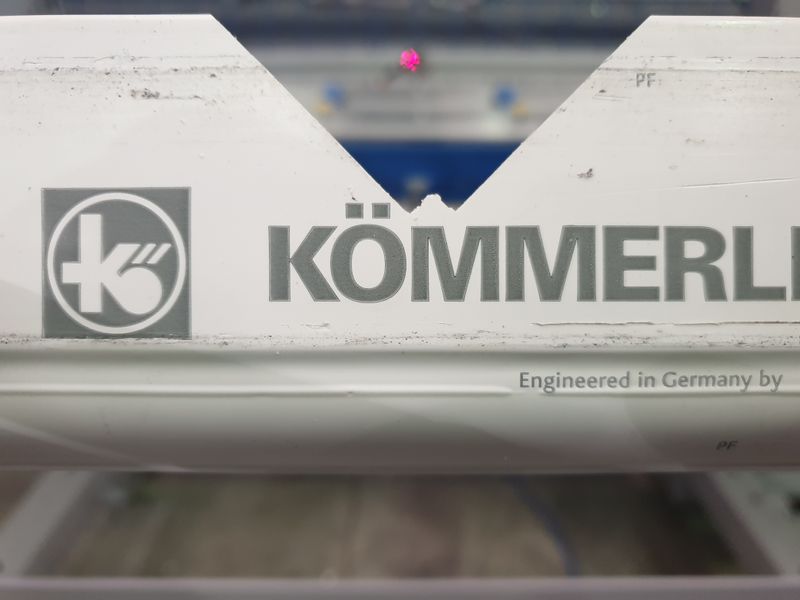
How to mechanically set the V notches on a ZX5.
Difficulté
Facile
Durée
30 minute(s)
Introduction
On previous models the V notch separation was set via the software. This could be quite time consuming and required a set of tests to get it right.
On the new ZX5 the searation is set mechanically and once set it should never need changed again, but remember that some customers sharpen their V notch blades instead of replacing them.- Pièces et outils
Pièces et outils
[[Item:|]] A fatal error occurred in the #info parser function
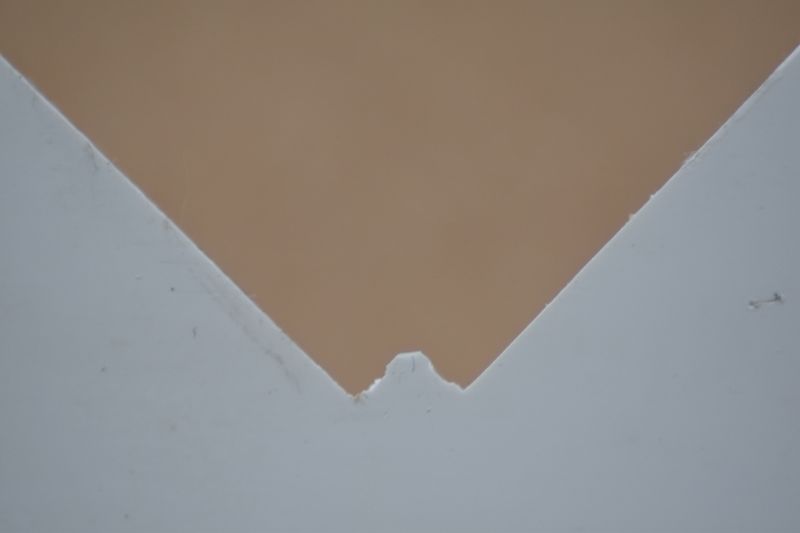
Étape 1 - Carry out first V notch test
This step isn't really required, I personally like to do it just to see how far out we are to start with
Draft


 Français
 English
 Deutsch
 Español
 Italiano
 Português