| [version en cours de rédaction] | [version approuvée] |
(Page créée avec « {{Tuto Details |Main_Picture=Setting_Profile_Detection_Laser_Sensor_Annotation_2019-11-13_170514.jpg |Main_Picture_annotation={"version":"2.4.6","objects":[{"type":"image"... ») |
|||
| Ligne 39 : | Ligne 39 : | ||
{{Notes}} | {{Notes}} | ||
{{PageLang | {{PageLang | ||
| + | |Language=en | ||
|SourceLanguage=none | |SourceLanguage=none | ||
|IsTranslation=0 | |IsTranslation=0 | ||
| − | |||
}} | }} | ||
{{Tuto Status | {{Tuto Status | ||
| − | |Complete= | + | |Complete=Published |
}} | }} | ||
Version actuelle datée du 13 novembre 2019 à 19:21
Setting the laser sensor used on Flowline / ZX offcut sensors and Autoflow measurement sensors
Difficulté
Moyen
Durée
5 minute(s)
Introduction
Setting the profile sensor correctly is important as it will lead to incorrect offcut measurement.
Vimeo
Étape 1 - Set up Dark / Light setting
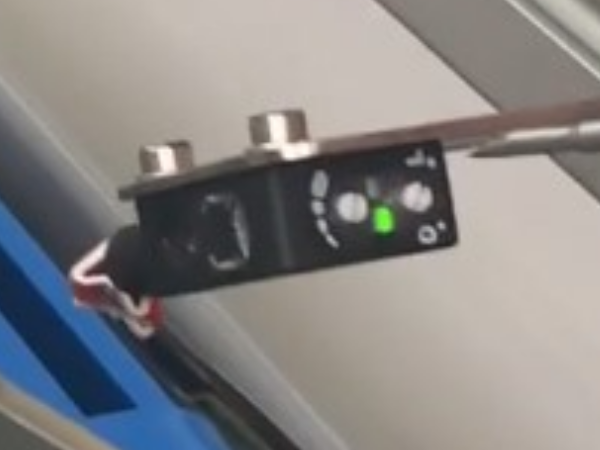
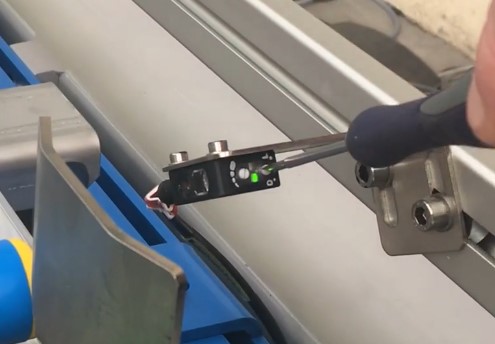
- Turn L/D adjustment clockwise so it is on its maximum "L"
- Turn anticlockwise until Yellow light comes on
- Turn clockwise until Yellow light goes off
Étape 2 - Set the Sensitivity
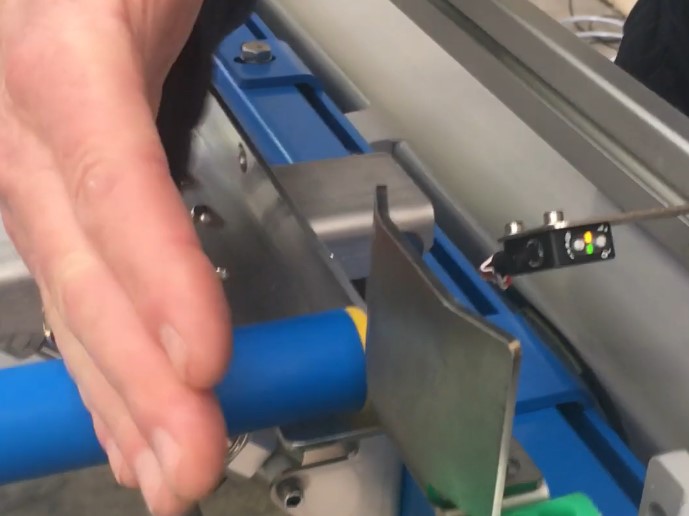
Set range to 80-100mm using your hand or a piece of profile.
- Place the object to sense at the "just off" position
- Adjust sensitivity clockwise until Yellow light goes off
- Check by moving the bar into "just on" position
Published


 Français
 English
 Deutsch
 Español
 Italiano
 Português