| [version en cours de rédaction] | [version en cours de rédaction] |
(Page créée avec « {{Tuto Details |Description=<translate>Fitment guide for Datum rollers</translate> |Categories=Production |Difficulty=Medium |Duration=1 |Duration-type=hour(s) }} {{Introd... ») |
|||
| Ligne 1 : | Ligne 1 : | ||
{{Tuto Details | {{Tuto Details | ||
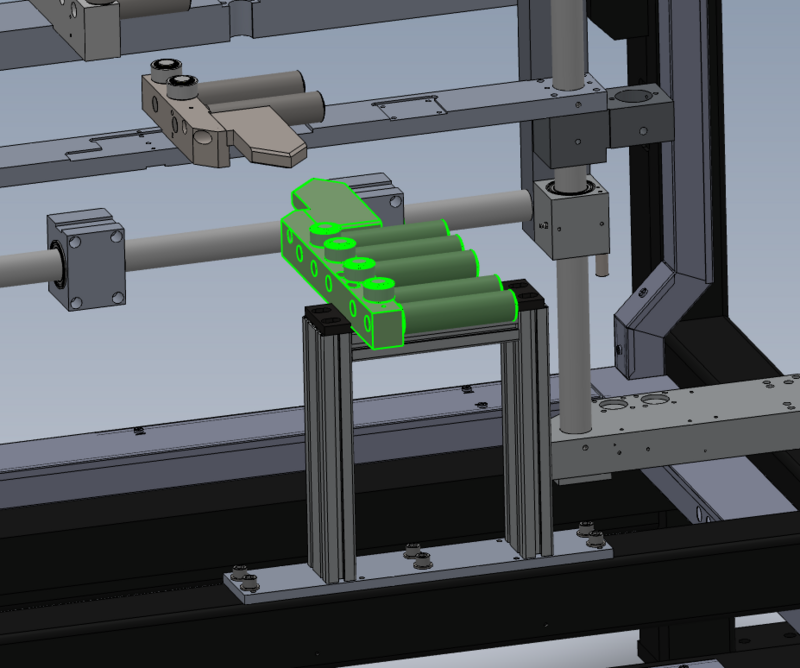
| + | |Main_Picture=R0015297_Mount_V_Notch_Datum_Rollers_Screenshot_2023-09-21_111410.png | ||
| + | |Main_Picture_annotation={"version":"2.4.6","objects":[{"type":"image","version":"2.4.6","originX":"left","originY":"top","left":7,"top":-37,"width":839,"height":817,"fill":"rgb(0,0,0)","stroke":null,"strokeWidth":0,"strokeDashArray":null,"strokeLineCap":"butt","strokeDashOffset":0,"strokeLineJoin":"miter","strokeMiterLimit":4,"scaleX":0.68,"scaleY":0.68,"angle":0,"flipX":false,"flipY":false,"opacity":1,"shadow":null,"visible":true,"clipTo":null,"backgroundColor":"","fillRule":"nonzero","paintFirst":"fill","globalCompositeOperation":"source-over","transformMatrix":null,"skewX":0,"skewY":0,"crossOrigin":"","cropX":0,"cropY":0,"src":"https://stuga.dokit.app/images/9/90/R0015297_Mount_V_Notch_Datum_Rollers_Screenshot_2023-09-21_111410.png","filters":[]}],"height":450,"width":600} | ||
|Description=<translate>Fitment guide for Datum rollers</translate> | |Description=<translate>Fitment guide for Datum rollers</translate> | ||
|Categories=Production | |Categories=Production | ||
| Ligne 69 : | Ligne 71 : | ||
{{Notes}} | {{Notes}} | ||
{{PageLang | {{PageLang | ||
| + | |Language=en | ||
|SourceLanguage=none | |SourceLanguage=none | ||
|IsTranslation=0 | |IsTranslation=0 | ||
| − | |||
}} | }} | ||
{{Tuto Status | {{Tuto Status | ||
|Complete=Draft | |Complete=Draft | ||
}} | }} | ||
Version du 21 septembre 2023 à 12:15
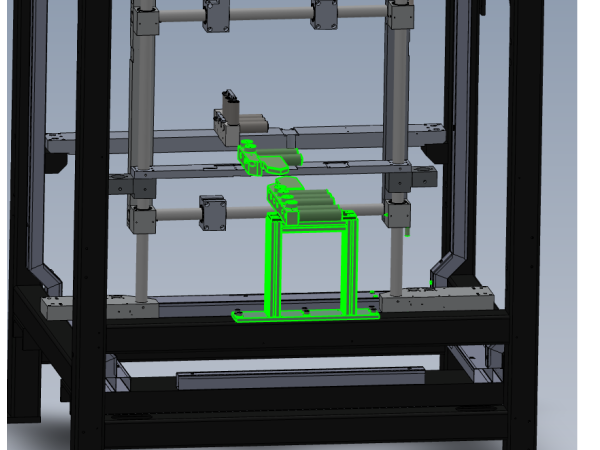
Fitment guide for Datum rollers
Difficulté
Moyen
Durée
1 heure(s)
Introduction
Tools Required
Standard hex key set
Parts Required
Étape 1 - Unless otherwise stated
Use locktite 243 on all fasteners
Use loctite 572 on all threaded pneumatic connection
Pen mark all fasteners to show finalised
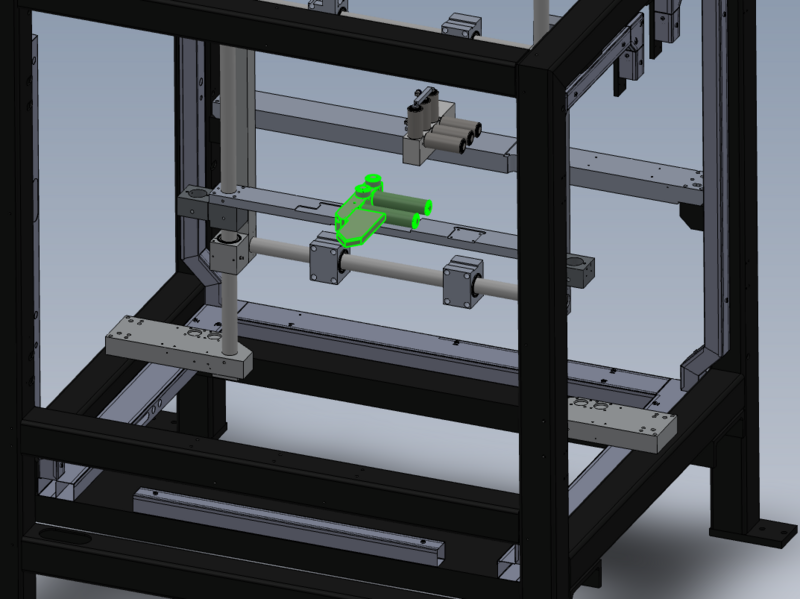
Étape 2 - Mount Mid roller Assembly
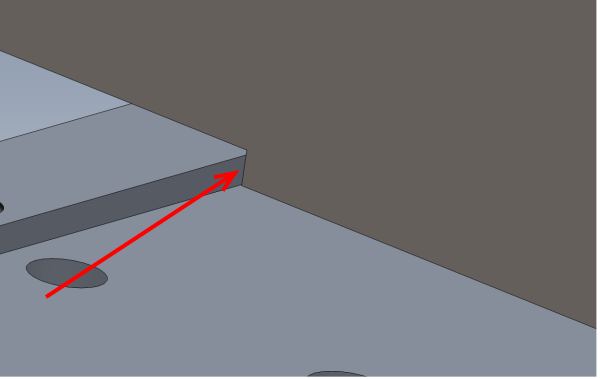
Fit mid roller assembly as shown . Do not use adhesive at this stage .
Secure with 2 off M6 x 30 socket caps
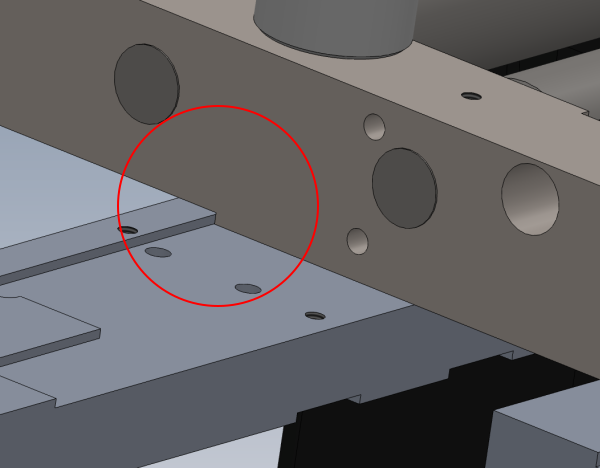
Ensure indicated face is butted correctly
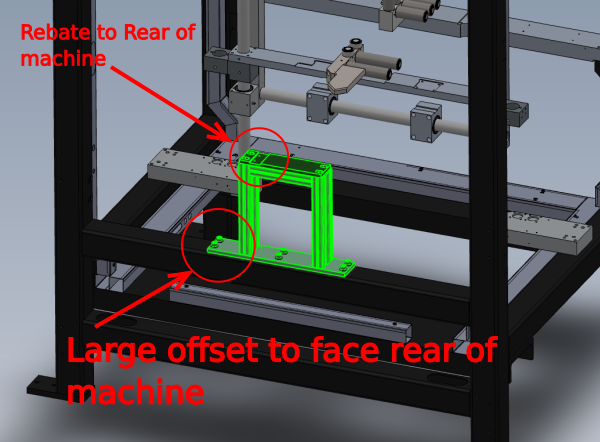
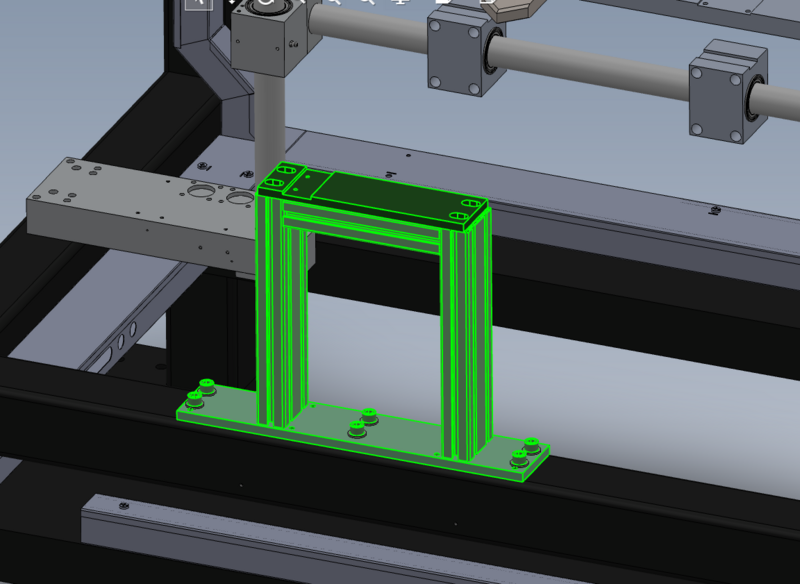
Étape 3 - Attach rear frame
Attach frame to rear as shown , secure with 6 off M10 x 30 socket caps and a form washers
Do not use adhesive at this point
Check orientation as shown
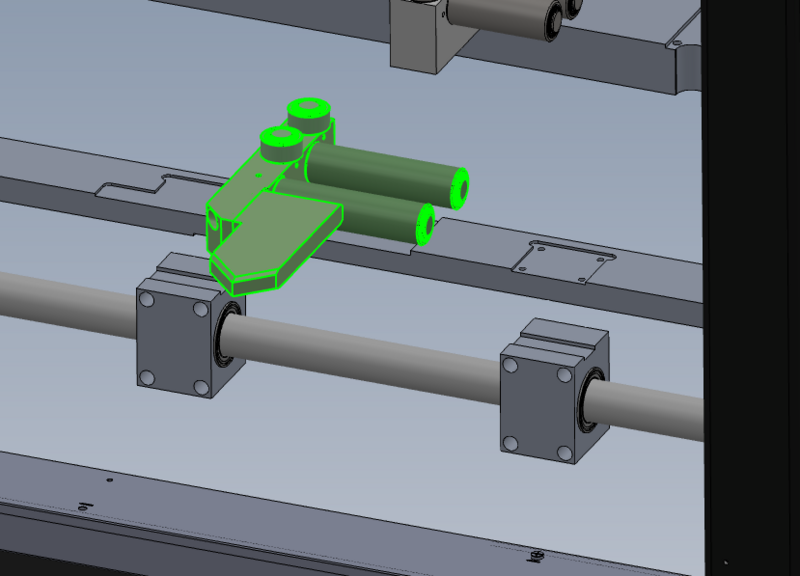
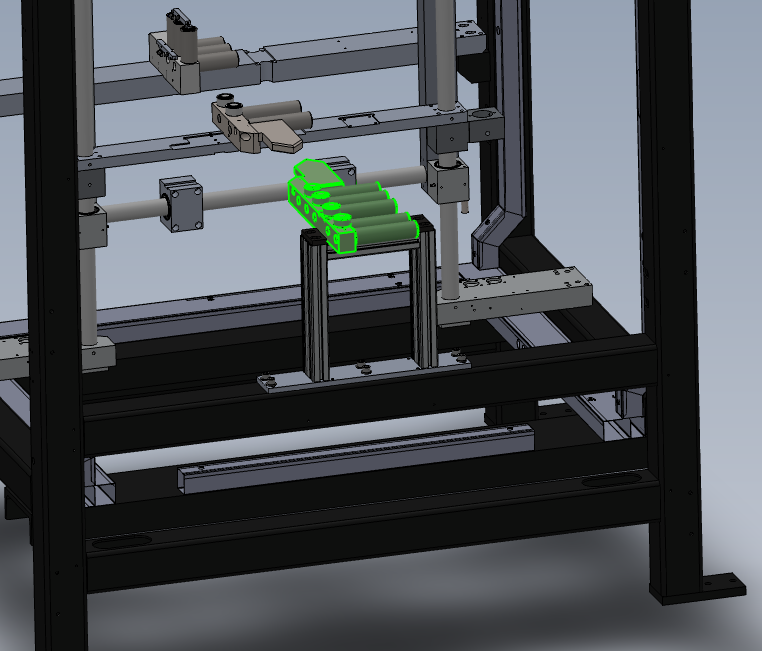
Étape 4 - Attach roller assembly
Attach Roller assembly as shown , using 2 off M6 x 50 socket caps and A form washers
Do not use adhesive at this point
Draft

 Français
 English
 Deutsch
 Español
 Italiano
 Português