| [version en cours de rédaction] | [version en cours de rédaction] |
(Page créée avec « {{Tuto Details |Description=<translate>Programming the Eaton DE Drive</translate> |Categories=Maintenance, Software |Difficulty=Medium |Duration=10 |Duration-type=minute(s... ») |
|||
| Ligne 13 : | Ligne 13 : | ||
{{EPI}} | {{EPI}} | ||
{{Tuto Step | {{Tuto Step | ||
| − | |Step_Title=<translate>Plug programming lead</translate> | + | |Step_Title=<translate>Plug programming lead and run DrivesConnect Software</translate> |
| − | |Step_Content=<translate></translate> | + | |Step_Content=<translate>Programming lead is kept at Stuga |
| + | |||
| + | Software can be downloaded at | ||
| + | |||
| + | http://www.drive-support-studio.com/OTS/Eaton/downloads/deploy/drivesConnect.htm</translate> | ||
}} | }} | ||
{{Tuto Step | {{Tuto Step | ||
| Ligne 38 : | Ligne 42 : | ||
{{Notes}} | {{Notes}} | ||
{{PageLang | {{PageLang | ||
| + | |Language=en | ||
|SourceLanguage=none | |SourceLanguage=none | ||
|IsTranslation=0 | |IsTranslation=0 | ||
| − | |||
}} | }} | ||
{{Tuto Status | {{Tuto Status | ||
|Complete=Draft | |Complete=Draft | ||
}} | }} | ||
Version du 15 octobre 2019 à 14:12
Programming the Eaton DE Drive
Difficulté
Moyen
Durée
10 minute(s)
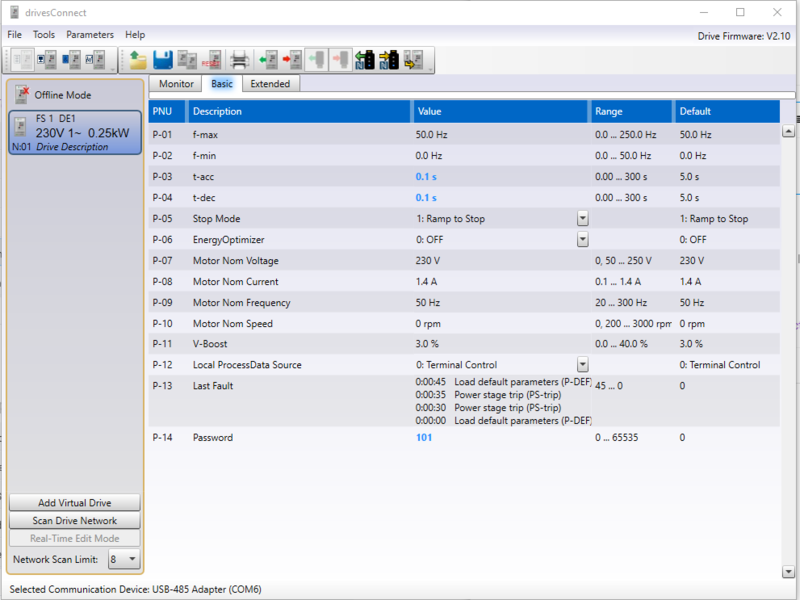
Étape 1 - Plug programming lead and run DrivesConnect Software
Programming lead is kept at Stuga
Software can be downloaded at
http://www.drive-support-studio.com/OTS/Eaton/downloads/deploy/drivesConnect.htm
Étape 2 - Scan Network for Drive
Click on Scan Drive Network to find the drive you are plugged in to
Étape 5 - Set Frequency References
Set these references P-20 to P-23 to 50Hz so it will not matter what input 3 or 4 is set to - it will always be 50Hz
Draft


 Français
 English
 Deutsch
 Español
 Italiano
 Português