| [version en cours de rédaction] | [version en cours de rédaction] |
(Page créée avec « {{Tuto Details |Description=<translate>How to backup the data on your Autocut</translate> |Difficulty=Very easy |Duration=1 |Duration-type=minute(s) }} {{Introduction |Int... ») |
|||
| Ligne 4 : | Ligne 4 : | ||
|Duration=1 | |Duration=1 | ||
|Duration-type=minute(s) | |Duration-type=minute(s) | ||
| + | |Tags=Autocut, Backup | ||
}} | }} | ||
{{Introduction | {{Introduction | ||
| Ligne 32 : | Ligne 33 : | ||
{{Notes}} | {{Notes}} | ||
{{PageLang | {{PageLang | ||
| + | |Language=en | ||
|SourceLanguage=none | |SourceLanguage=none | ||
|IsTranslation=0 | |IsTranslation=0 | ||
| − | |||
}} | }} | ||
{{Tuto Status | {{Tuto Status | ||
|Complete=Draft | |Complete=Draft | ||
}} | }} | ||
Version du 21 octobre 2019 à 18:32
How to backup the data on your Autocut

Difficulté
Très facile
Durée
1 minute(s)
Introduction
Backing up is vital to ensure your data is safe in case there is a failure of the PC or Hard Disk Drive
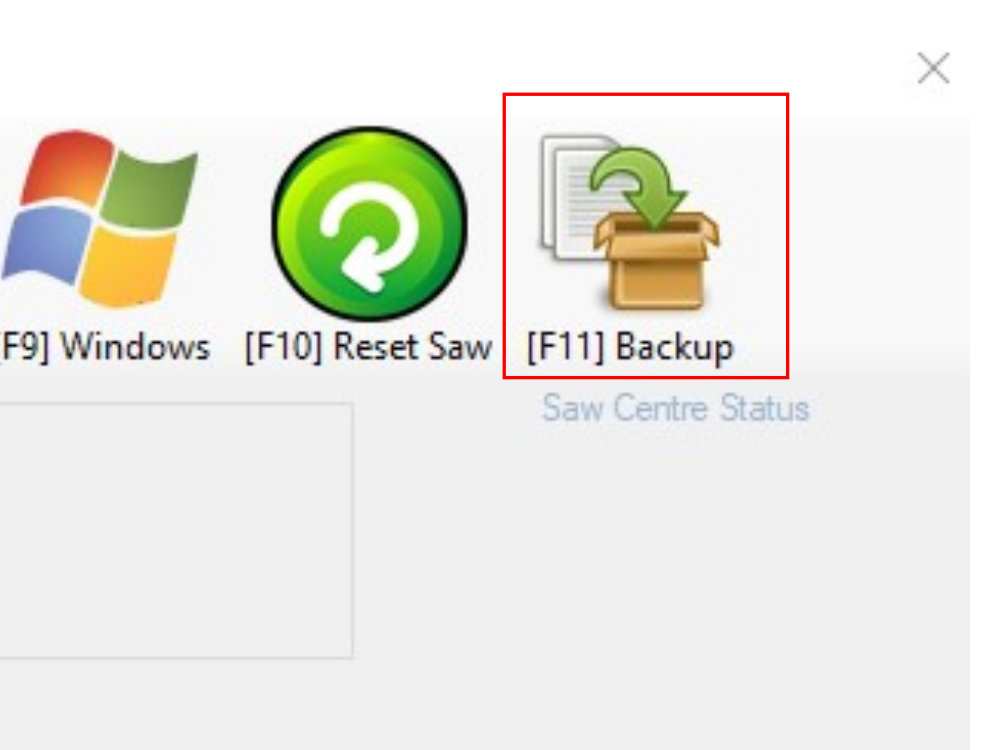
Étape 1 - Press Backup
Through the winSaw software press '[F11] backup'
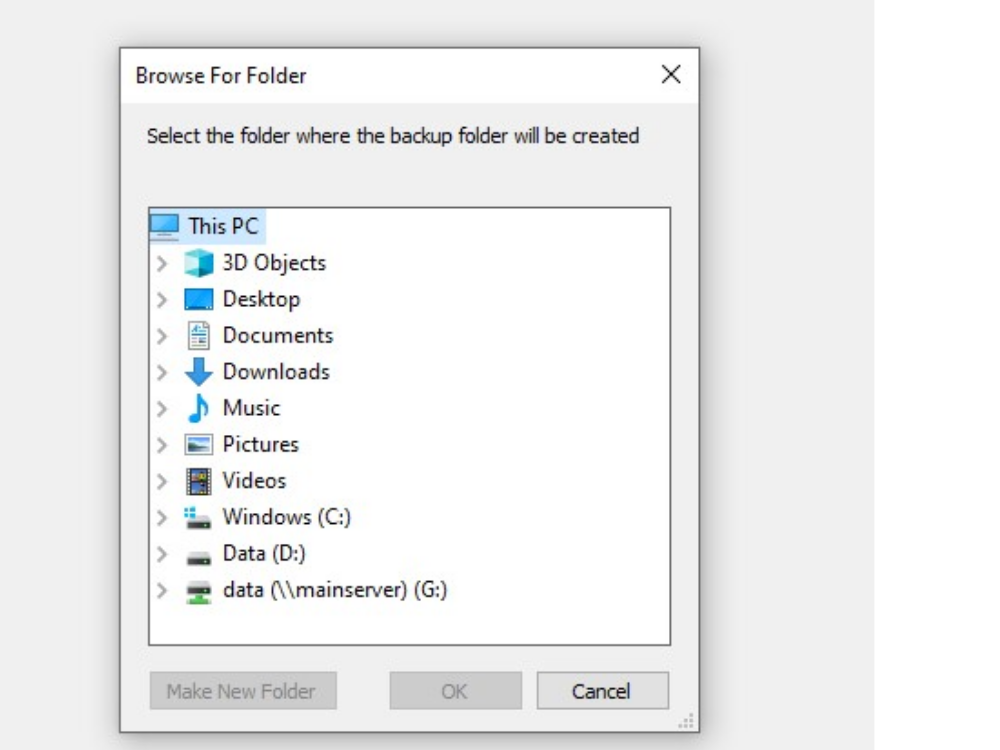
Étape 2 - Select Location
You will now be asked where you want the put the backup.
Ideally, this backup should be on a network directory or a USB stick
Étape 3 - Click OK
Draft
 Français
 English
 Deutsch
 Español
 Italiano
 Português