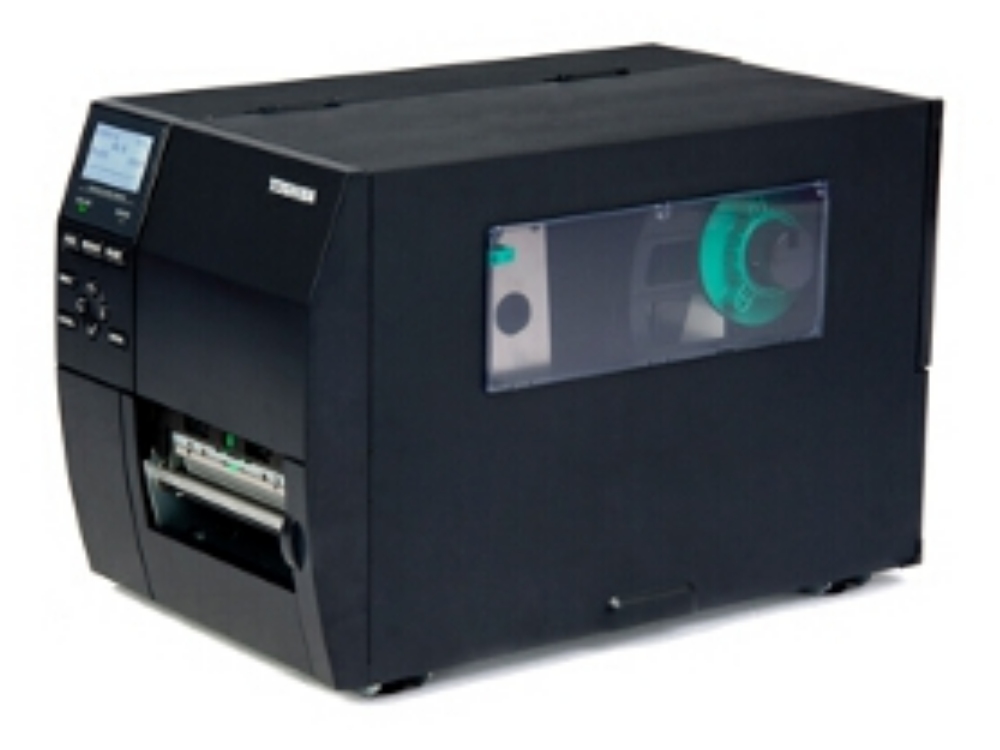
B-EX4T1 Printer Setup for Auto Labeling

Difficulté
Facile
Durée
20 minute(s)
Sommaire
- 1 Étape 1 - Inner & Outter
- 2 Étape 2 - Rewind Spool
- 3 Étape 3 - Printhead access
- 4 Étape 4 - Setting Rewinder
- 5 Étape 5 - Label Guides
- 6 Étape 6 - Sensor Position
- 7 Étape 7 - Closing Label Head
- 8 Étape 8 - Connecting printer to PC
- 9 Étape 9 - Initial Power up
- 10 Étape 10 - Using BCP to setup the printer
- 11 Étape 11 - Change Settings
- 12 Étape 12 - Testng
- 13 Étape 13 - Set the IP Address for the Customers network
- 14 Commentaires
Étape 1 - Inner & Outter
The instructions for the both Inner & Outter wound labels are on the inside of the open lid.

Étape 2 - Rewind Spool
There will be no ribbon and as the seetings will be for Peel Off a length of blank backing needs to be feed onto the Rewind spool

Étape 3 - Printhead access
To gain access turn the green knob to FREE. You can then pull the front plate down and lift the printer head up.

Étape 4 - Setting Rewinder
Ensure the Switch is set to REWINDER

Étape 5 - Label Guides
With the Printhead open ensure that the labels are under the small black sprung guids. Slide the green gluide to the width of the label.

Étape 6 - Sensor Position
Ensure that the send head is in the middle of the label

Étape 7 - Closing Label Head
When Loaded close the Printhead down, lift the front plate up and turn the green knob to LABEL.

Étape 8 - Connecting printer to PC
For easy setup use a USB cable (Everything can be done via the network web interface)
1) Connect a USB cable to the PC
2) Connect a Network cable to a live DHCP network to obtain an Ip address.
3) Download load the BCP setup software: https://www.toshibatec.com/download_overseas/printer/setting_tool/BCP_Series/ [1]
Étape 9 - Initial Power up
If the labels have been fitted properly on power up the calibration process will eject several labels.
Take a note of the IP addres given to the printer on the front panel.

Étape 10 - Using BCP to setup the printer
When you start BCP you should see.
Select USB if not Selected

Étape 11 - Change Settings
Press the Emulation Button and take the top option "Zmode System Parameters Settings"
Then Make the changes
- Label Length 38mm (after calibration this will be reset to 41.3)
- Label Width 98mm
- Ribbon WITHOUT RIBBON
- Print mode PEEL OFF
- Sendor TRANS PREPRINT
- Max Label Length (for callabration) 200mm (this just saves on the callorbration)
Press the DOWNLOAD button and check that there are no errors.

Étape 12 - Testng
1) Pressing Feed should push out another label regards.
2) Send a lable to the printer via the network (or via the Test - Send file within BCP).
3) Send more that one file and make sure that eah time you remove a label fomr the output the ext one is presented.

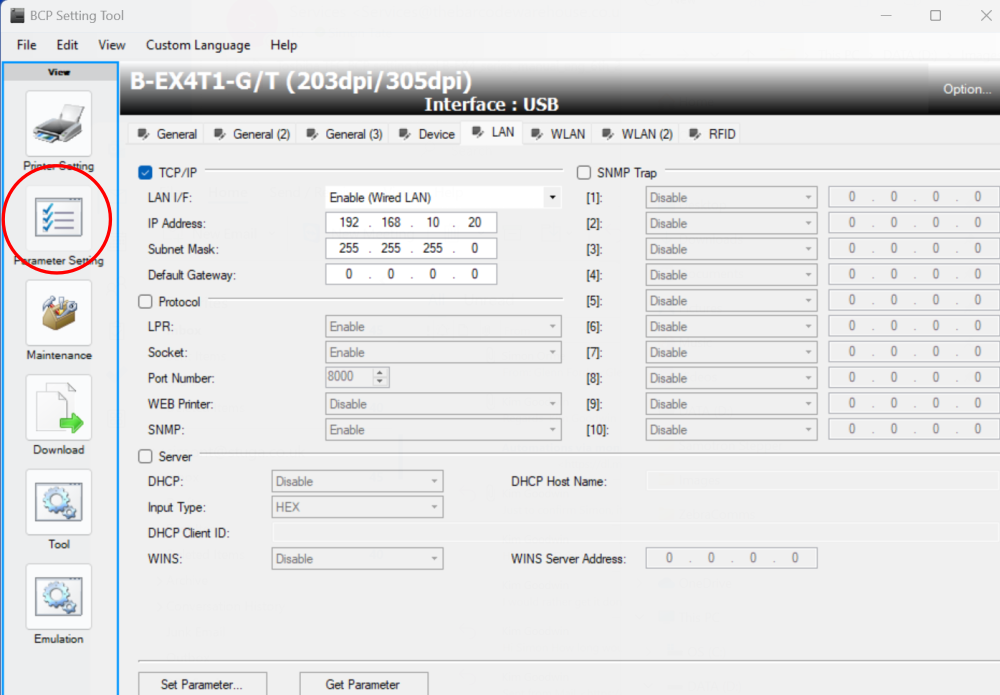
Étape 13 - Set the IP Address for the Customers network
Within BCP chose "Paramter Settings"
Select the LAN tab
enable TCP/IP
Enable Wired LAN
Set IP Address and Sub Net Mask
Press the Set Parameter at the bottom.
Draft
 Français
 English
 Deutsch
 Español
 Italiano
 Português