How to use the rackOffset features in v6.4.37.0 to correct incorrect linearity on a gripper rack
Sommaire
- 1 Introduction
- 2 Étape 1 - Ensure your measuring equipment matches the calibration
- 3 Étape 2 - Create Linearity Test Bars
- 4 Étape 3 - Check Consistency
- 5 Étape 4 - Measure position of each slot from datum end
- 6 Étape 5 - Find the actual positions of the operations
- 7 Étape 6 - Add operation positions and offsets
- 8 Étape 7 - Test again
- 9 Commentaires
Introduction
Accuracy problem on A2001 was traced to a non-linear rack. This tutorial demonstrates how to test the linearity of a rack and the systems in place to correct the linearity.
Étape 1 - Ensure your measuring equipment matches the calibration
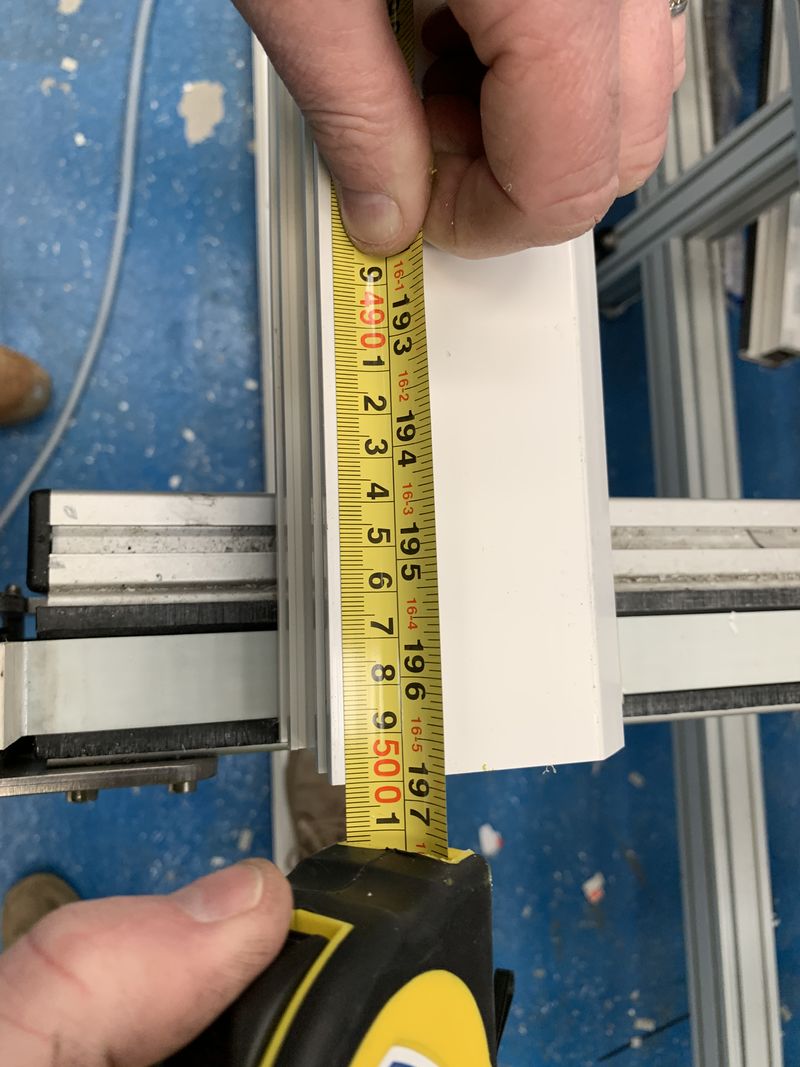
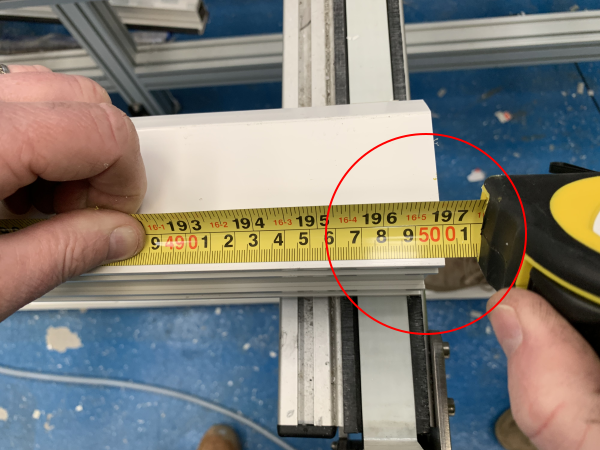
- Cut a long bar length - as long as you can given the standard length and capacity of the machine. In our test we used 5m bar lengths cut from 5.3m standard lengths
- Measure bar length to your chosen tape rule.
- Adjust the scaling of the machine to ensure the cut bar is 5m long +/-0.5mm
Étape 2 - Create Linearity Test Bars
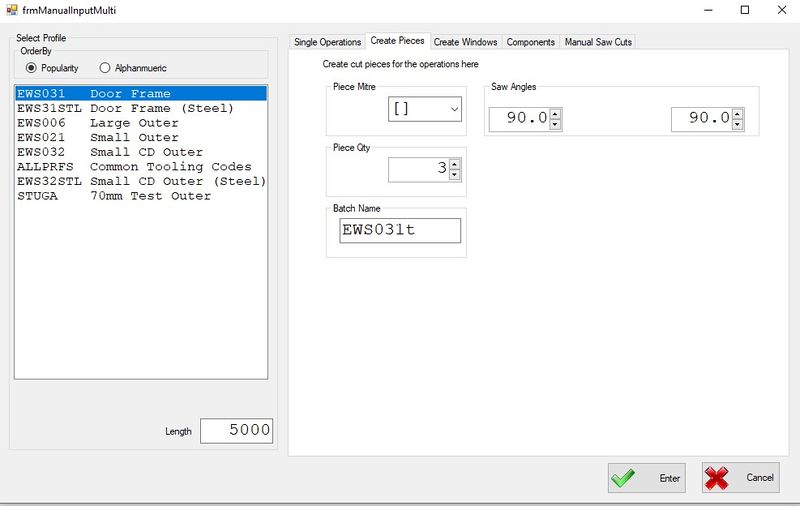
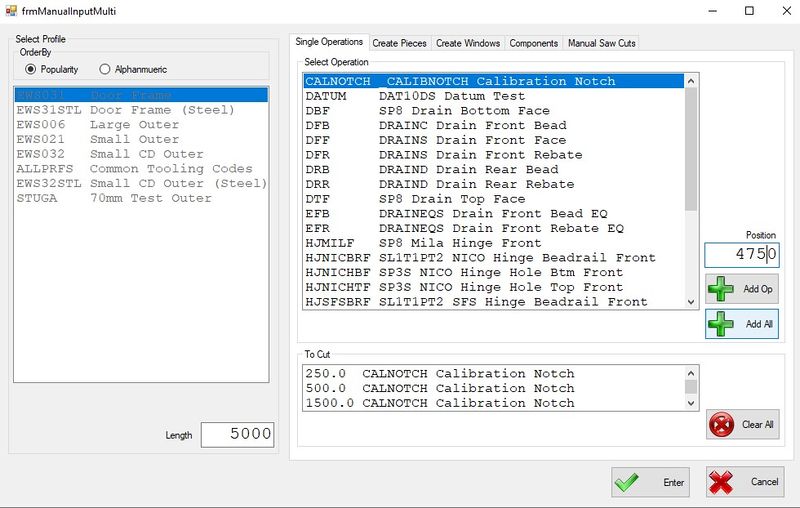
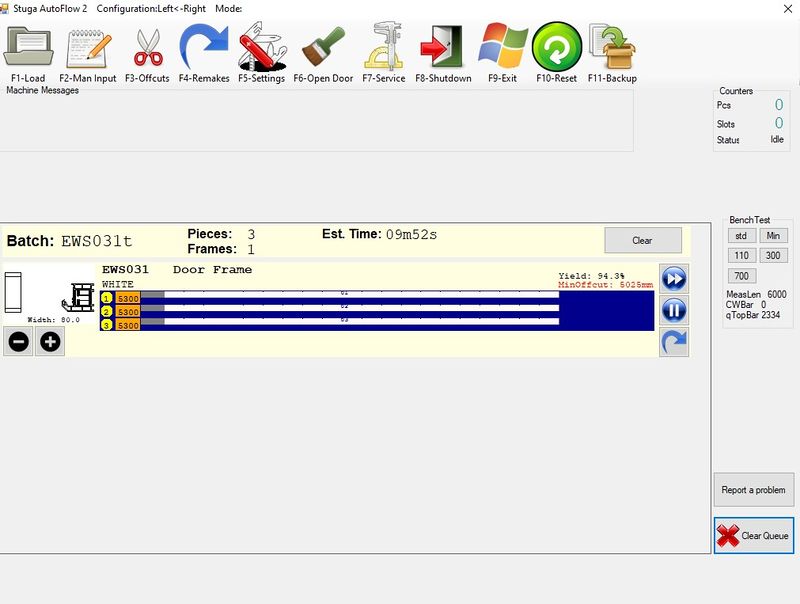
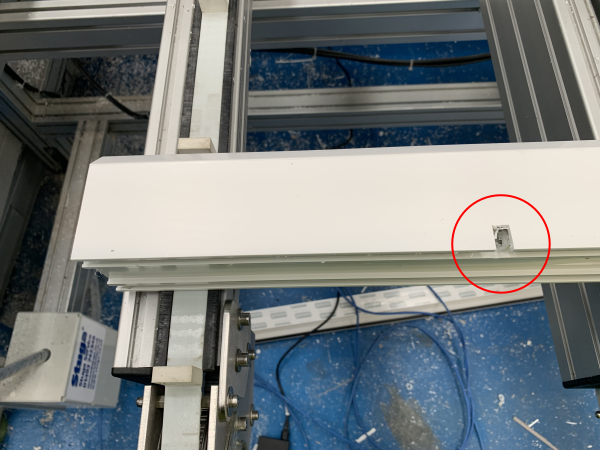
- Create THREE manual input pieces 5m [] and add the "Calibration Notch" at 250mm intervals from 250mm to 4750mm
- Run all 3 bars
Étape 3 - Check Consistency
Compare the position of the slots on each of the 3 bars with respect to each other. by lining the up together (regrettably photo does not show this)
If the 3 bars are not identical, the root cause is not linearity.
Do not proceed with this process, the root cause will be mechanical play in
- Clamping
- Gripping
- Alignment
- Loose Components
Or possibly drive tuning
Étape 4 - Measure position of each slot from datum end
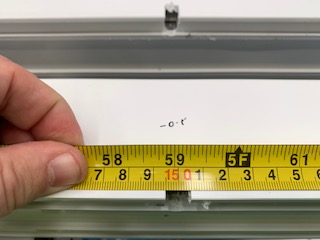
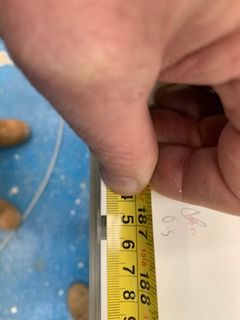
Write the error +\- next to each notch, measuring from machining centre end (photo shown is RtoL feed machine).
Repeat for each notch on each of the 3 bars
Again, check for consistency. If there is any doubt that the results have not repeated consistently 3 times, then do not proceed
Étape 5 - Find the actual positions of the operations
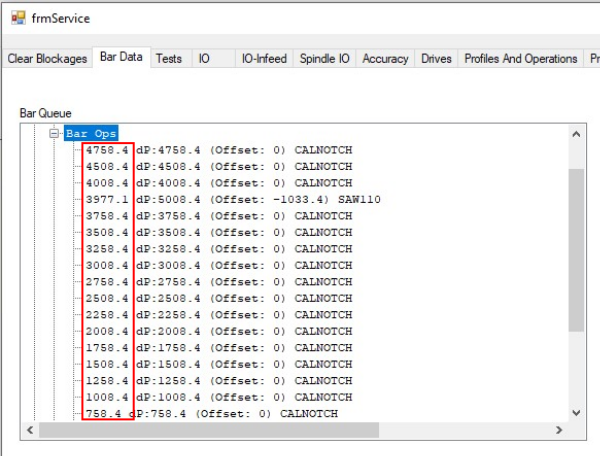
In the Service Form->Bar Data you can find the operation positions in the bar tree
You only need the CALNOTCH positions, not the saw cuts
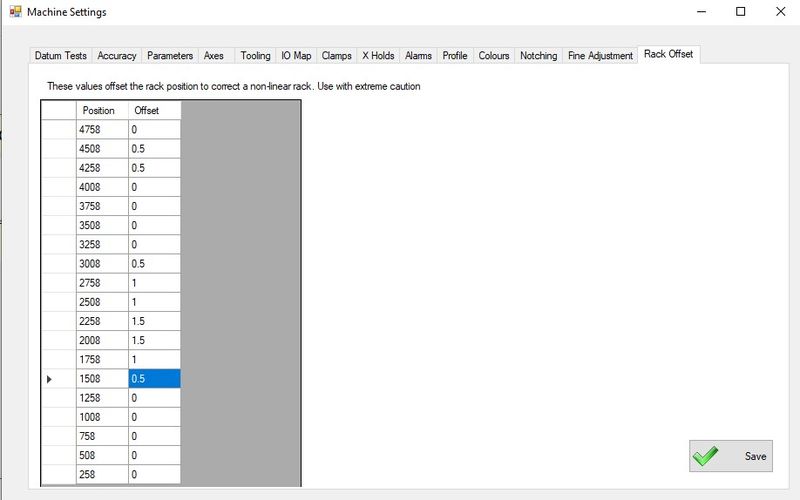
Étape 6 - Add operation positions and offsets
Add the positions from the step above along with the offsets
Press Save
Étape 7 - Test again
Run the linearity test from above again.
Success will be all the notches in the place they should be with no discernable offset
Draft
 Français
 English
 Deutsch
 Español
 Italiano
 Português