Bench assembly details for guards and doors
Sommaire
- 1 Introduction
- 2 Étape 1 - Unless otherwise stated
- 3 Étape 2 - Paintwork quality
- 4 Étape 3 - Roof Panel fit light
- 5 Étape 4 - Roof panel fit beacon
- 6 Étape 5 - Roof panel fit Stuga sticker
- 7 Étape 6 - Front Panel Upper Fit screen
- 8 Étape 7 - Front Panel Upper fit camera
- 9 Étape 8 - Front Panel upper Fit Sticker
- 10 Étape 9 - Rear Upper Panel Fit Camera
- 11 Étape 10 - Rear upper Panel Fit sticker
- 12 Étape 11 - Door assembly Fit Handles
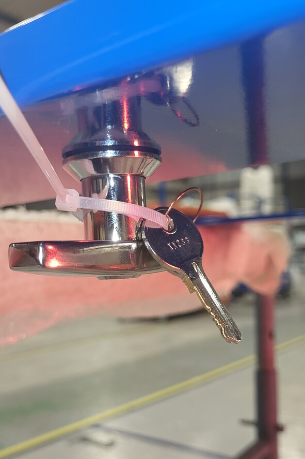
- 13 Étape 12 - Attach key to handle
- 14 Étape 13 - Door Assembly Fit screens
- 15 Étape 14 - Door Assembly Fit stickers
- 16 Commentaires
Introduction
Tools Required
Standard hex key set
Standard spanner set
Dymo label printer
Parts Required
C0001152 Camera: HikVision DS-2CD2343G0-I-2.8mm x 3
C0001239 Micro SD Card 32Gb Class 10 x 3
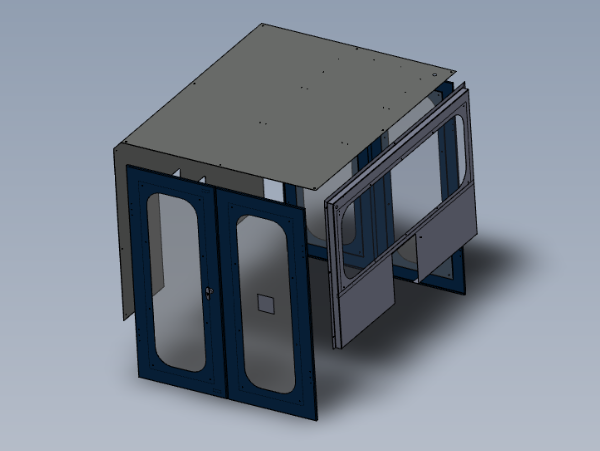
D0007643B Perspex Glazing - Door x 4
D0007644B Machining Centre Door 1 x 2
D0007645B Machining Centre Door 2 x 2
D0007654B Perspex Glazing - Front Guard MkB x 1
H0015747 8mm diameter rod x 1 ( in process of changing to D0015747 x 4 )
M0000036 Sign - Ear Protection x 1
M0000201 T Handle Cabinet Lock x 2
Étape 1 - Unless otherwise stated
Use locktite 243 on all fasteners
Use loctite 572 on all threaded pneumatic connection
Pen mark all fasteners to show finalised
Étape 2 - Paintwork quality
Please ensure all paintwork is inspected before assembly and any quality issues are reported.
All paintwork must be of a good quality with no damage evident
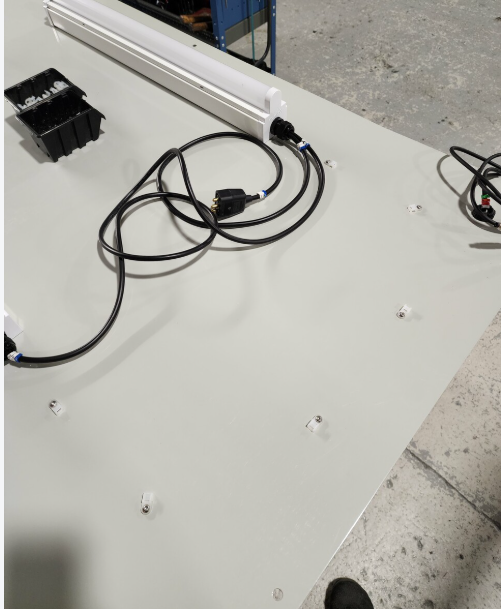
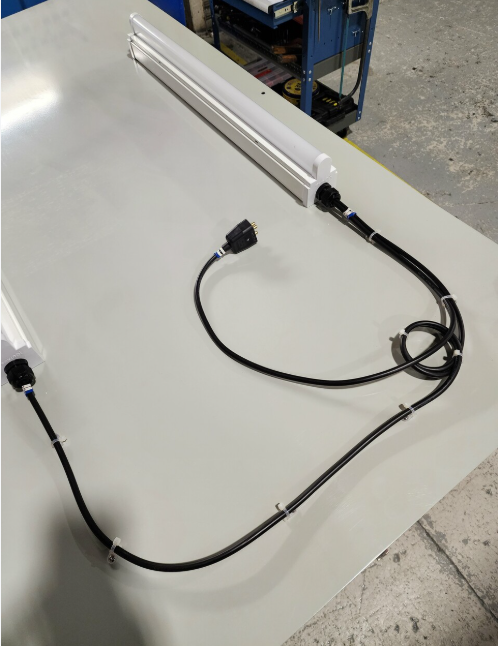
Étape 3 - Roof Panel fit light
Images show L-R configuration. Please mirror assembly for R-L
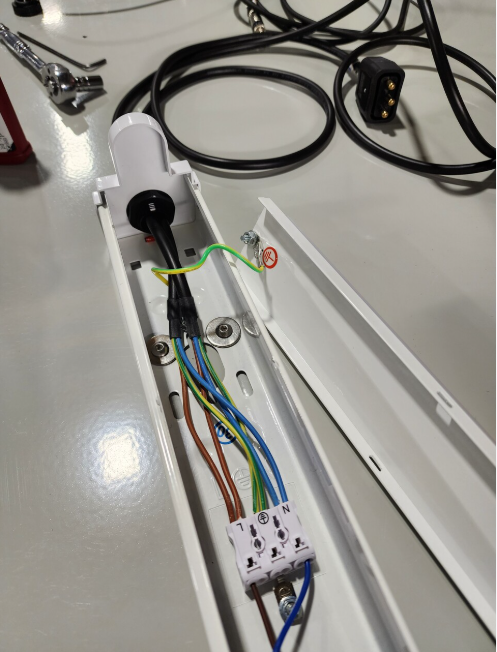
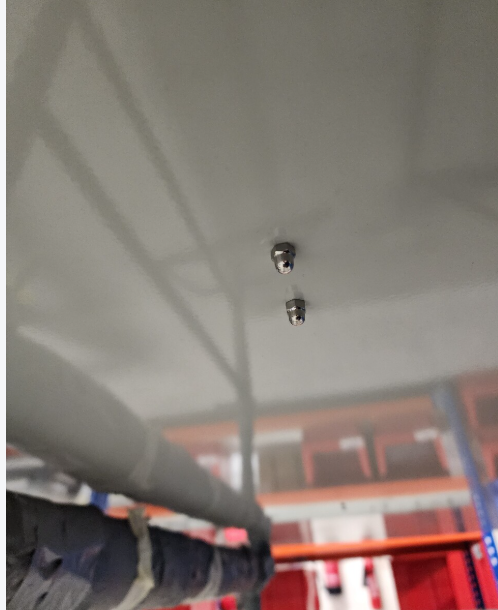
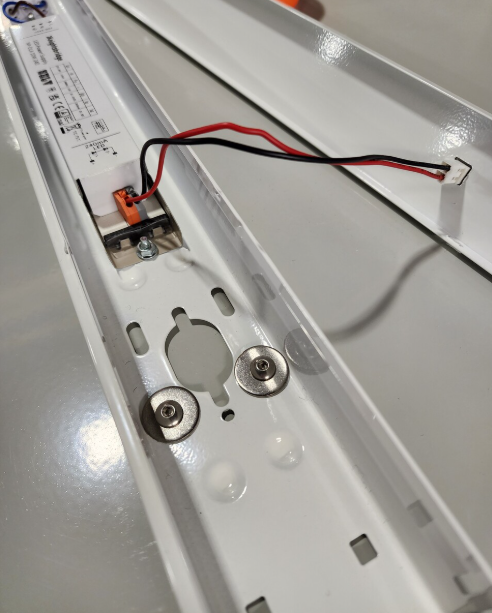
Use m5 x 10 buttons 4 off + penny washers backed with a forms and dome nuts to fit each light assembly to pre drilled holes as shown
Ensure Light connection lead travels towards tie base fixing points
Attach M4 tie bases with M4 x 6 button heads to pre drilled holes
Secure cables from lights as shown
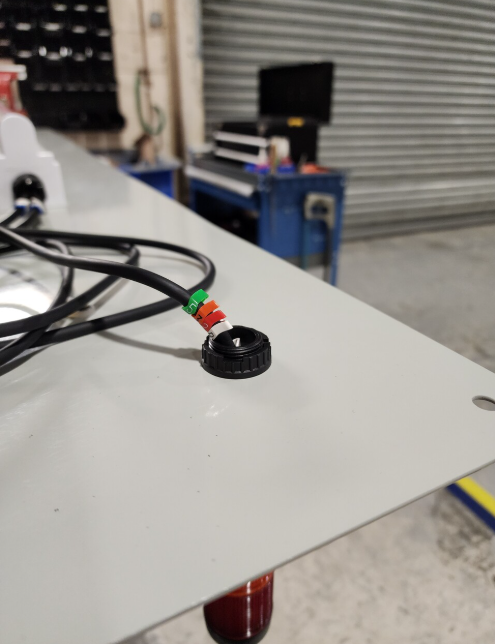
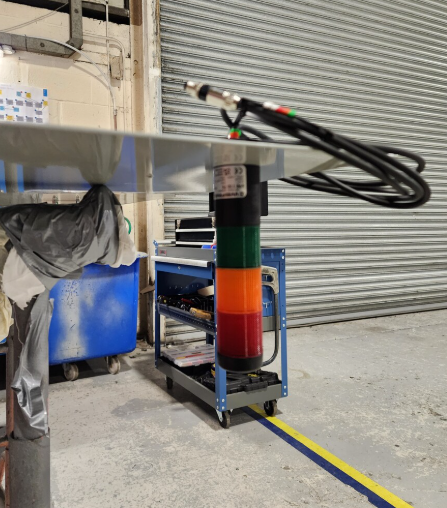
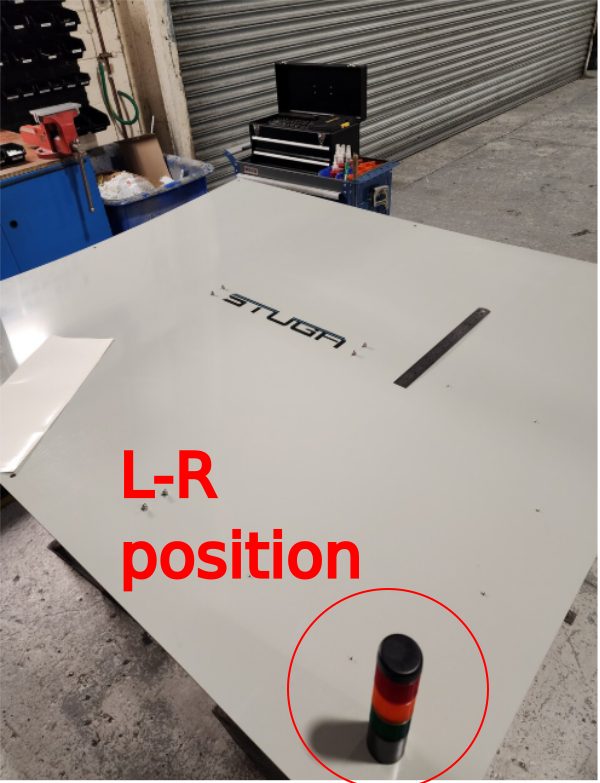
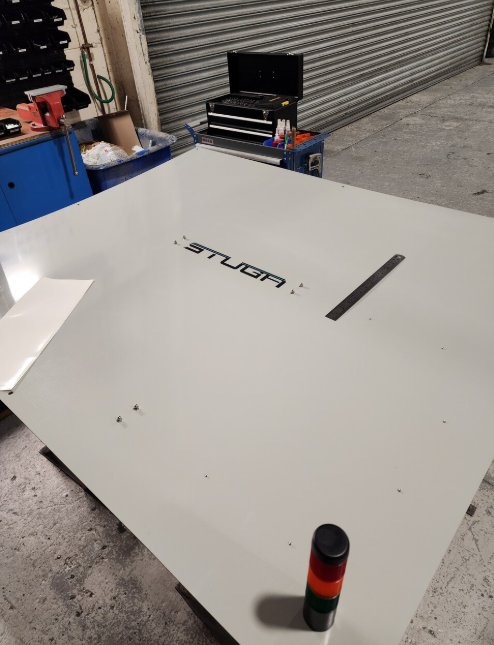
Étape 4 - Roof panel fit beacon
Images show L-R configuration. Please mirror assembly for R-L
Attached pre wired beacon as shown
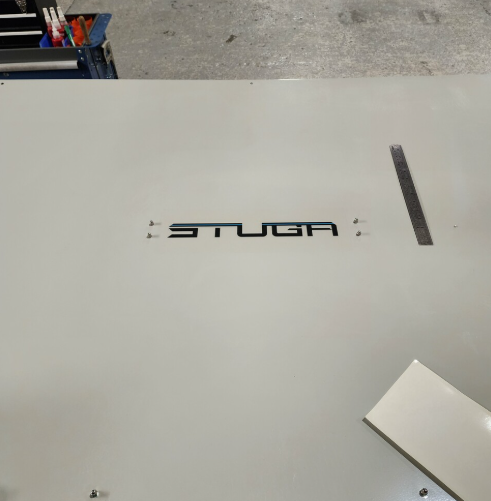
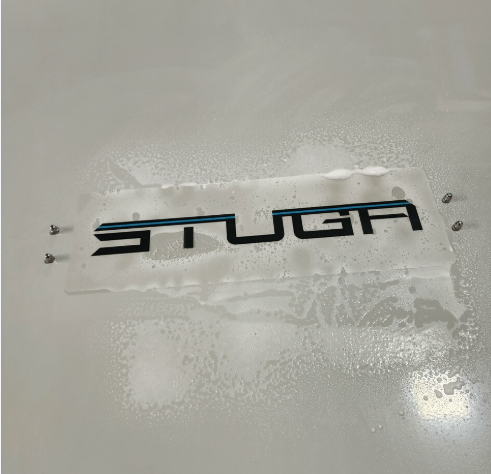
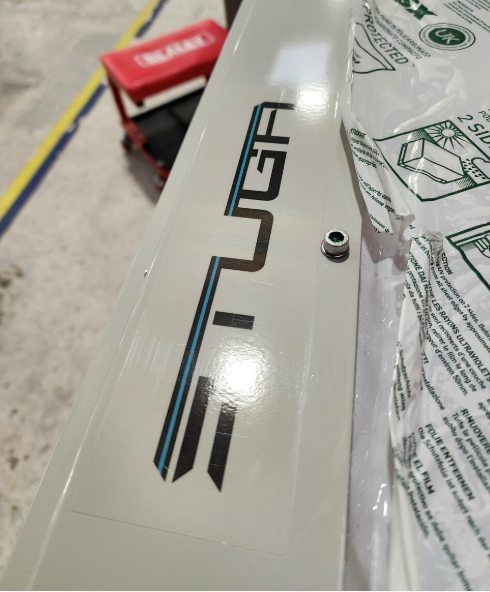
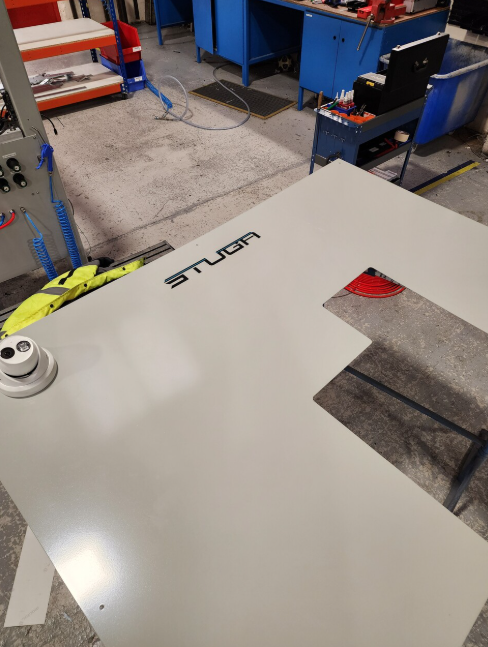
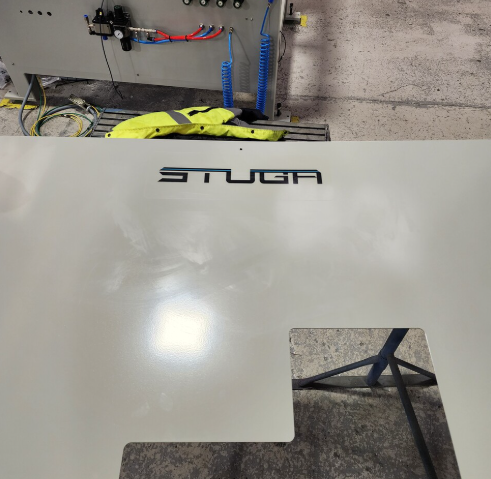
Étape 5 - Roof panel fit Stuga sticker
Fit Large clear Stuga sticker to top face of roof. Position evenly between light fixing points shown
Please ensure sticker is applied using foam spray and squeegee , so no air bubbles are present once fitted
Étape 6 - Front Panel Upper Fit screen
L-R Configuration shown . Mirror for R-L
Use M6 x 16 socket caps, M6 penny washers, M6 A Form washers and M6 nyloc nuts to fix
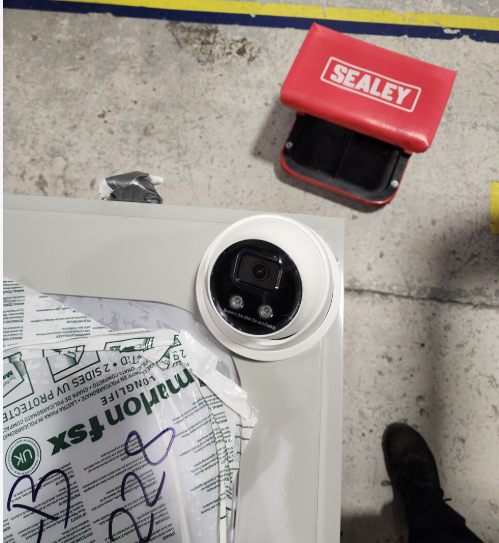
Étape 7 - Front Panel Upper fit camera
L-R Configuration shown . Mirror for R-L
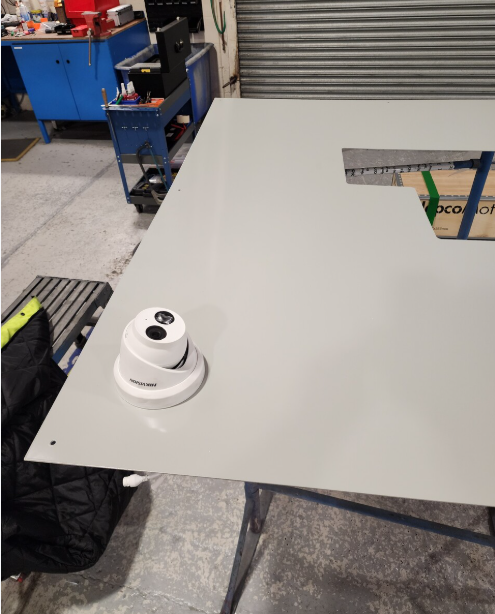
Fit C0001239 Micro SD Card 32Gb Class 10 x 1 to camera before mounting
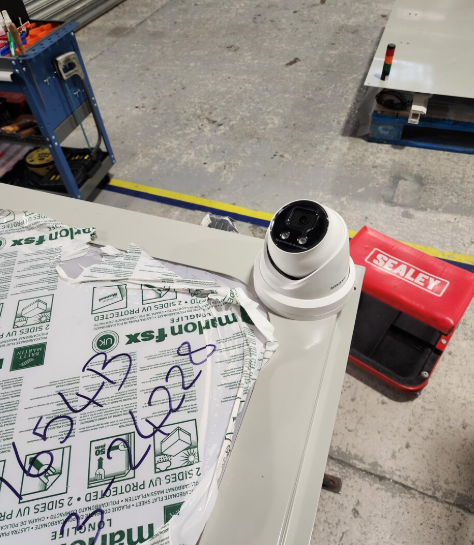
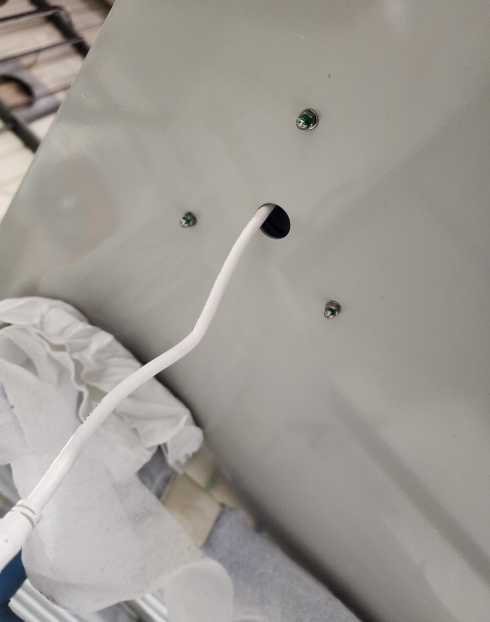
Fit camera to top guard using 3 off M4 x 12 socket caps , and back off with M4 dome nuts and M4 A form washers
Ensure camera is fitted the correct orientation. Camera will have a 'UP' marked on body. This must be at the top
Camera must be fitted to top corner of front guard closest to Module F saw unit
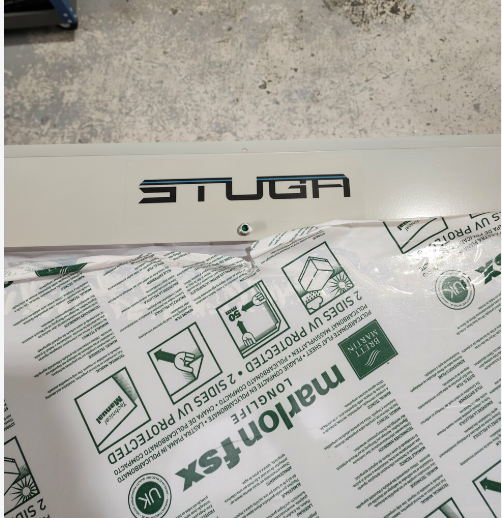
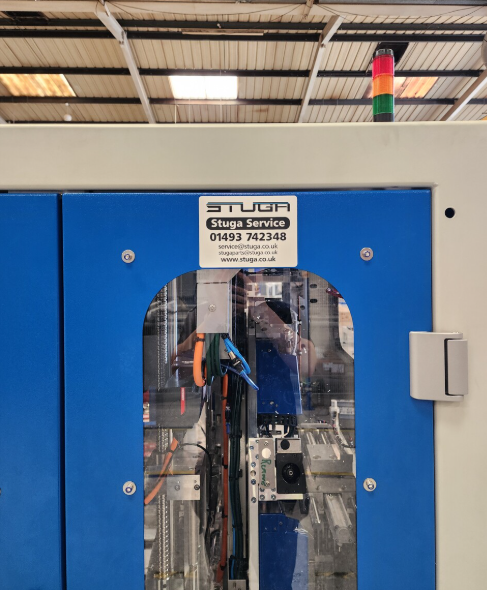
Étape 8 - Front Panel upper Fit Sticker
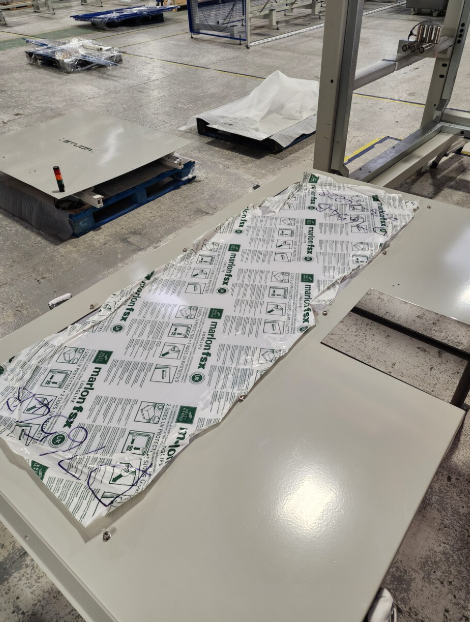
Remove 4mm off top and bottom of small stuga sticker, fit central with m6 bolt
Ensure sticker is fitted wet , so no air bubbles are present once fitted
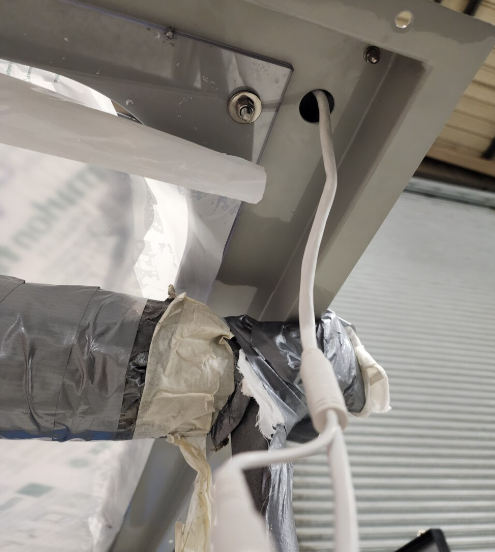
Étape 9 - Rear Upper Panel Fit Camera
L-R Configuration shown . Mirror for R-L
Fit C0001239 Micro SD Card 32Gb Class 10 x 1 to camera before mounting
Fit camera to rear panel using 3 off M4 x 12 socket caps , and back off with M4 dome nuts and M4 A form washers
Ensure camera is fitted the correct orientation. Camera will have a 'UP' marked on body. This must be at the top
Étape 10 - Rear upper Panel Fit sticker
L-R Configuration shown . Mirror for R-L
Fit large Clear Stuga sticker . Ensure sticker is fitted wet to avoid air bubbles once fitted
Étape 11 - Door assembly Fit Handles
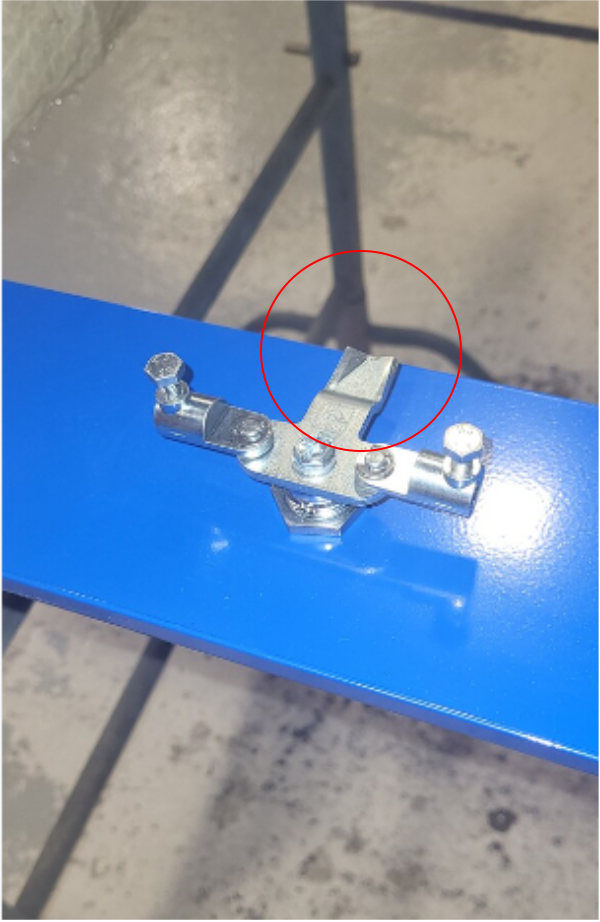
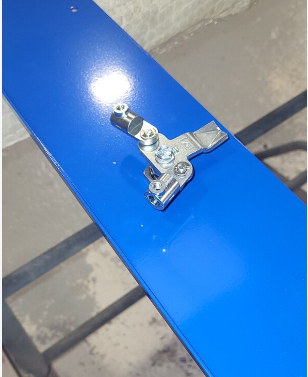
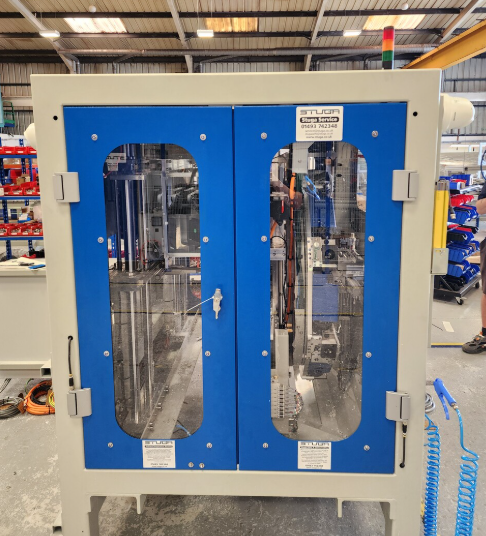
Fit door handles to doors, ensure orientated as shown, With striker facing centre of door
Ensure Loctite 243 is used on all securing nuts and Securing bolts. Remove all pre fitted bolts and add adhesive
Once tightened sufficiently check that rotation of handles are smooth
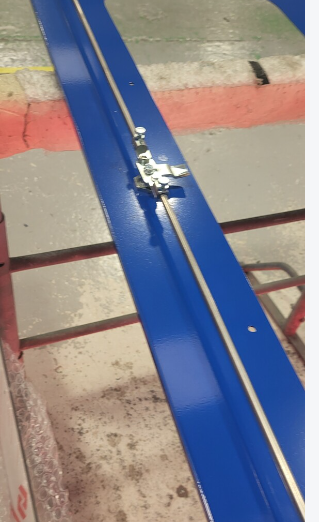
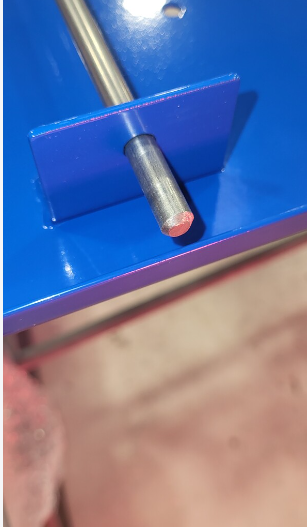
Fit 2 off door bars to each door , Adhesive is vital on locking fasteners for these rods
Ensure chauffeured end is present and orientated correctly
Étape 13 - Door Assembly Fit screens
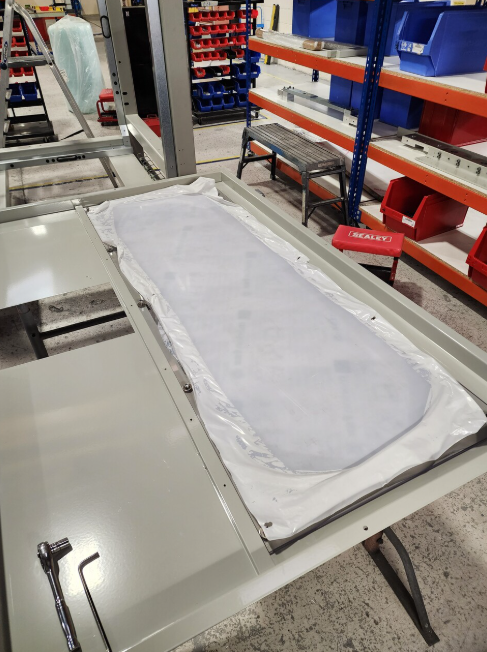
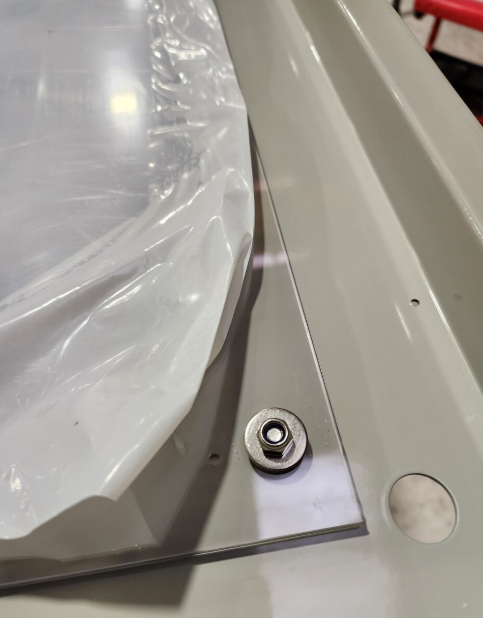
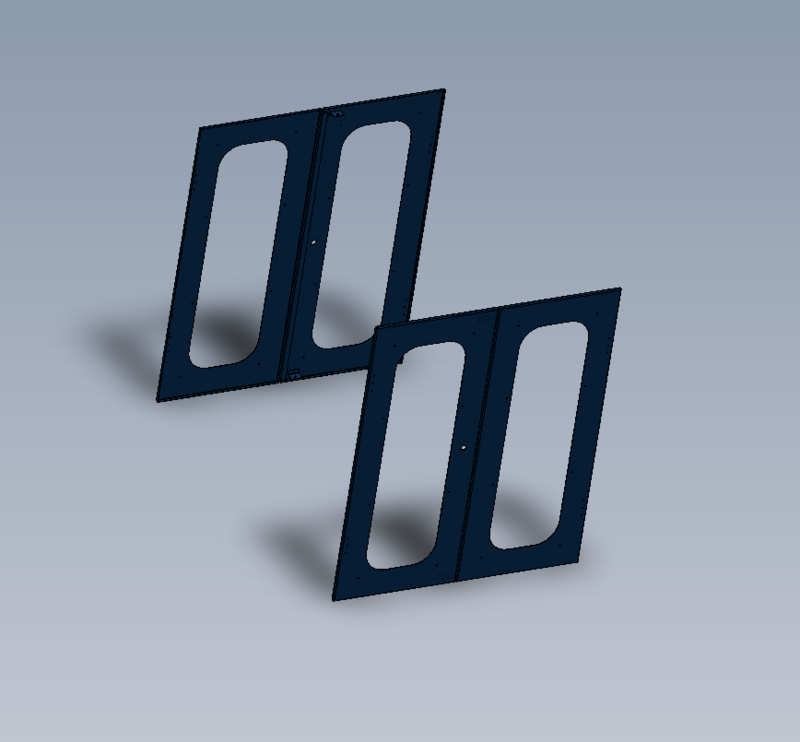
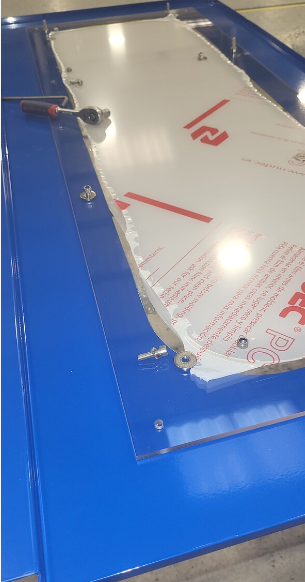
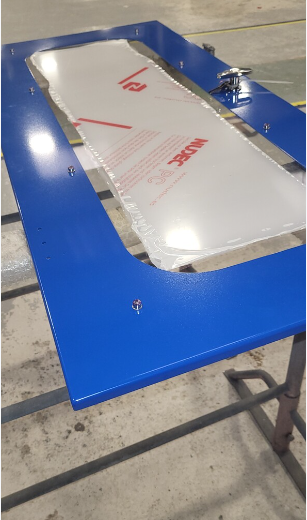
Fit screens to doors
Use M6 x 20 socket caps, M6 penny washers , M6 A form washers and M6 Nyloc
nuts to fix
Ensure protective wrap is only removed from edges to allow fitment of screen
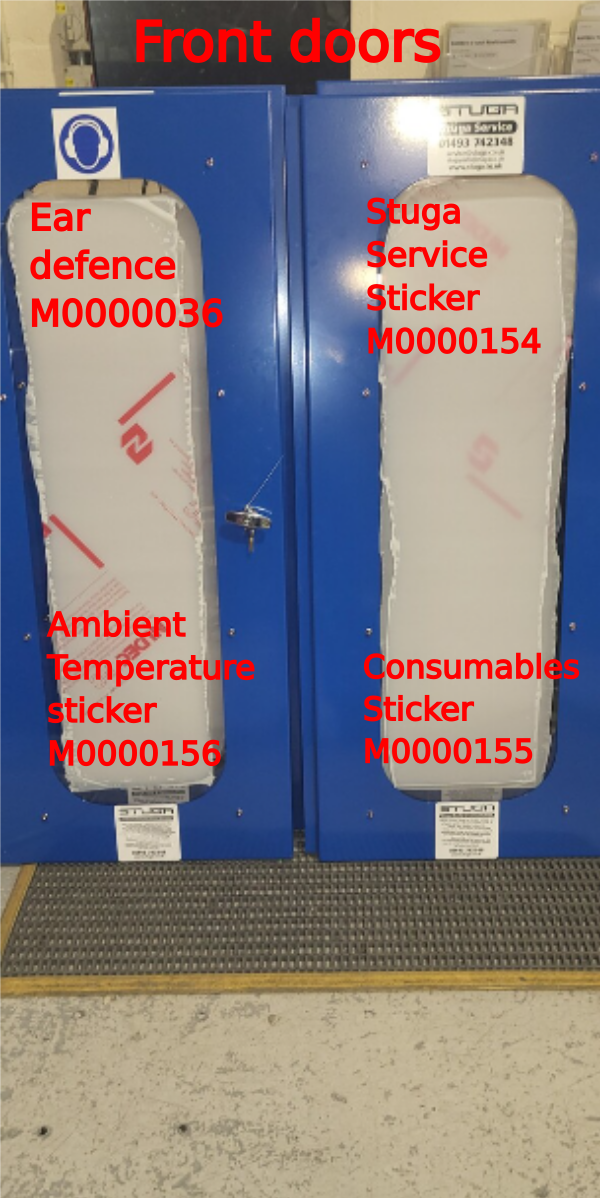
Étape 14 - Door Assembly Fit stickers
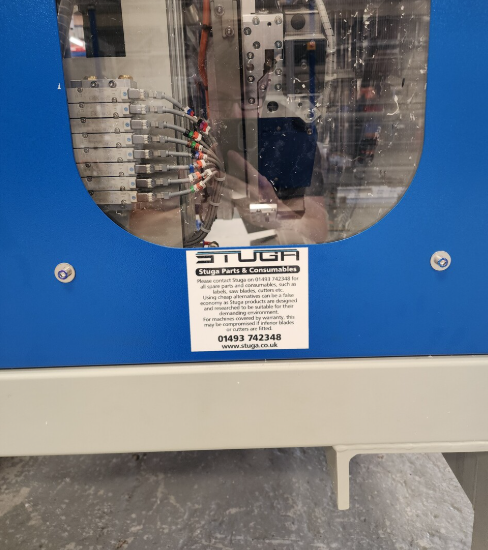
Fit stickers as shown
parts consumables and ambient temp stickers need cutting down by 4mm top and bottom to suit doors
Ensure all stickers are fitted wet, so no air bubbles are present once fitted
Draft



 Français
 English
 Deutsch
 Español
 Italiano
 Português