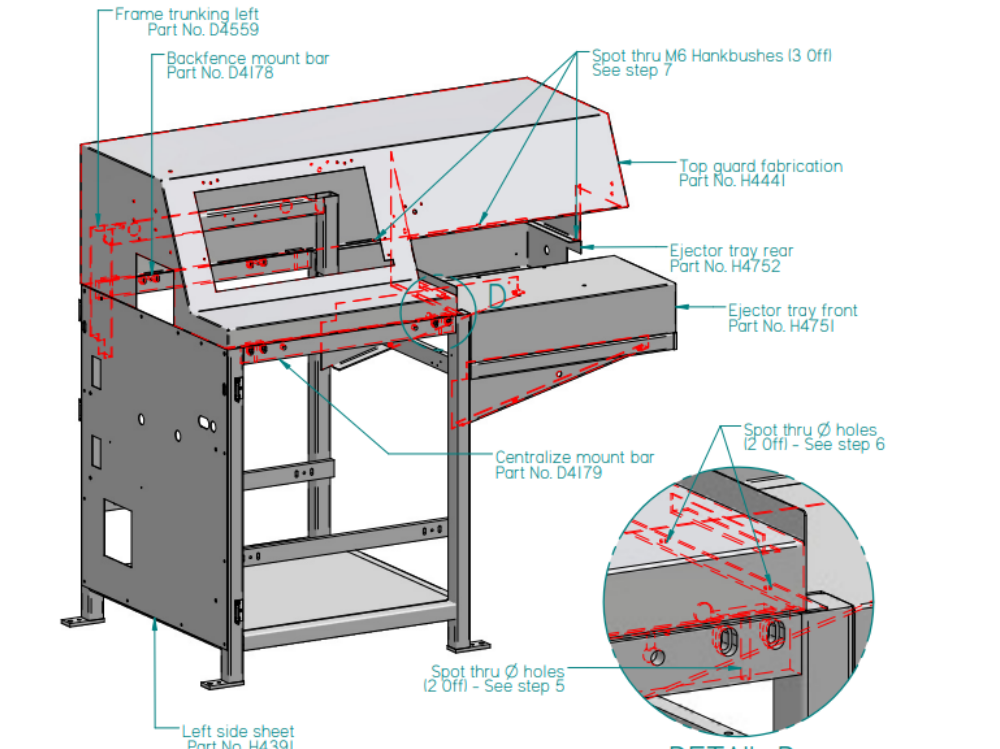
Details to drill to suit guard panels

Difficulté
Moyen
Durée
6 heure(s)
Sommaire
- 1 Introduction
- 2 Étape 1 - Drill hinge panel
- 3 Étape 2 - Drill Side sheet
- 4 Étape 3 - Drill rear chute and inserts
- 5 Étape 4 - Drill rear door
- 6 Étape 5 - Drill rear tray
- 7 Étape 6 - Drill front tray
- 8 Étape 7 - Fit top hood and position
- 9 Étape 8 - Mark Fixing points
- 10 Étape 9 - Drill hood
- 11 Commentaires
Introduction
Tools Required
Standard hex key set
Standard Hss drill set
Standard Tap set
Material clamps
Clamping blocks
Drill
Cutting fluid
Marker pen
Hide hammer
Parts Required
D0000330 Rear Chute Panel (500mm) x 1
D0004391E LF Side Sheet Mk5 (5395E) x 1
D0004576E Saw Centre Frame Mk5 (5343E) Standard Hand x 1
D0010967 Saw Mk5 Undertray x 2
D0015238 Saw Top Hood ZX5 x 1
H0004649 Chute Insert Outfeed (5321) x 1
H0004697 Chute Insert Infeed (5322) x 1
H0004751 Ejector Tray Front (5323) x 1
H0004752 Ejector Tray Rear (5324) x 1
H0004846 Right Side Hinged Panel x 1
D0001878 Rear saw door x 1
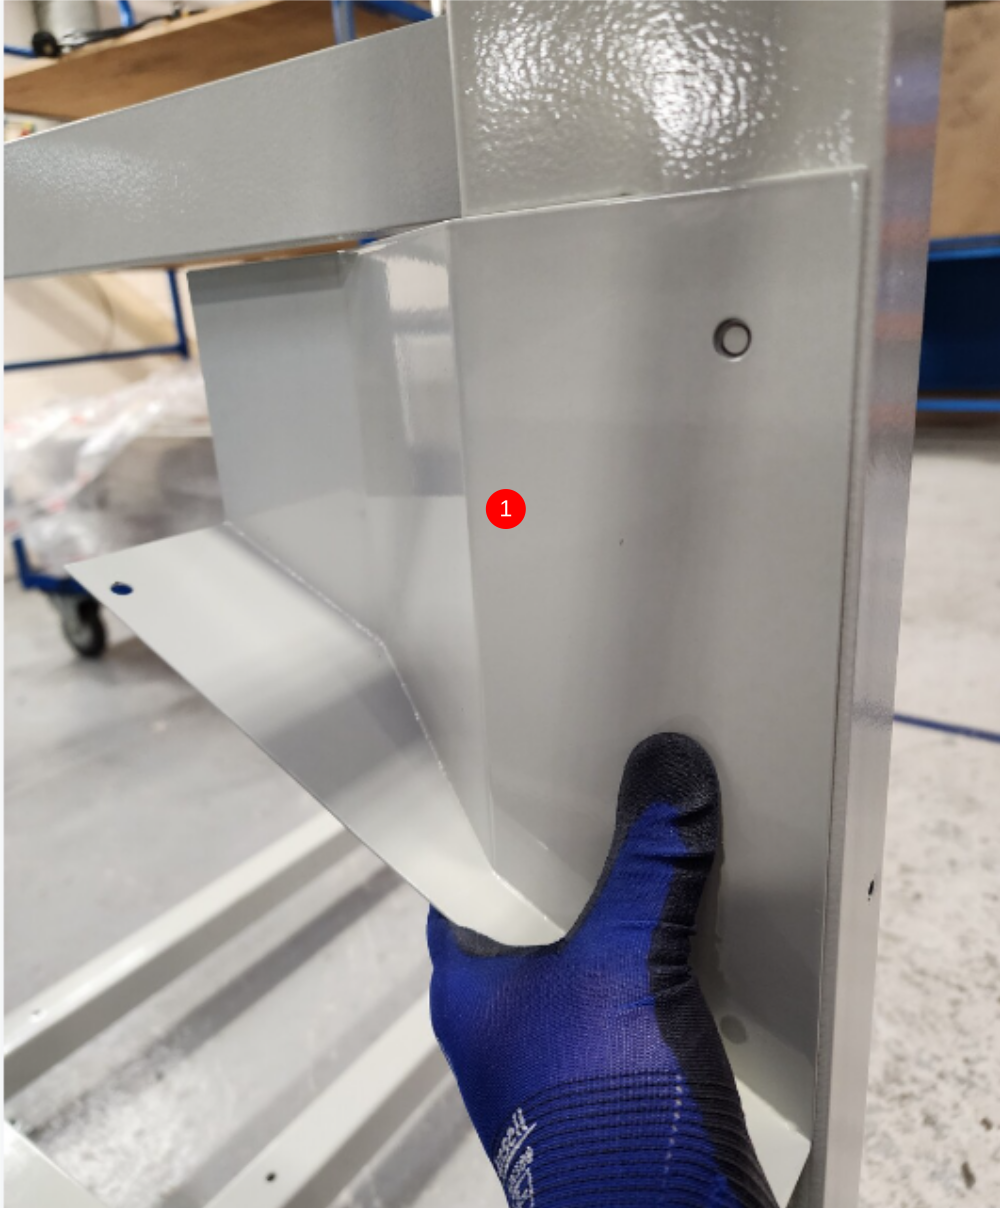
Étape 1 - Drill hinge panel
Drill hinge panel as detailed
1 Clamp panel in position equalising edges to frame
2 Drill vertical face holes onto frame M6 tapped
3 Mark 4 off holes with M6 pointed grubscrew
4 Drill 4 off to 7.5 mm
5 Check correct drilling by fixing panel with M6 socket caps


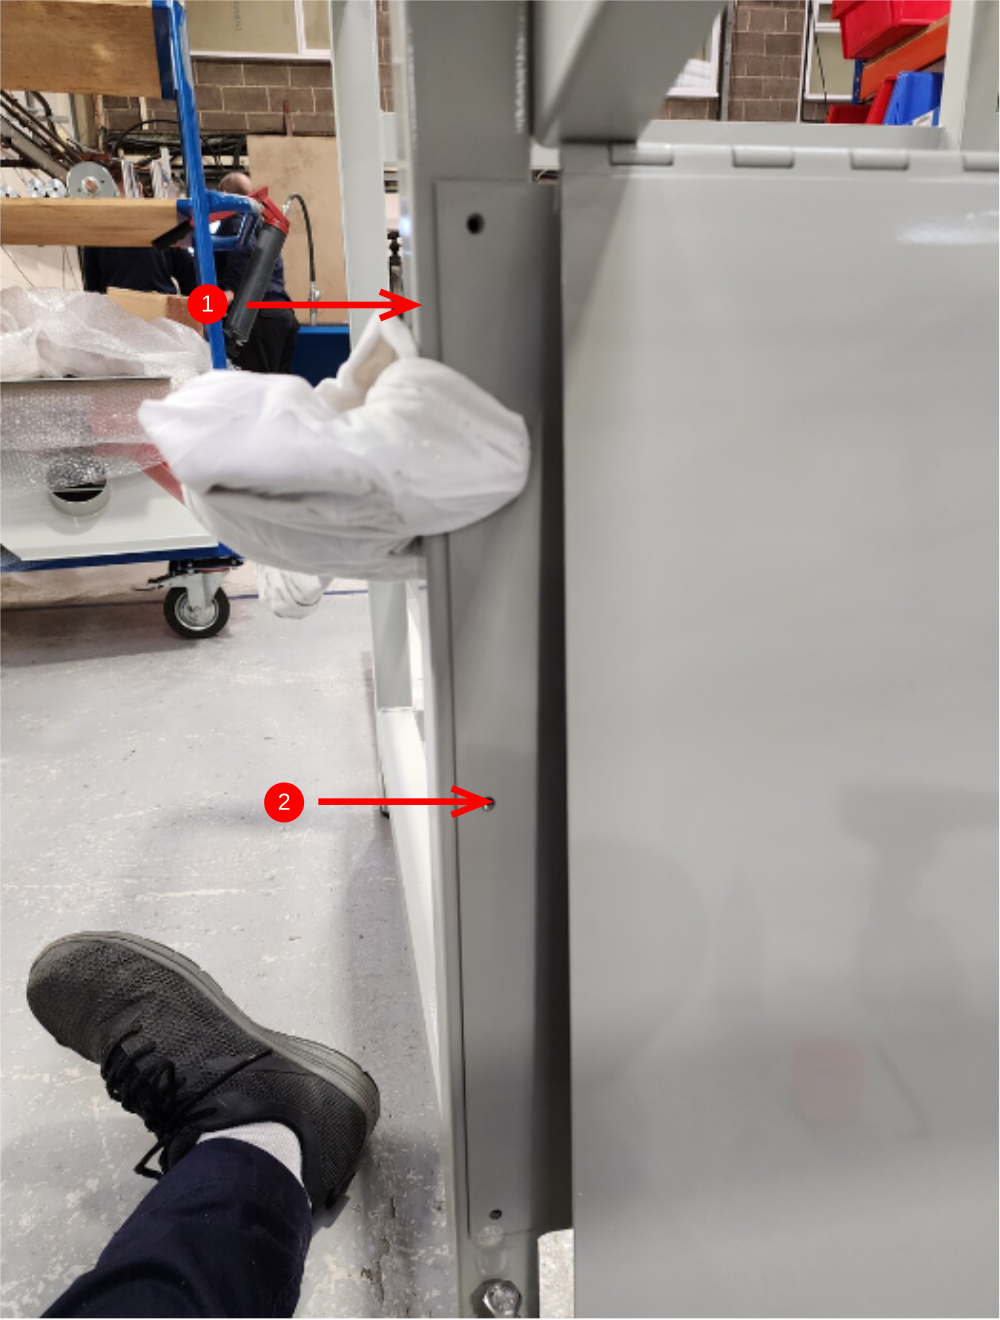

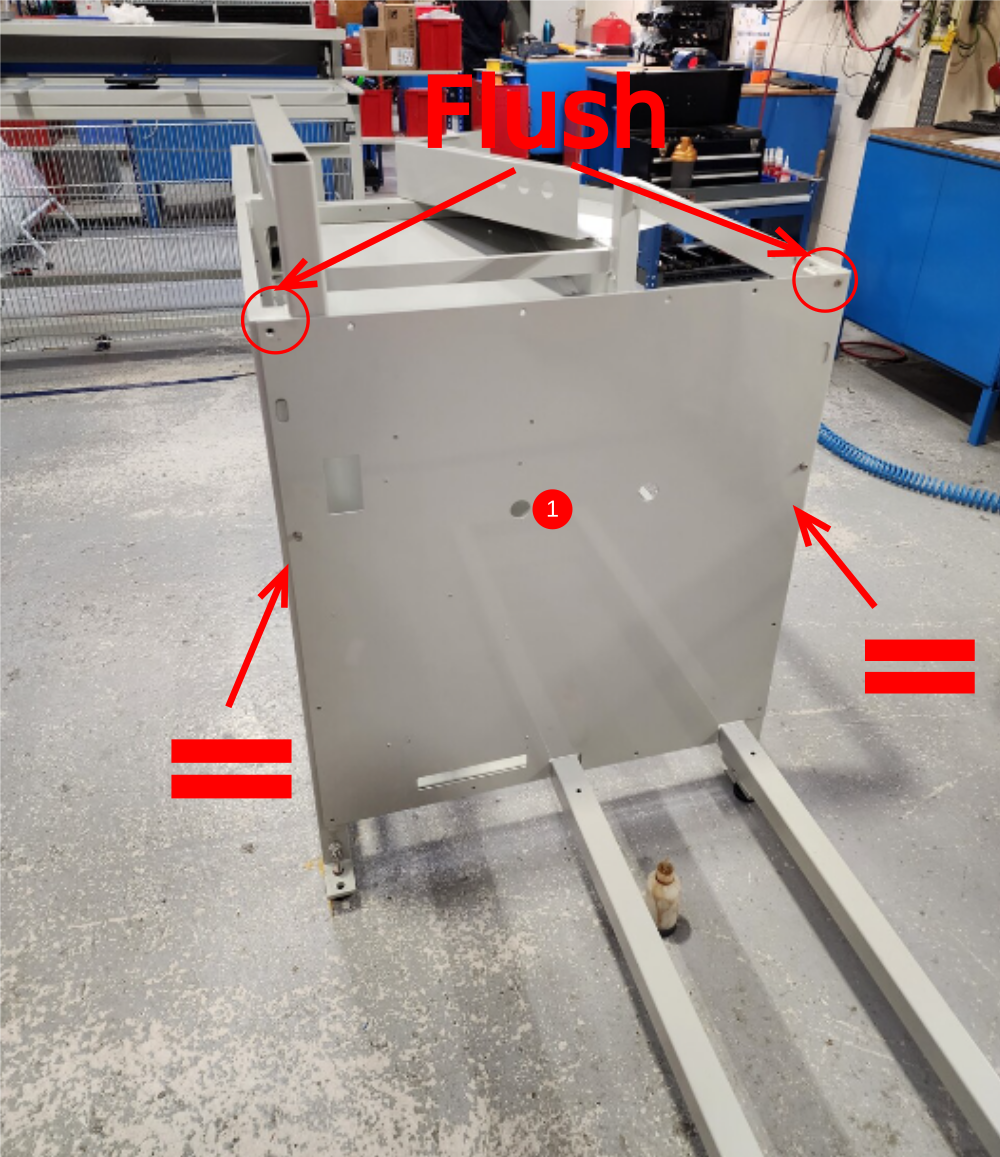
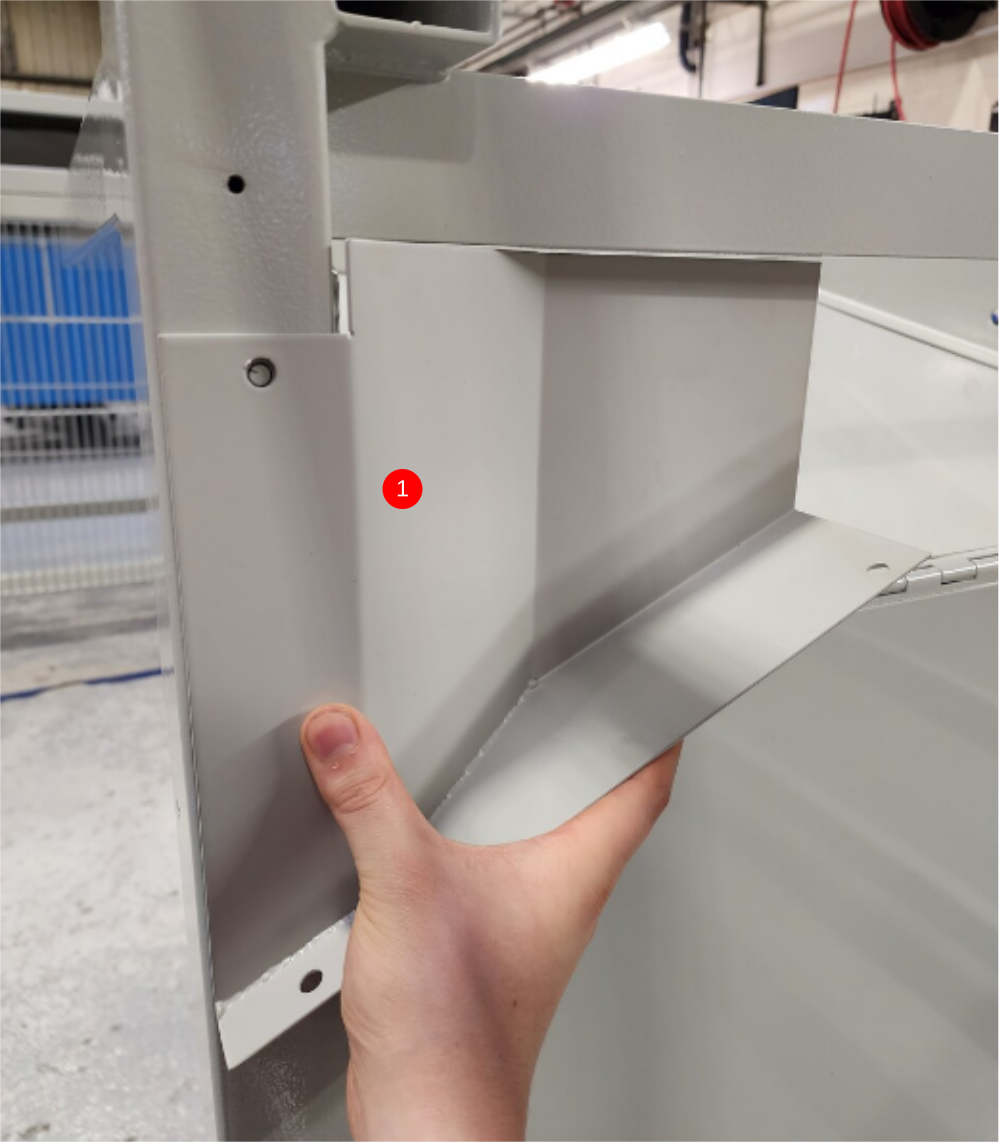
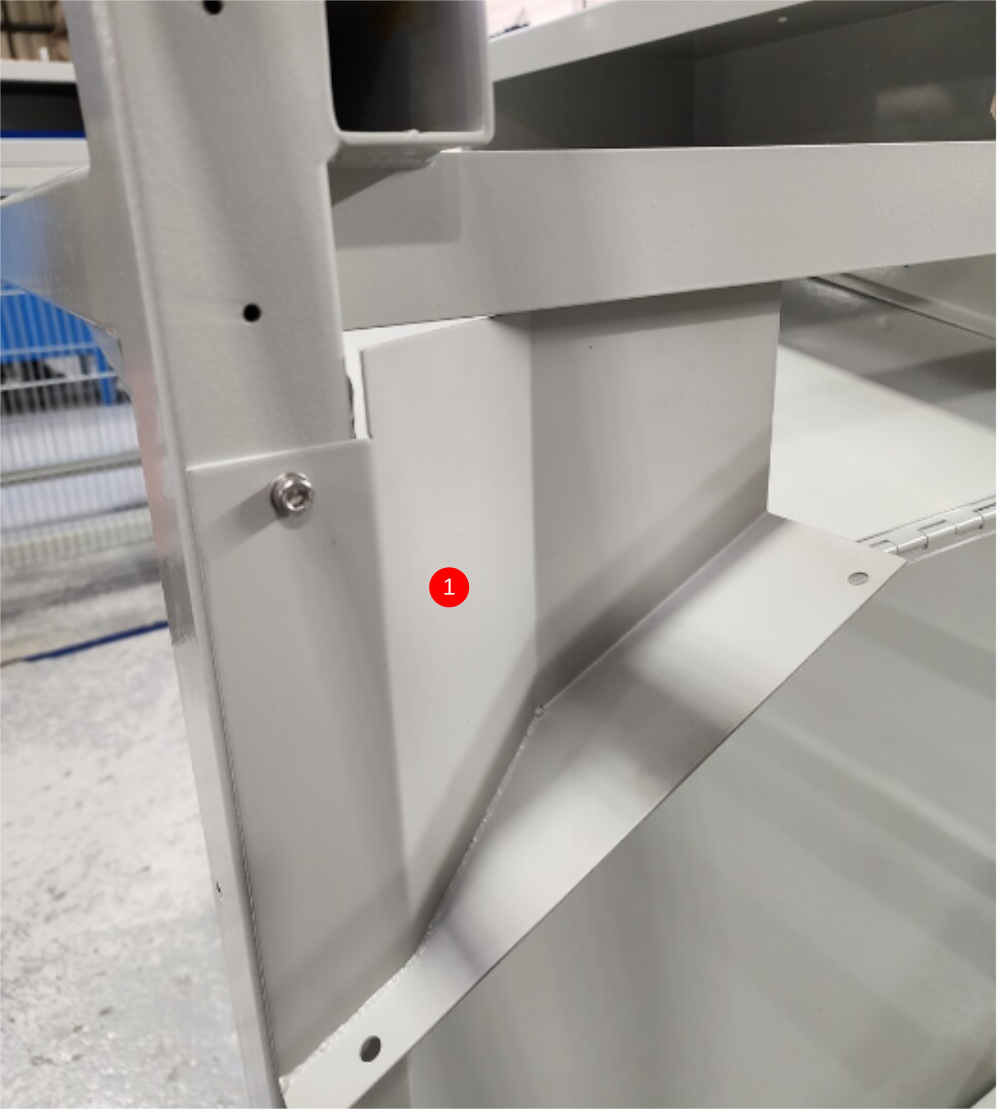
Étape 2 - Drill Side sheet
1 Clamp panel in place. Set equal position side ways and flush to top face
2 Drill 8 off M6 tapped holes as shown
3 Drill and tap M5 , then countersink to allow flush fitment of M5 countersunk bolt

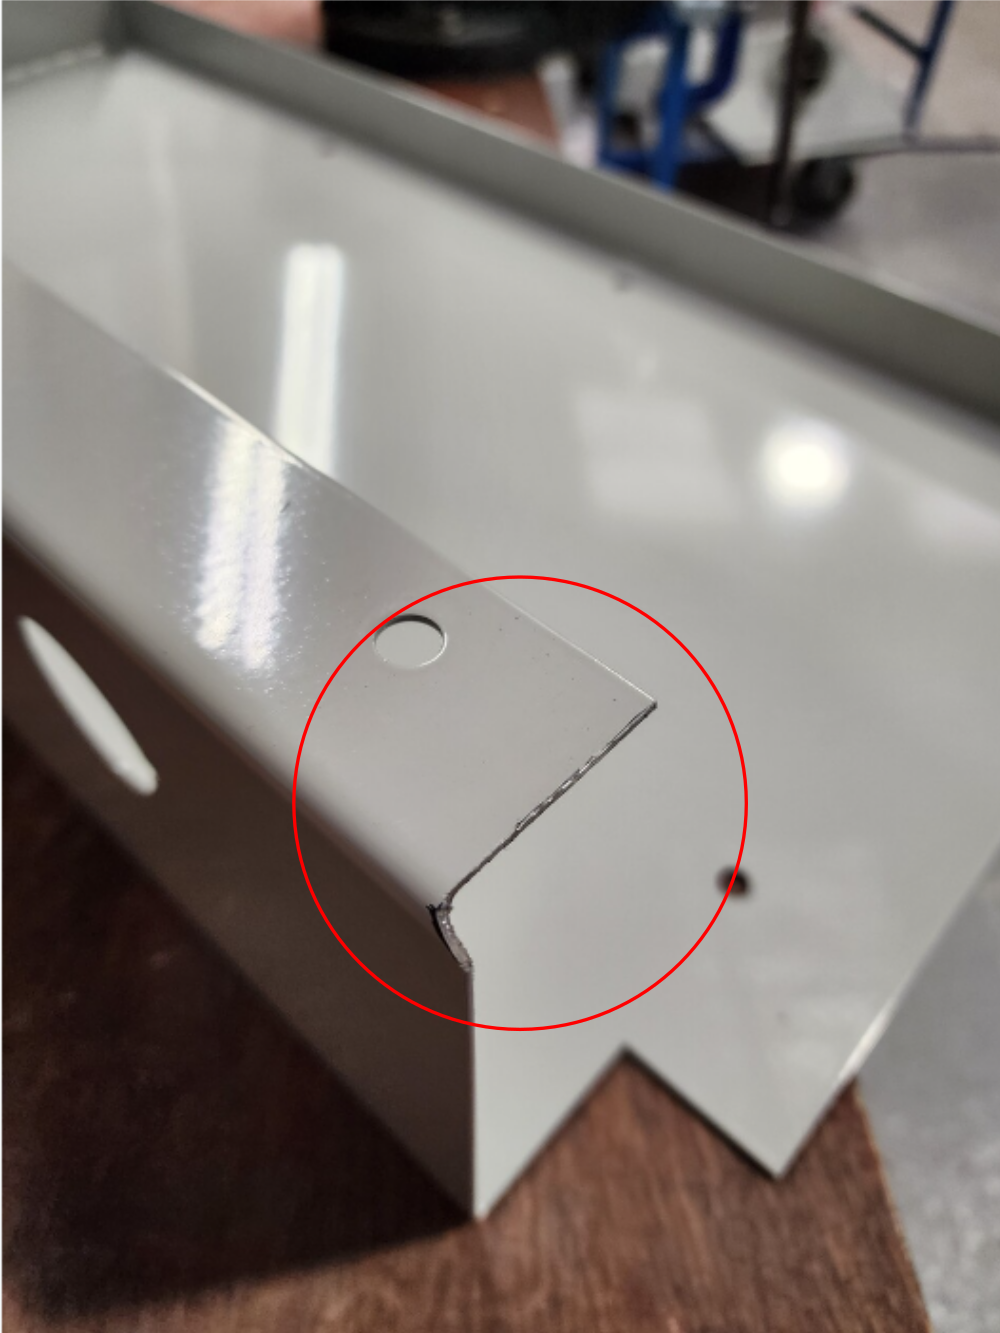
Étape 3 - Drill rear chute and inserts
1 Drill infeed and outfeed chute inserts 1 off M6 tapped per insert
Align as shown
Pictures required please
2 Drill and fit main rear chute as detailed


Étape 4 - Drill rear door
1 Position door above rear chute panel
Pictures of below required please
2 Align height so inner door lip is below chute panel lip
3 check to of door is above frame top crossmember
4 Drill 4 off M6 tapped holes for fixing to frame


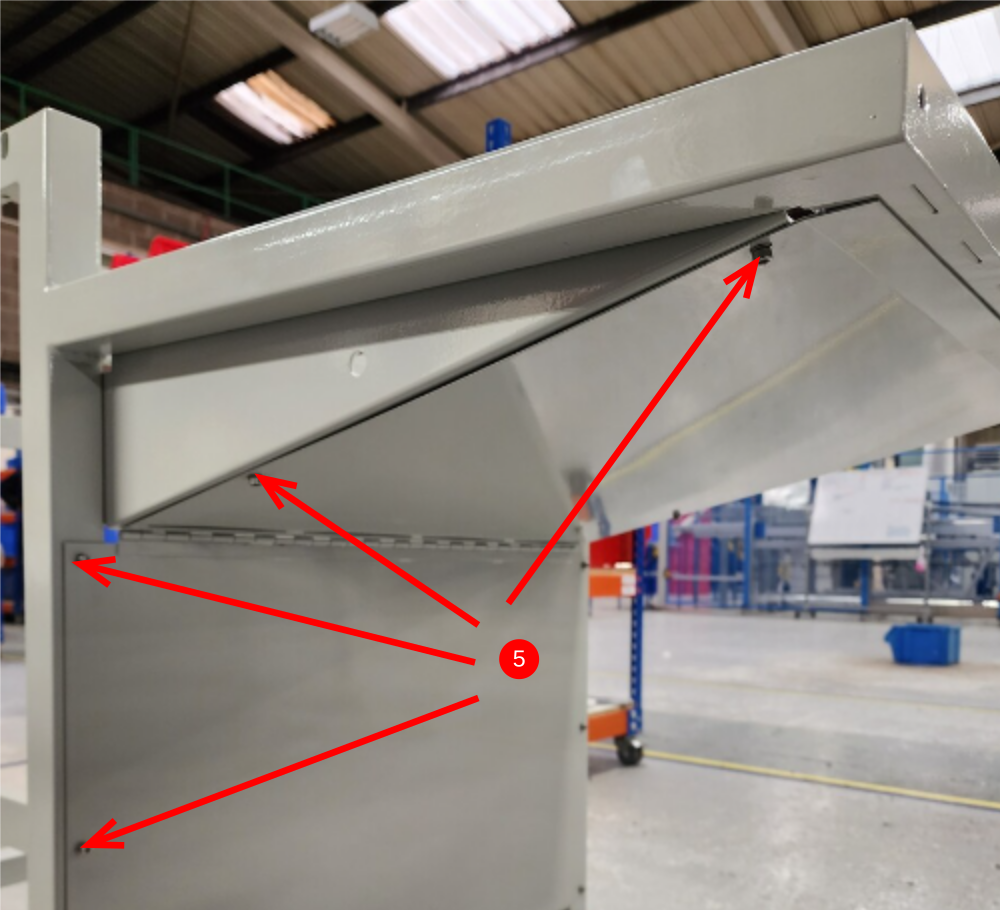
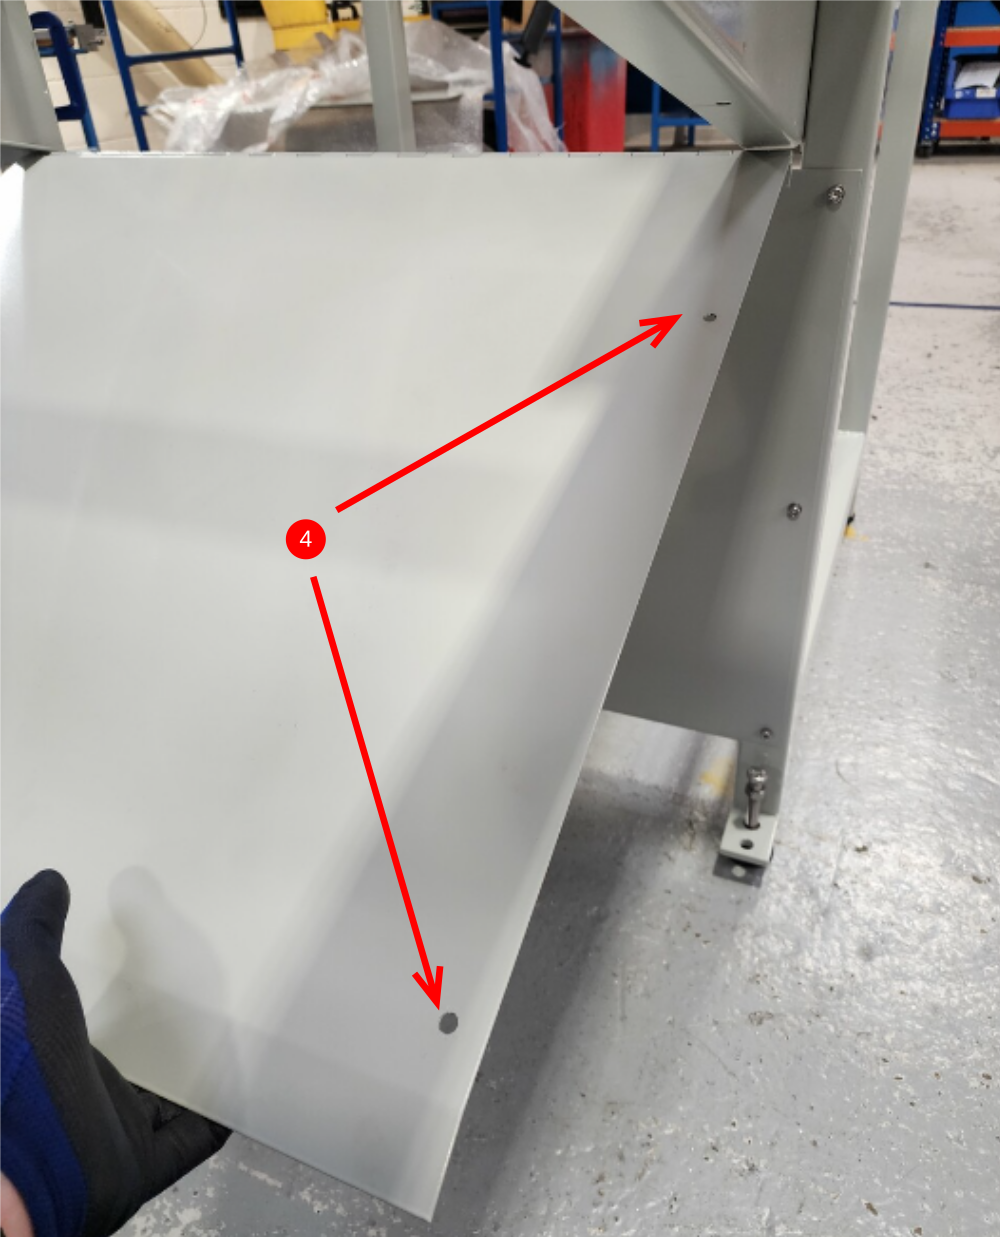
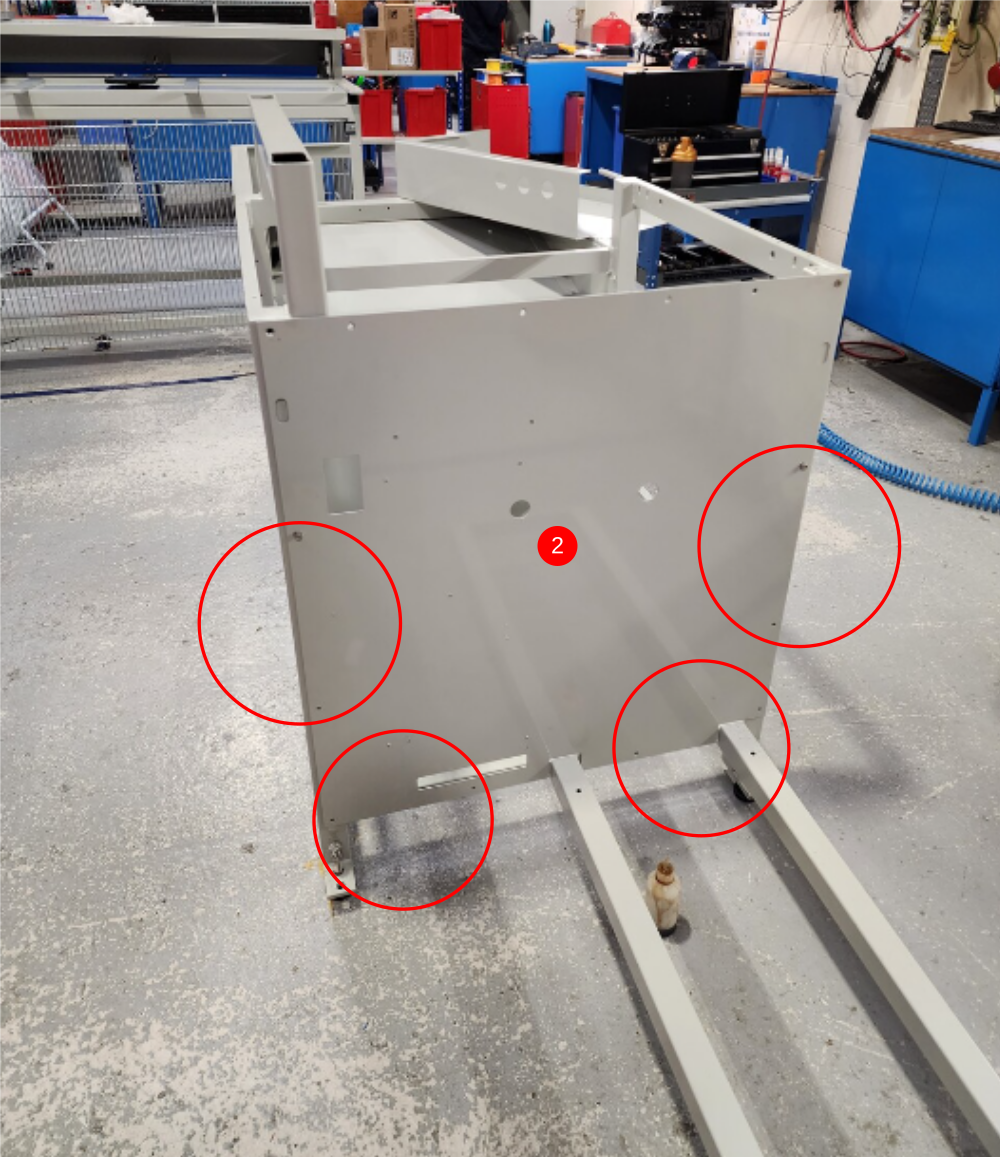
Étape 5 - Drill rear tray
Set rear tray flush with all edges shown
Mark and drill Panel M6 tapped,


Étape 6 - Drill front tray
Set front tray flush with all edges shown
Mark and drill Panel M6 tapped,
Ecr raised to amend panel 10/11/23


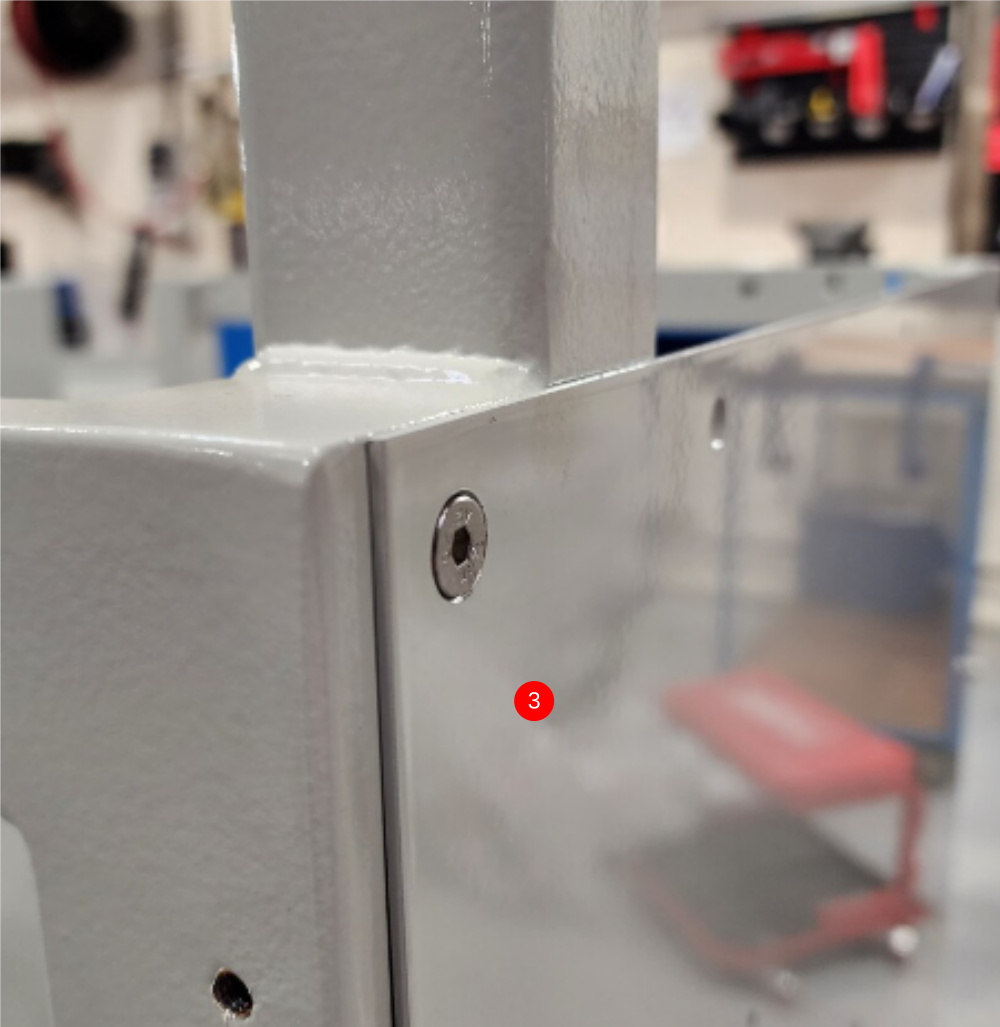
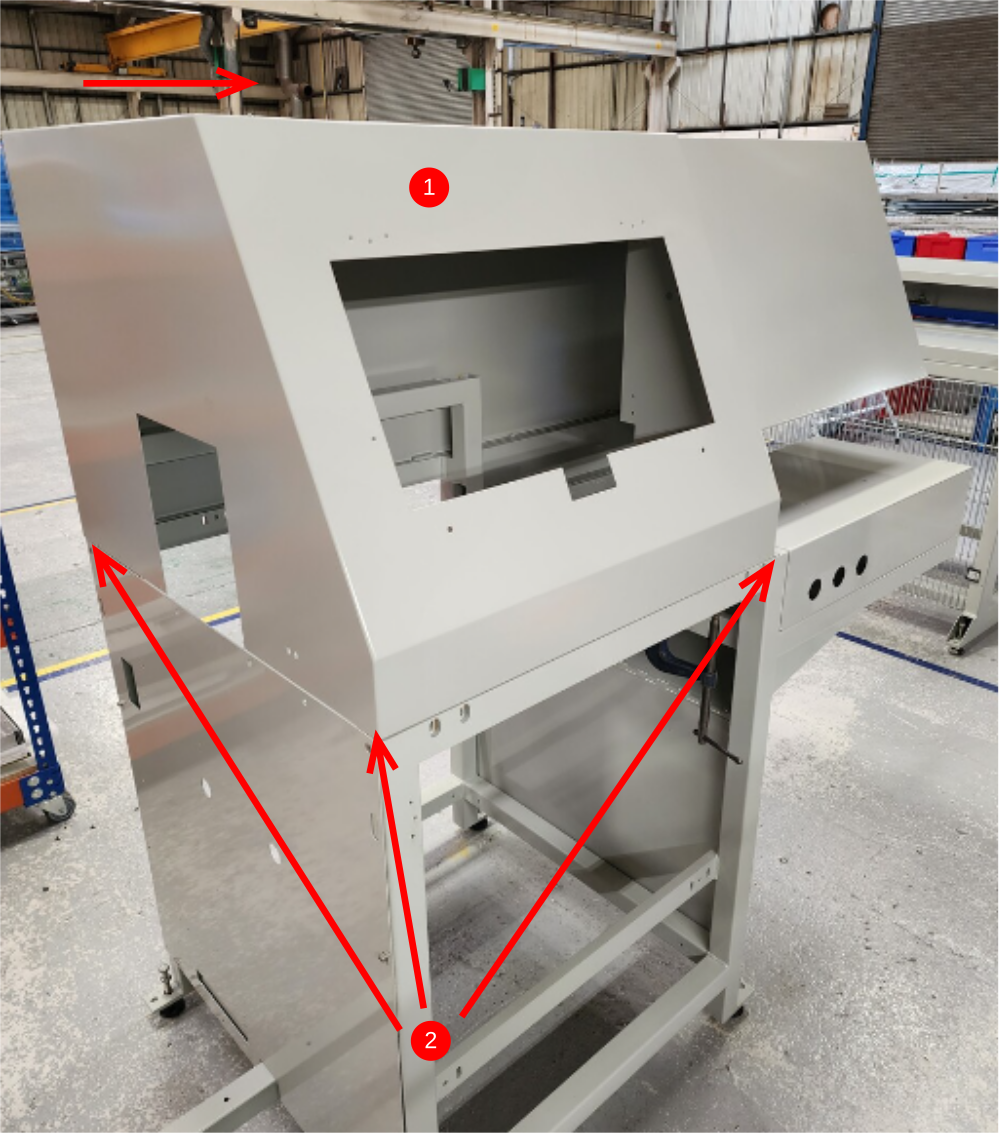
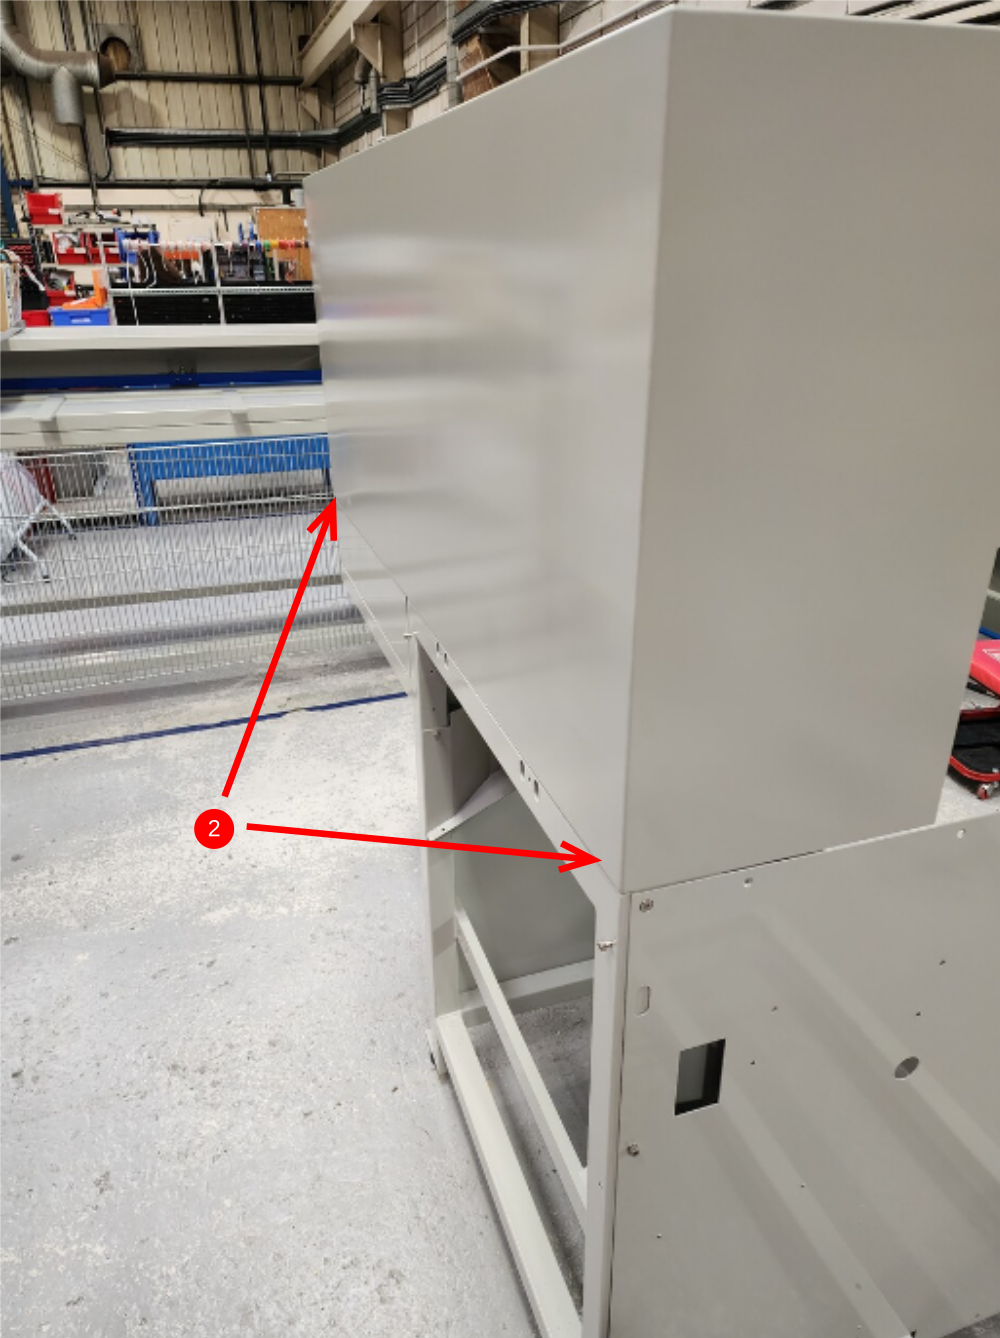
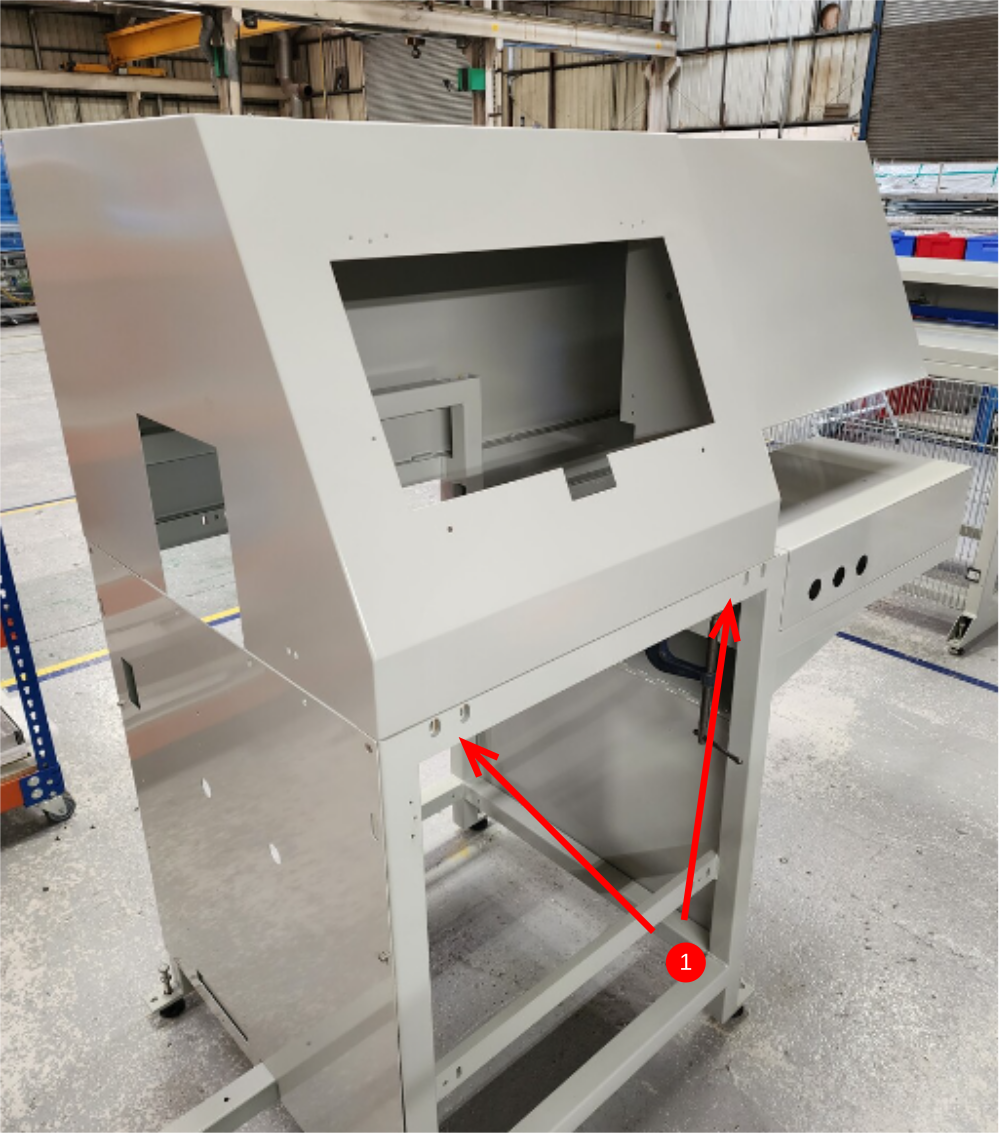
Étape 7 - Fit top hood and position
1 Lift hood onto frame
2 Clamp hood into position , ensuring all faces are set flush with frame


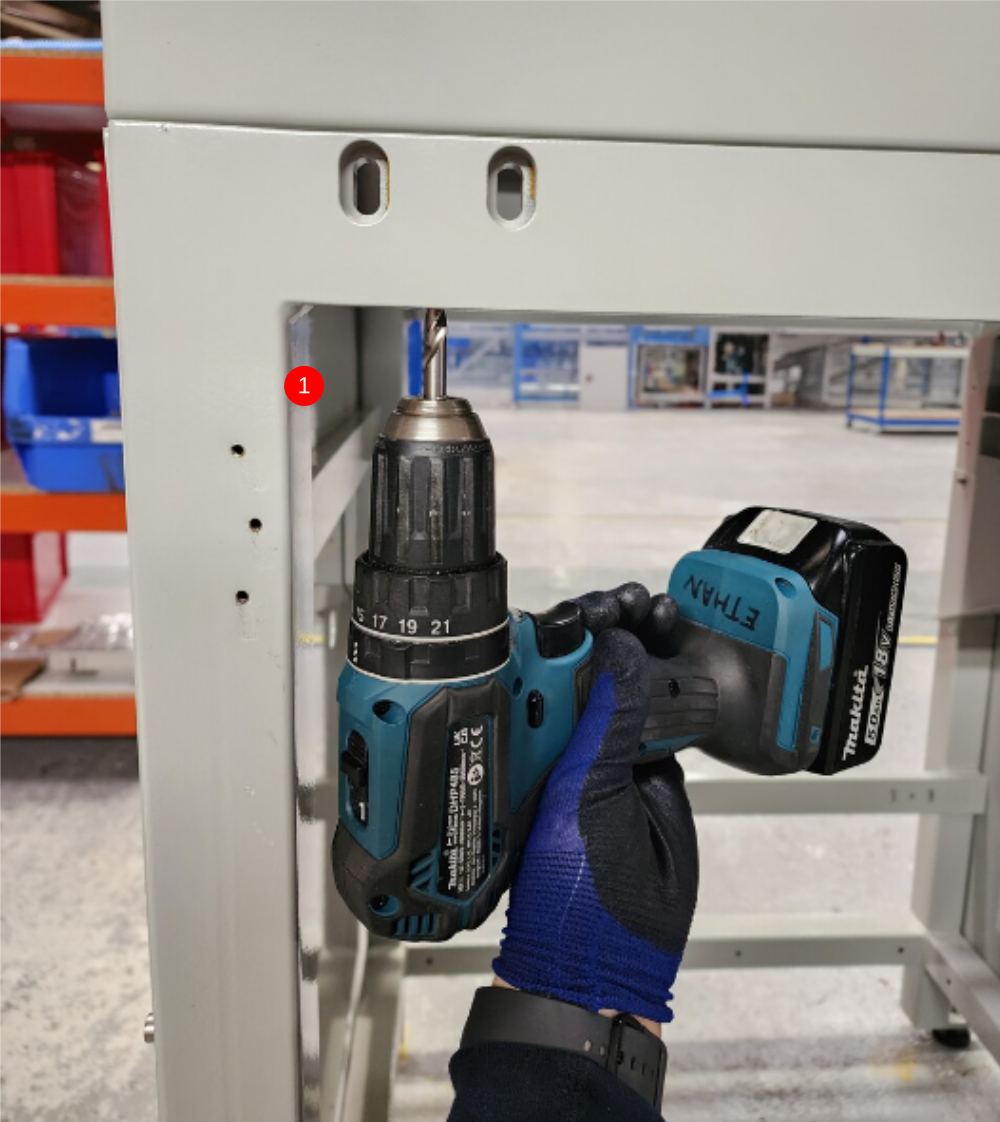
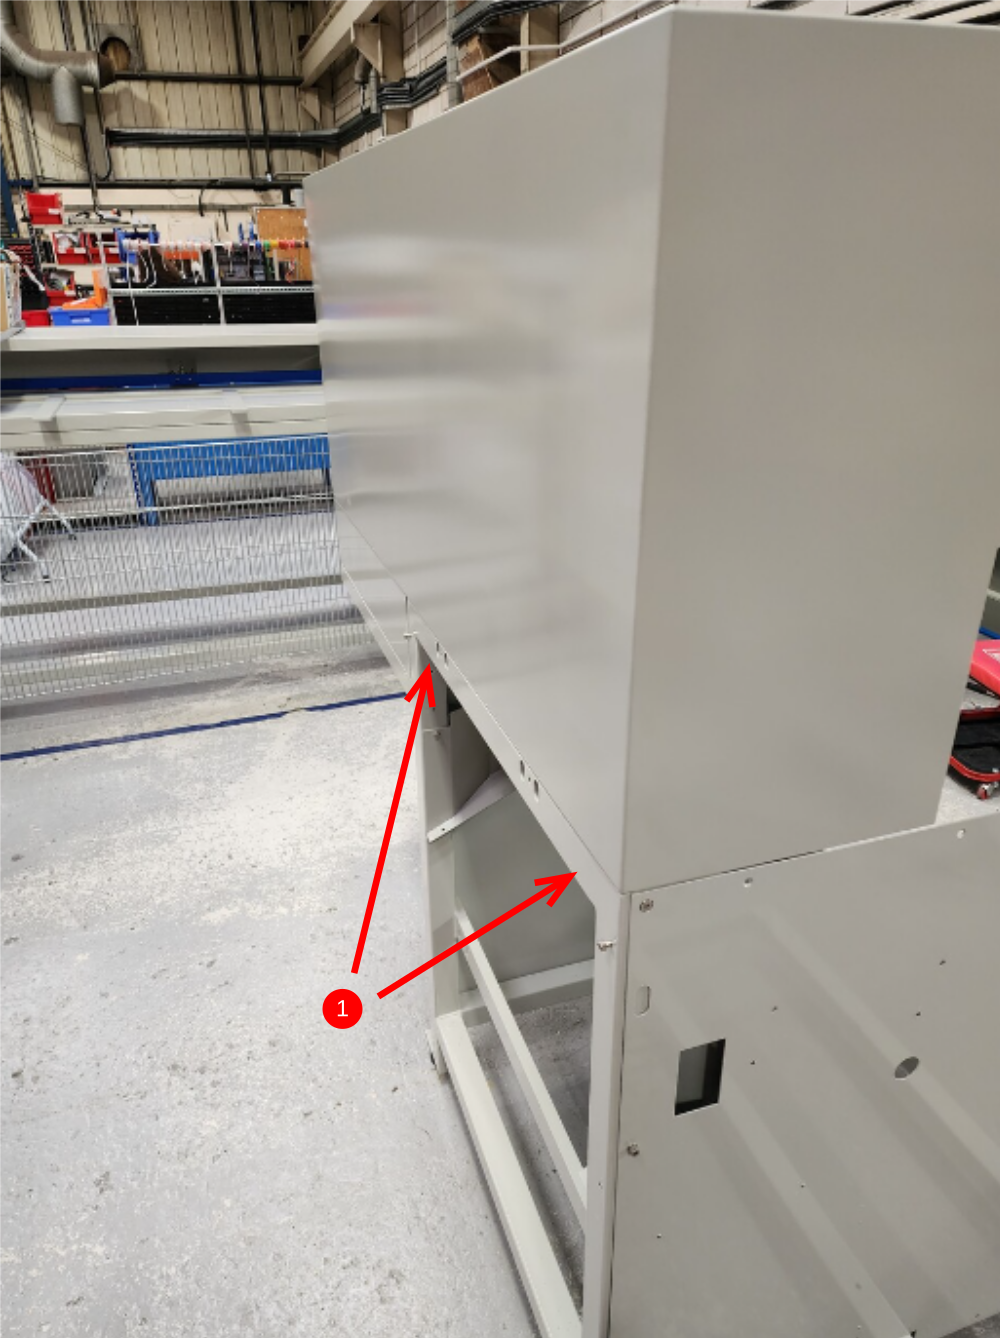
Étape 8 - Mark Fixing points
1 Mark 4 off fixing points with 7.5mm drill
2 Mark 3 off rear hood points by using M6 x 10 pointed grubscrews , winding into lower panel and impacting with hammer
3 Set top hood position even to front tray
4 Remove hood from frame
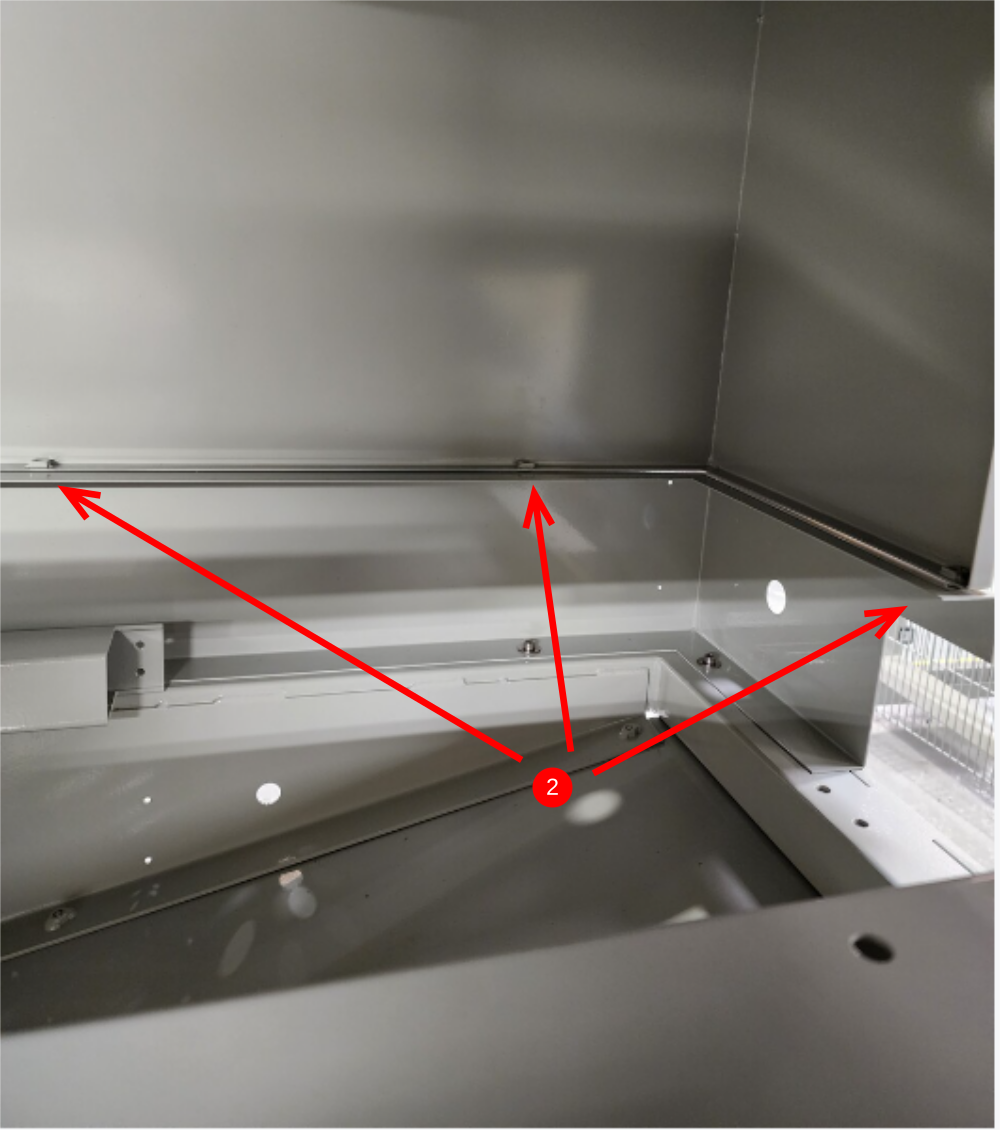
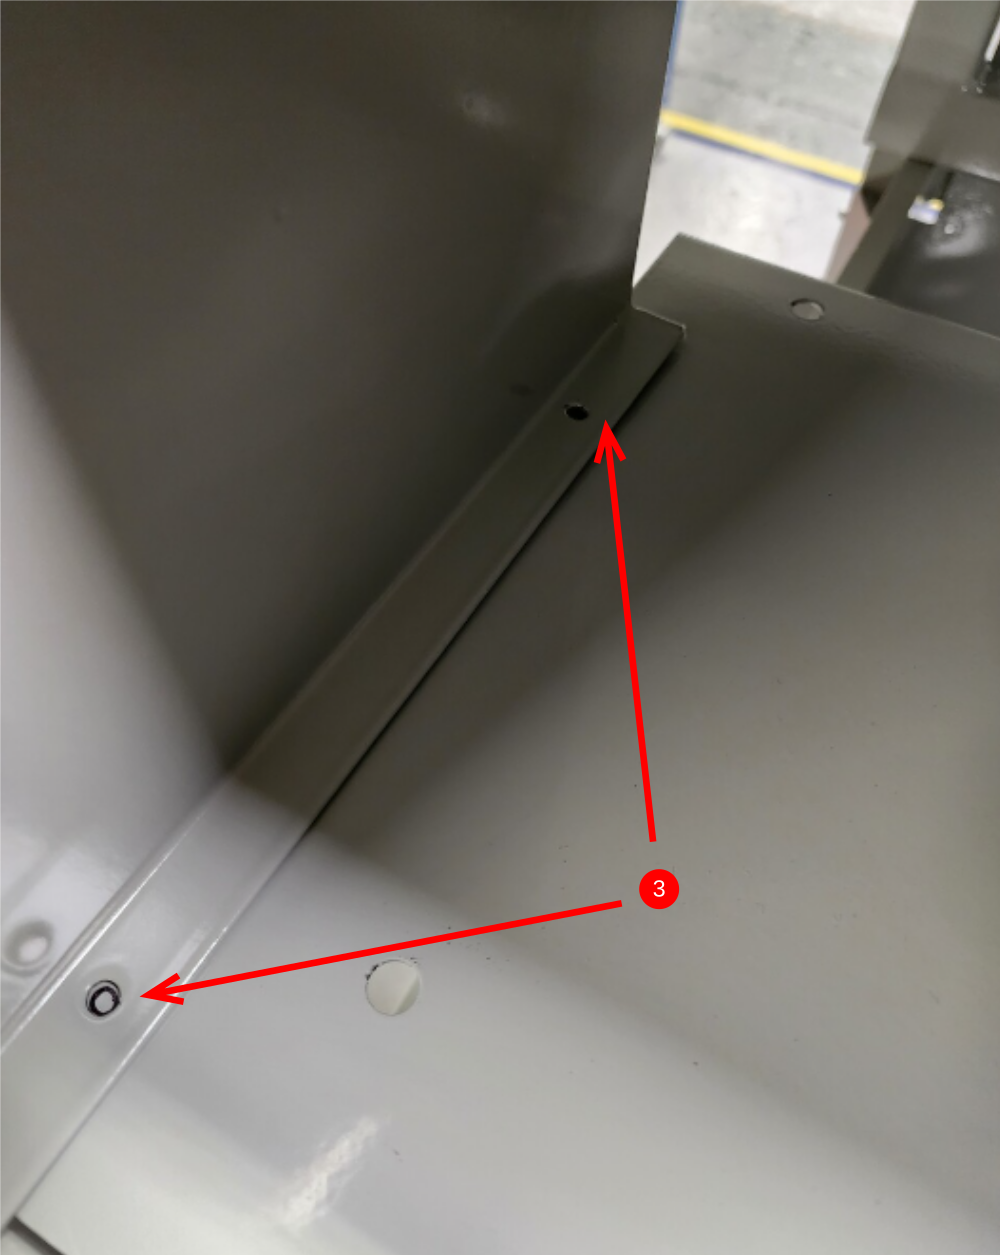
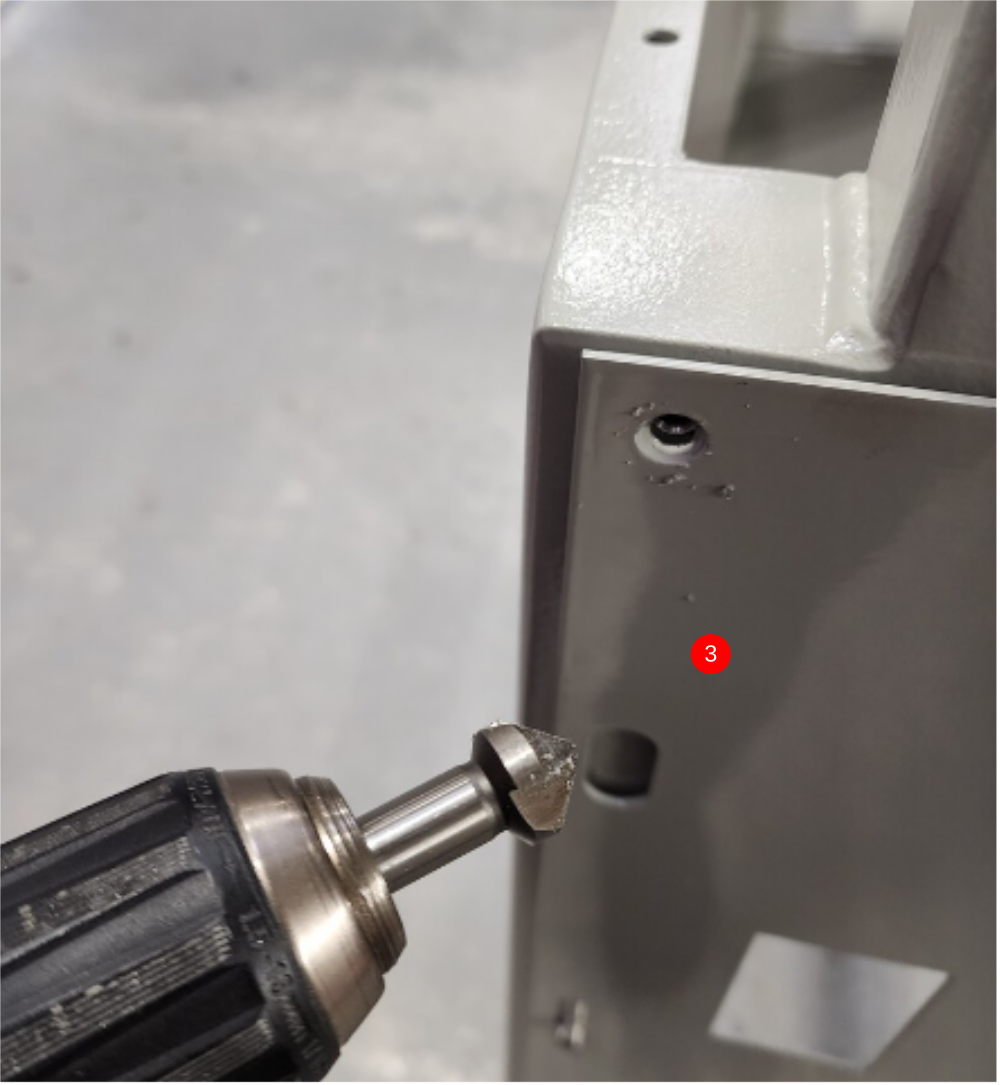
Étape 9 - Drill hood
1 Drill 4 off marked holes on hood to M6 tapped , add small countersink to face indicated to aid fitment to frame
2 Drill
Draft
 Français
 English
 Deutsch
 Español
 Italiano
 Português