Bench assembly details for correct assembly of transfer rails
Sommaire
- 1 Introduction
- 2 Étape 1 - Unless otherwise stated
- 3 Étape 2 - Transfer beam preparation
- 4 Étape 3 - Fit V alignment jigs
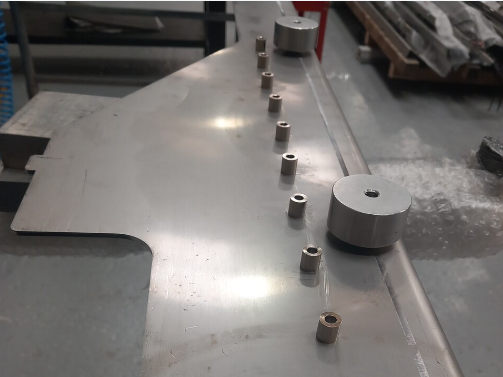
- 5 Étape 4 - Align spacers
- 6 Étape 5 - Prepare Rail
- 7 Étape 6 - Position Rail
- 8 Étape 7 - Add Fasteners
- 9 Étape 8 - Repeat for 2nd V rail
- 10 Étape 9 - Repeat for 7 more transfer beams
- 11 Étape 10 - Note
- 12 Commentaires
Introduction
Tools Required
Standard Hex key set
Standard hand taps
V rail alignment Jigs
Drill driver and 4mm hex fitting Parts Required
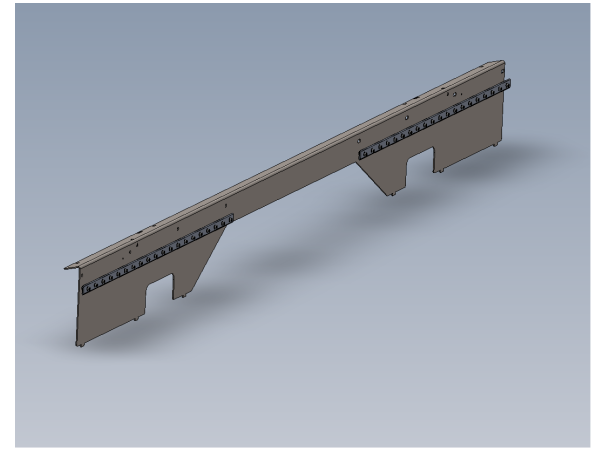
B0001155 OpenRail 1000mm Long x 32
B0001170 spacer x 320
D0015571 Transfer Arm (2018) x 9
Étape 1 - Unless otherwise stated
Use Loctite 243 on all fasteners
Use Loctite 570 on all threaded pneumatic connections
Pen mark all bolts when finalised
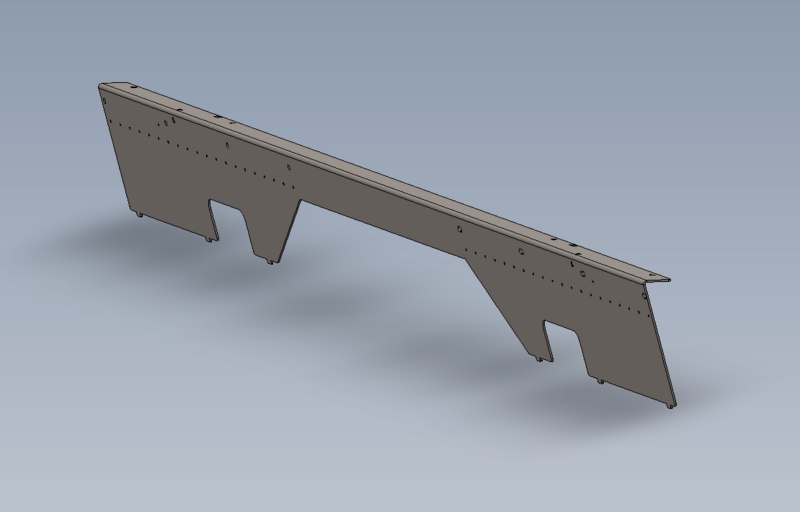
Étape 2 - Transfer beam preparation
1 Remove all protective plastic wrap from D0015571 Transfer Arm (2018)
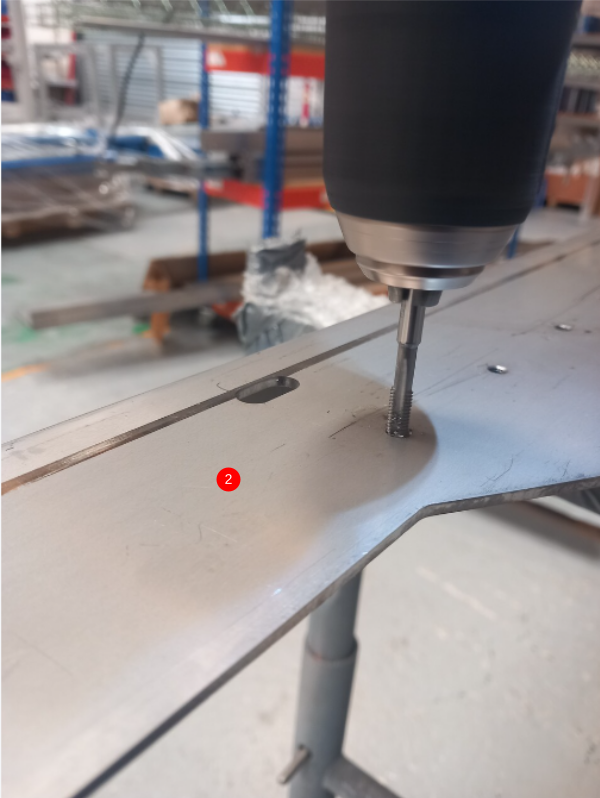
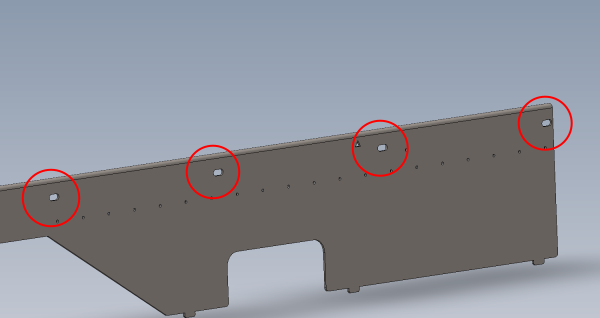
2 Tap all holes to clear debris.
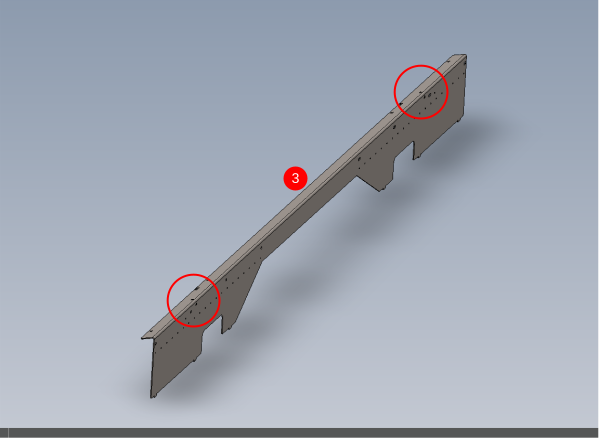
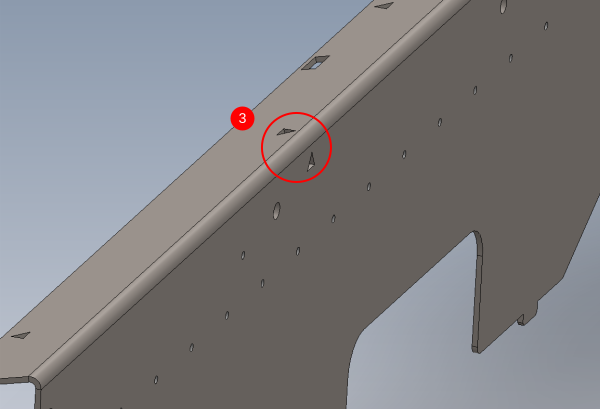
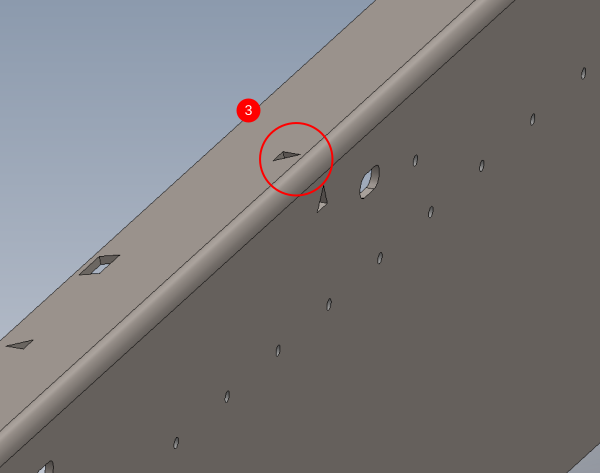
3 Check area shown for sharp edges burrs. If present, dress down and report as rework. Use grinder with 'polirico' attachment
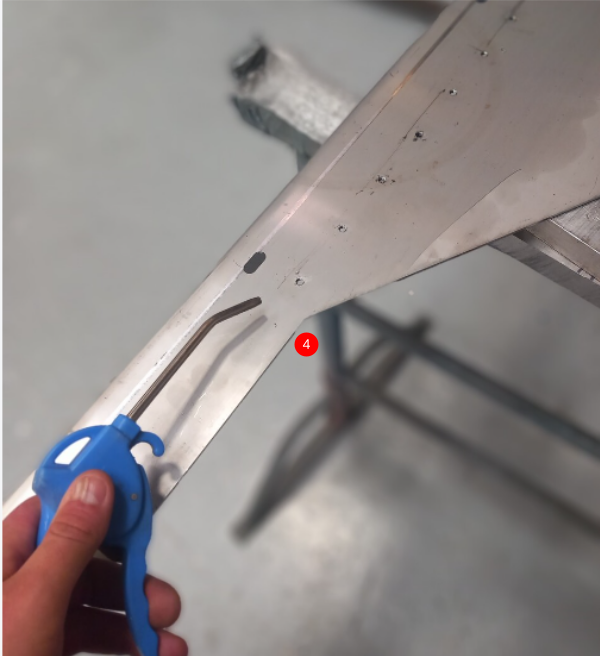
4 Clean with air to remove swarf and debris
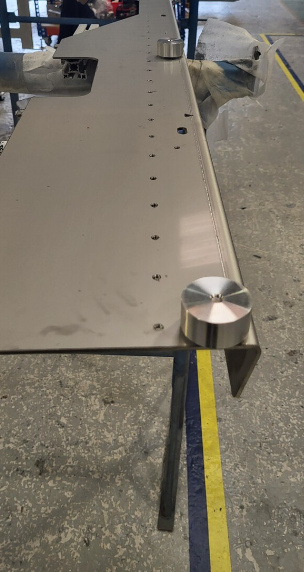
5 Wipe transfer beams with duck oil on a clean rag
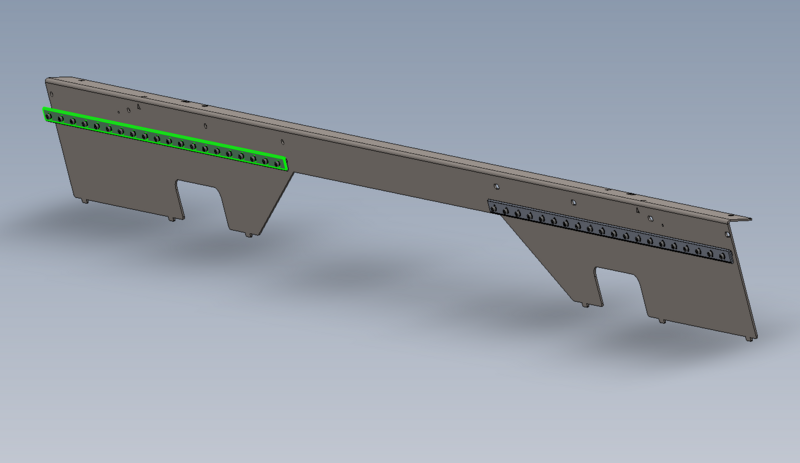
Étape 5 - Prepare Rail
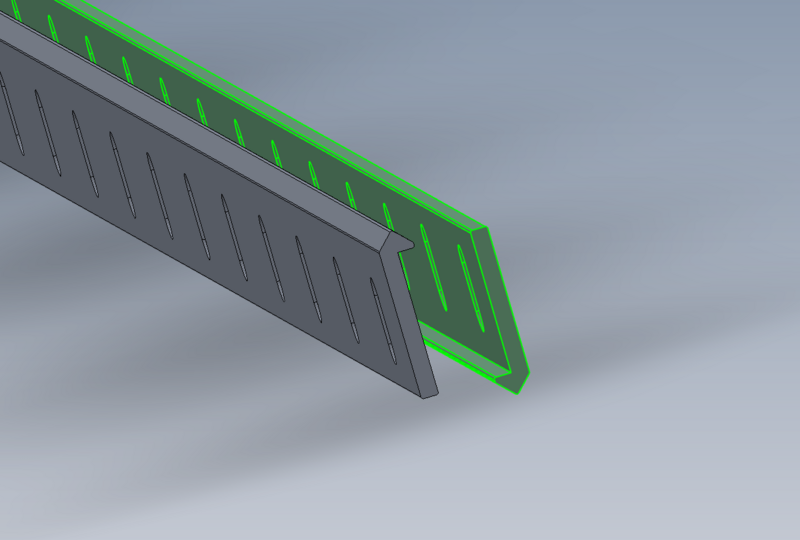
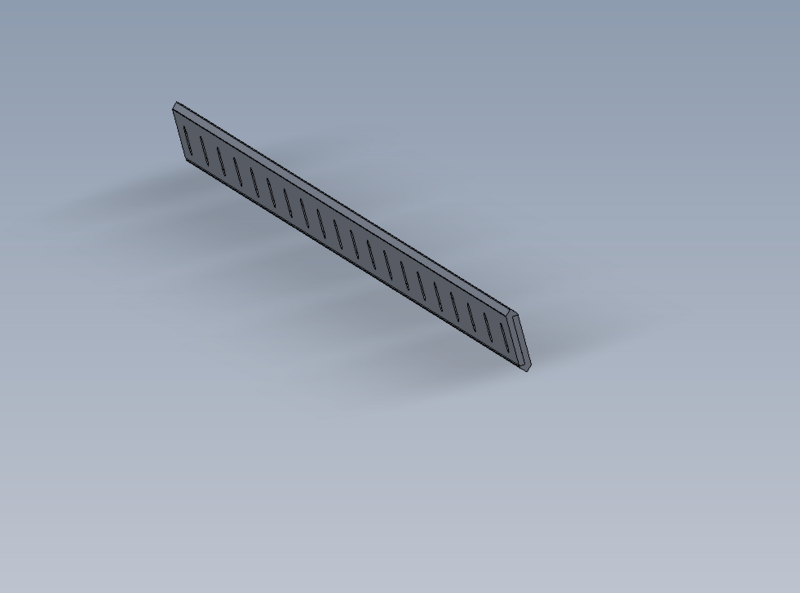
Each V rail contains 2 off B0001155 OpenRail 1000mm Long
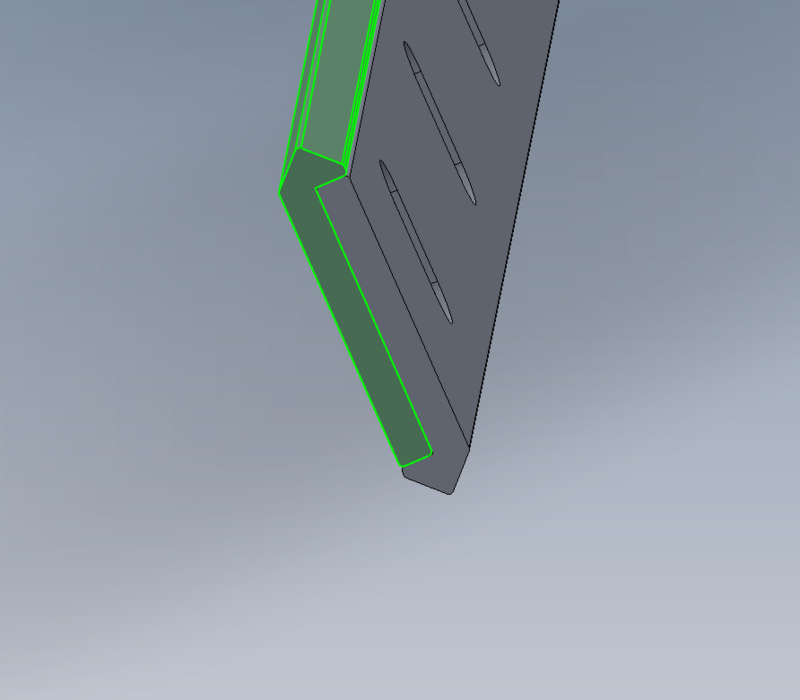
Clean and align 2 off as shown to create One double V rail
Étape 6 - Position Rail
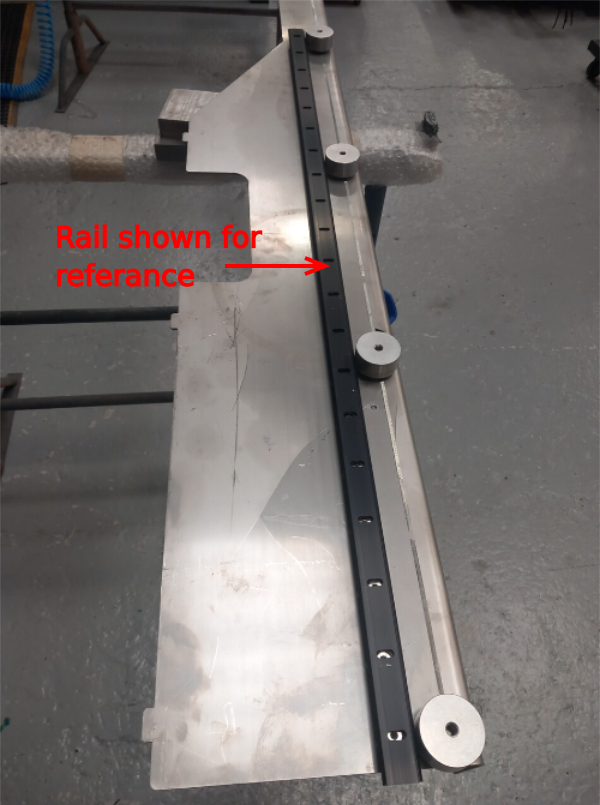
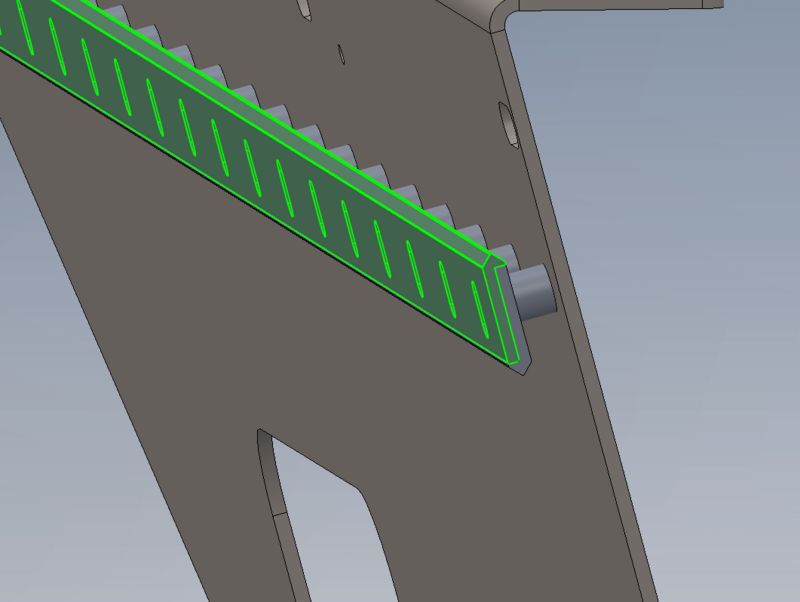
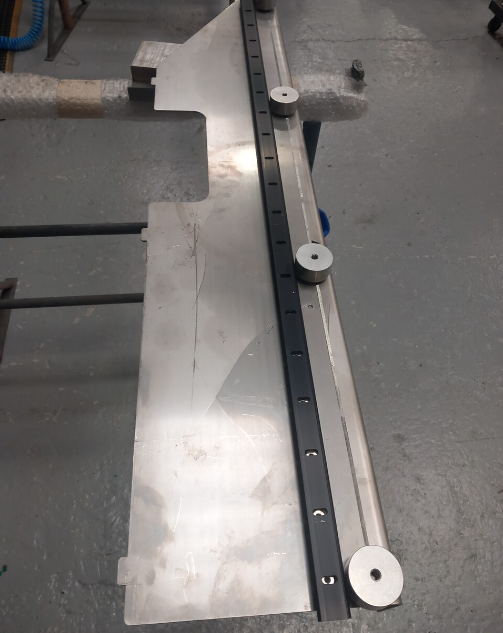
Position assembled rail over spacers as shown.
ensure correct orientation of assembled rail as shown
Étape 7 - Add Fasteners
1 Use M5 x 25 socket caps and M5 A form washers to fix V rail to beam
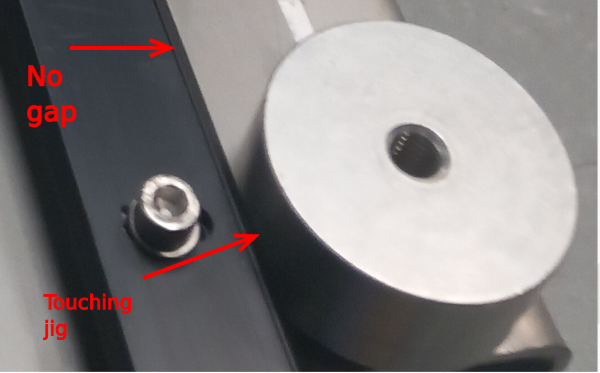
2 Ensure V rail is touching jigs and assembled V rails are fully closed .
3 Used pistol drill on torque setting 5 with 4mm bit to drive fasteners into place
4 Finalise by hand
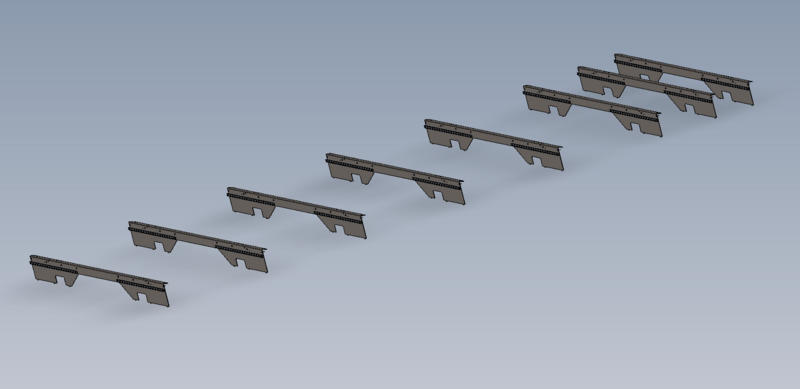
Étape 9 - Repeat for 7 more transfer beams
Repeat process and assemble 7 more transfer beams following the previous steps
Étape 10 - Note
1 transfer beam does not have any V rails attached
In total
8 transfer beams to be fitted with 2 V rails per beam
1 transfer beam to be fitted with no V rails
Draft

 Français
 English
 Deutsch
 Español
 Italiano
 Português