| [version en cours de rédaction] | [version en cours de rédaction] |
(Page créée avec « {{Tuto Details |Description=<translate>instructions to assemble motor assembly</translate> |Categories=Production |Difficulty=Medium |Duration=1 |Duration-type=hour(s) }}... ») |
|||
| Ligne 59 : | Ligne 59 : | ||
All bolts to be pen marked once adhesive applied and correct tension added</translate> | All bolts to be pen marked once adhesive applied and correct tension added</translate> | ||
|Step_Picture_00=R0015086_Assemble_Pneumatics_on_to_electrical_cabinet_loctite_243.png | |Step_Picture_00=R0015086_Assemble_Pneumatics_on_to_electrical_cabinet_loctite_243.png | ||
| + | }} | ||
| + | {{Tuto Step | ||
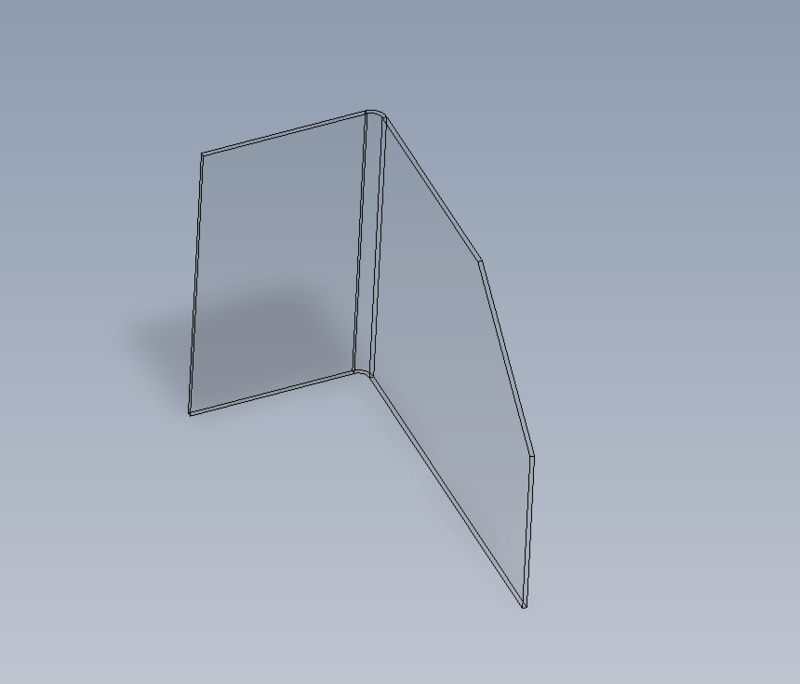
| + | |Step_Title=<translate>Cut chute Flap</translate> | ||
| + | |Step_Content=<translate>Use jig to cut safety flap</translate> | ||
| + | |Step_Picture_00=R0015066_Bench_Assemble_Saw_Motor_Assembly_Screenshot_2023-10-20_073856.png | ||
| + | }} | ||
| + | {{Tuto Step | ||
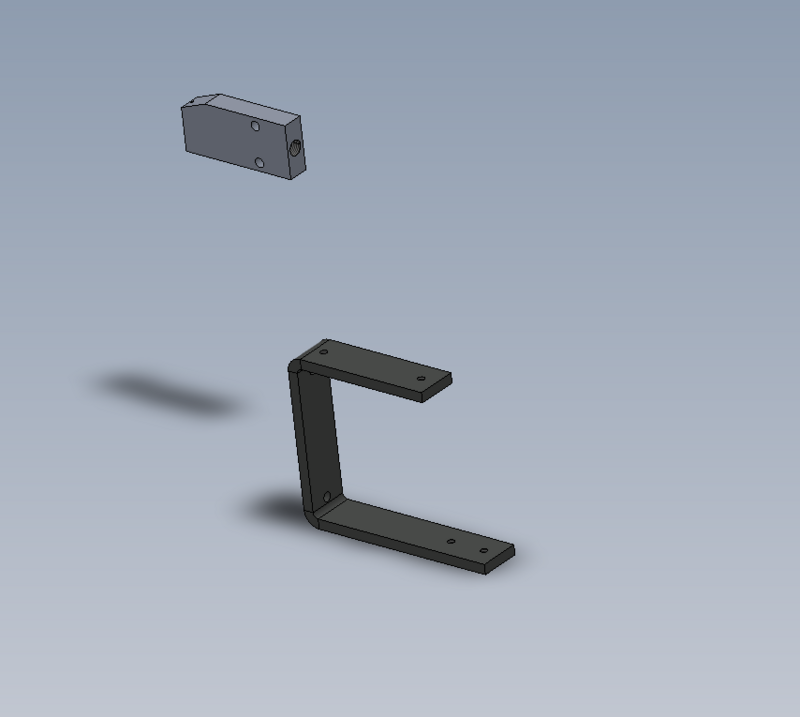
| + | |Step_Title=<translate>Assemble chute flap</translate> | ||
| + | |Step_Content=<translate>tap holes in chute bracket | ||
| + | |||
| + | |||
| + | Drill and mount chute flap to bracket | ||
| + | |||
| + | |||
| + | Assemble blower | ||
| + | |||
| + | |||
| + | Mount blower to bracket</translate> | ||
| + | |Step_Picture_00=R0015066_Bench_Assemble_Saw_Motor_Assembly_Screenshot_2023-10-20_074116.png | ||
| + | }} | ||
| + | {{Tuto Step | ||
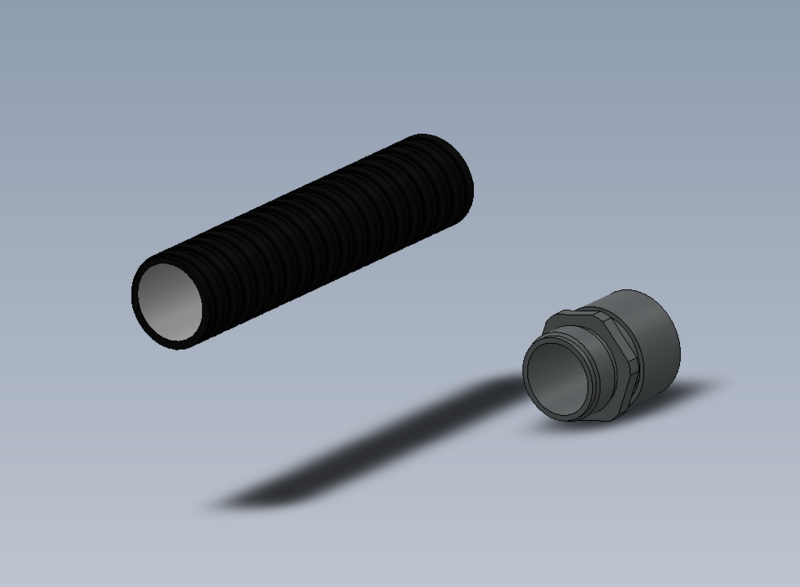
| + | |Step_Title=<translate>Prepare conduit</translate> | ||
| + | |Step_Content=<translate>Cut length of 32mm conduit for saw motor | ||
| + | |||
| + | |||
| + | Length required | ||
| + | |||
| + | |||
| + | Assemble conduit ends</translate> | ||
| + | |Step_Picture_00=R0015066_Bench_Assemble_Saw_Motor_Assembly_Screenshot_2023-10-20_074244.png | ||
| + | }} | ||
| + | {{Tuto Step | ||
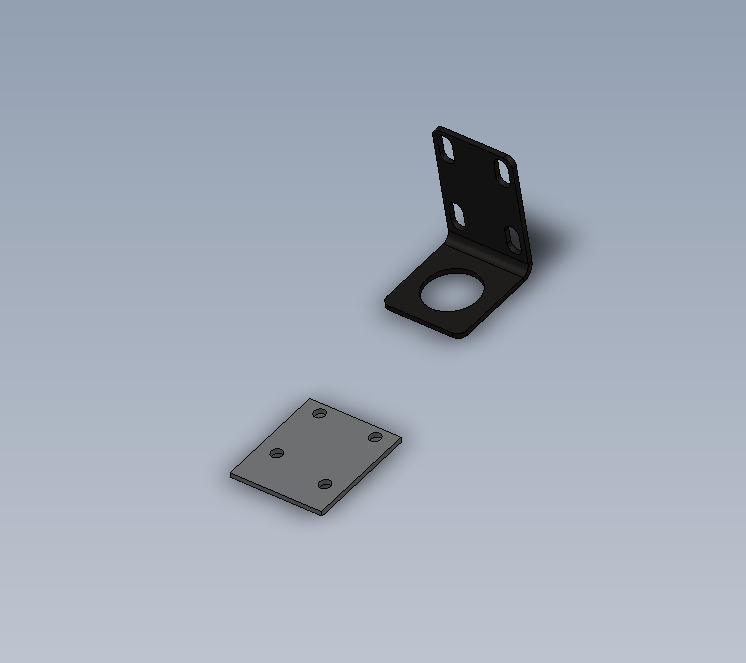
| + | |Step_Title=<translate>Attach fixed end brackets</translate> | ||
| + | |Step_Content=<translate>Assemble and attach fixed end brackets to conduit</translate> | ||
| + | |Step_Picture_00=R0015066_Bench_Assemble_Saw_Motor_Assembly_Screenshot_2023-10-20_074704.png | ||
| + | }} | ||
| + | {{Tuto Step | ||
| + | |Step_Title=<translate>Tap Holes in Motor</translate> | ||
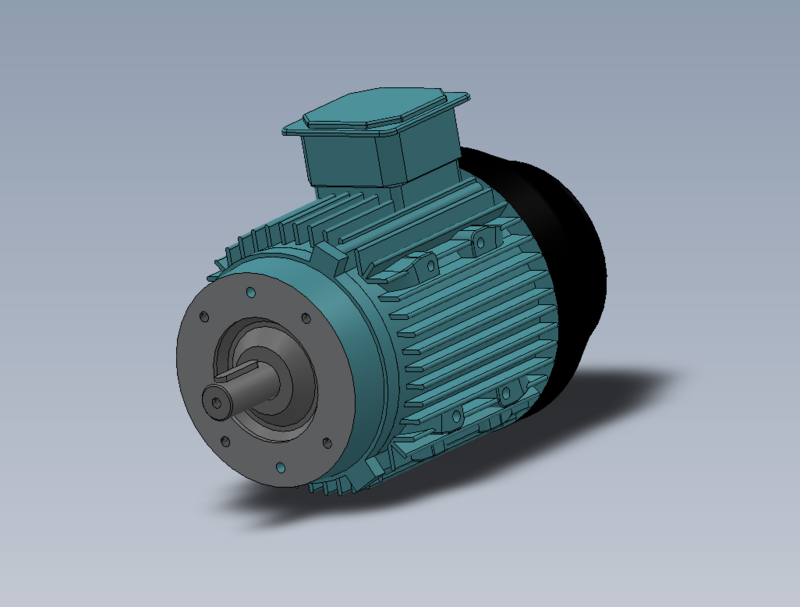
| + | |Step_Content=<translate>Tap appropriate holes in main motor to M8 | ||
| + | |||
| + | |||
| + | Please detail which holes</translate> | ||
| + | |Step_Picture_00=R0015066_Bench_Assemble_Saw_Motor_Assembly_Screenshot_2023-10-20_074342.png | ||
| + | }} | ||
| + | {{Tuto Step | ||
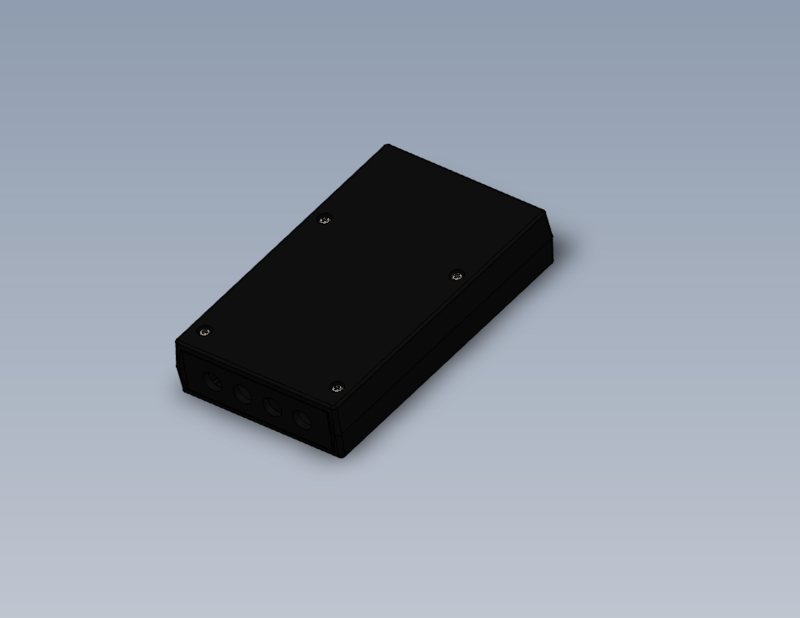
| + | |Step_Title=<translate>Mount connection box</translate> | ||
| + | |Step_Content=<translate>Mount connection box</translate> | ||
| + | |Step_Picture_00=R0015066_Bench_Assemble_Saw_Motor_Assembly_Screenshot_2023-10-20_074426.png | ||
| + | }} | ||
| + | {{Tuto Step | ||
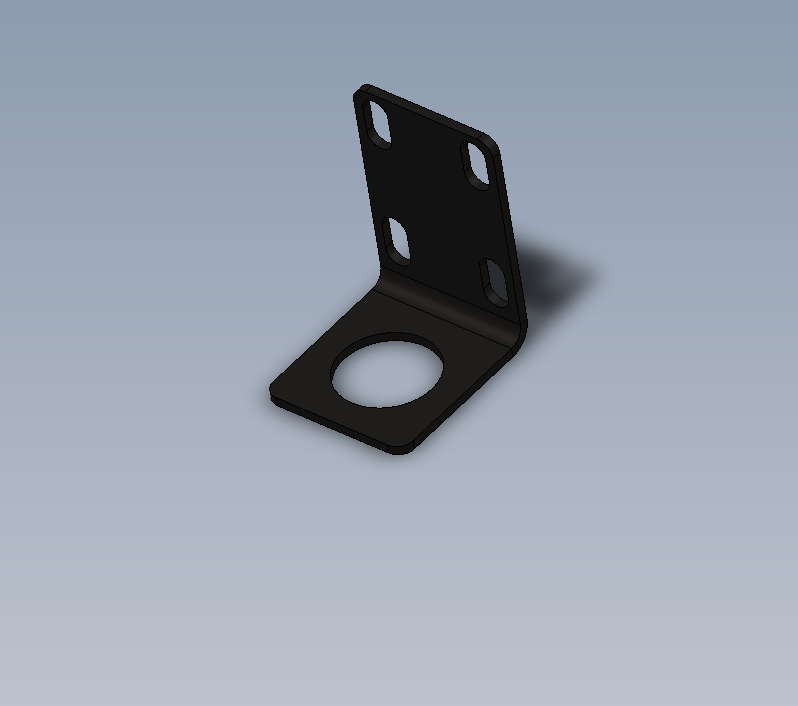
| + | |Step_Title=<translate>Attach conduit mount</translate> | ||
| + | |Step_Content=<translate>Attach conduit mount to main motor</translate> | ||
| + | |Step_Picture_00=R0015066_Bench_Assemble_Saw_Motor_Assembly_Screenshot_2023-10-20_074516.png | ||
| + | }} | ||
| + | {{Tuto Step | ||
| + | |Step_Title=<translate>Attach conduit to motor</translate> | ||
| + | |Step_Content=<translate>Attach conduit to motor</translate> | ||
| + | |Step_Picture_00=R0015066_Bench_Assemble_Saw_Motor_Assembly_Screenshot_2023-10-20_074342.png | ||
}} | }} | ||
{{Notes}} | {{Notes}} | ||
{{PageLang | {{PageLang | ||
| + | |Language=en | ||
|SourceLanguage=none | |SourceLanguage=none | ||
|IsTranslation=0 | |IsTranslation=0 | ||
| − | |||
}} | }} | ||
{{Tuto Status | {{Tuto Status | ||
|Complete=Draft | |Complete=Draft | ||
}} | }} | ||
Version du 20 octobre 2023 à 07:47
instructions to assemble motor assembly
Sommaire
- 1 Introduction
- 2 Étape 1 - Unless otherwise stated
- 3 Étape 2 - Cut chute Flap
- 4 Étape 3 - Assemble chute flap
- 5 Étape 4 - Prepare conduit
- 6 Étape 5 - Attach fixed end brackets
- 7 Étape 6 - Tap Holes in Motor
- 8 Étape 7 - Mount connection box
- 9 Étape 8 - Attach conduit mount
- 10 Étape 9 - Attach conduit to motor
- 11 Commentaires
Introduction
Tool Required
Standard hex key set
Standard spanner set
Cutting disc
Standard hand taps
Parts Required
A0000013 32mm Conduit Adaptorx 1
A0000027 Flexible Conduit Ø32mm x 1
D0004079 Saw Motor (Modified Front Flange) x 1
D0004437 Motor Conduit Bracket x 2
D0004835 Flex conduit plate x 1
D0004997 Connector Support Block (5360) x 1
D0004999 Reed Switch Terminal Box x 1
D0005219 Turntable Nozzle x 1
D0008198 Chute Flap x 1
H0008200 Chute Flap Bracket x 1
P0000295 Elbow Adaptor 6mm - 1/8 BSPT (Metal type) x 1
Étape 1 - Unless otherwise stated
All bolts to have Loctite 243 adhesive applied unless otherwise stated
All Threaded Pneumatic connections to have Loctite 570 applied
All bolts to be pen marked once adhesive applied and correct tension added
Étape 3 - Assemble chute flap
tap holes in chute bracket
Drill and mount chute flap to bracket
Assemble blower
Mount blower to bracket
Étape 4 - Prepare conduit
Cut length of 32mm conduit for saw motor
Length required
Assemble conduit ends
Draft

 Français
 English
 Deutsch
 Español
 Italiano
 Português