| [version en cours de rédaction] | [version en cours de rédaction] |
| Ligne 18 : | Ligne 18 : | ||
V rail alignment Jigs | V rail alignment Jigs | ||
| − | + | Drill driver and 4mm hex fitting | |
'''<u>Parts Required</u>''' | '''<u>Parts Required</u>''' | ||
| Ligne 100 : | Ligne 100 : | ||
|Step_Picture_00=R0015093_Bench_Assemble_Transfer_Beam_Screenshot_2023-09-20_101849.png | |Step_Picture_00=R0015093_Bench_Assemble_Transfer_Beam_Screenshot_2023-09-20_101849.png | ||
|Step_Picture_01=R0015093_Bench_Assemble_Transfer_Beam_Screenshot_2023-09-20_102105.png | |Step_Picture_01=R0015093_Bench_Assemble_Transfer_Beam_Screenshot_2023-09-20_102105.png | ||
| + | }} | ||
| + | {{Tuto Step | ||
| + | |Step_Title=<translate>Add Fasteners</translate> | ||
| + | |Step_Content=<translate>Use M5 x 25 socket caps and</translate> | ||
}} | }} | ||
{{Notes}} | {{Notes}} | ||
Version du 20 septembre 2023 à 12:18
Bench assembly details for correct assembly of transfer rails
Introduction
Tools Required
Standard Hex key set
Standard hand taps
V rail alignment Jigs
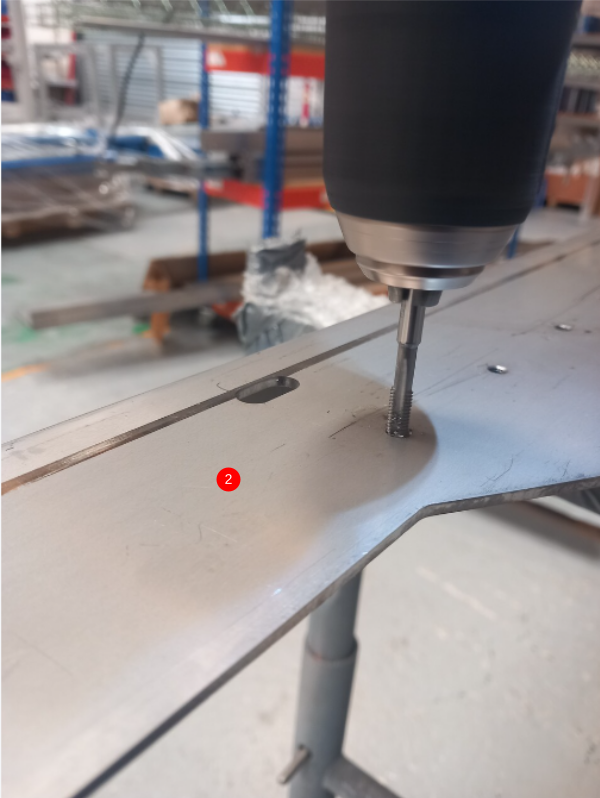
Drill driver and 4mm hex fitting Parts Required
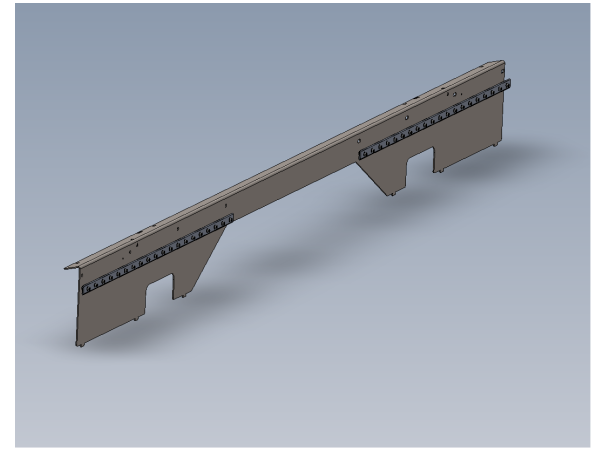
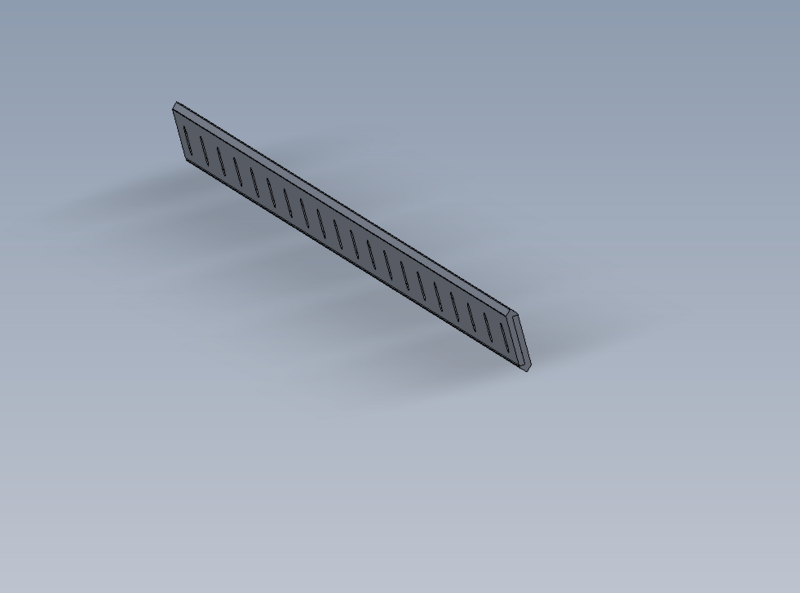
B0001155 OpenRail 1000mm Long x 32
B0001170 spacer x 320
D0015571 Transfer Arm (2018) x 9
Étape 1 - Unless otherwise stated
Use Loctite 243 on all fasteners
Use Loctite 570 on all threaded pneumatic connections
Pen mark all bolts when finalised
Étape 2 - Transfer beam preparation
1 Remove all protective plastic wrap from D0015571 Transfer Arm (2018)
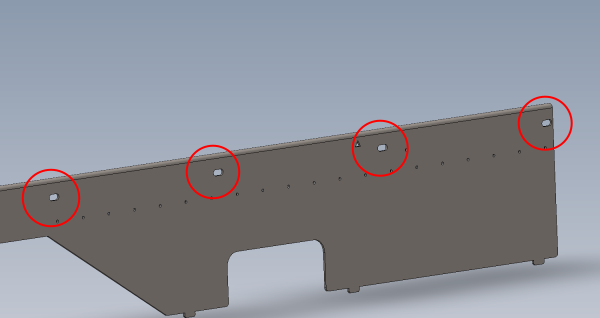
2 Tap all holes to clear debris.
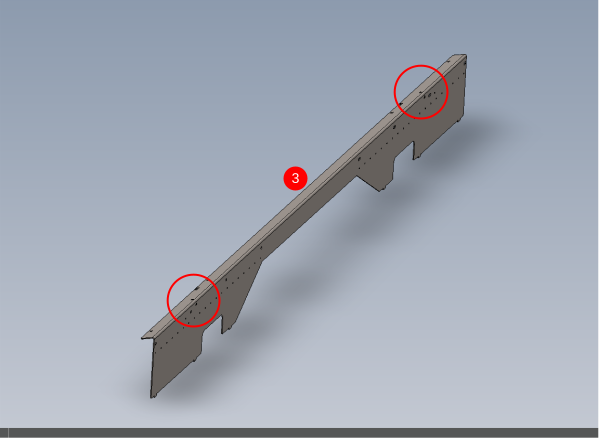
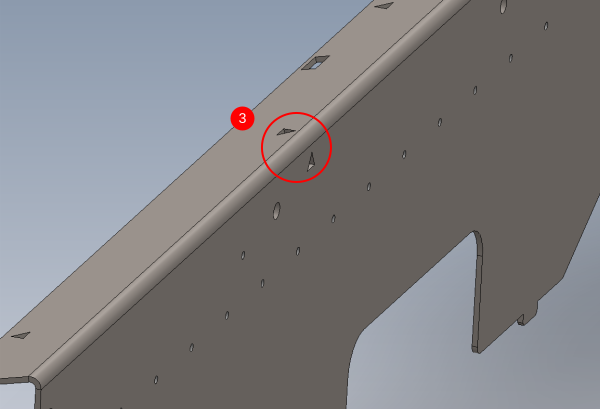
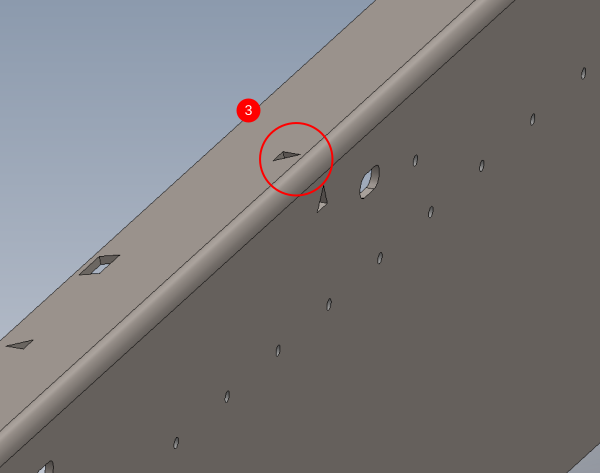
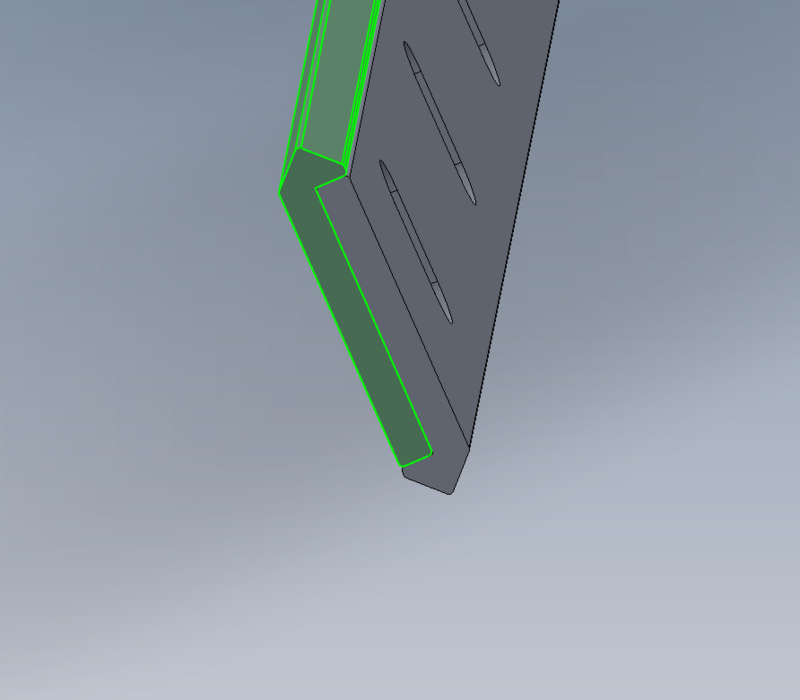
3 Check area shown for sharp edges burrs. If present, dress down and report as rework.
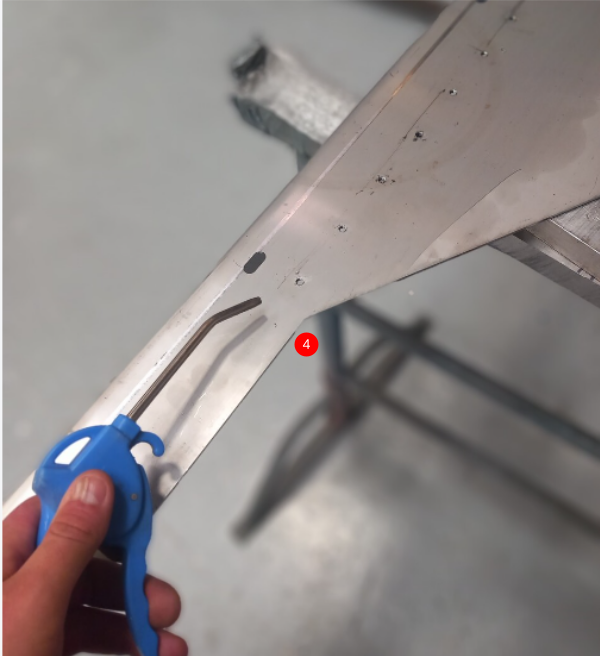
4 Clean with air to remove swarf and debris
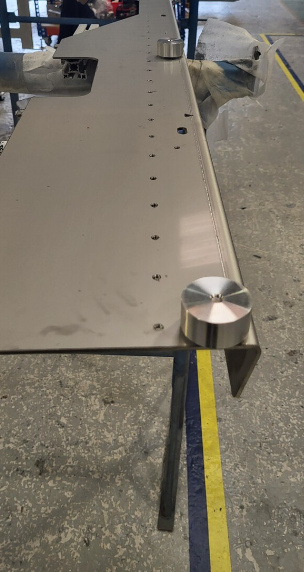
5 Wipe transfer beams with duck oil on a clean rag
Étape 5 - Prepare Rail
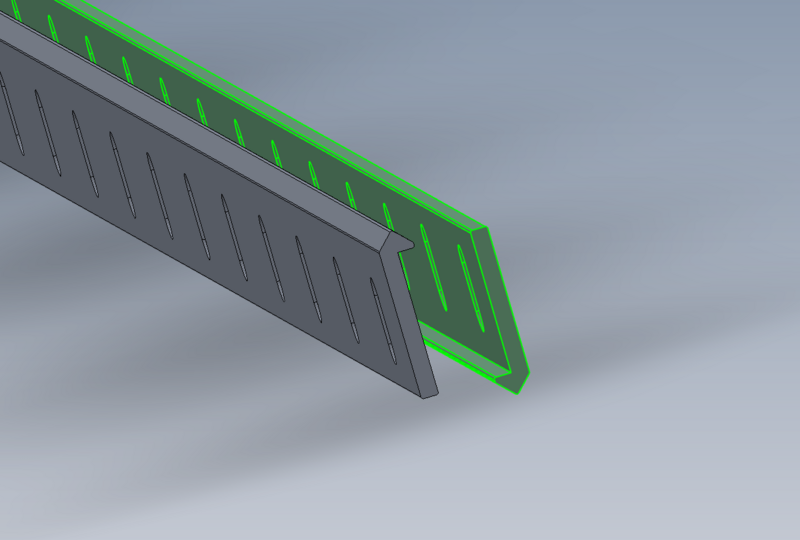
Each V rail contains 2 off B0001155 OpenRail 1000mm Long
Clean and align 2 off as shown to create One double V rail
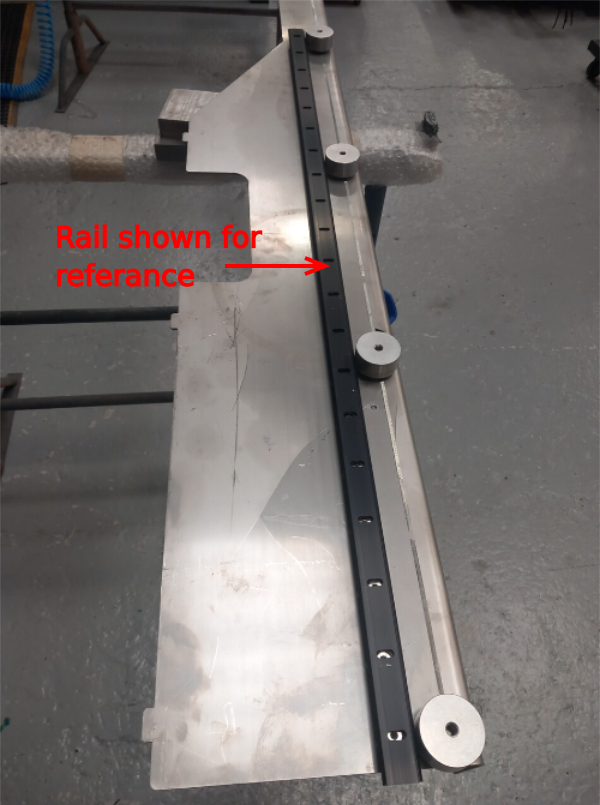
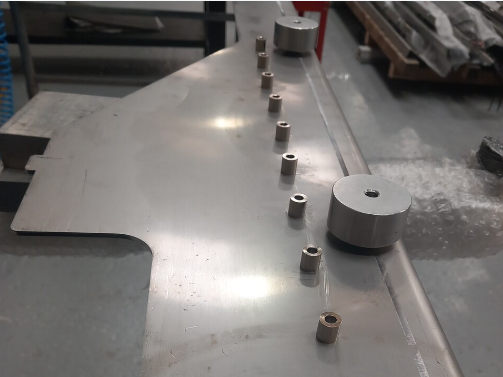
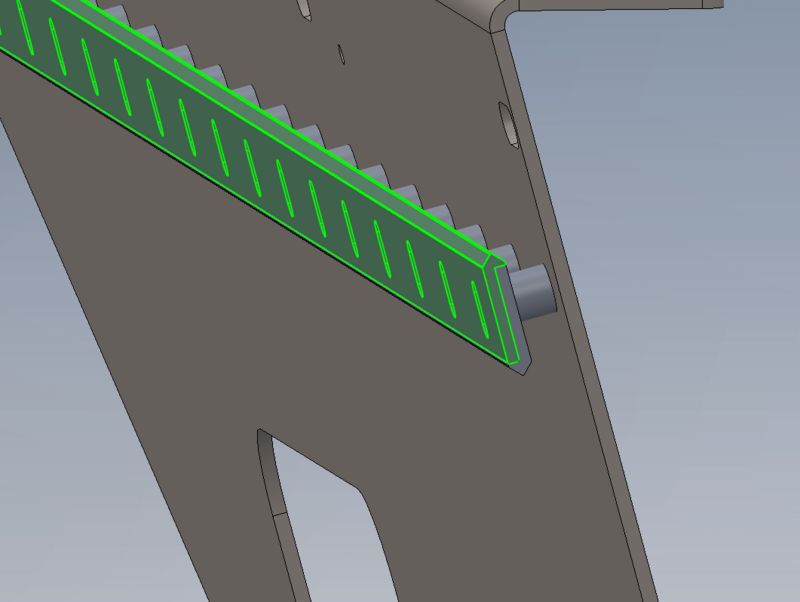
Étape 6 - Position Rail
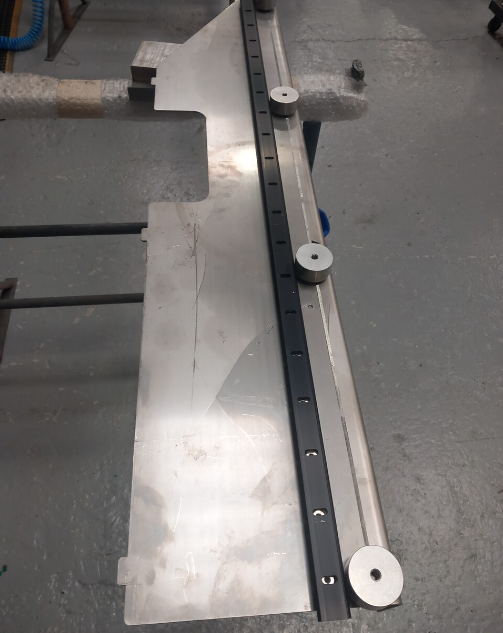
Position assembled rail over spacers as shown.
ensure correct orientation of assembled rail as shown
Étape 7 - Add Fasteners
Use M5 x 25 socket caps and
Draft

 Français
 English
 Deutsch
 Español
 Italiano
 Português