Modèles/fichiers mis à jour (pages non relues en gras) : TB450 - CMOS Battery replacement, Fichier:TB450 - CMOS Battery replacement IMG 3645.jpg, Fichier:TB450 - CMOS Battery replacement IMG 3646.jpg, Fichier:TB450 - CMOS Battery replacement IMG 3647.jpg, Fichier:TB450 - CMOS Battery replacement ANTEC.jpg, Fichier:TB450 - CMOS Battery replacement IMG 3648.jpg, Fichier:TB450 - CMOS Battery replacement ACER revo.jpg
| [version en relecture] | [en attente de relecture] |
| Ligne 54 : | Ligne 54 : | ||
}} | }} | ||
{{Tuto Status | {{Tuto Status | ||
| − | |Complete= | + | |Complete=Published |
}} | }} | ||
Version du 28 novembre 2019 à 17:30
Changing the CMOS battery inside the P.C
Introduction
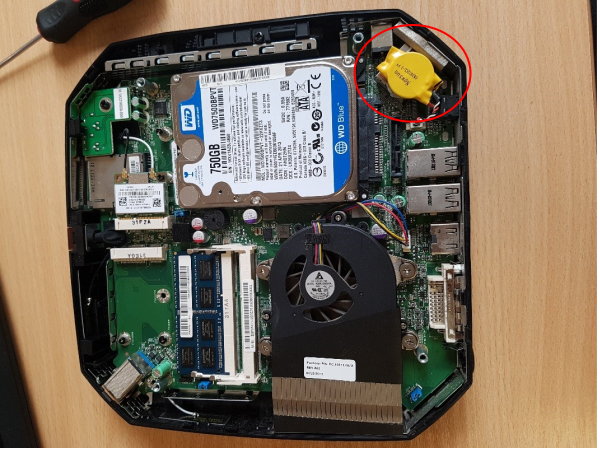
Internal CMOS batteries are used in PCs to keep a constant power supply to BIOS memory while the main power supply is switched off. These batteries should last up to 5 years when a PC has been left idle. Sometimes these batteries can fall flat before this time either due to being low when sent out or extended use on older machines.
The main symptom of a CMOS battery faulting on a Stuga machine is the PC not booting up when mains power is switched on which will be indicated by a “No Signal Detected” message being displayed on the screen. This is due to the BIOS setting “Restore AC Power Loss” going back to its default value of OFF due to the battery faulting. Restoring the BIOS to its original settings is a temporary fix in this situation as it is most likely this will happen again a couple of months down the line (See TB 376 or 213).
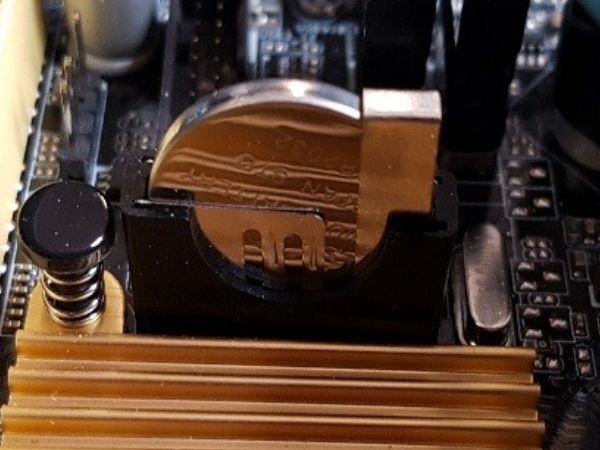
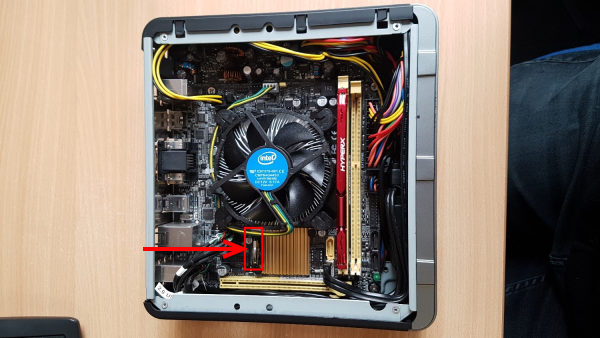
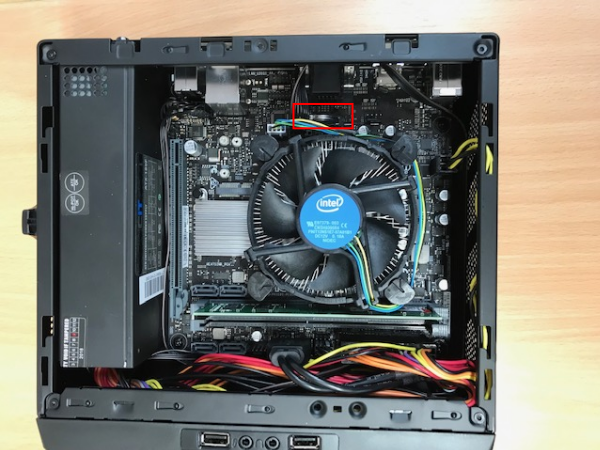
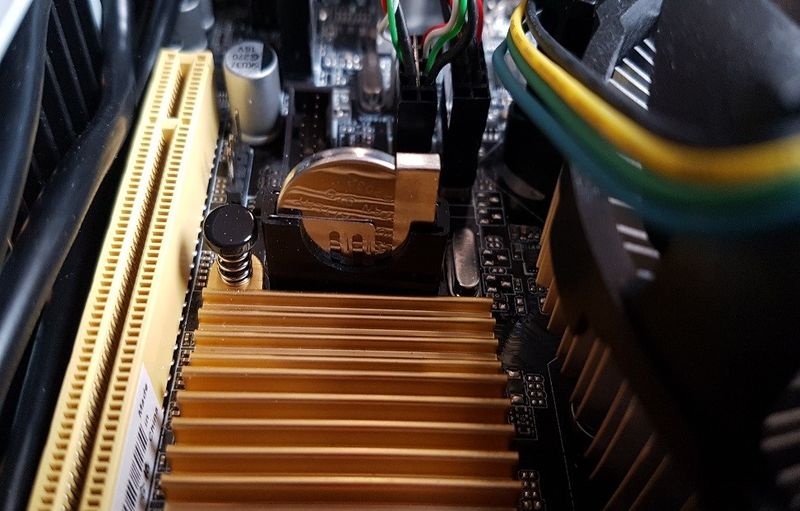
The battery required is a CR2032. In the case of the Antec PC, and most commonly, the battery is held in an open housing that can be pushed to release and easily replaced. In PCs such as the Acer Revo the battery needs to be pre-wired with a plug but still easily unclipped and replaced- Pièces et outils
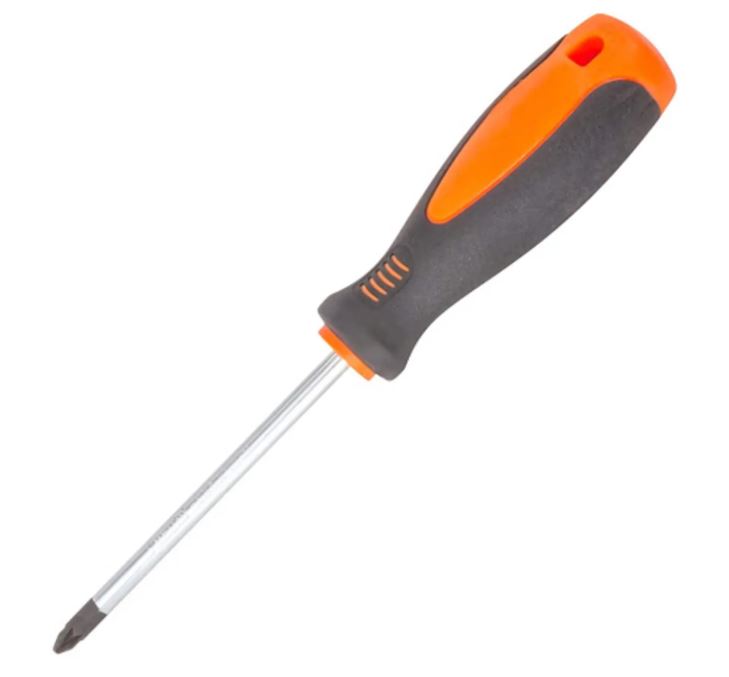
Pièces et outils
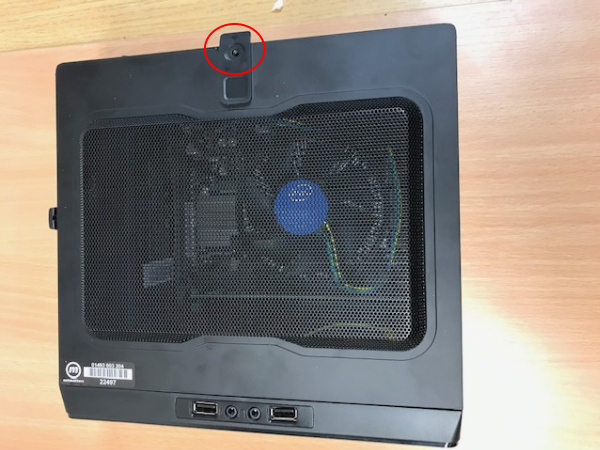
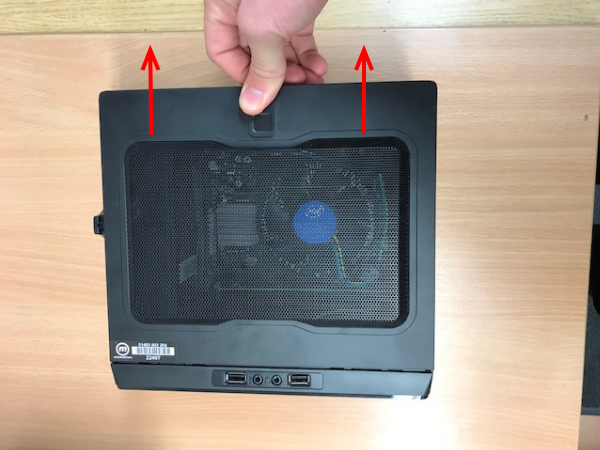
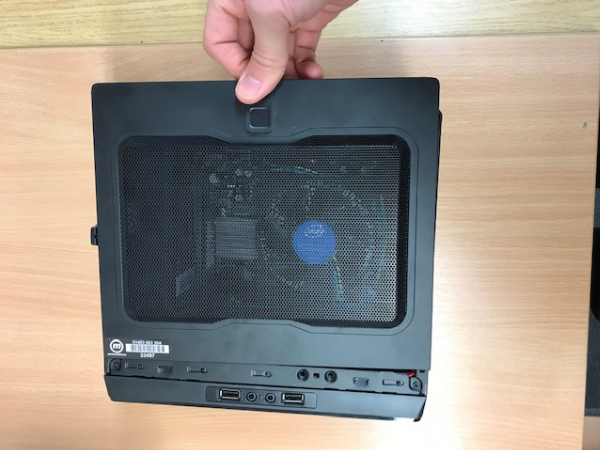
Étape 1 - Remove cover - (example shown on Antec PC New style)
Remove cover by taking out the circled screw. Then holding the tab, pull in the direct shown to unclip and remove the cover.
Published
 Français
 English
 Deutsch
 Español
 Italiano
 Português