| [version en cours de rédaction] | [version en cours de rédaction] |
(Page créée avec « {{Tuto Details |Main_Picture=Spindle_energy_chains_and_looms_Screenshot_81.png |Main_Picture_annotation={"version":"2.4.6","objects":[{"type":"image","version":"2.4.6","or... ») |
|||
| Ligne 5 : | Ligne 5 : | ||
|Categories=Production | |Categories=Production | ||
|Difficulty=Medium | |Difficulty=Medium | ||
| − | |Duration= | + | |Duration=1 |
|Duration-type=hour(s) | |Duration-type=hour(s) | ||
}} | }} | ||
| Ligne 78 : | Ligne 78 : | ||
{{Notes}} | {{Notes}} | ||
{{PageLang | {{PageLang | ||
| + | |Language=en | ||
|SourceLanguage=none | |SourceLanguage=none | ||
|IsTranslation=0 | |IsTranslation=0 | ||
| − | |||
}} | }} | ||
{{Tuto Status | {{Tuto Status | ||
|Complete=Draft | |Complete=Draft | ||
}} | }} | ||
Version du 1 juin 2023 à 16:29
Installation and routing of control cables and pipes to connection boxes

Difficulté
Moyen
Durée
1 heure(s)
Étape 1 - Unless otherwise stated
Use Loctite 243 on all fasteners
Pen mark bolts once finalised

Étape 2 - Spindle energy chain assembly
Assembly 8 off spindle energy chains with 27 links of A0000343 and 1 pair of A0000344
Assemble as image


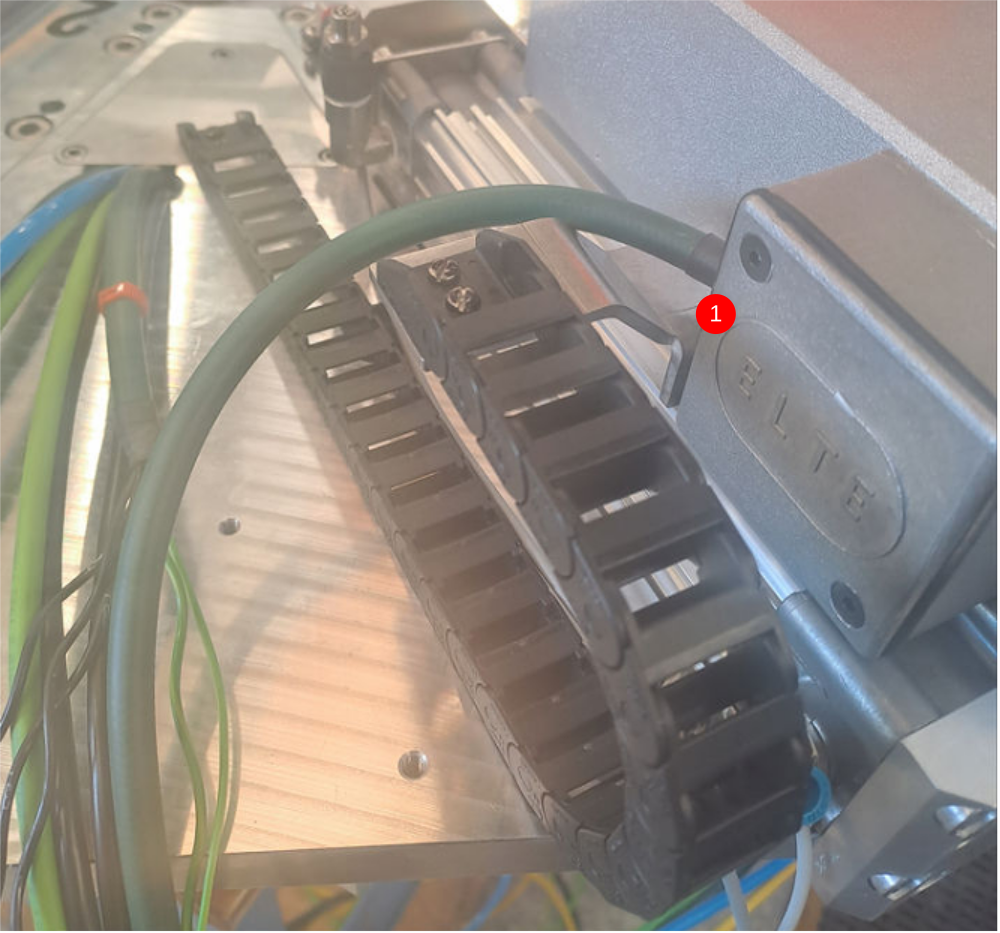
Étape 3 - Mount energy chains
1 Use 4 off m3 x 6 pan head screws and mount energy chains as shown. Ensure energy chain is mounted parallel to the cylinder
2 Disconnect end shown ready for cabling

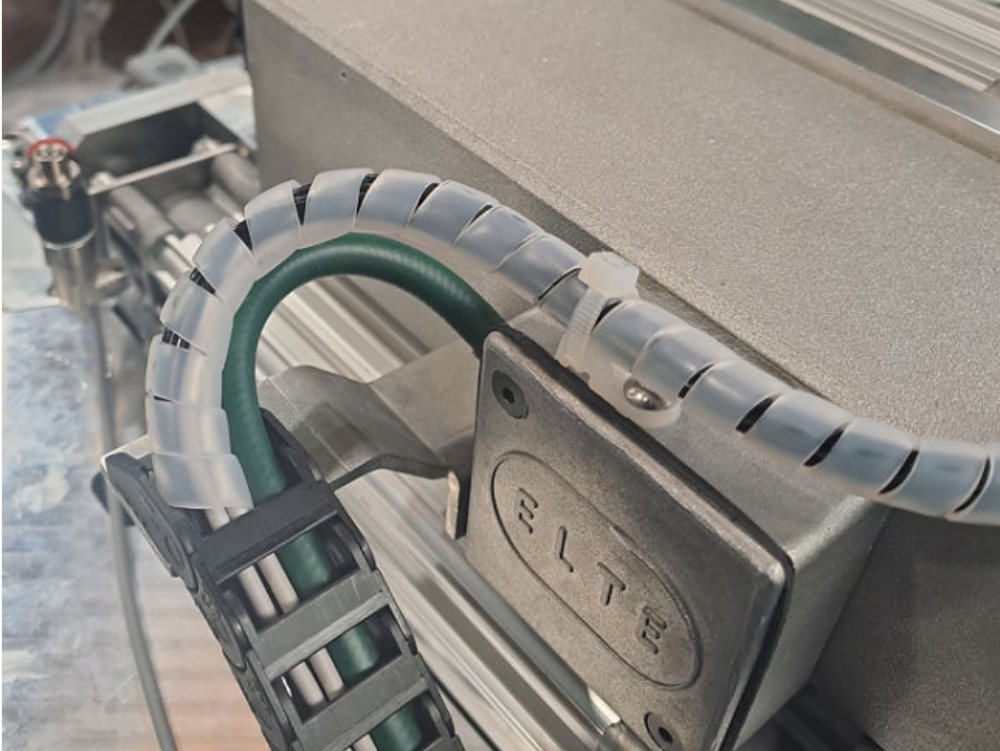
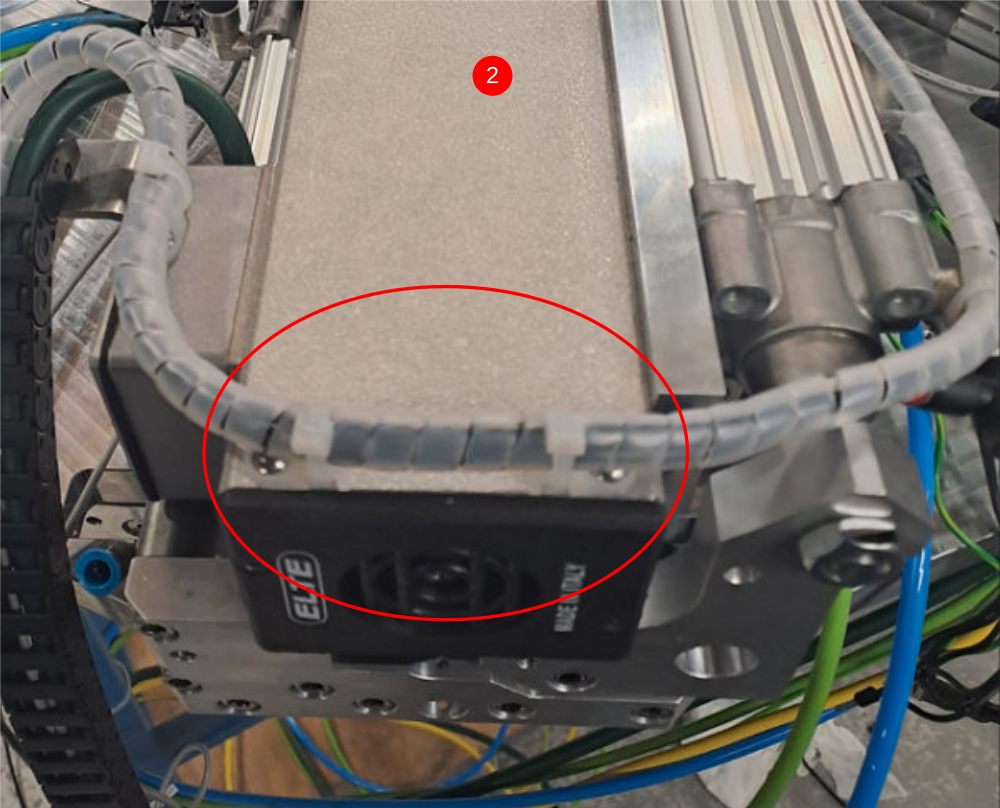
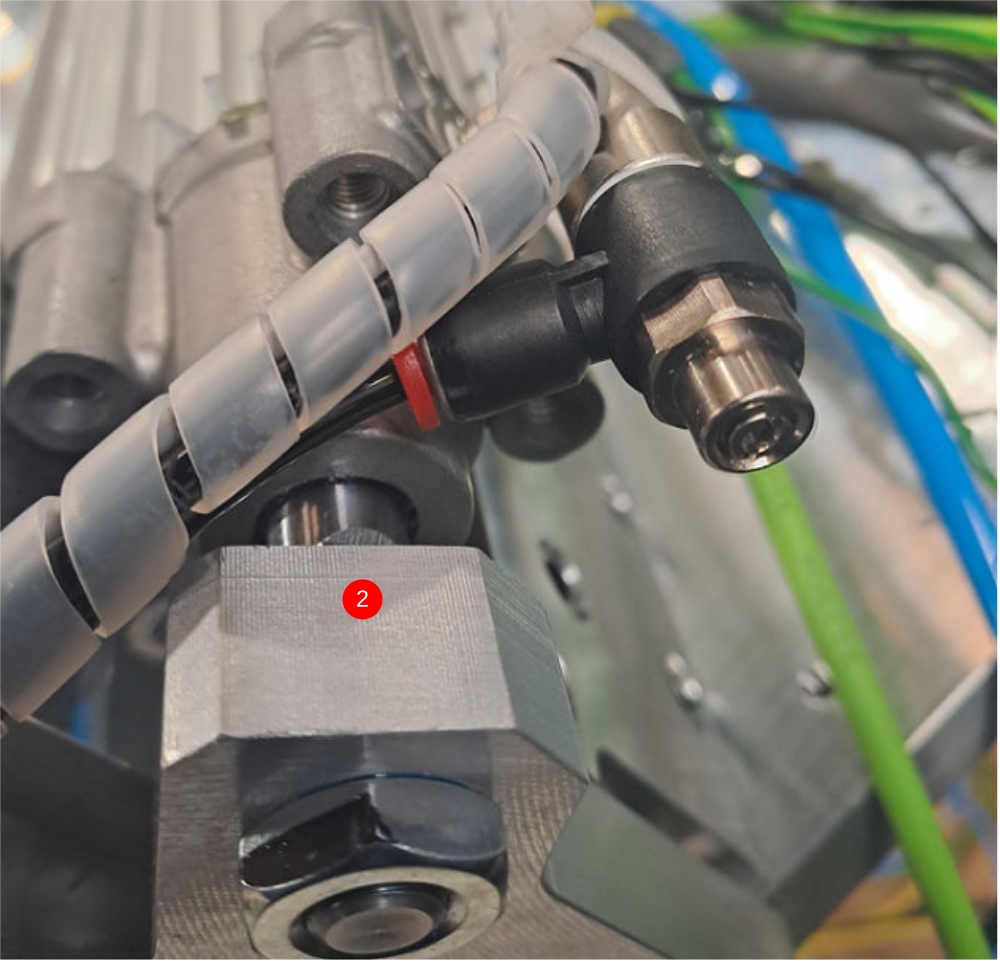
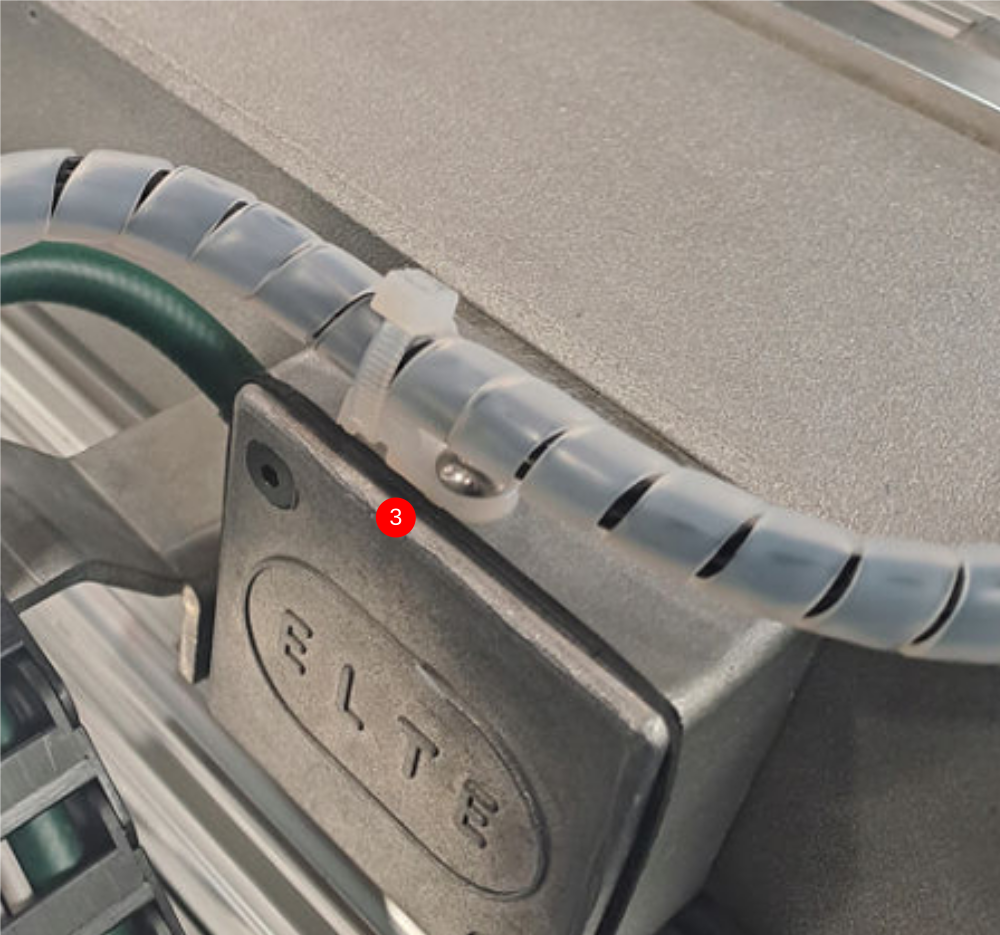
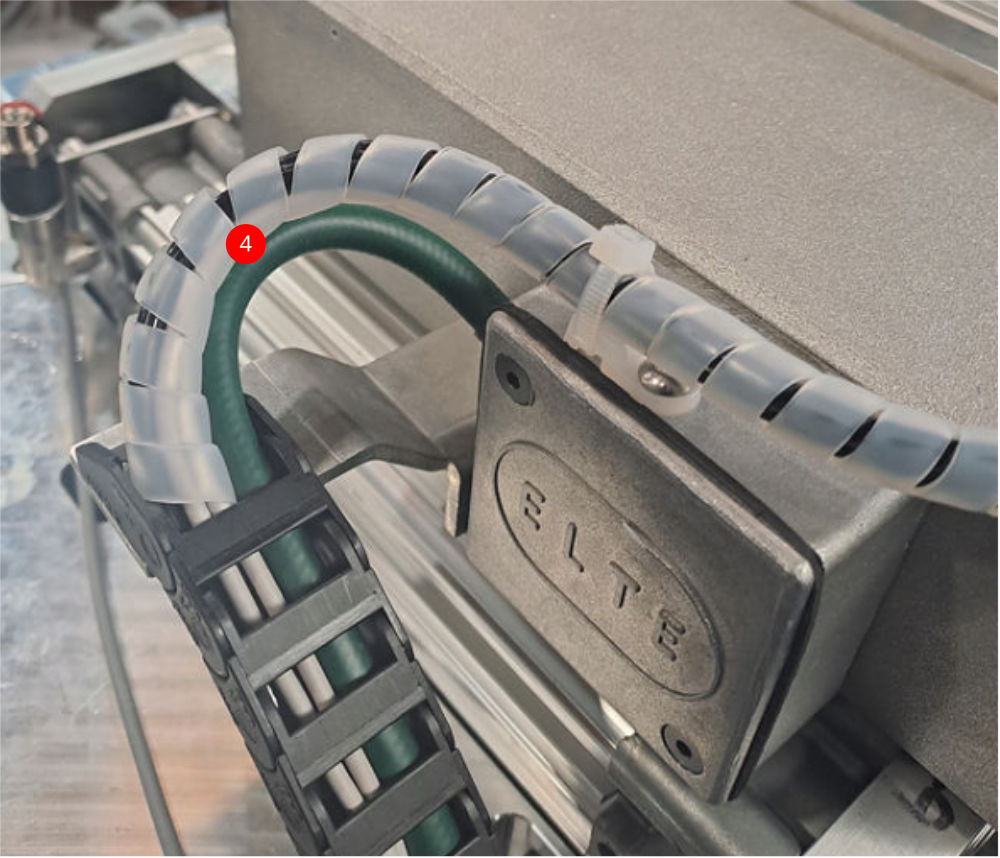
Étape 4 - Double plunge control routing
1 Use small cable wrap to start loom at cylinder end. Incorporate reed switches as passing. Add tie wrap to secure loom
2 Continue loom and fix to tie bases as passing
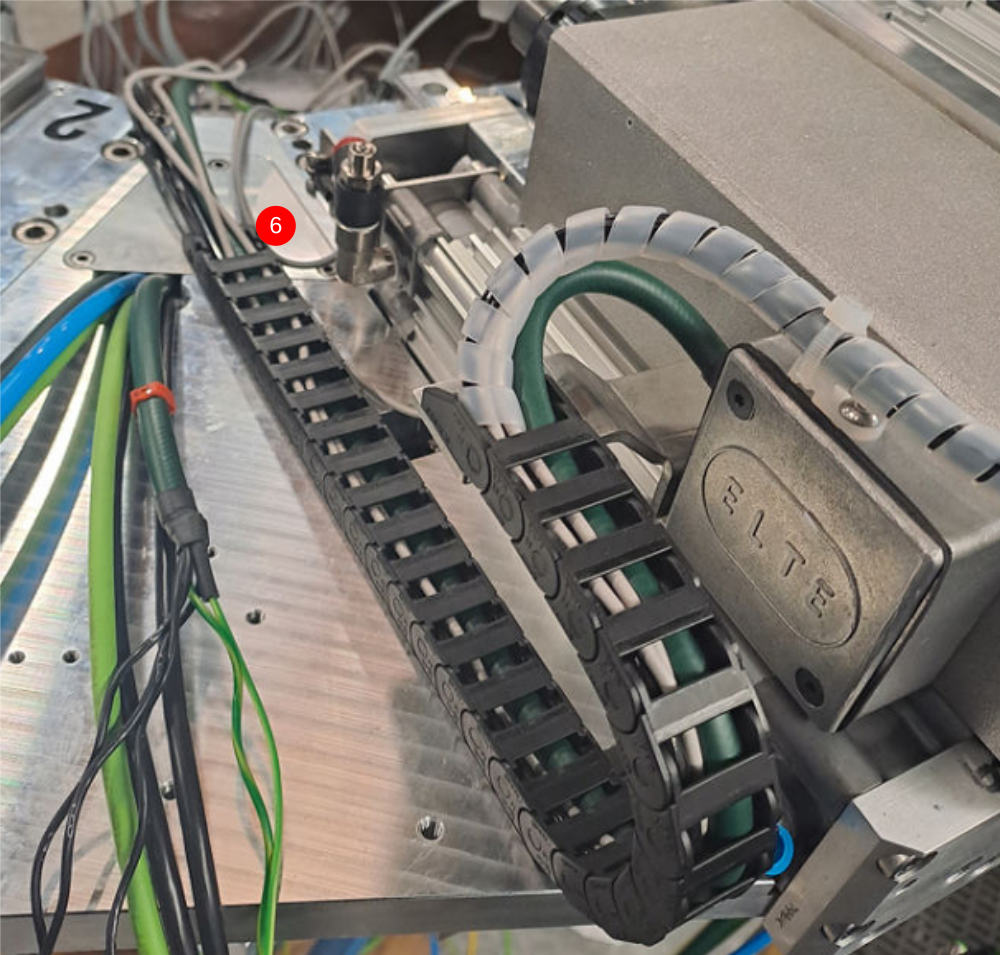
3 Continue loom over terminal box and secure on Tie base
4 Place looms as shown through energy chains
5 Reconnect energy chain and leave flying tails in centre of the ring
Repeat for 3 other double spindles
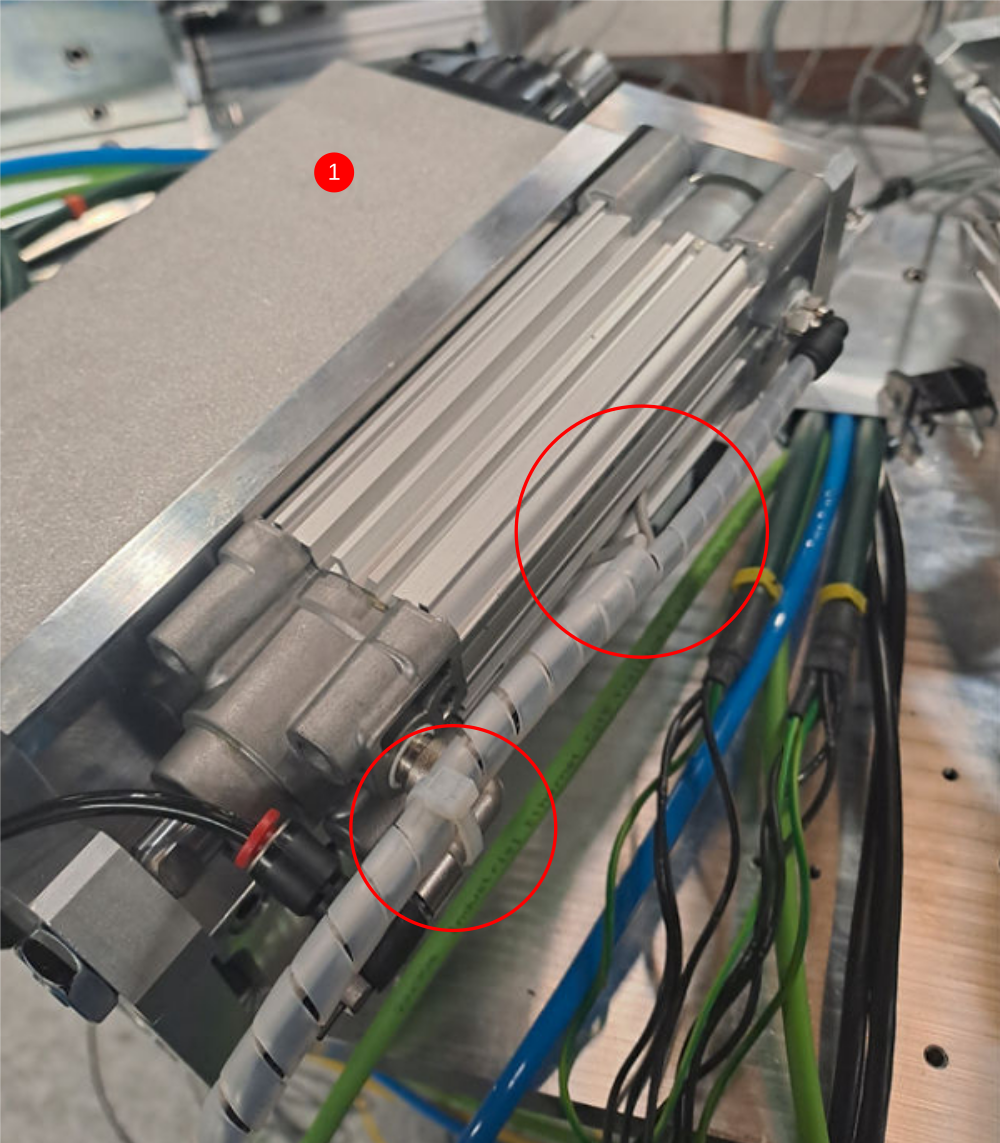
Étape 5 - Single plunge cable routing
Feed motor cable through energy chain and reconnect as shown

Étape 6 -
Draft
 Français
 English
 Deutsch
 Español
 Italiano
 Português