|
|
| (3 révisions intermédiaires par le même utilisateur non affichées) |
| Ligne 10 : |
Ligne 10 : |
| | }} | | }} |
| | {{Introduction | | {{Introduction |
| − | |Introduction=<translate>{{Dont|...Any stepper motor drives will need the EP7041 drive to be programmed first}}</translate> | + | |Introduction=<translate>07/08/25 Moved to [https://stuga-ltd.atlassian.net/wiki/external/MDUwNjIyY2UyZDcxNGRjMjk1NTI3ZDFkMDE4NjRmMmY Confluence]{{Dont|...Any stepper motor drives will need the EP7041 drive to be programmed first}}</translate> |
| | }} | | }} |
| | {{Materials}} | | {{Materials}} |
| | {{EPI}} | | {{EPI}} |
| | {{Tuto Step | | {{Tuto Step |
| − | |Step_Title=<translate>Set any stepper motor drives</translate> | + | |Step_Title=<translate></translate> |
| − | |Step_Content=<translate>Any stepper drives connected using an EP7041 will need to be set up according to the [[TB0371 Setup of Beckoff EP7041 Stepper Controller|procedure]].</translate> | + | |Step_Content=<translate></translate> |
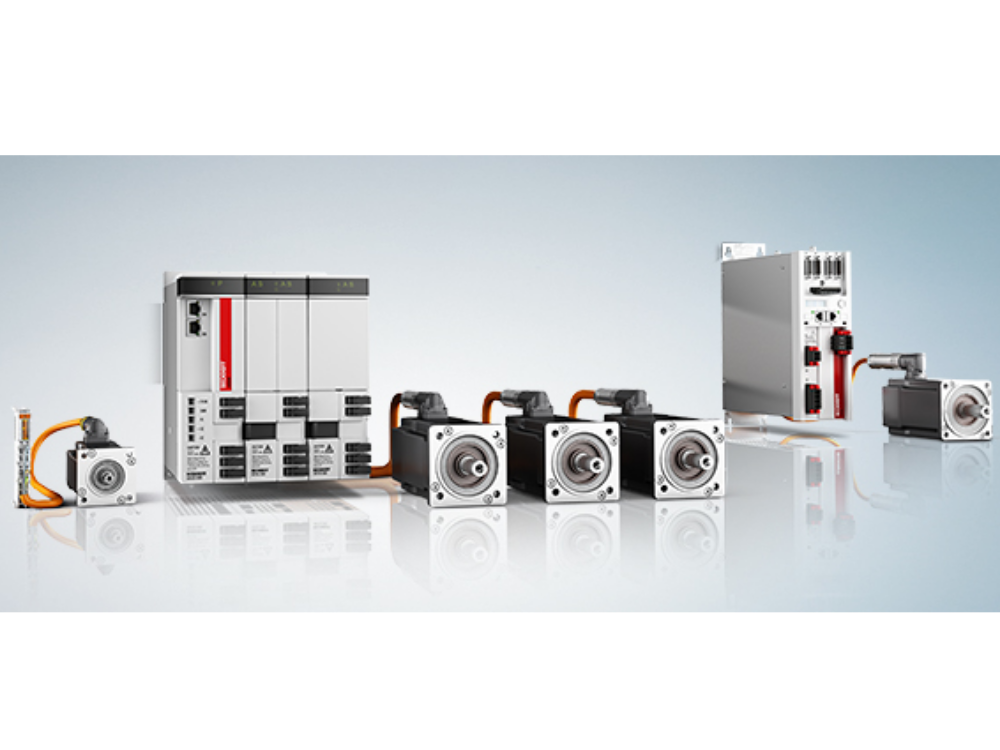
| − | |Step_Picture_00=Commissioning_a_Beckhoff_Axis_stepper_motors.jpg
| |
| − | }}
| |
| − | {{Tuto Step
| |
| − | |Step_Title=<translate>Check Axis IDs</translate>
| |
| − | |Step_Content=<translate>Ensure the axis.mul file is set up with the same axis Ids as the TwinCAT project
| |
| − | | |
| − | Second number in axes.mul file</translate>
| |
| − | }}
| |
| − | {{Tuto Step
| |
| − | |Step_Title=<translate>Software</translate>
| |
| − | |Step_Content=<translate>The following software setup needs to be done
| |
| − | | |
| − | * TwinCAT project setup with all io and axes linked
| |
| − | * Estop system reset
| |
| − | * Air on
| |
| − | * winMulti running in setup mode</translate>
| |
| − | }}
| |
| − | {{Tuto Step
| |
| − | |Step_Title=<translate>Ensure axis is enabled</translate>
| |
| − | |Step_Content=<translate>* All 3 Enable signals
| |
| − | * 100% Override
| |
| − | * Axis Ready</translate>
| |
| − | }}
| |
| − | {{Tuto Step
| |
| − | |Step_Title=<translate>Set Rough Absolute position</translate>
| |
| − | |Step_Content=<translate>On the functions tab, set the absolute position by eye.
| |
| − | | |
| − | This ensures the axis is in the correct place for test positioning
| |
| − | | |
| − | <nowiki>**</nowiki> Diagram for axis directions and distances **</translate>
| |
| − | }}
| |
| − | {{Tuto Step
| |
| − | |Step_Title=<translate>Check Axis Direction - move slowly and short distance</translate>
| |
| − | |Step_Content=<translate>X and SX axis - positive is out of machine towards outfeed
| |
| − | | |
| − | Y axis - positive towards rear
| |
| − | | |
| − | Z axis - positive is up
| |
| − | | |
| − | R axis - positive is rotation downwards when looking from front of machine
| |
| − | | |
| − | SR Axis - positive is always anticlockwise looking from top
| |
| − | | |
| − | SY Axis - positive is
| |
| − | | |
| − | | |
| − | Relative move on axis slowly plus and minus to test direction
| |
| − | | |
| − | Direction changed in axes.mul, the parameter after the scaling factor
| |
| − | | |
| − | {{Warning|...Exit winmulti before changing direction in axes.mul. Save aes.mul then restart winMulti}}</translate>
| |
| − | }}
| |
| − | {{Tuto Step
| |
| − | |Step_Title=<translate>Check Scaling</translate>
| |
| − | |Step_Content=<translate>There is a possibility that the scaling factor could be different on the machine. this depends on how similar the setup was on the machine that the axes.mul was copied from.
| |
| − | | |
| − | Changes in gearboxes or motors will affect the scaling factor#
| |
| − | | |
| − | | |
| − | Simply mark the axis, move it a known distance and ensure it is correct.
| |
| − | | |
| − | Scaling changed using the formula
| |
| − | | |
| − | | |
| − | [https://stuga.dokit.app/wiki/How_to_Calculate_a_Scaling_Factor new scaling factor = old scaling * distance moved / distance required]</translate>
| |
| − | }}
| |
| − | {{Tuto Step
| |
| − | |Step_Title=<translate>Ensure the movement is clear</translate>
| |
| − | |Step_Content=<translate>*X and SX - No tools left in track overnight
| |
| − | *Z axis supports removed and air balanced
| |
| − | *V - X axis beam outside the machining centre</translate>
| |
| − | }}
| |
| − | {{Tuto Step
| |
| − | |Step_Title=<translate>Reversing move - High Speed</translate>
| |
| − | |Step_Content=<translate>Reversing move on axis.
| |
| − | | |
| − | Set speed to the maximum for each axis
| |
| − | | |
| − | Target positions to stay well within the limitations (you have only guessed the actual position)</translate>
| |
| − | }}
| |
| − | {{Tuto Step
| |
| − | |Step_Title=<translate>Move all axes in reversing mode</translate>
| |
| − | |Step_Content=<translate>Shakedown to ensure all axes move smoothly at full speed</translate>
| |
| − | }}
| |
| − | {{Tuto Step
| |
| − | |Step_Title=<translate>Set the drive special parameters</translate>
| |
| − | |Step_Content=<translate>[[Specialised Settings for Beckhoff Drives|https://stuga.dokit.app/wiki/Specialised_Settings_for_Beckhoff_Drives]]</translate>
| |
| − | }}
| |
| − | {{Tuto Step
| |
| − | |Step_Title=<translate>Test Datum Direction</translate>
| |
| − | |Step_Content=<translate>* By hand, move every axis to roughly the middle of its possible travel or at least off the datum switch. '''This does not apply to the V axis on a ZX5 which works in reverse i.e the axis is 'home' when the switch is not made.'''
| |
| − | * In the drives tab on the service screen in WinMulti press 'Home' on the first axis. Keep a close eye on the direction of travel. If it is travelling away from the datum switch then it is moving in the wrong direction and needs to be stopped quickly.
| |
| − | * Repeat for the rest of the axes in turn. Wait for one axis to finish before starting another one.
| |
| − | * Make a note of which axes are homing in the wrong direction. These will need to be changed in the TwinCAT project.</translate>
| |
| | }} | | }} |
| | {{Notes}} | | {{Notes}} |

 Français
 English
 Deutsch
 Español
 Italiano
 Português