| [version en cours de rédaction] | [version en cours de rédaction] |
(Page créée avec « {{Tuto Details |Main_Picture=R0015318_Fit_Swarf_Chutes_Screenshot_2023-11-01_135515.png |Main_Picture_annotation={"version":"2.4.6","objects":[{"type":"image","version":"2... ») |
|||
| Ligne 9 : | Ligne 9 : | ||
}} | }} | ||
{{Introduction | {{Introduction | ||
| − | |Introduction=<translate>'''<u>Tools Required</u>''' | + | |Introduction=<translate>'''<u>Tools Required</u>''' |
| − | '''<u>Parts Required</u>'''</translate> | + | Standard Hex key set |
| + | |||
| + | Pipe cutters | ||
| + | |||
| + | |||
| + | '''<u>Parts Required</u>''' | ||
| + | |||
| + | R0015084 Bench assemble and Drill Off Swarf chutes</translate> | ||
}} | }} | ||
{{Materials}} | {{Materials}} | ||
{{EPI}} | {{EPI}} | ||
{{Tuto Step | {{Tuto Step | ||
| − | |Step_Title=<translate></translate> | + | |Step_Title=<translate>Unless otherwise stated</translate> |
| − | |Step_Content=<translate></translate> | + | |Step_Content=<translate>Use locktite 243 on all fasteners |
| + | |||
| + | Use loctite 572 on all threaded pneumatic connection | ||
| + | |||
| + | Pen mark all fasteners to show finalised</translate> | ||
| + | |Step_Picture_00=R0015086_Assemble_Pneumatics_on_to_electrical_cabinet_loctite_243.png | ||
| + | }} | ||
| + | {{Tuto Step | ||
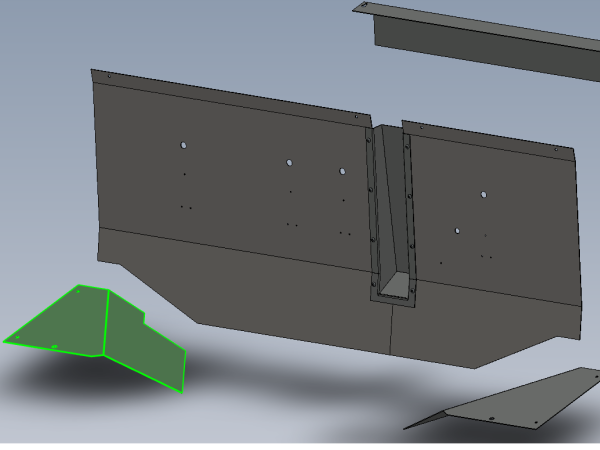
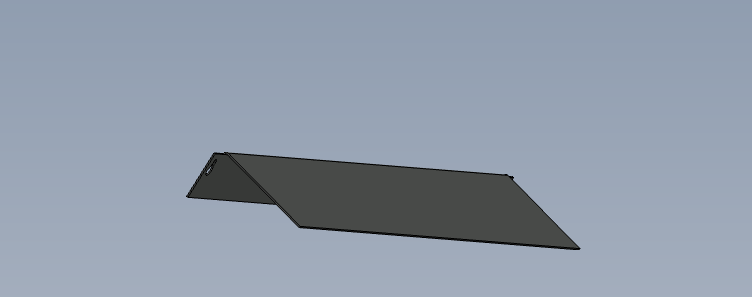
| + | |Step_Title=<translate>Fit lower chute lip</translate> | ||
| + | |Step_Content=<translate>Fit lower swarf lip</translate> | ||
| + | |Step_Picture_00=R0015318_Fit_Swarf_Chutes_Screenshot_2023-11-01_162211.png | ||
| + | }} | ||
| + | {{Tuto Step | ||
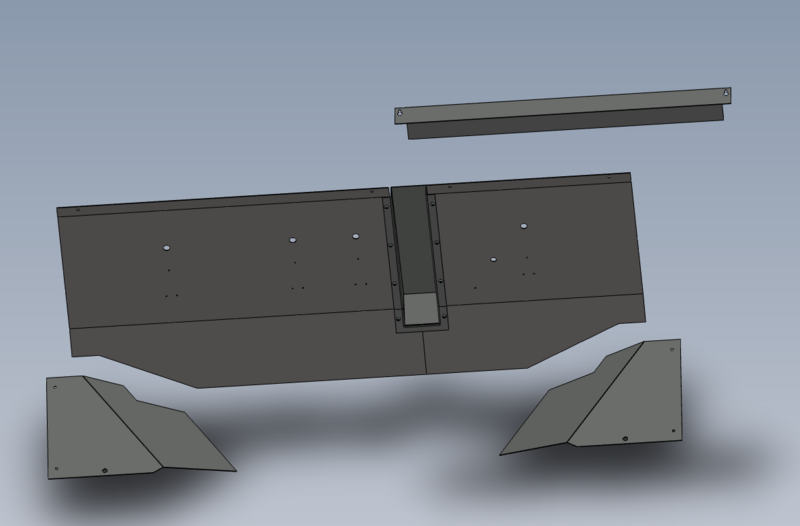
| + | |Step_Title=<translate>Fit side chutes</translate> | ||
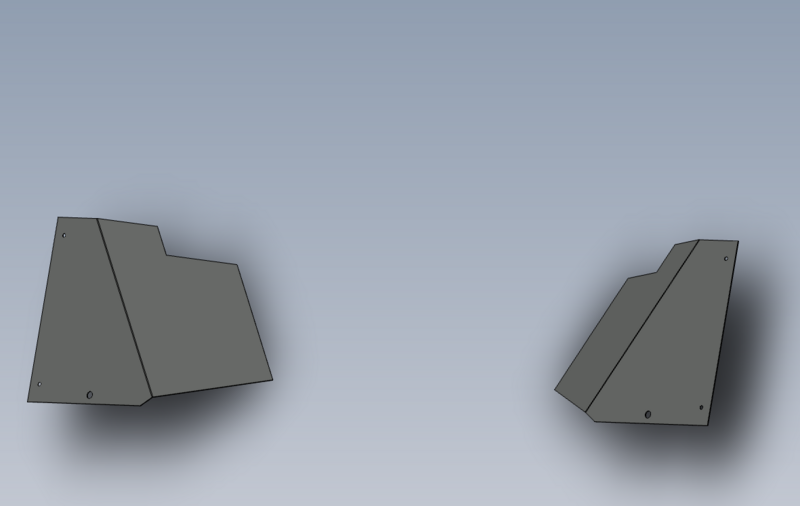
| + | |Step_Content=<translate>Fit 2 off side chutes | ||
| + | |||
| + | |||
| + | Do not finalise fasteners</translate> | ||
| + | |Step_Picture_00=R0015318_Fit_Swarf_Chutes_Screenshot_2023-11-01_162252.png | ||
| + | }} | ||
| + | {{Tuto Step | ||
| + | |Step_Title=<translate>Fit swarf chute section one</translate> | ||
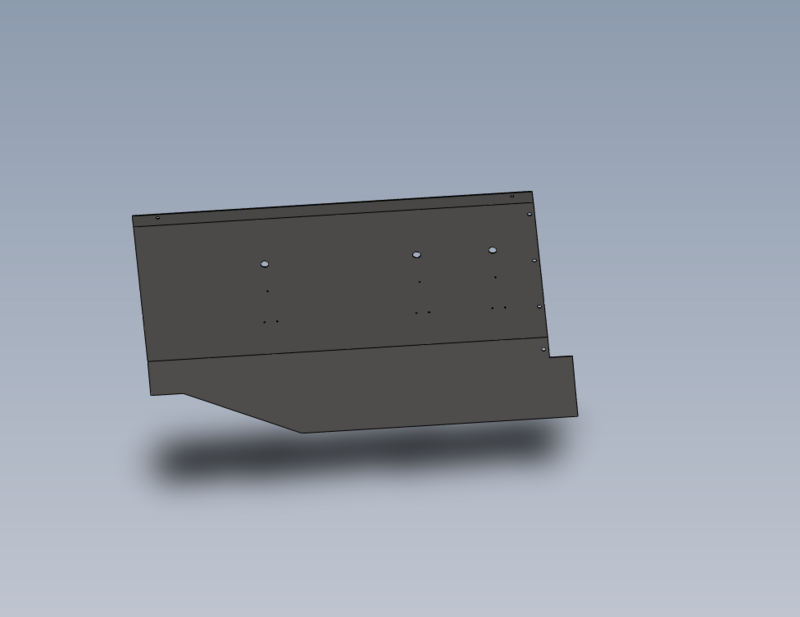
| + | |Step_Content=<translate>Fit larger swarf chute section | ||
| + | |||
| + | |||
| + | Do not finalise fasteners</translate> | ||
| + | |Step_Picture_00=R0015318_Fit_Swarf_Chutes_Screenshot_2023-11-01_162348.png | ||
| + | }} | ||
| + | {{Tuto Step | ||
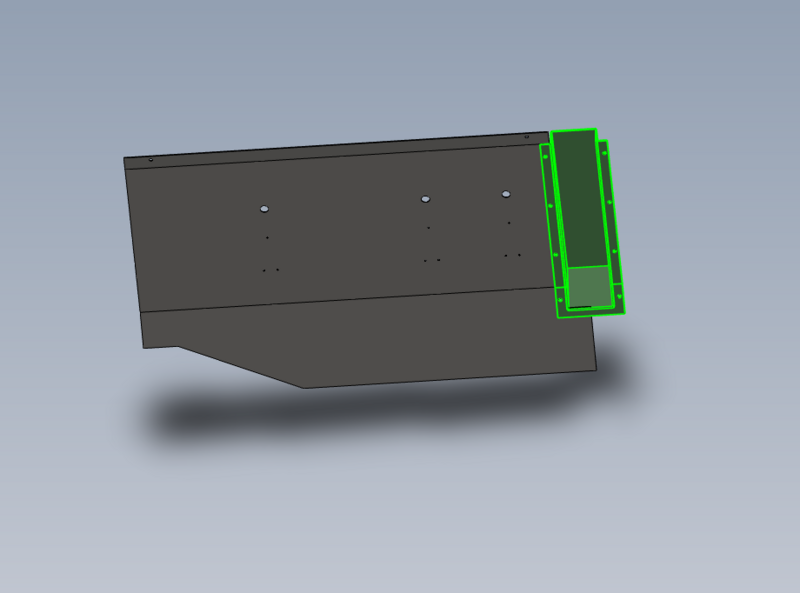
| + | |Step_Title=<translate>Fit cylinder poscket</translate> | ||
| + | |Step_Content=<translate>Fit cylinder pocket | ||
| + | |||
| + | |||
| + | Do not finalise fasteners</translate> | ||
| + | |Step_Picture_00=R0015318_Fit_Swarf_Chutes_Screenshot_2023-11-01_162456.png | ||
| + | }} | ||
| + | {{Tuto Step | ||
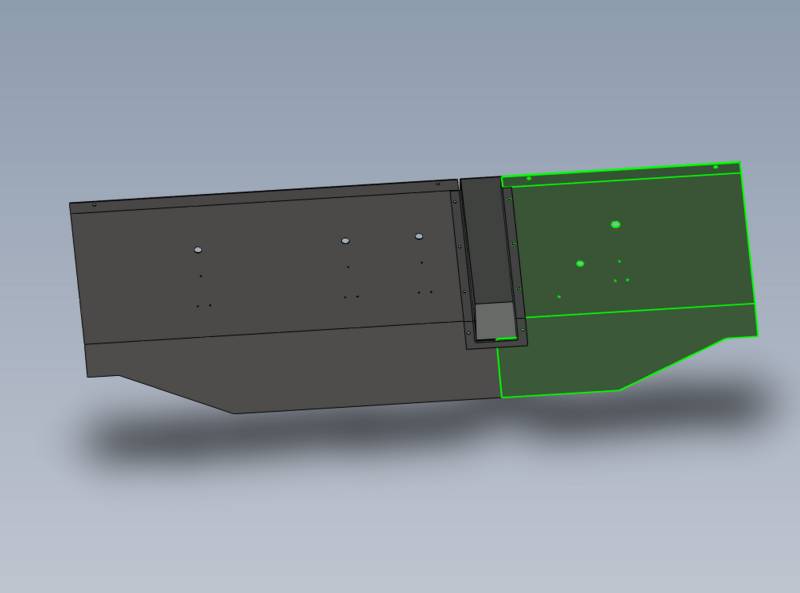
| + | |Step_Title=<translate>Fit chute section 2</translate> | ||
| + | |Step_Content=<translate>Fit chute section 2 | ||
| + | |||
| + | |||
| + | Do not finalise fasteners</translate> | ||
| + | |Step_Picture_00=R0015318_Fit_Swarf_Chutes_Screenshot_2023-11-01_162547.png | ||
| + | }} | ||
| + | {{Tuto Step | ||
| + | |Step_Title=<translate>Position for best fit</translate> | ||
| + | |Step_Content=<translate>Position all sections in conjunction with each other for best fit</translate> | ||
| + | |Step_Picture_00=R0015318_Fit_Swarf_Chutes_Screenshot_2023-11-01_162701.png | ||
| + | }} | ||
| + | {{Tuto Step | ||
| + | |Step_Title=<translate>Finalise all fasteners</translate> | ||
| + | |Step_Content=<translate>Finalise all fasteners ensuring adhesive is applied</translate> | ||
| + | |Step_Picture_00=R0000711_Rotary_Base_Assembly_quality-assurance-testing.png | ||
| + | }} | ||
| + | {{Tuto Step | ||
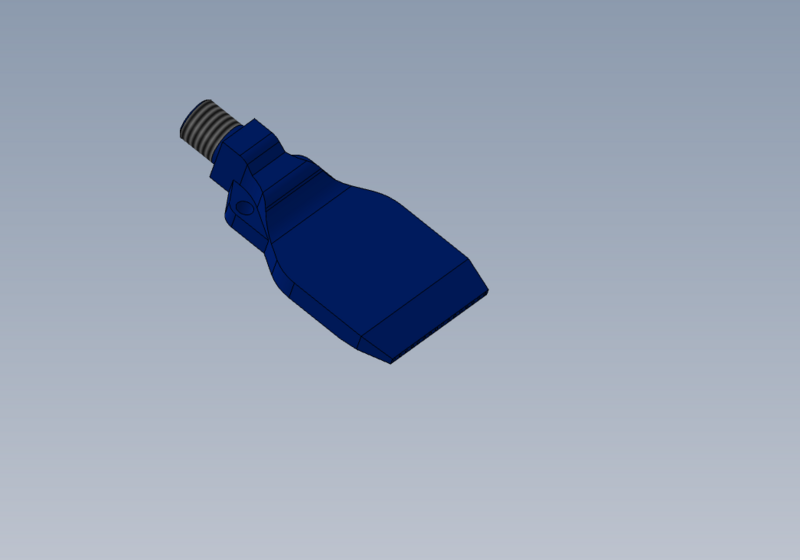
| + | |Step_Title=<translate>Connect Chute blower feed pipes</translate> | ||
| + | |Step_Content=<translate>Connect 2 off 6mm black air pipes to bulkheads for chute blowers on rear of swarf chutes</translate> | ||
| + | |Step_Picture_00=R0015318_Fit_Swarf_Chutes_Screenshot_2023-11-01_162819.png | ||
| + | }} | ||
| + | {{Tuto Step | ||
| + | |Step_Title=<translate>Connect Y3501 and Y3502</translate> | ||
| + | |Step_Content=<translate>Connect 3502 and 3501 6mm pipes to rear of chute and insert x63 reed switch through grommit</translate> | ||
| + | |Step_Picture_00=R0015318_Fit_Swarf_Chutes_Screenshot_2023-11-01_162939.png | ||
| + | }} | ||
| + | {{Tuto Step | ||
| + | |Step_Title=<translate>Loom feed pipes to top clamp</translate> | ||
| + | |Step_Content=<translate>Set position of reed switch on top clamp cylinder using test box | ||
| + | |||
| + | |||
| + | Loom and spiral wrap pipes and reed switch and restrain</translate> | ||
| + | |Step_Picture_00=R0015318_Fit_Swarf_Chutes_Screenshot_2023-11-01_162939.png | ||
}} | }} | ||
{{Notes}} | {{Notes}} | ||
{{PageLang | {{PageLang | ||
| + | |Language=en | ||
|SourceLanguage=none | |SourceLanguage=none | ||
|IsTranslation=0 | |IsTranslation=0 | ||
| − | |||
}} | }} | ||
{{Tuto Status | {{Tuto Status | ||
|Complete=Draft | |Complete=Draft | ||
}} | }} | ||
Version du 1 novembre 2023 à 17:33
Fitting instructions for waste chutes
Difficulté
Moyen
Durée
1 heure(s)
Sommaire
- 1 Introduction
- 2 Étape 1 - Unless otherwise stated
- 3 Étape 2 - Fit lower chute lip
- 4 Étape 3 - Fit side chutes
- 5 Étape 4 - Fit swarf chute section one
- 6 Étape 5 - Fit cylinder poscket
- 7 Étape 6 - Fit chute section 2
- 8 Étape 7 - Position for best fit
- 9 Étape 8 - Finalise all fasteners
- 10 Étape 9 - Connect Chute blower feed pipes
- 11 Étape 10 - Connect Y3501 and Y3502
- 12 Étape 11 - Loom feed pipes to top clamp
- 13 Commentaires
Introduction
Tools Required
Standard Hex key set
Pipe cutters
Parts Required
Étape 1 - Unless otherwise stated
Use locktite 243 on all fasteners
Use loctite 572 on all threaded pneumatic connection
Pen mark all fasteners to show finalised
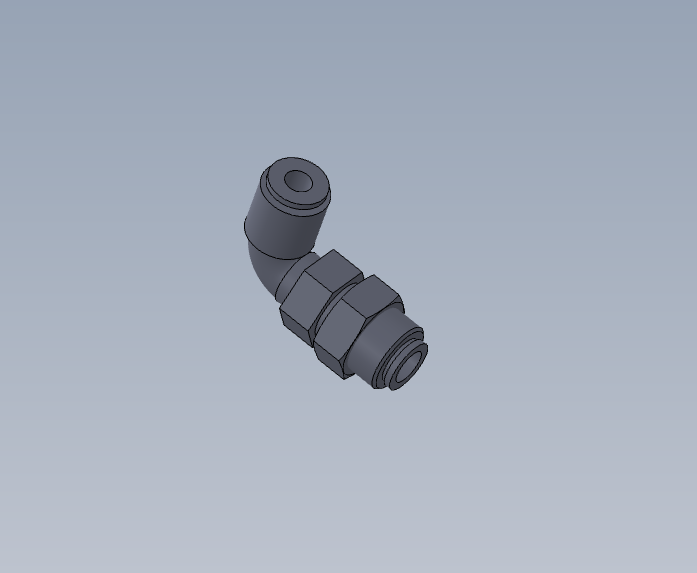
Étape 9 - Connect Chute blower feed pipes
Connect 2 off 6mm black air pipes to bulkheads for chute blowers on rear of swarf chutes
Étape 10 - Connect Y3501 and Y3502
Connect 3502 and 3501 6mm pipes to rear of chute and insert x63 reed switch through grommit
Étape 11 - Loom feed pipes to top clamp
Set position of reed switch on top clamp cylinder using test box
Loom and spiral wrap pipes and reed switch and restrain
Draft


 Français
 English
 Deutsch
 Español
 Italiano
 Português