| [version en cours de rédaction] | [version en cours de rédaction] |
(Page créée avec « {{Tuto Details |Main_Picture=R0015331_Mount_Centralise_Assembly_Screenshot_2023-10-23_075129.png |Main_Picture_annotation={"version":"2.4.6","objects":[{"type":"image","ve... ») |
|||
| Ligne 5 : | Ligne 5 : | ||
|Categories=Production | |Categories=Production | ||
|Difficulty=Medium | |Difficulty=Medium | ||
| − | |Duration= | + | |Duration=1 |
|Duration-type=hour(s) | |Duration-type=hour(s) | ||
}} | }} | ||
| Ligne 79 : | Ligne 79 : | ||
{{Notes}} | {{Notes}} | ||
{{PageLang | {{PageLang | ||
| + | |Language=en | ||
|SourceLanguage=none | |SourceLanguage=none | ||
|IsTranslation=0 | |IsTranslation=0 | ||
| − | |||
}} | }} | ||
{{Tuto Status | {{Tuto Status | ||
|Complete=Draft | |Complete=Draft | ||
}} | }} | ||
Version du 23 octobre 2023 à 10:06
Centralise mounting details


Difficulté
Moyen
Durée
1 heure(s)
Introduction
Tools Required
Standard hex key set
Standard spanner set
Parts Required
D0004672 Centralise Sensor Bracket
D0004972 None Centralise Bracket
R0000572 Bench Assemble Centralise Assembly
Étape 1 - Unless otherwise stated
Use locktite 243 on all fasteners
Use loctite 572 on all threaded pneumatic connection
Pen mark all fasteners to show finalised

Étape 2 - Attach centralise lever
Attach prebuilt centralise lever to bottom turntable shaft

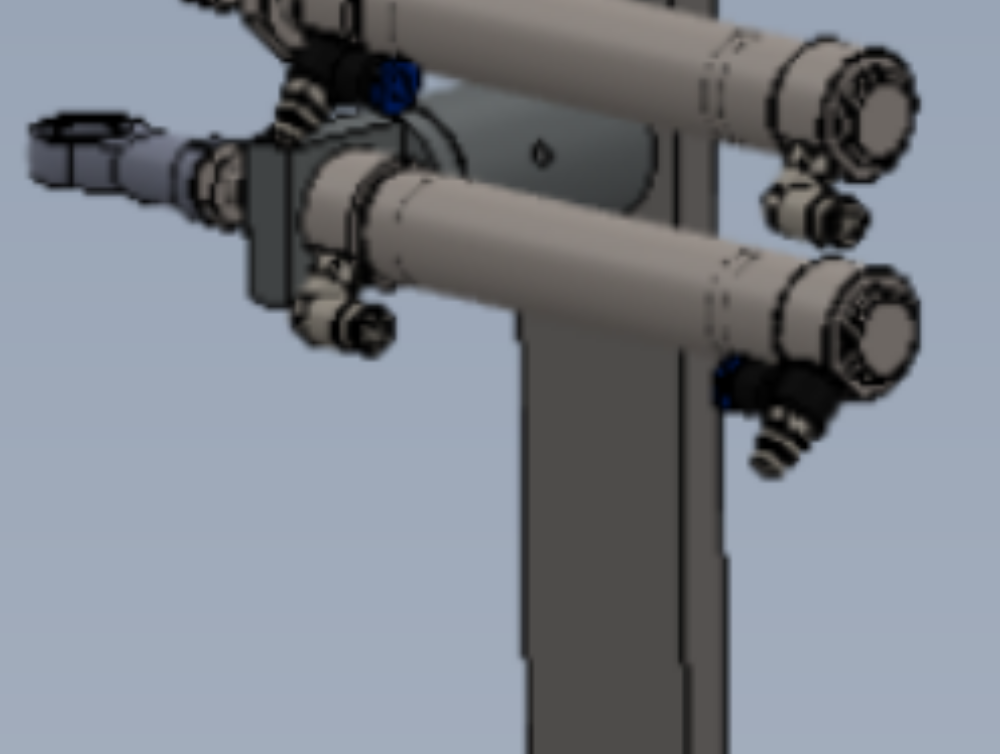
Étape 3 - Position centralise bar
Set position of centralise bar to 145mm on bottom shaft
Set correct gap between top cross member and centralise bar
Finalise M8 fasteners

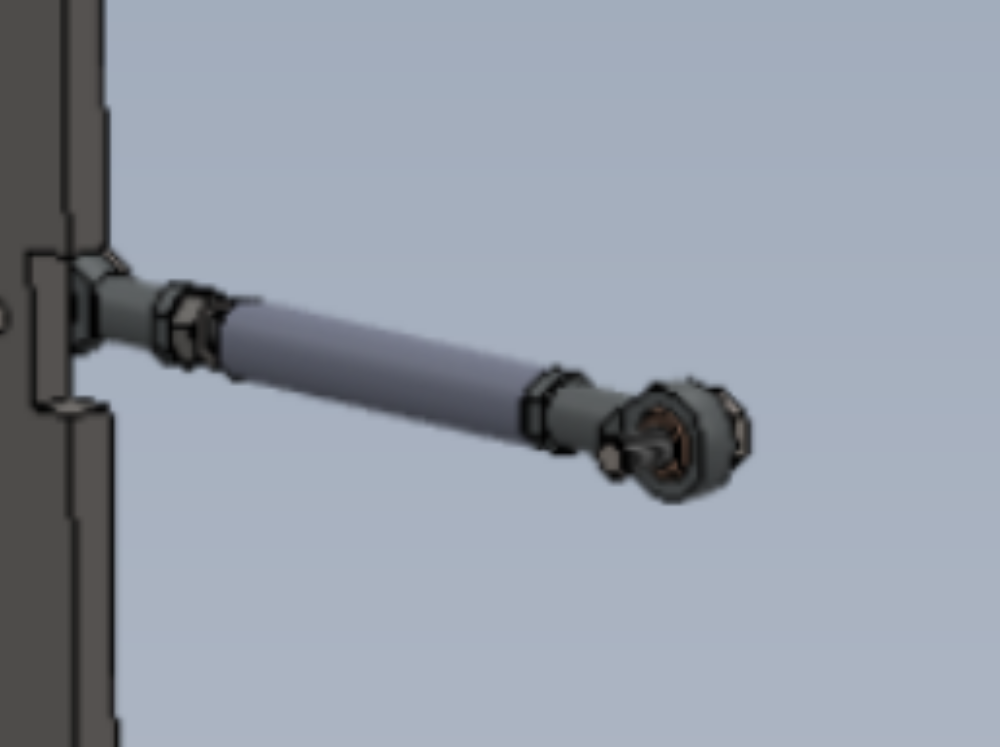
Étape 4 - Attach Tie Rod
Attach tie rod to spindle post and centralise bar
Étape 5 - Connect bottom cylinder
Connect bottom centralise cylinder to frame bracket
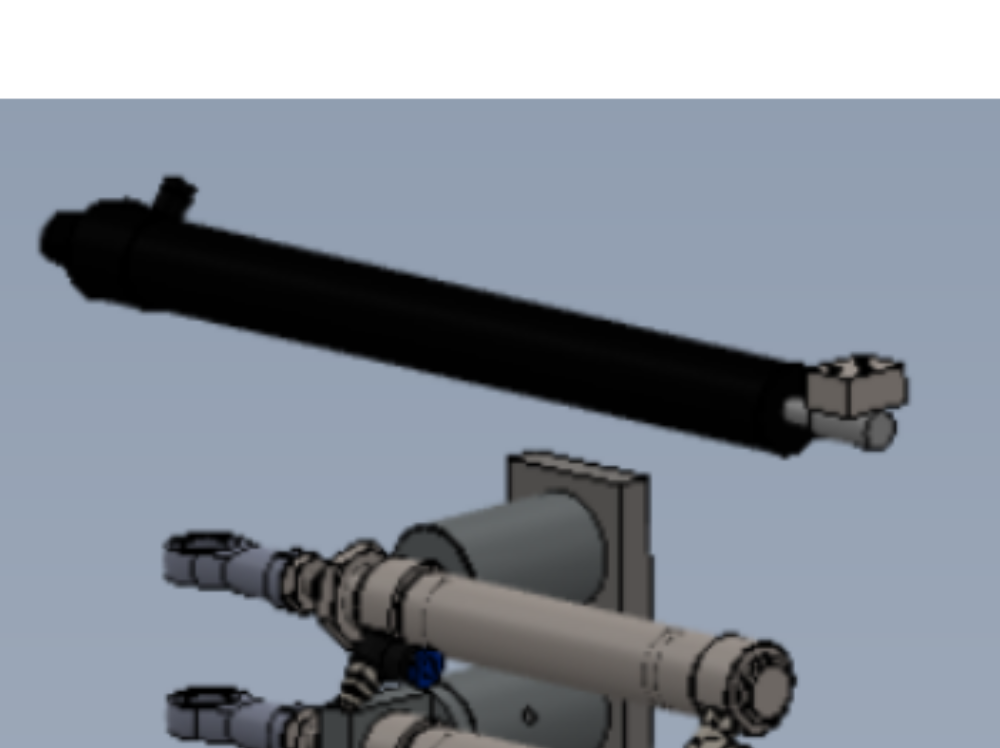
Étape 6 - Attach damper
Attach pre built damper to frame
Draft
 Français
 English
 Deutsch
 Español
 Italiano
 Português