| [version en cours de rédaction] | [version en cours de rédaction] |
| Ligne 24 : | Ligne 24 : | ||
{{Tuto Step | {{Tuto Step | ||
|Step_Title=<translate>Set up the 6017 PC</translate> | |Step_Title=<translate>Set up the 6017 PC</translate> | ||
| − | |Step_Content=<translate>* Ensure regional settings correct - correct date format | + | |Step_Content=<translate>*Ensure regional settings correct - correct date format |
| − | * Rename the Ethernet Adaptors to Ethernet and EtherCAT | + | *Rename the Ethernet Adaptors to Ethernet and EtherCAT |
| − | * Ensure the [https://stuga.dokit.app/wiki/TwinCAT_Issue_-_EtherCAT_Network_Protocol_Missing TwinCAT Protocol is installed] on the EtherCAT adaptor | + | *Ensure the [https://stuga.dokit.app/wiki/TwinCAT_Issue_-_EtherCAT_Network_Protocol_Missing TwinCAT Protocol is installed] on the EtherCAT adaptor |
| − | * Teamviewer setup | + | *Teamviewer setup |
| − | * Administrator password set to "Stuga001"</translate> | + | *Administrator password set to "Stuga001" |
| + | *Add Stuga desktop image | ||
| + | *Latest winMulti in c:\multi</translate> | ||
}} | }} | ||
{{Tuto Step | {{Tuto Step | ||
| Ligne 35 : | Ligne 37 : | ||
<br /></translate> | <br /></translate> | ||
| + | }} | ||
| + | {{Tuto Step | ||
| + | |Step_Title=<translate>Add the backup to cameraPC</translate> | ||
| + | |Step_Content=<translate>In folder c:\DDRIVE | ||
| + | |||
| + | Copy latest messages.saw to DDRIVE</translate> | ||
}} | }} | ||
{{Tuto Step | {{Tuto Step | ||
|Step_Title=<translate>Convert the TC2 project from old machine</translate> | |Step_Title=<translate>Convert the TC2 project from old machine</translate> | ||
|Step_Content=<translate>[https://stuga.dokit.app/wiki/Convert_Autoflow_TC2_Project_to_TC3 Follow this procedure] to convert the project</translate> | |Step_Content=<translate>[https://stuga.dokit.app/wiki/Convert_Autoflow_TC2_Project_to_TC3 Follow this procedure] to convert the project</translate> | ||
| + | }} | ||
| + | {{Tuto Step | ||
| + | |Step_Title=<translate>Install the new PCs on site</translate> | ||
| + | |Step_Content=<translate>* Ensure the 6017 PC has been earthed adequately</translate> | ||
| + | }} | ||
| + | {{Tuto Step | ||
| + | |Step_Title=<translate>Set up the IP addresses</translate> | ||
| + | |Step_Content=<translate>Map the network drives | ||
| + | |||
| + | Map customer network connections</translate> | ||
| + | }} | ||
| + | {{Tuto Step | ||
| + | |Step_Title=<translate>Test all IO</translate> | ||
| + | |Step_Content=<translate>This is important to ensure there have been no mistakes in the remapping</translate> | ||
| + | }} | ||
| + | {{Tuto Step | ||
| + | |Step_Title=<translate>Test axis directions</translate> | ||
| + | |Step_Content=<translate></translate> | ||
| + | }} | ||
| + | {{Tuto Step | ||
| + | |Step_Title=<translate>Test axis Datuming</translate> | ||
| + | |Step_Content=<translate></translate> | ||
}} | }} | ||
{{Notes}} | {{Notes}} | ||
Version du 30 juin 2020 à 15:55
Steps to upgrading an Autoflow to Windows 10, replacing both the front end and back end PCs

Difficulté
Difficile
Durée
1 jour(s)
Sommaire
- 1 Introduction
- 2 Étape 1 - Set up the 6017 PC
- 3 Étape 2 - Set up New Camera PC
- 4 Étape 3 - Add the backup to cameraPC
- 5 Étape 4 - Convert the TC2 project from old machine
- 6 Étape 5 - Install the new PCs on site
- 7 Étape 6 - Set up the IP addresses
- 8 Étape 7 - Test all IO
- 9 Étape 8 - Test axis directions
- 10 Étape 9 - Test axis Datuming
- 11 Commentaires
Introduction
Upgrading an Autoflow to Windows 10 involves upgrading two PCS
- The Beckhoff control PC
- The Camera PC
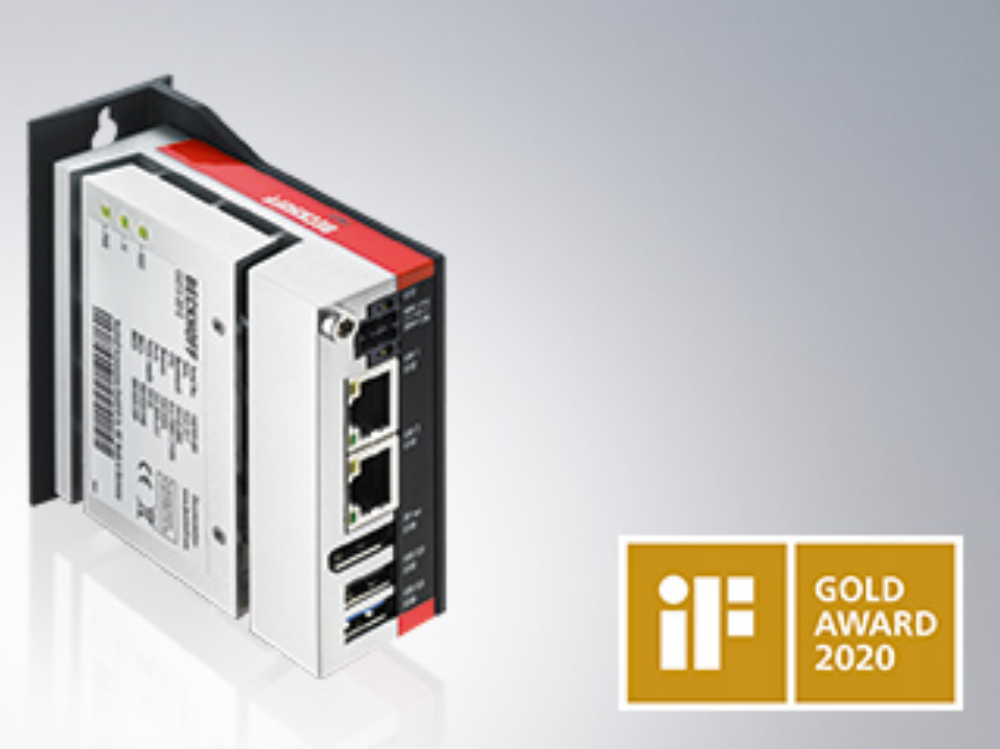
The Beckhoff PC is not upgradable so needs to be completely replaced. We use the miniature Beckhoff C6017 for this
Étape 1 - Set up the 6017 PC
- Ensure regional settings correct - correct date format
- Rename the Ethernet Adaptors to Ethernet and EtherCAT
- Ensure the TwinCAT Protocol is installed on the EtherCAT adaptor
- Teamviewer setup
- Administrator password set to "Stuga001"
- Add Stuga desktop image
- Latest winMulti in c:\multi
Étape 2 - Set up New Camera PC
Follow standard Setup procedure to step 5 to ensure sourcetree installed with latest tc3Multi software pulled to machine
Étape 3 - Add the backup to cameraPC
In folder c:\DDRIVE
Copy latest messages.saw to DDRIVE
Étape 4 - Convert the TC2 project from old machine
Follow this procedure to convert the project
Étape 5 - Install the new PCs on site
- Ensure the 6017 PC has been earthed adequately
Étape 6 - Set up the IP addresses
Map the network drives
Map customer network connections
Étape 7 - Test all IO
This is important to ensure there have been no mistakes in the remapping
Étape 8 - Test axis directions
Étape 9 - Test axis Datuming
Draft
 Français
 English
 Deutsch
 Español
 Italiano
 Português