| [version en cours de rédaction] | [version en cours de rédaction] |
| Ligne 19 : | Ligne 19 : | ||
Feeler gauges | Feeler gauges | ||
| + | |||
| + | Soft hammer | ||
| + | |||
| + | Engineers square | ||
| Ligne 42 : | Ligne 46 : | ||
| − | + | Use 2 off M8 x 35 socket caps with Loctite 243</translate> | |
|Step_Picture_00=R0015333_Fit_Clamp_Assembly_Screenshot_2023-10-23_101834.png | |Step_Picture_00=R0015333_Fit_Clamp_Assembly_Screenshot_2023-10-23_101834.png | ||
| + | |Step_Picture_01=R0015333_Fit_Clamp_Assembly_Screenshot_2023-11-15_095408.png | ||
| + | |Step_Picture_02=R0015333_Fit_Clamp_Assembly_Screenshot_2023-11-15_095413.png | ||
| + | |Step_Picture_03=R0015333_Fit_Clamp_Assembly_Screenshot_2023-11-15_095420.png | ||
}} | }} | ||
{{Tuto Step | {{Tuto Step | ||
|Step_Title=<translate>Set position</translate> | |Step_Title=<translate>Set position</translate> | ||
| − | |Step_Content=<translate> | + | |Step_Content=<translate>Use soft hammer to adjust pillar position to be flush with cut table |
| + | |||
| + | |||
| + | Check position using engineers square as shown | ||
| + | |||
| + | |||
| + | Add final tension to M8 securing fasteners</translate> | ||
|Step_Picture_00=R0015333_Fit_Clamp_Assembly_Screenshot_2023-10-23_102020.png | |Step_Picture_00=R0015333_Fit_Clamp_Assembly_Screenshot_2023-10-23_102020.png | ||
| + | |Step_Picture_01=R0015333_Fit_Clamp_Assembly_Screenshot_2023-11-15_095606.png | ||
| + | |Step_Picture_02=R0015333_Fit_Clamp_Assembly_Screenshot_2023-11-15_095600.png | ||
| + | |Step_Picture_03=R0015333_Fit_Clamp_Assembly_Screenshot_2023-11-15_095612.png | ||
| + | |Step_Picture_04=R0015333_Fit_Clamp_Assembly_Screenshot_2023-11-15_095809.png | ||
}} | }} | ||
{{Tuto Step | {{Tuto Step | ||
Version du 15 novembre 2023 à 11:58
Fitting and assembly details for material clamps

Difficulté
Difficile
Durée
1 heure(s)
Introduction
Tools Required
Standard hex key set
Standard spanner set
1 meter straight edge
Feeler gauges
Soft hammer
Engineers square
Parts Required
Étape 1 - Unless otherwise stated
All bolts to have Loctite 243 adhesive applied unless otherwise stated
All Threaded Pneumatic connections to have Loctite 570 applied
All bolts to be pen marked once adhesive applied and correct tension added

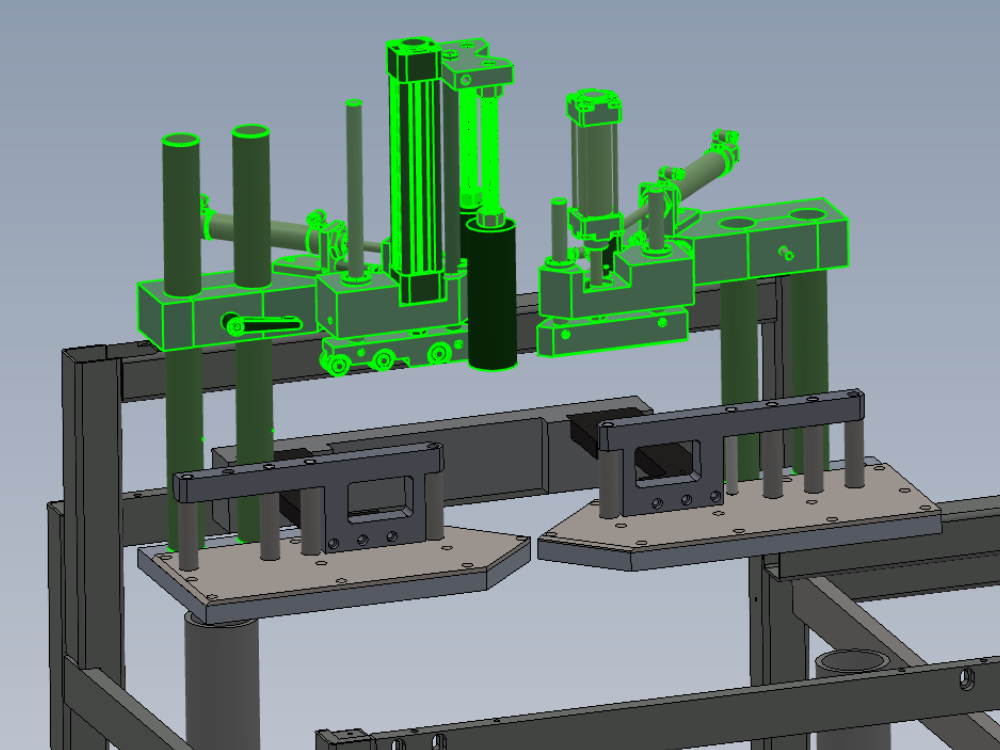
Étape 2 - Attach Infeed clamp assembly
Attach infeed clamp assembly to infeed pad
Use 2 off M8 x 35 socket caps with Loctite 243


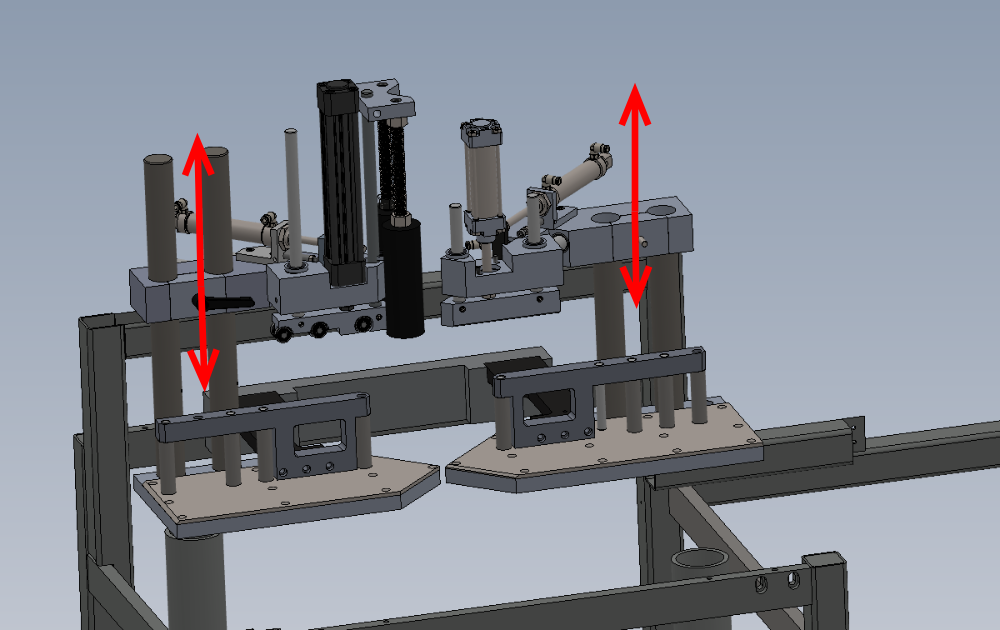
Étape 3 - Set position
Use soft hammer to adjust pillar position to be flush with cut table
Check position using engineers square as shown
Add final tension to M8 securing fasteners


Étape 4 - Fit outfeed clamp assembly
Fit outfeed clamp assembly to outfeed pad
Dry fit fasteners

Étape 5 - Align clamps
Use 1 meter straight edge along pillars
Adjust outfeed clamp to set all 4 pillars to contact straight edge
Use feeler 0.002" /0.05mm gauge as maximum tolerance

Étape 6 - Finalise
Individually remove and apply adhesive to fasteners and apply final tension

Étape 7 - Recheck alignment
Recheck alignment once final tension is added to all fasteners
Check all clamps more freely up and down pillars when quip clamp has tension removed

Draft
 Français
 English
 Deutsch
 Español
 Italiano
 Português