| [version en cours de rédaction] | [version en cours de rédaction] |
| Ligne 5 : | Ligne 5 : | ||
|Categories=Production | |Categories=Production | ||
|Difficulty=Medium | |Difficulty=Medium | ||
| − | |Duration= | + | |Duration=5 |
|Duration-type=hour(s) | |Duration-type=hour(s) | ||
}} | }} | ||
Version actuelle datée du 3 avril 2024 à 12:20
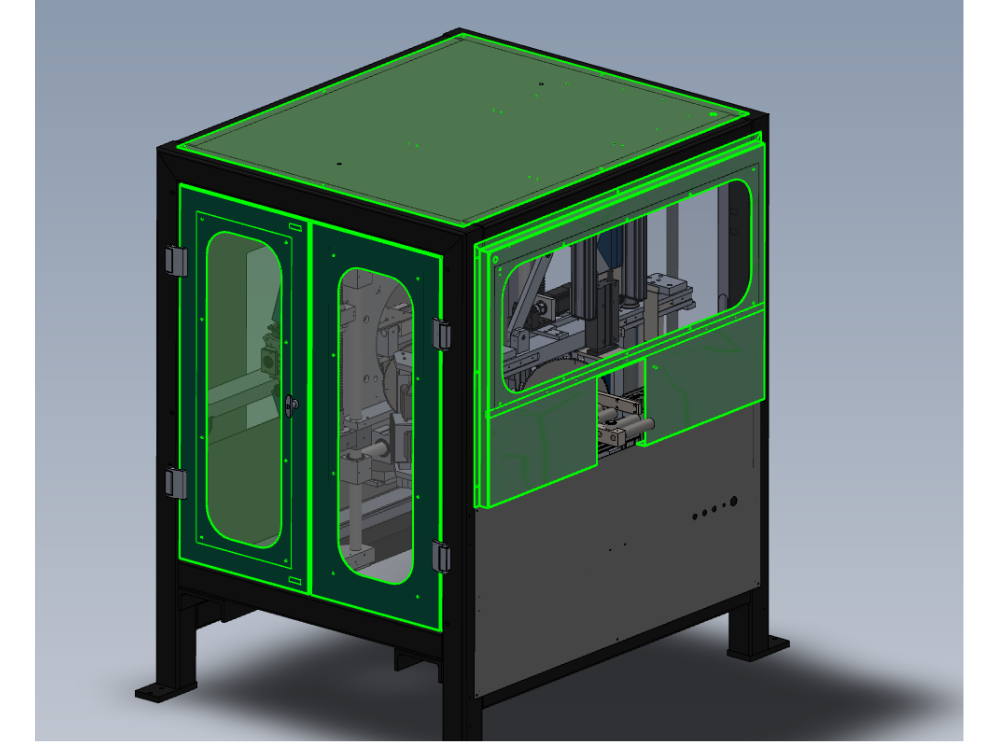
Details for guard fitting

Difficulté
Moyen
Durée
5 heure(s)
Introduction
Tools Required
standard hex key set
Standard spanner set
Standard HSS drill set
Standard tap set
Long reach 4.2mm drill
Extended M5 tap
Parts Required
R0015321 Bench assemble guards and doors
Étape 1 - Unless otherwise stated
Use locktite 243 on all fasteners
Use loctite 572 on all threaded pneumatic connection
Pen mark all fasteners to show finalised

Étape 2 - Fit roof panel
Fit pre assembled roof panel

Étape 3 - Fit rear panel
Fit re assembled rear panel

Étape 4 - Alignment
It is vital that door locks should align correctly.
Handle operation should be smooth and no force required to engage locking pins
Any discrepancies should be reported

Étape 5 - Fit Guard Doors
Fit 4 off Pre assembled guard doors to hinges

Étape 6 - Drill door lock pins
Drill off door lock pins and strike plates

Étape 7 - Drill and set interlock switches
Set and drill door interlock switches
Ensure door switches are set correctly. Interlock blade must fully penetrate the guard switch, and align with no catching as entering the interlock
Étape 8 - Fit Front panel
Fit front upper front panel

Draft
 Français
 English
 Deutsch
 Español
 Italiano
 Português