| [version en cours de rédaction] | [version en cours de rédaction] |
| Ligne 94 : | Ligne 94 : | ||
{{Tuto Step | {{Tuto Step | ||
|Step_Title=<translate>Fit V notch side clamp</translate> | |Step_Title=<translate>Fit V notch side clamp</translate> | ||
| − | |Step_Content=<translate>1 Use 4 off M8 x | + | |Step_Content=<translate>1 Use 4 off M8 x 25 socket caps and 4 off M8 fat D nuts to fix |
Version actuelle datée du 13 mars 2024 à 13:54
Alignment criteria for material clamps

Difficulté
Moyen
Durée
2 heure(s)
Sommaire
- 1 Introduction
- 2 Étape 1 - Unless otherwise stated
- 3 Étape 2 - Attach Outfeed side clamp
- 4 Étape 3 - Attach outfeed clamp frame
- 5 Étape 4 - Fit top clamp cylinder
- 6 Étape 5 - Fit V notch side clamp
- 7 Étape 6 - Fit V Notch top clamp
- 8 Étape 7 - Align V notch clamp
- 9 Étape 8 - Fastener Quality check
- 10 Commentaires
Introduction
Tools Required
Standard hex key set
12 " square
300mm parallels
Parts Required
Étape 1 - Unless otherwise stated
Use locktite 243 on all fasteners
Use loctite 572 on all threaded pneumatic connection
Pen mark all fasteners to show finalised

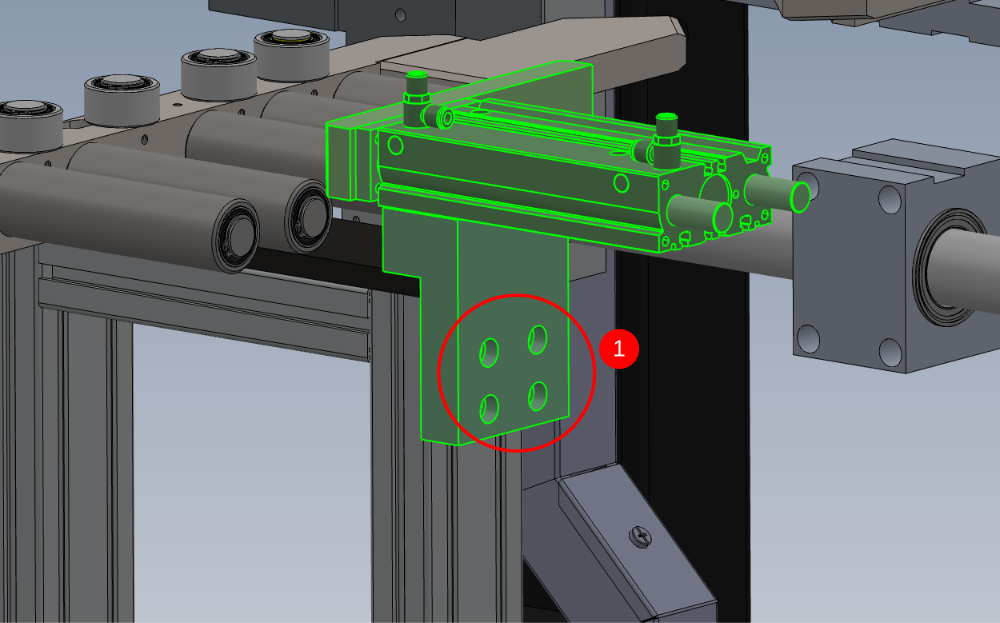
Étape 2 - Attach Outfeed side clamp
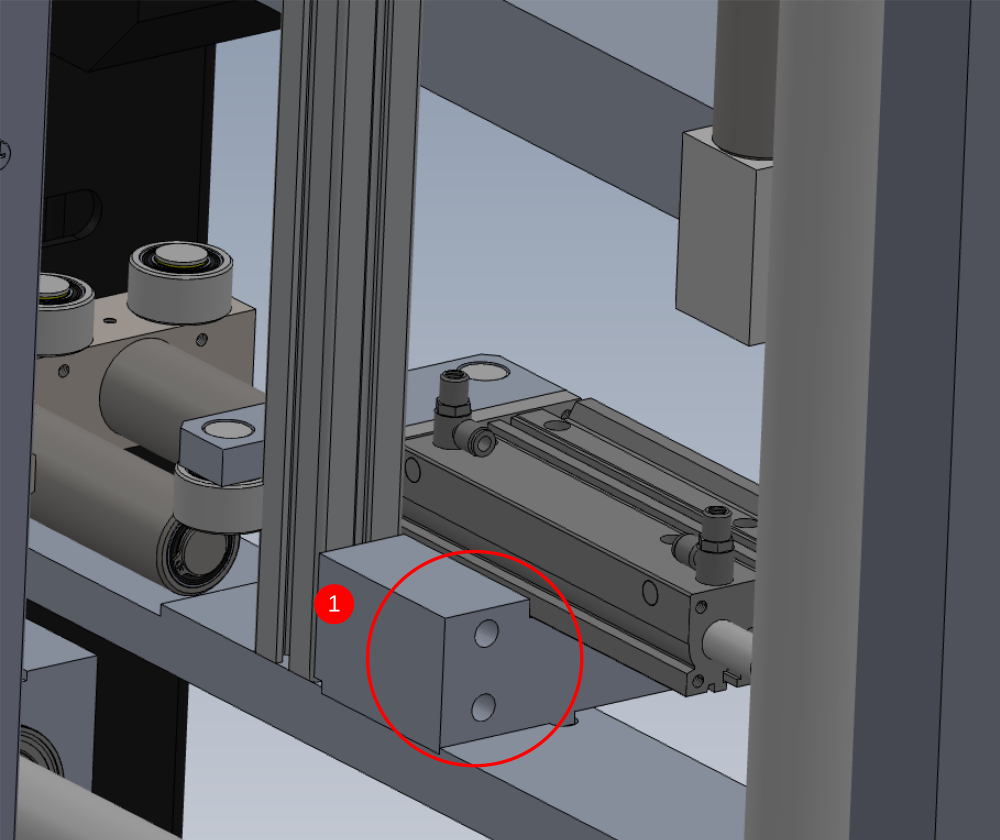
1 Attach outfeed side clamp assembly as shown
2 Fix with 4 off M6 x 25 socket caps
3 Ensure block sits correctly in pocket as shown
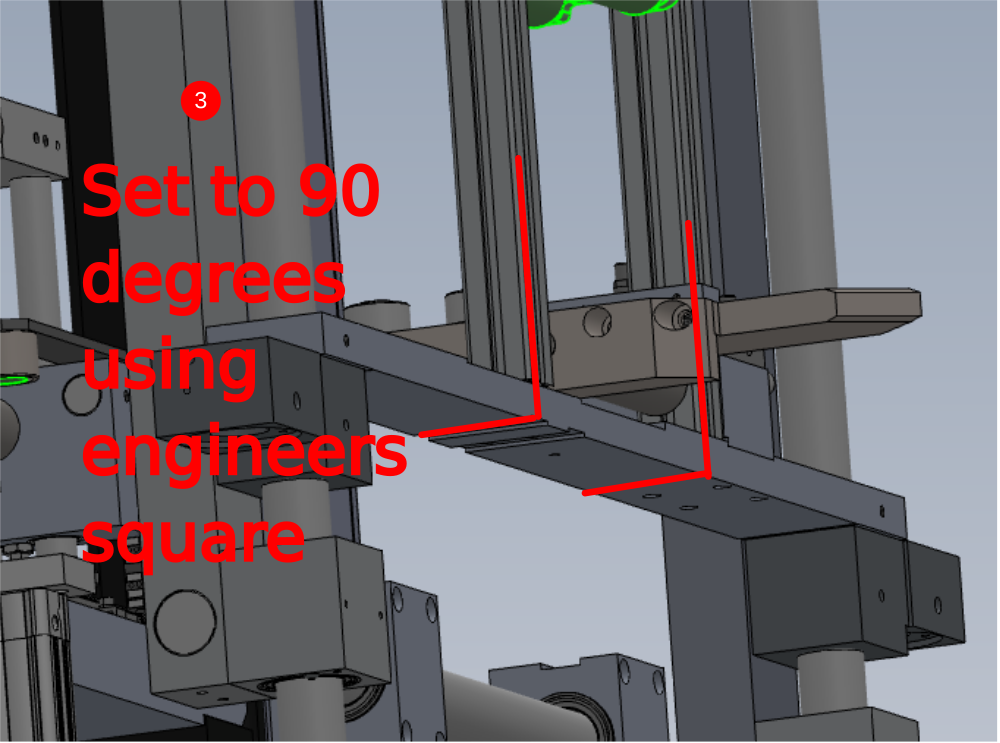
Étape 3 - Attach outfeed clamp frame
Attach outfeed clamp frame as shown
1 Use 2 of M6 x 35 socket caps and 2 off M6 fat d nuts to fasten
2 Use 2 off M6 x 40 socket caps and 2 off M6 D nuts to secure
indicated roller will require removing to fix upright, then refit
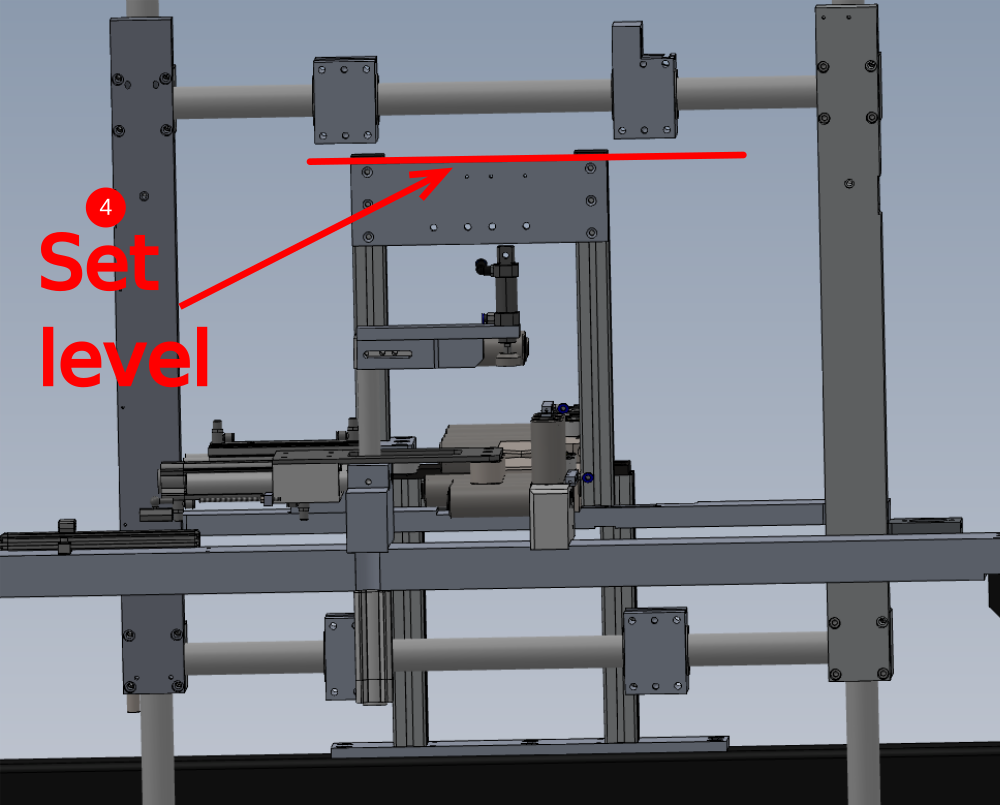
3 Ensure uprights are fitted vertical . Use engineers square at indicated point to set vertical position
4 use engineers level to ensure indicated face is level . Ensure one edge of plate remains flush with the top of the maytec section

Étape 4 - Fit top clamp cylinder
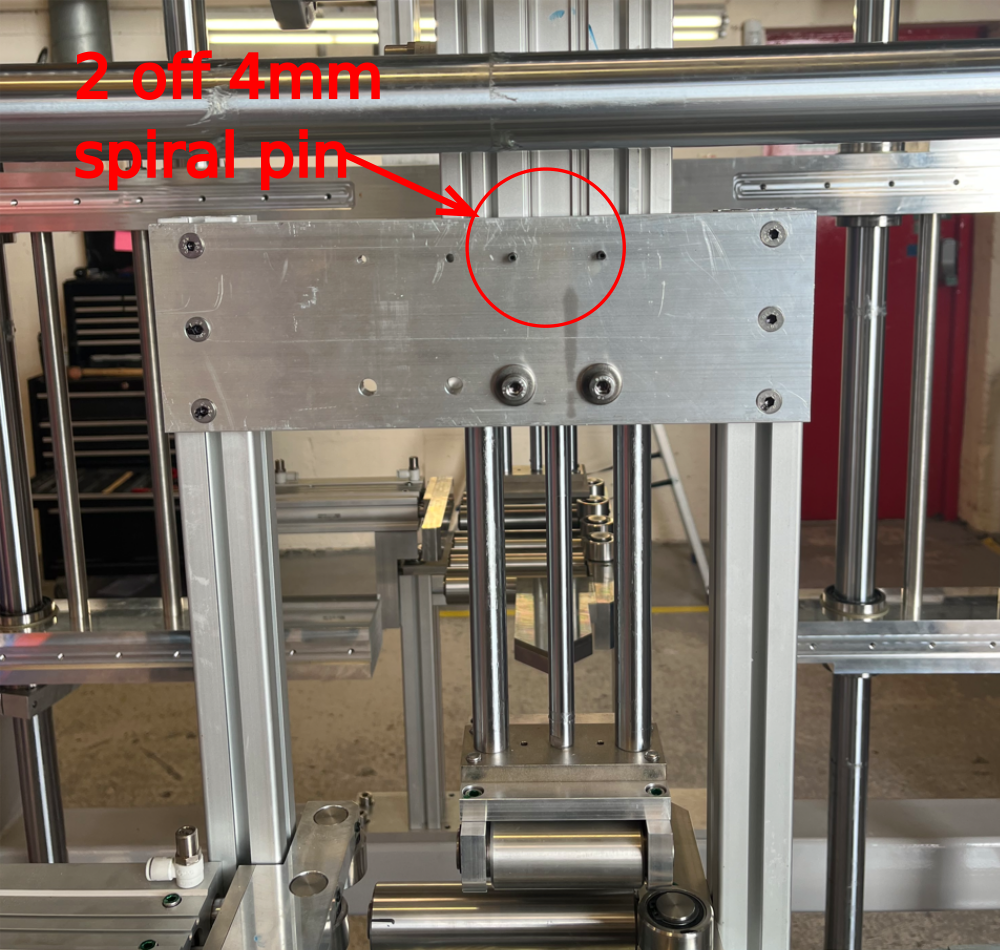
Fit top clamp cylinder using 2 off M8 x 30 socket caps with
heavy washers and 2 off 4mm x 18mm spiral pins

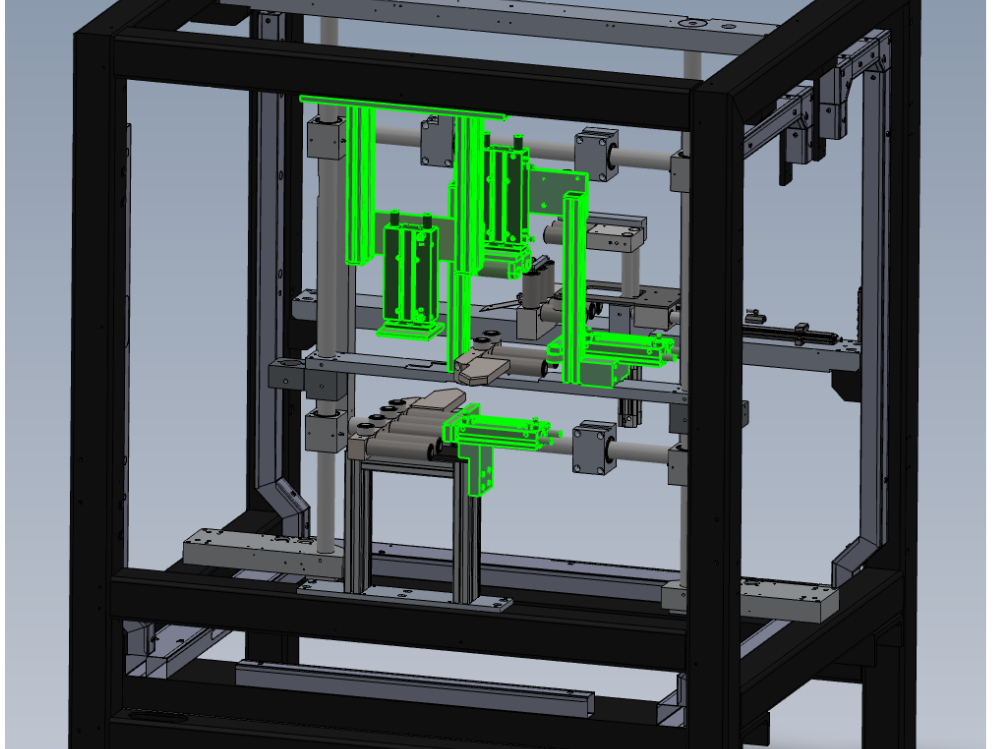
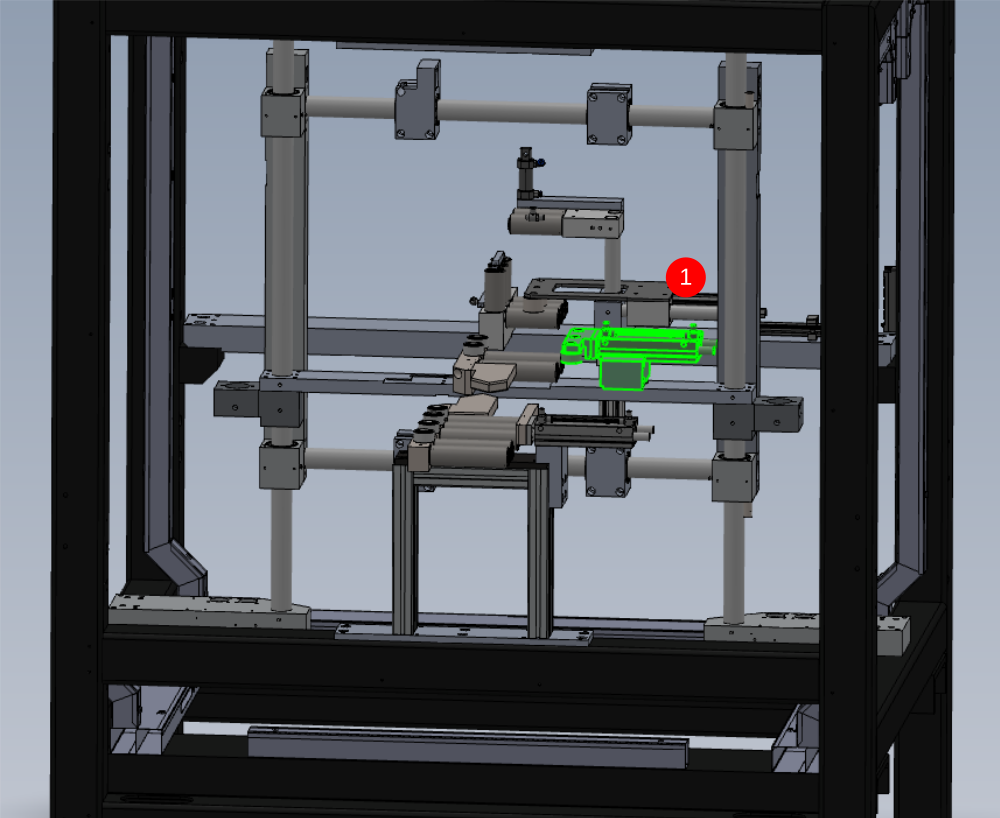
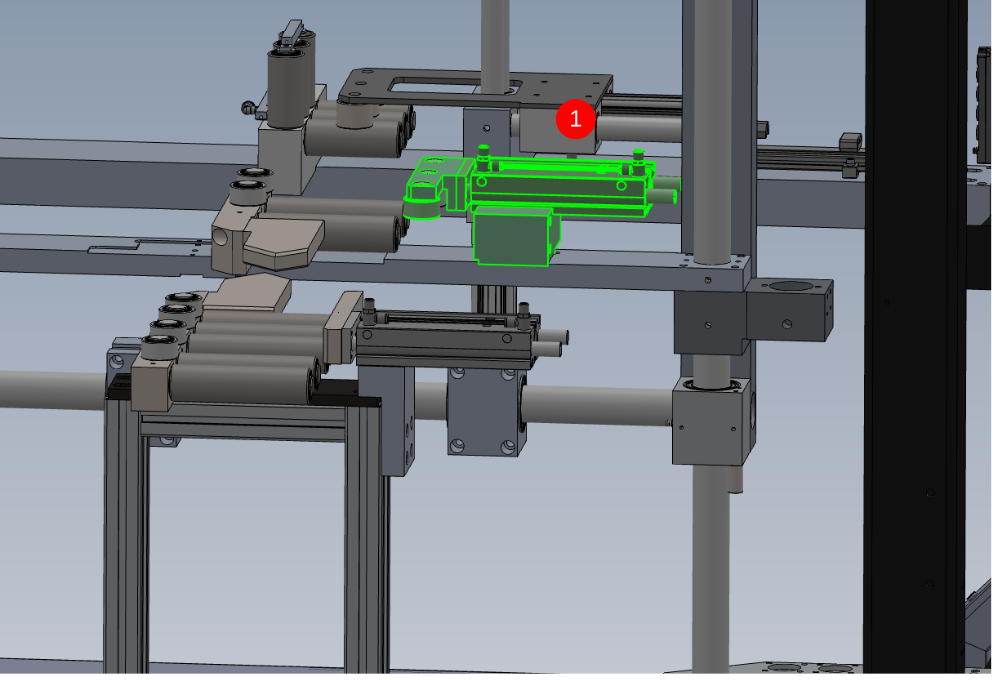
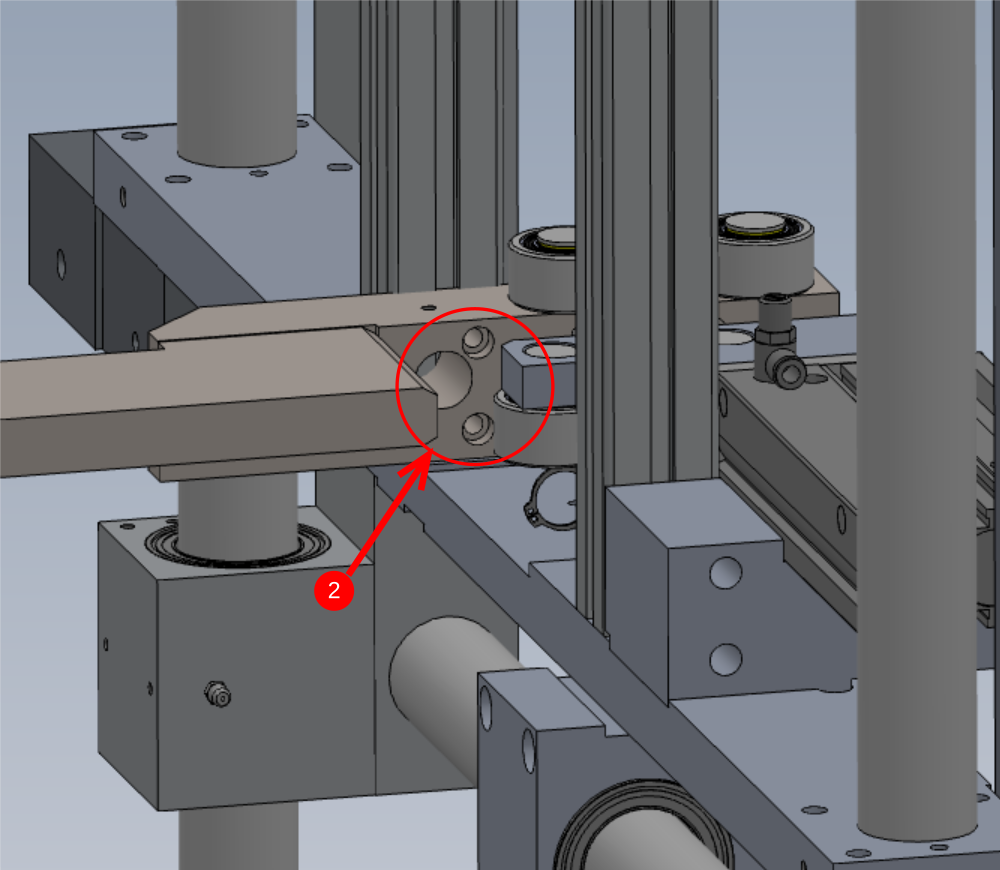
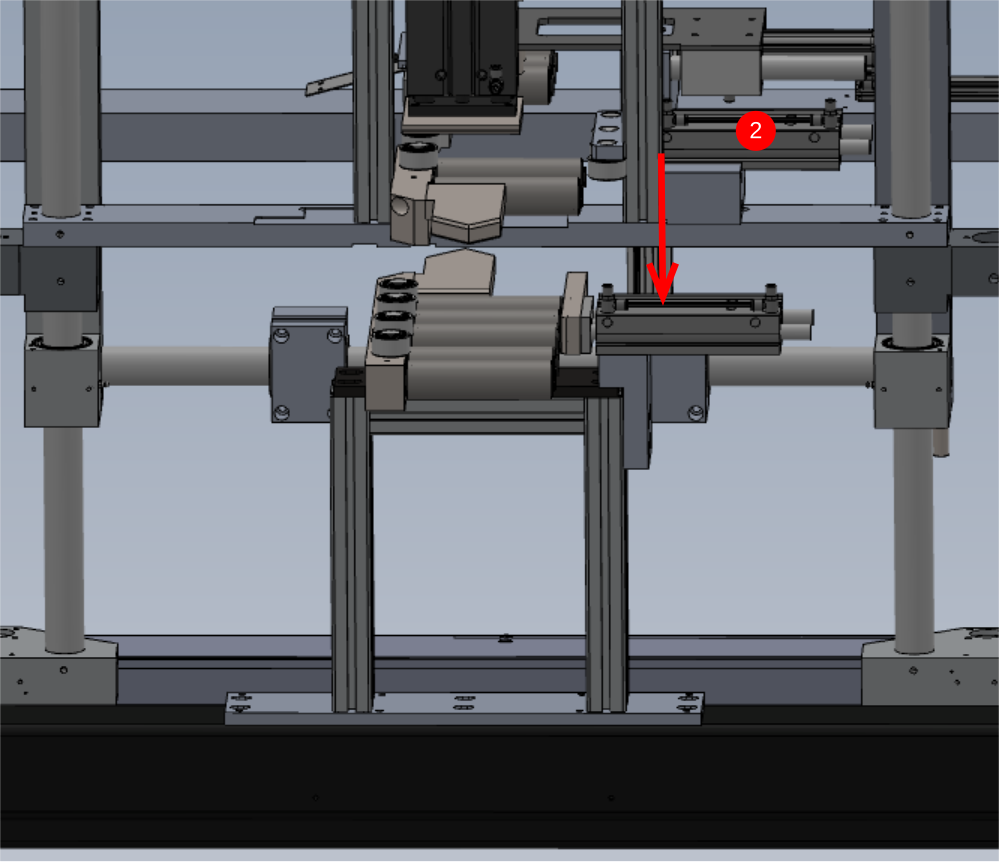
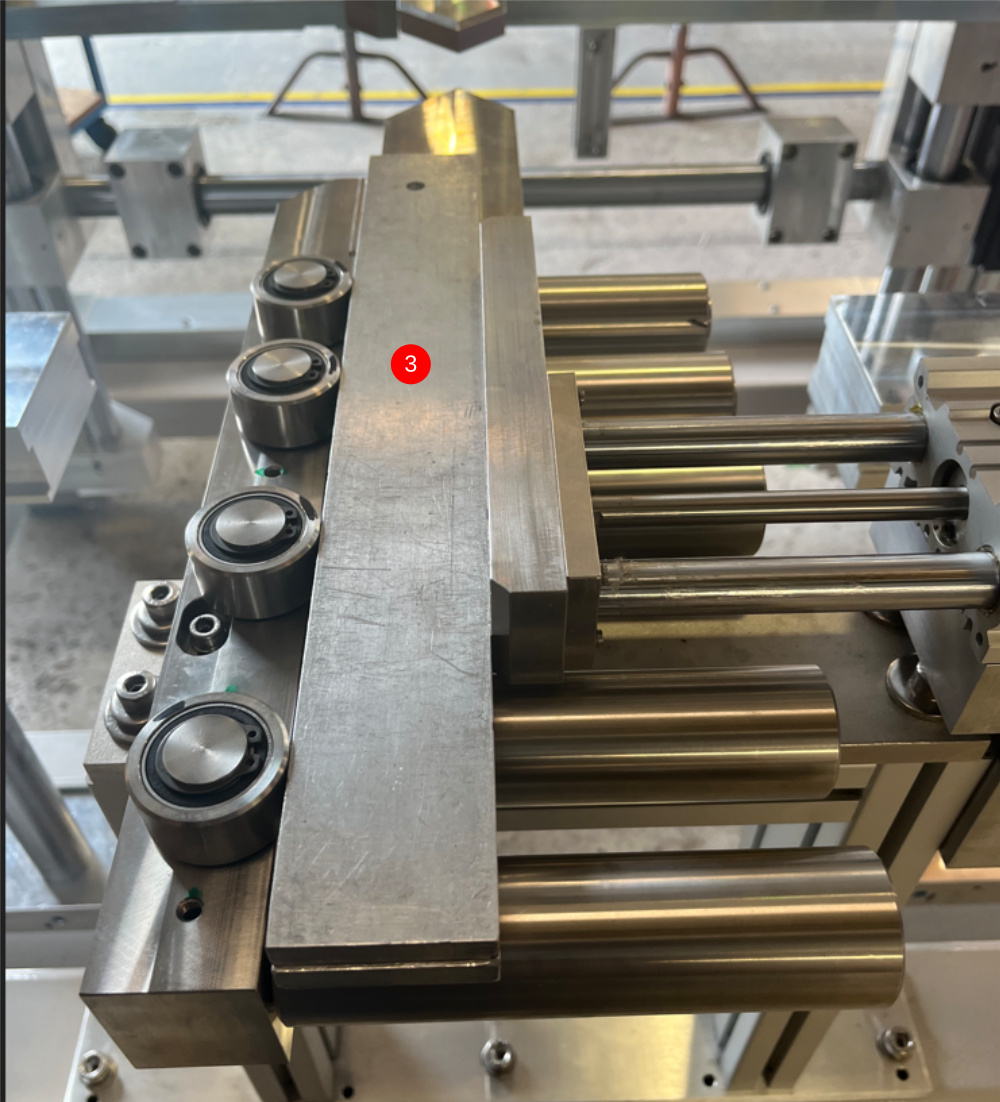
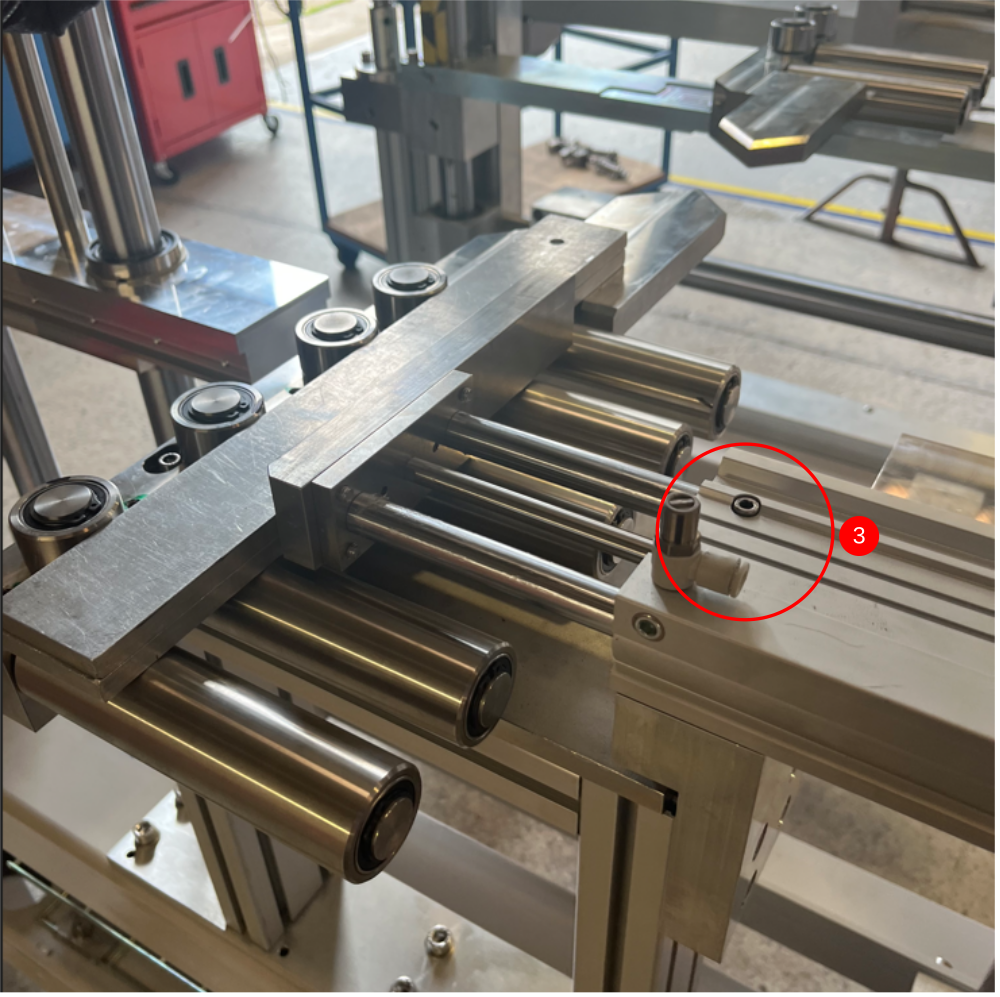
Étape 5 - Fit V notch side clamp
1 Use 4 off M8 x 25 socket caps and 4 off M8 fat D nuts to fix
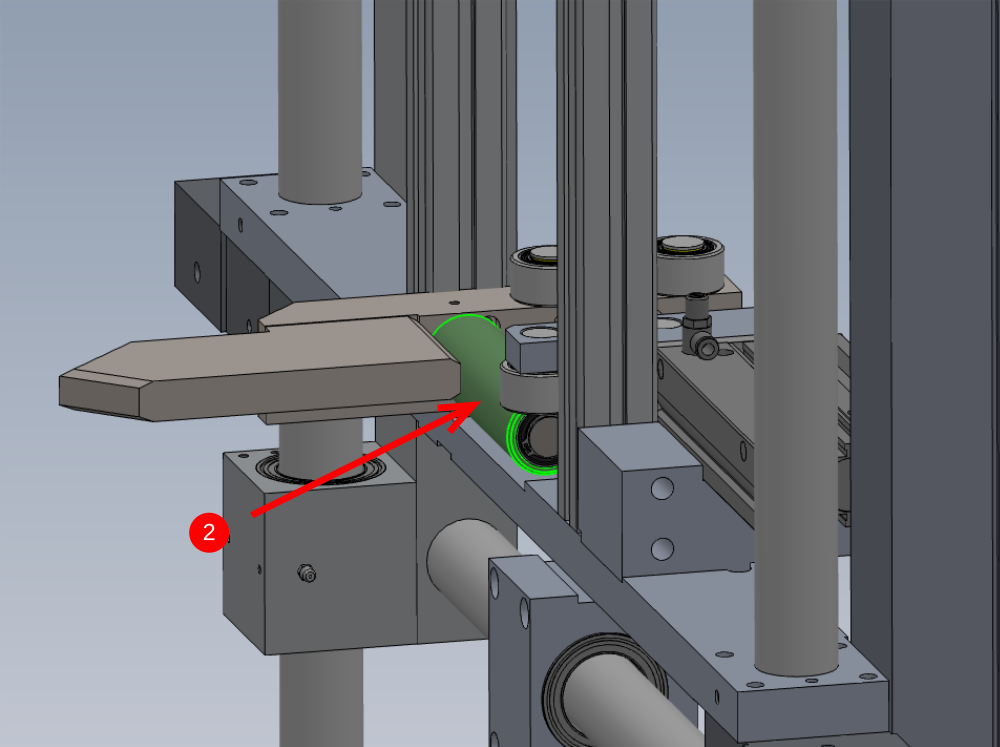
2 Ensure clamp is as low as possible in the direction shown
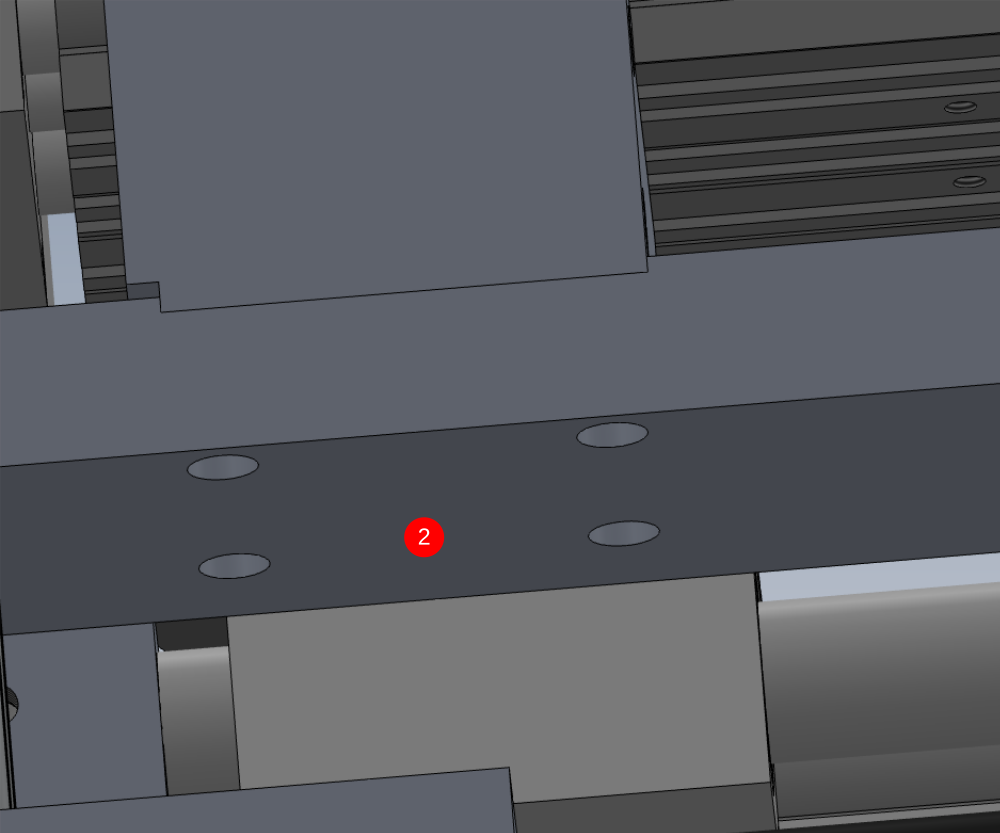
3 Align to datum rollers by using 300mm parallel as shown. Side clamp rollers must all touch the parallel edge. To adjust , release M5 bolts , adjust and reglue and tighten
Étape 6 - Fit V Notch top clamp
Fit top frame to main frame as shown
Use 6 off M10 x 30 socket caps and a form washers to fix


Étape 7 - Align V notch clamp
Using M8 grubscrews, adjust top clamp so pad is parallel to datum rollers in both plains
Use parallels as shown, no movement should be possible in any direction when the top clamp pad is sat on top of [parallel blocks

Étape 8 - Fastener Quality check
All fasteners used in the alignment and build up of the clamp assembly should now be quality checked
Ensure EVERY bolt is glued and tight and marked
Ensure every adjustment grubscrew has loctite 290 applied in situ , to lock in place

Draft
 Français
 English
 Deutsch
 Español
 Italiano
 Português