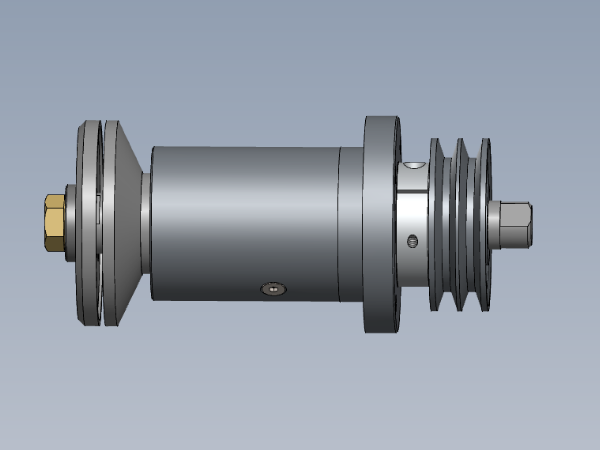
Bench assembly of saw main blade spindle
Sommaire
- 1 Introduction
- 2 Étape 1 - Unless otherwise stated
- 3 Étape 2 - Check fitment
- 4 Étape 3 - Check fitment
- 5 Étape 4 - Bearing fitment
- 6 Étape 5 - Assemble bearings on spindle shaft
- 7 Étape 6 - Check outer spacer resistance
- 8 Étape 7 - Adjustment of outer spacer resistance
- 9 Étape 8 - Finalise lock ring
- 10 Étape 9 - Heat Bearing housing
- 11 Étape 10 - Fit spindle assembly
- 12 Étape 11 - Cool assembly
- 13 Étape 12 - Quality check
- 14 Étape 13 - Fit taper lock pulley
- 15 Étape 14 - Attach blade mounting flanges
- 16 Commentaires
Introduction
Tools Required
Standard hex key set
Heat gun
Parts Required
B0000027 Ball Bearing 30 I/D 62 O/D 16 Long + seals (Branded) x 3
B0000048 Taperlock Set SPZ 80-2 1210-24 x 1
B0000060 Double Angular Bearing 30 I/D 62 O/D 23.8 Long + seals x 1
D0004026 Bearing Housing x 1
D0004027 Saw Spindle x 1
D0004030 Lock Ring x 1
D0004031 Saw Washer x 1
D0004271 Front Saw Flange x 1
D0004272 Backing Saw Flange x 1
D0004771 Inner Bearing Spacerx 1
D0004772 Outer Bearing Spacer x 1
D0004852 Key for D4027x 1
Étape 1 - Unless otherwise stated
All bolts to have Loctite 243 adhesive applied unless otherwise stated
All Threaded Pneumatic connections to have Loctite 570 applied
All bolts to be pen marked once adhesive applied and correct tension added
Étape 2 - Check fitment
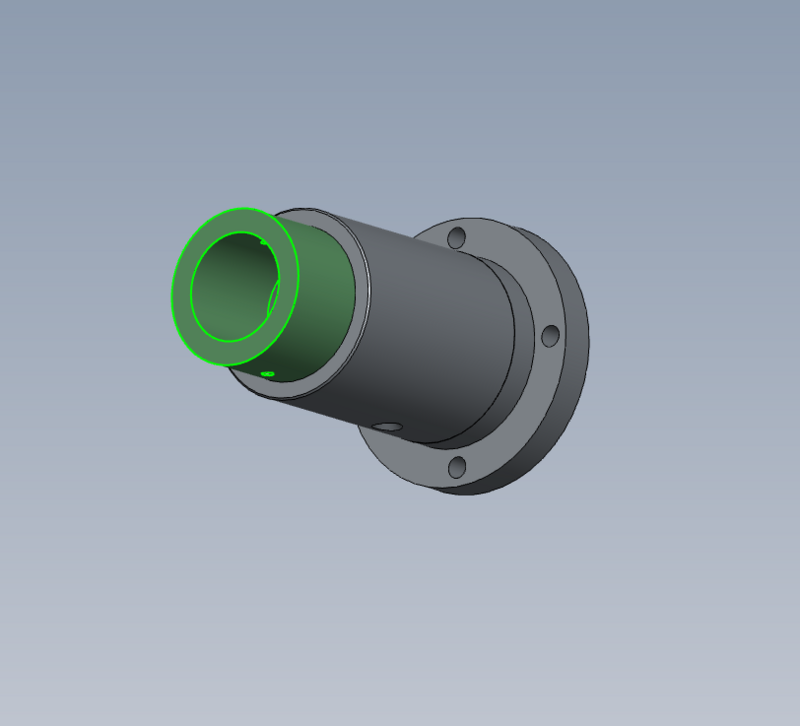
Check fitment of D0004772 Outer Bearing Spacer into D0004026 Bearing Housing
Spacer should pass through bearing housing when aligned correctly .
Check for burrs on bearing if spacer doesn't pass through
Étape 3 - Check fitment
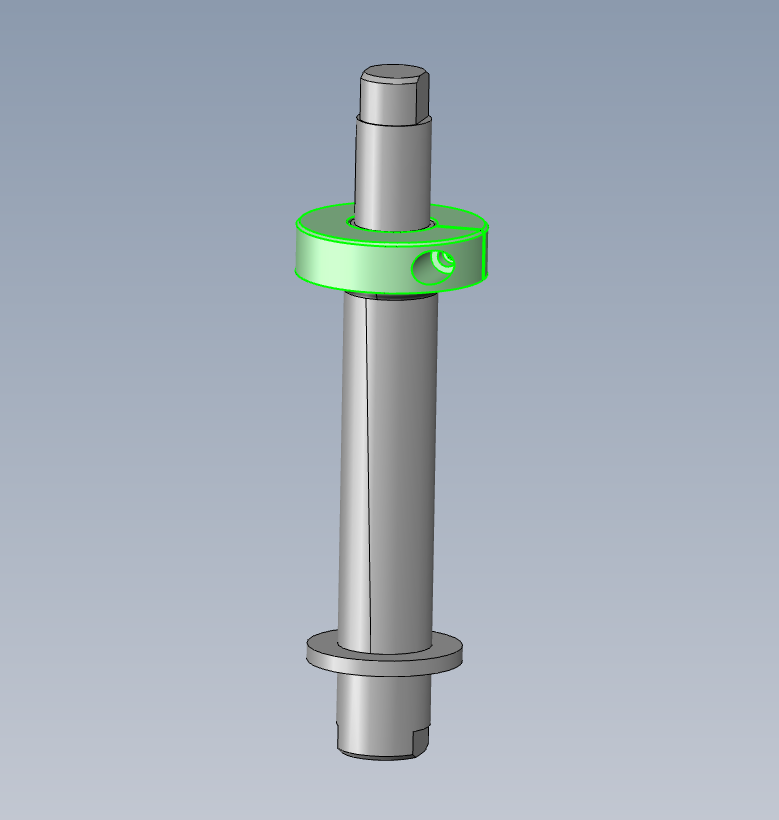
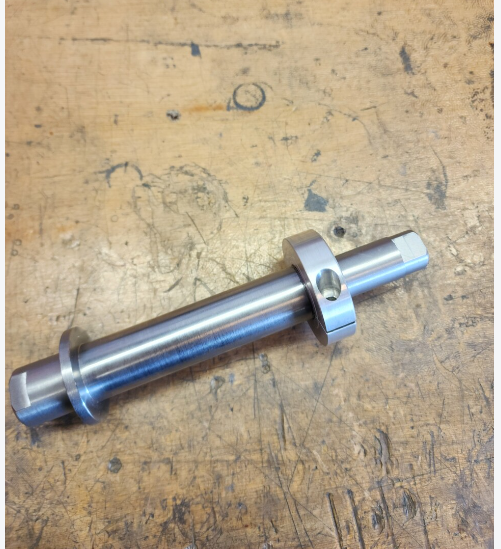
Check fitment of D0004030 Lock Ring onto D0004027 Saw Spindle
Lock ring should wind to base of thread by hand
Étape 4 - Bearing fitment
Ensure correct bearing fitment is adhered to
Bearings fitted should have resistance fit.
If bearings are slide fit, Loctite 641 must be used with adequate de-greasing
If bearing are tight, inspect parts to drawing
Étape 5 - Assemble bearings on spindle shaft
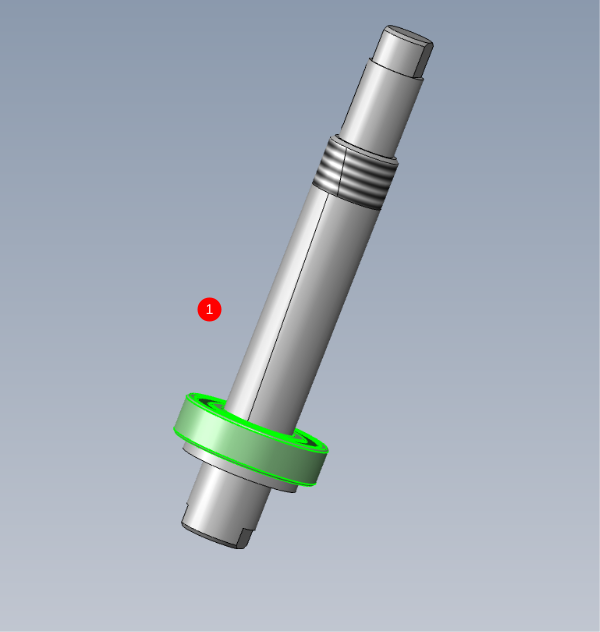
1 Fit B0000027 Ball Bearing as shown using press
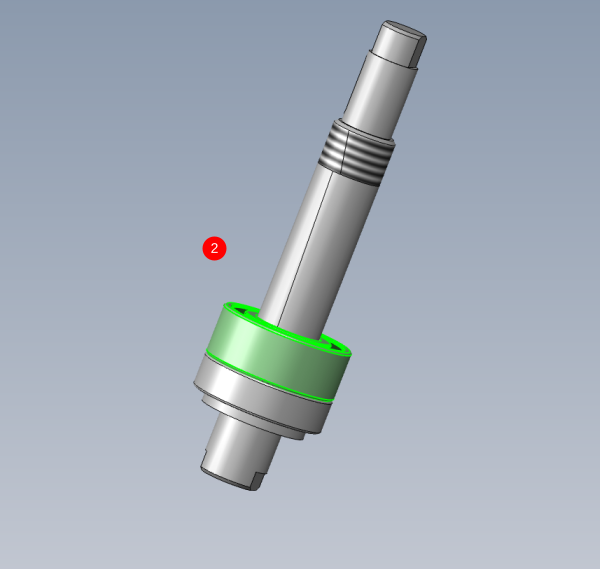
2 Fit B0000060 Double Angular Bearing as shown
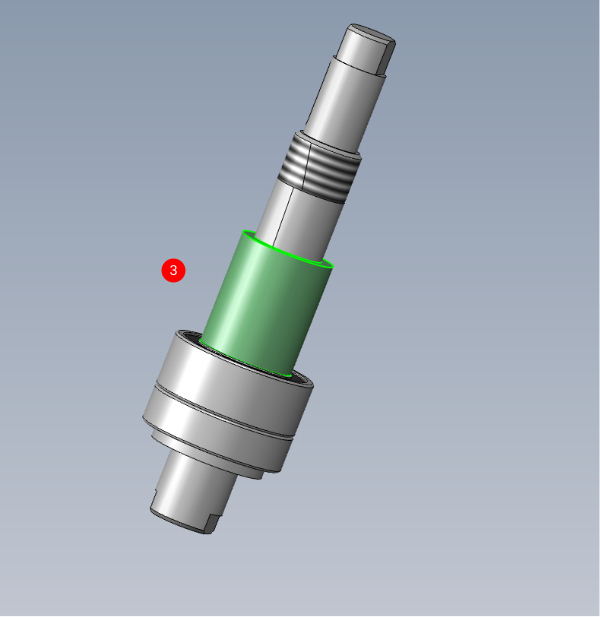
3 Fit D0004771 Inner Bearing Spacer
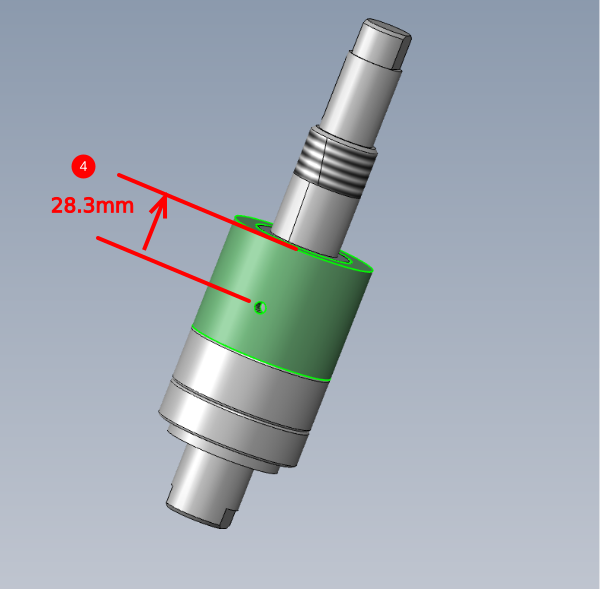
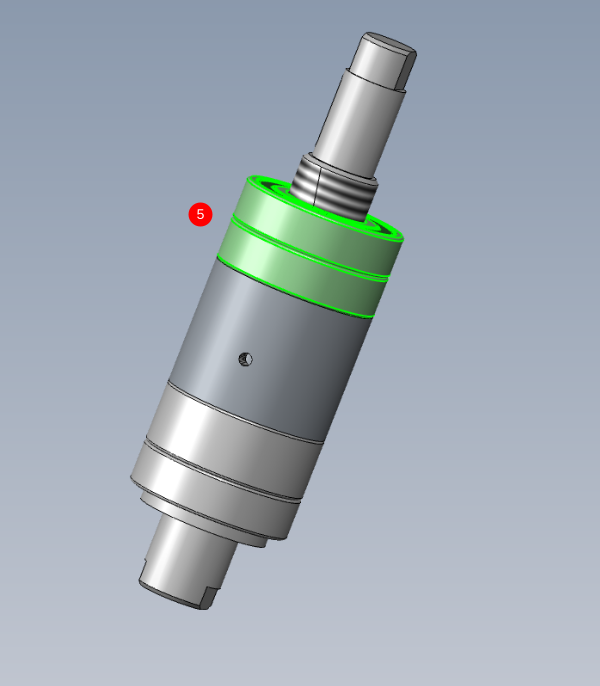
4 Fit D0004772 Outer Bearing Spacer , ensuring orientation as shown using measurement as reference
5 Fit 2 off B0000027 Ball Bearing
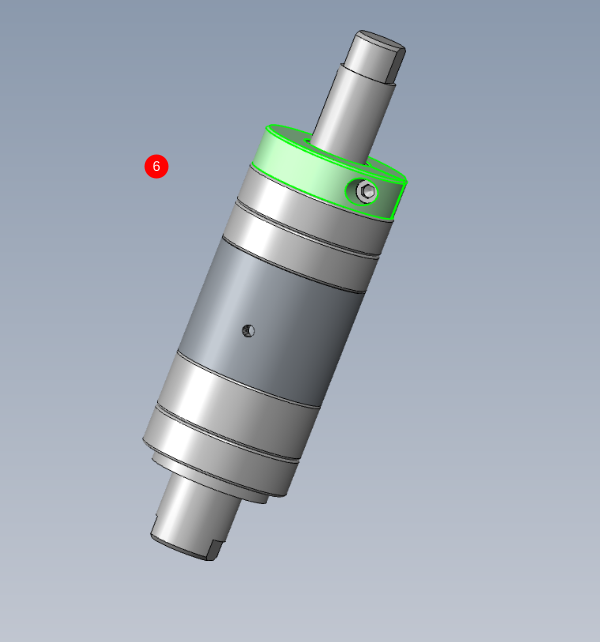
6 Fit and apply tension to D0004030 Lock Ring
Étape 6 - Check outer spacer resistance
The outer spacer should have resistance when assembled in the direction shown.
It should be possible to move it by hand, but not easily
Étape 7 - Adjustment of outer spacer resistance
To adjust outer spacer pressure, the following steps can be performed
To increase the pressure , reduce length of inner spacer
To reduce the pressure, reduce the length of the outer spacer
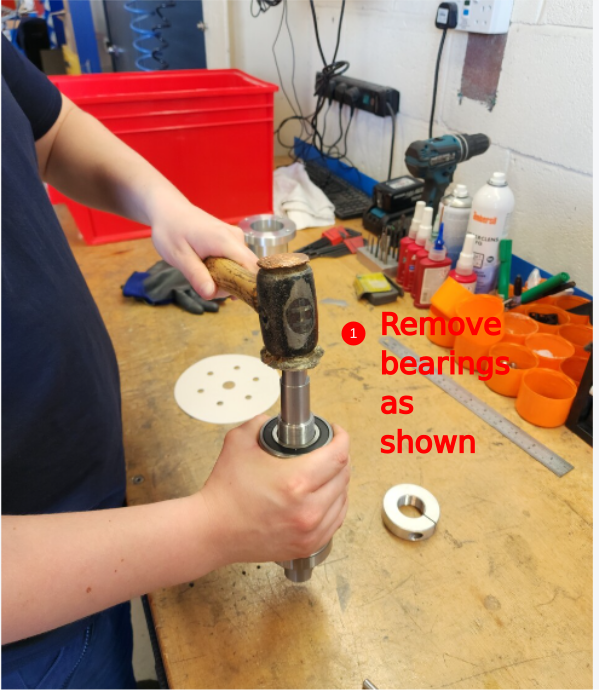
1 To adjust the identified part, remove fitted bearings and remove inner or outer spacer from assembly
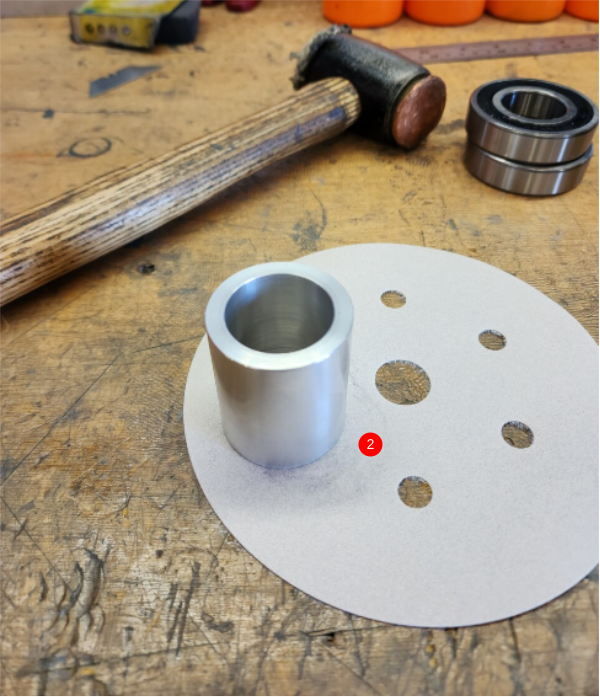
2 Use sanding pad to polish face of identified spacer to adjust length. Ensure rotating movements are used when adjusting to ensure parallel of faces is maintained
3 Only make small adjustments,the re assemble to check fitment
Continue until desired fitment is obtained
Étape 8 - Finalise lock ring
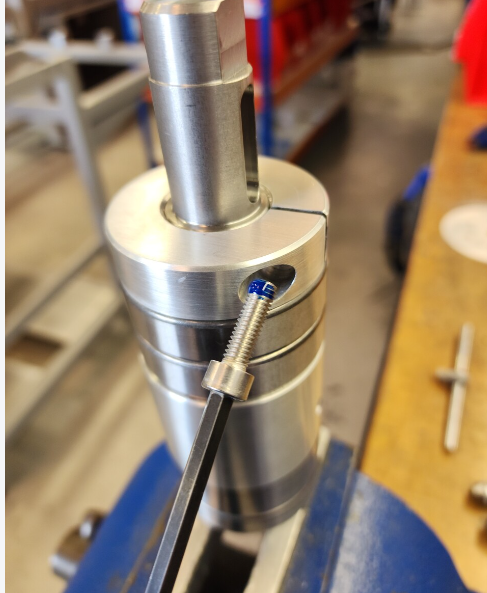
Use M6 x ?? caphead as shown and fit to lock ring.
Apply final tension
Check fitment again of outer spacer
If deviation has occurred,adjust rotational tension of lock ring slightly and re tension M6 cap head
Continue until desired fitment is acquired and fasteners are finalised
Étape 9 - Heat Bearing housing
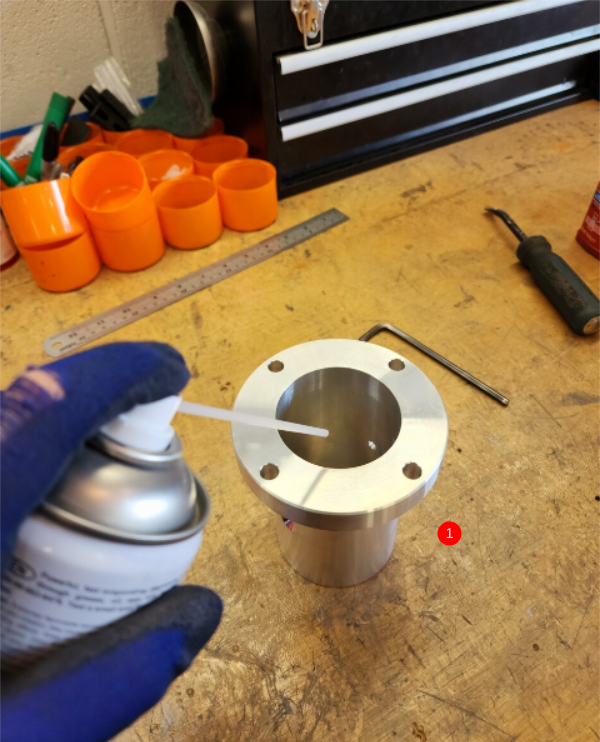
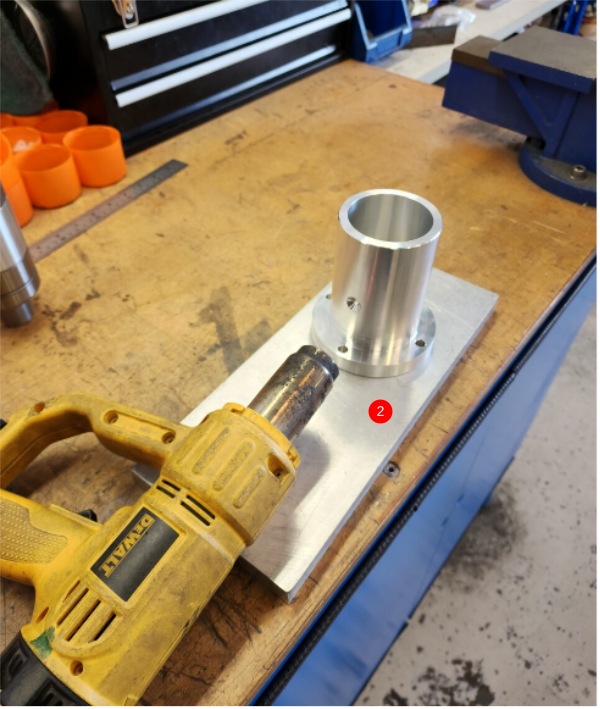
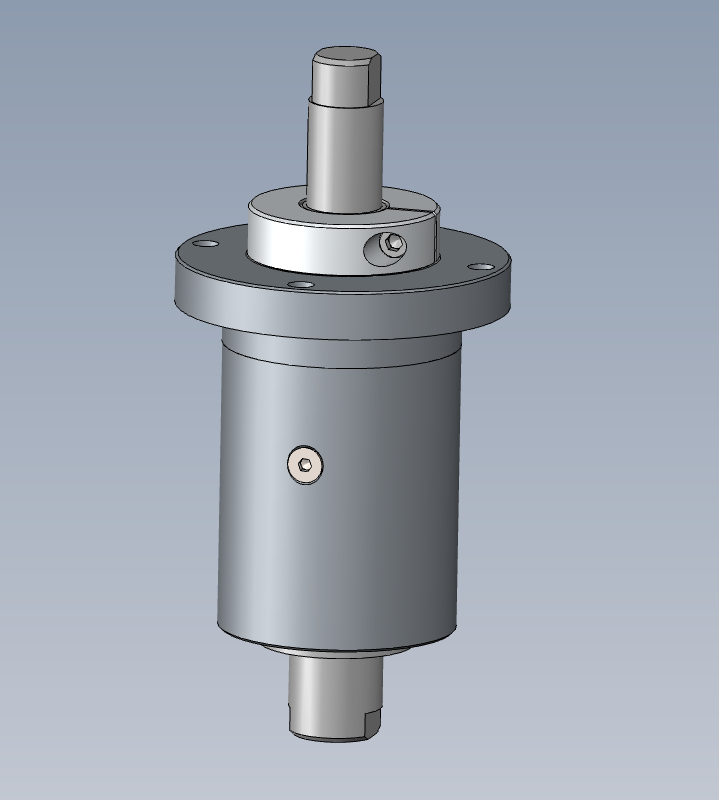
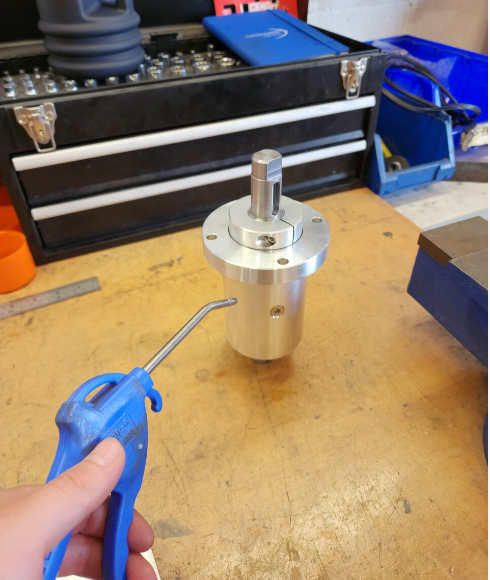
D0004026 Bearing Housing will require heating with heat gun to swell bore for spindle assembly fitment
1 Degrease thoroughly with FE10 solvent and dry
2 Use heat gun to apply heat to bearing housing . Heat for roughly 5 minutes
Étape 10 - Fit spindle assembly
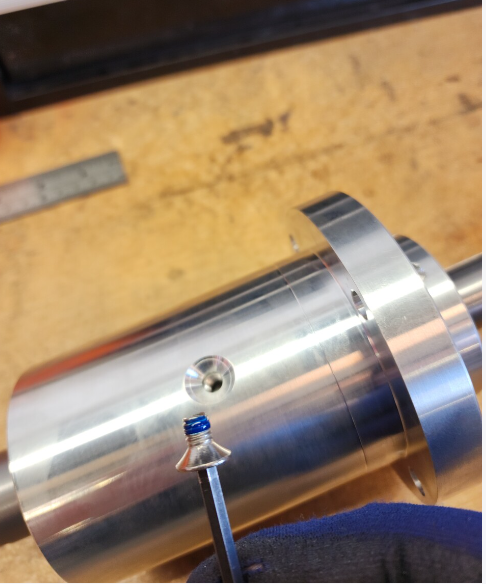
When bearing housing is hot, slide in the spindle assembly and align the 2 m6 tapped holes in the spindle assembly to the bearing housing countersunk holes
Add 2 off M6 x 12 counter sunk bolts and tighten
Étape 12 - Quality check
Once assembly has cooled, check rotation of spindle assembly
Rotation should be smooth and consistent with no tight spots
Étape 13 - Fit taper lock pulley
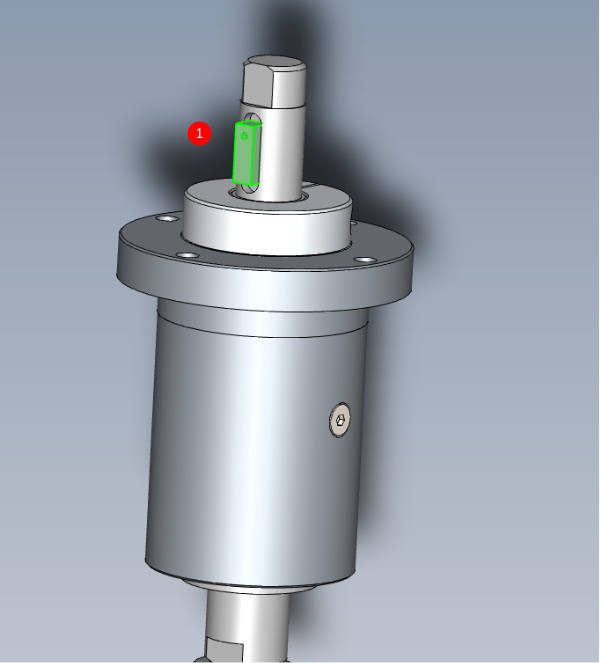
1 Insert D0004852 Key as shown
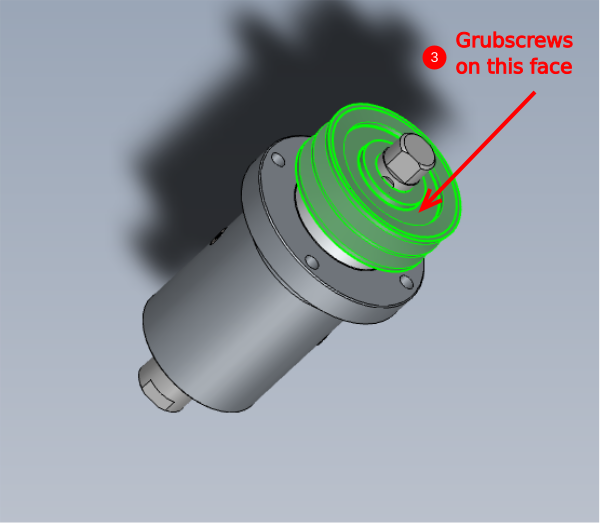
2 Remove 2 off grubscrews from B0000048 Taperlock Set Apply copper slip, then re fit
3 Fit taperlock to align over key and apply light tension to grubscrews to secure temporary position of taper lock pulley
Étape 14 - Attach blade mounting flanges
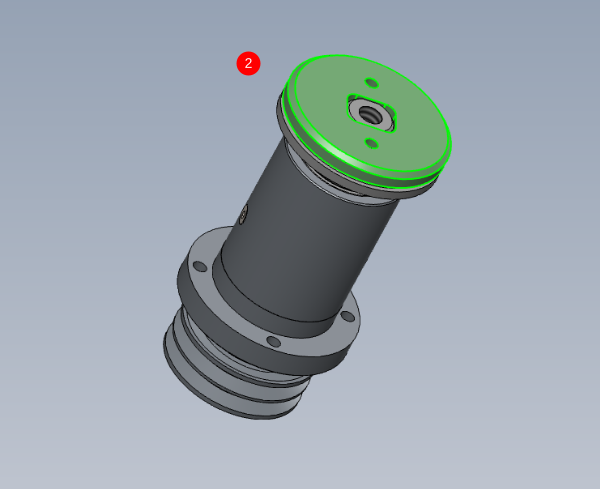
1 Fit D0004272 Backing Saw Flange as shown
2 Fit D0004271 Front Saw Flange as shown
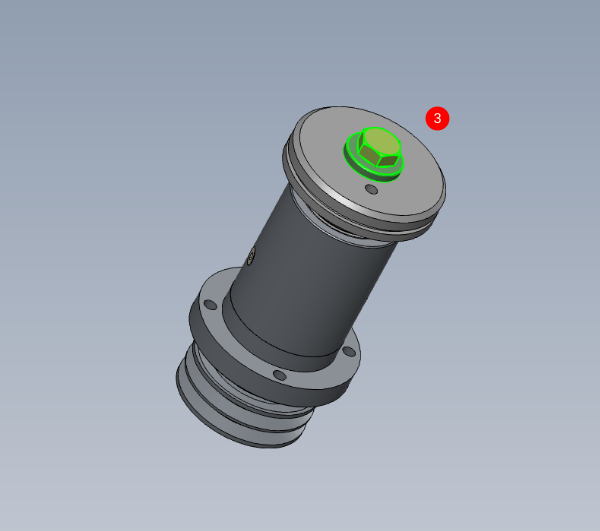
3 Fit D0004031 Saw Washer and captivate lightly with M16 x 1.5 x 45 hex set yellow passivated
Draft




 Français
 English
 Deutsch
 Español
 Italiano
 Português