Autoflow MK4 GY&GZ axis setup with Jetter Motors

Difficulté
Moyen
Durée
2 heure(s)
Sommaire
- 1 Introduction
- 2 Étape 1 - Initial Preperation
- 3 Étape 2 - GY Axis:
- 4 Étape 3 - GZ Axis
- 5 Étape 4 - Counterbalance
- 6 Étape 5 - CX5203 Firmware Upgrade
- 7 Étape 6 - Drive Manager 2 and Support Jetter Files
- 8 Étape 7 - Basic Assumptions
- 9 Étape 8 - GY setup Motor
- 10 Étape 9 - GY Setup FeedBack
- 11 Commentaires
Introduction
WARNING:
The Jetter motor on the GZ axis has a brake. Release the brake without control could be harmful.
Use the Air Counterbalance rig to assist if necessary.
Étape 1 - Initial Preperation
Ensure that the profile support arm is held out of the way to avoid marking the blue infeed arm.
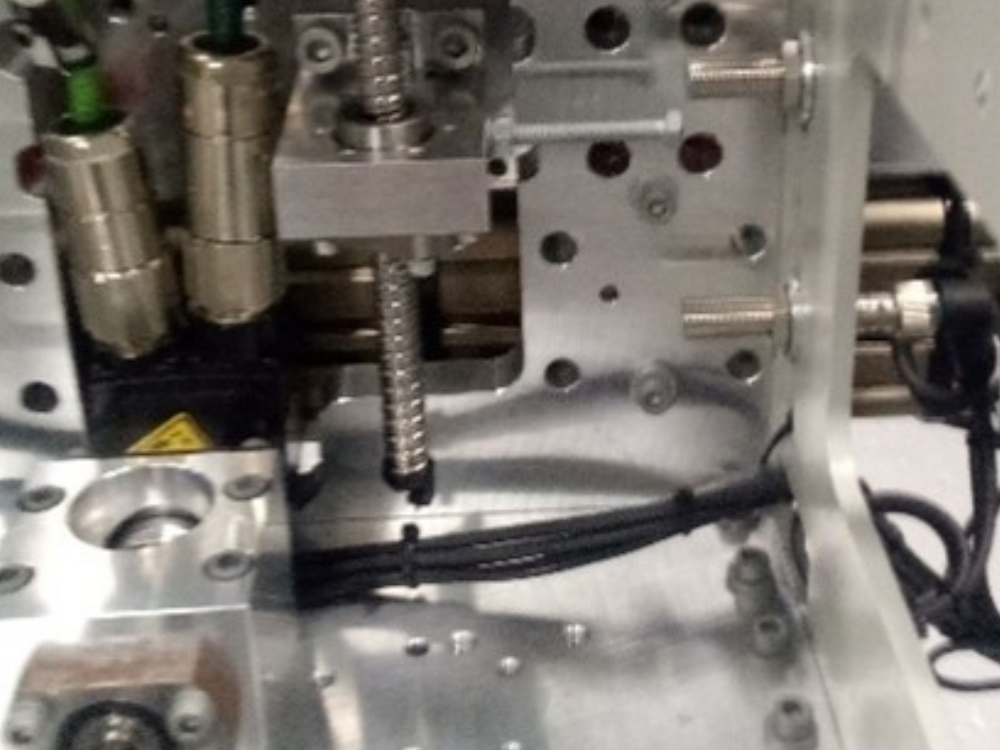
Étape 2 - GY Axis:
Check that proximity arm is in between the proximity sensor.
You should be able to turn the leadscrew by hand to move it.

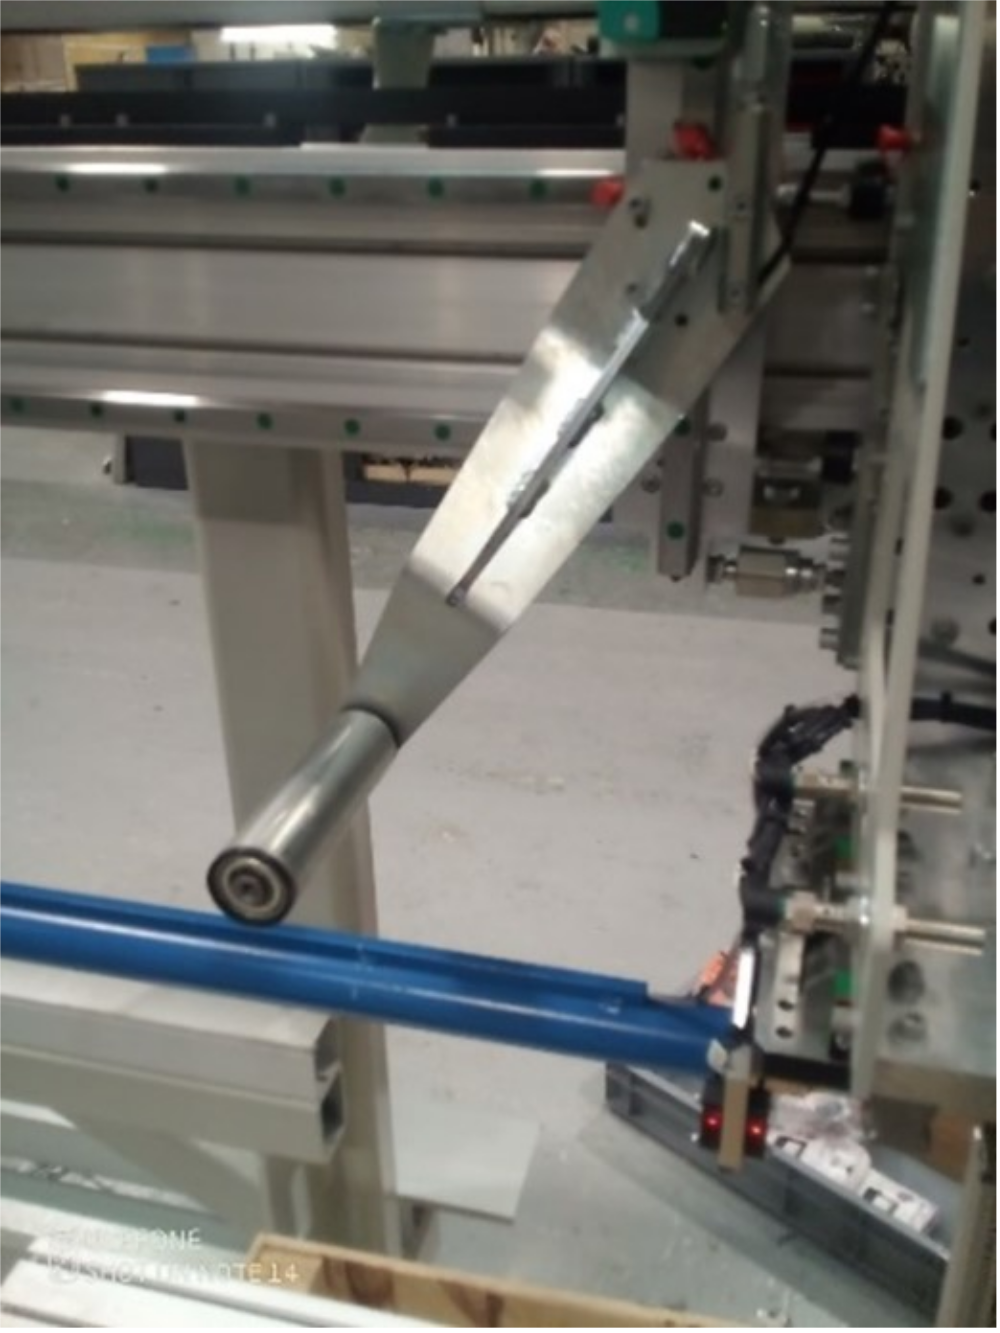
Étape 3 - GZ Axis
Check that proximity arm is in between the proximity sensor
This has a brake and you can only turn the leadscrew by hand if the counterbalance is fitted.

Étape 4 - Counterbalance
Counterbalance fitted under the carriage.
Adjust the pressure until you can turn the leadscrew of the GZ axis by hand. (6 bar)
.

Étape 5 - CX5203 Firmware Upgrade
The firmware on the CX5203 must be high enought to be supported under Drive manager 2.
Follow the Dokit .....................................................
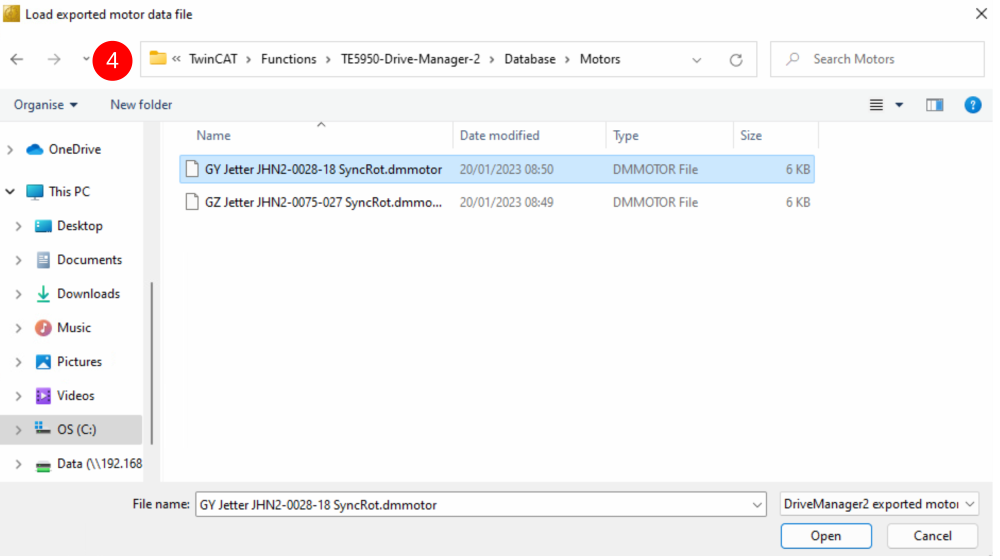
Étape 6 - Drive Manager 2 and Support Jetter Files
Ensure Drive Manager 2 is installed (Verion 1.1.60.0 minimum)
Copy the files from :
G:\Design\TwinCAT3\Other Motor Definition Files
GY Jetter JHN2-0028-18 SyncRot.dmmotor
GZ Jetter JHN2-0075-027 SyncRot.dmmotor
to C:\TwinCAT\Functions\TE5950-Drive-Manager-2\Database\Motors
Étape 7 - Basic Assumptions
The Motors are connected to an AX5203 Drive
GY on the A channel
GZ on the B channel
The Drive is labelled GY & GZ
The channels are mapped to AXIS with appropriate names
A Driver Manager 2 Project exisits with the Drives in it.


Étape 8 - GY setup Motor
- Double click on GY axis (Ch A ) in drive manager 2 . You will not see the information highlighted yet.
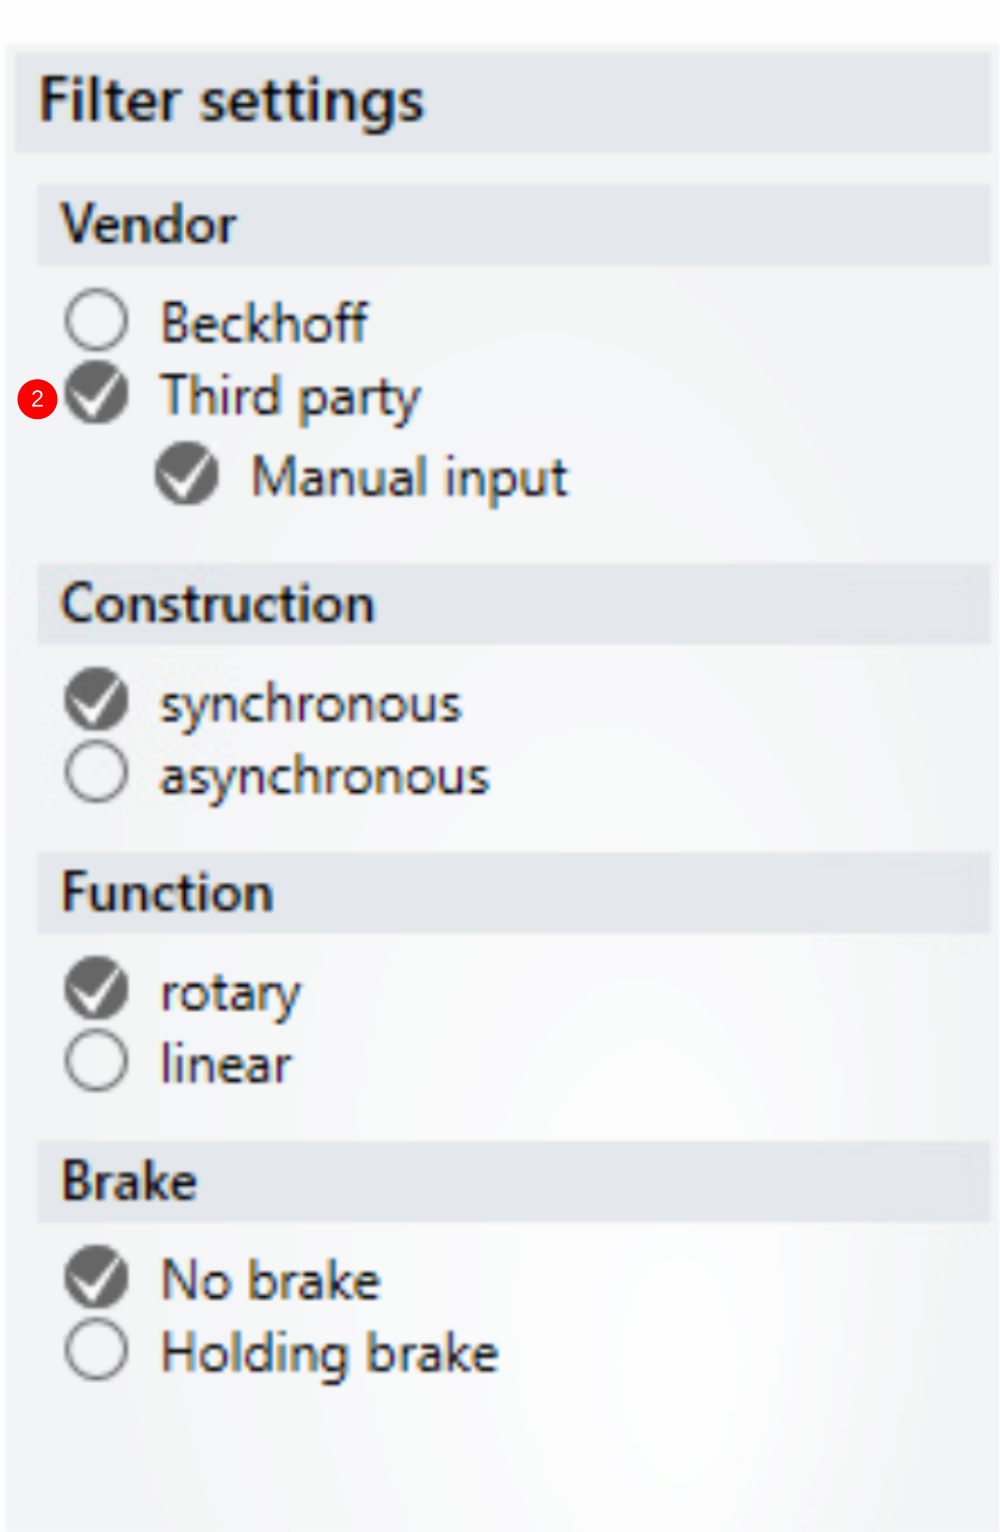
- For the Motor Press select then select the filter options.
- Select Import.
- Move to the folder C:\TwinCAT\Functions\TE5950-Drive-Manager-2\Database\Motors
- Select the GY and Open
- The parameters shold all mactch the screen shots.

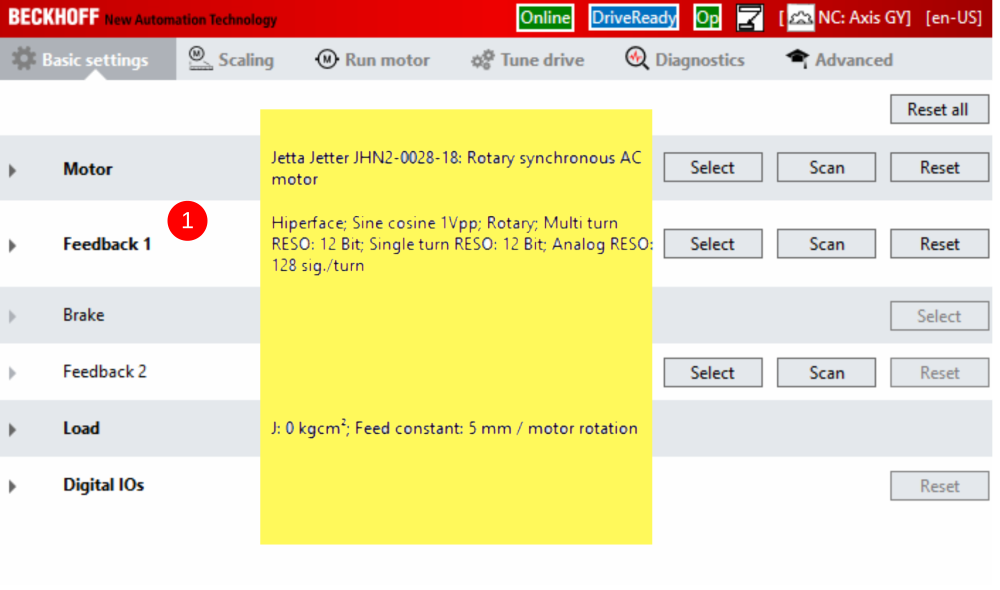


Étape 9 - GY Setup FeedBack
- From the Manager Scrren Press Select fo "Feedback 1"
- Under filter Select as shown (Hiperface being the important one)
- Expand Sick#SKx and select SKM36- HFA0-S05 and OK

Draft
 Français
 English
 Deutsch
 Español
 Italiano
 Português