How to install VNC Server and viewer to connect to pre-XP Windows operating systems

Difficulté
Moyen
Durée
10 minute(s)
Sommaire
- 1 Introduction
- 2 Étape 1 - Get a teamviewer connection to a newer PC to use as the piggy back device
- 3 Étape 2 - Connect to a shared drive on the older PC
- 4 Étape 3 - Copy the VNC viewer file over to the shared drive
- 5 Étape 4 - Get a tech-savy operator to install it
- 6 Étape 5 - First run of VNC Server
- 7 Étape 6 - Install VNC Viewer on Piggy back machine
- 8 Commentaires
Introduction
Teamviewer are withdrawing support and are very dismissive of helping out with teamviewer issues for older operating systems. Sometimes the problem just has to be solved, so there are other tools that can be used to "piggy back" onto a teamviewer connection to an office PC.
A reliable, free and simple method is to use VNC.
This involves
- Installing VNC Server on the old PC that you want to control
- Installing VNC Viewer on the Piggy-back PC
VNC Viewer can be downloaded here
Étape 1 - Get a teamviewer connection to a newer PC to use as the piggy back device
From the piggy back PC, connect to
\\Bnnn\
or
\\Bnnn\saw
[Where Bnnn is the build number - eg M012, F002 etc]\\192.168.1.54\saw
(Look up the IP address using ipconfig from the command prompt, or network settings)Étape 4 - Get a tech-savy operator to install it
Find it in windows explorer
- Click Next
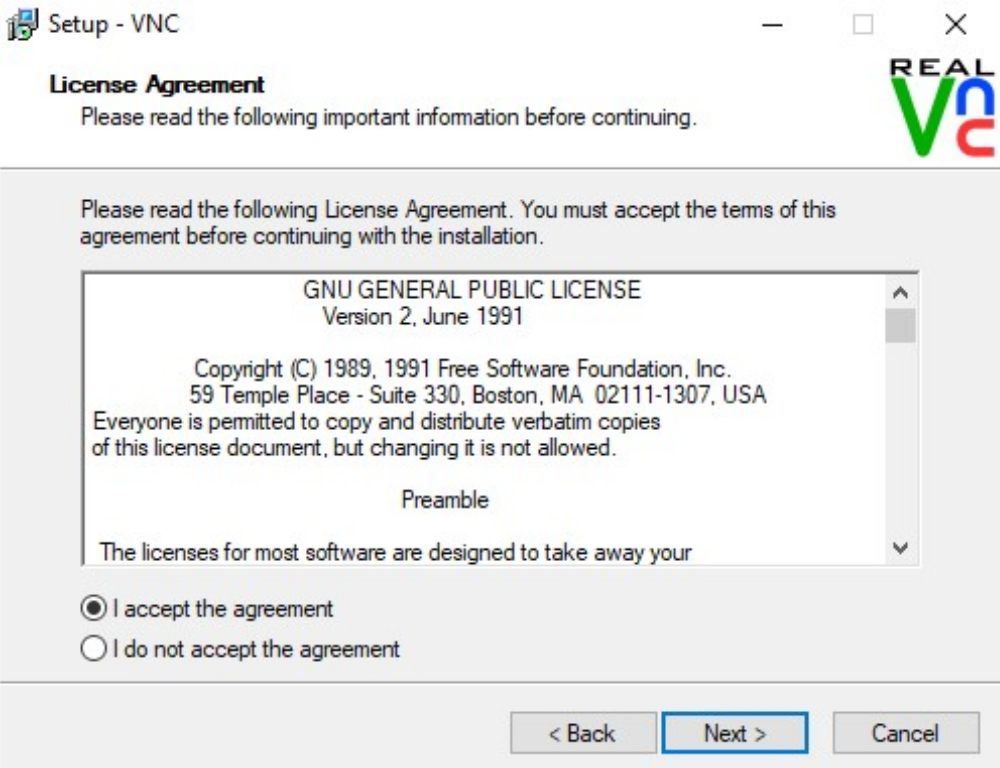
- Accept T&Cs
- Default Directory
- Full Installation, Click Next
- Default Start Menu Folder, click Next
- Ensure VNC Server boxes both ticked, click install on next screen


Étape 5 - First run of VNC Server
On the first run of VNC server, ensure "No Authentication" is ticked
Click OK
Click OK on License screen
Click Finish


Étape 6 - Install VNC Viewer on Piggy back machine
Copy the VNC Viewer install file across
After installation, attempt connection with the old PC using the PC name
if this fails, use the IP address

Draft
 Français
 English
 Deutsch
 Español
 Italiano
 Português