Instructions for bench assembly of transfer drives
Sommaire
- 1 Introduction
- 2 Étape 1 - Unless otherwise stated
- 3 Étape 2 - Assemble chain tensioner
- 4 Étape 3 - Attach to mounting plate
- 5 Étape 4 - Attach Base
- 6 Étape 5 - Check motor assembly configuration
- 7 Étape 6 - Fit Drive shaft
- 8 Étape 7 - Quality check
- 9 Étape 8 - Check Configuration of clutch
- 10 Étape 9 - Fit clutch to motor
- 11 Étape 10 - Mount motor to base
- 12 Étape 11 - Attach clamps
- 13 Commentaires
Introduction
Tools Required
External circlip pliers
Internal circlip pliers
Standard hex key set
Standard spanner set
Parts Required
H0007576 x 2
B0000139 x 2
D0007577 x 2
D0015626 x 2
D0015561 x 2
D0015562 x 2
B0001167 x 2
D0015024 x 2
B0001100 x 6
B0001166 x 2
B0000229 x 2
D0015610 x 4Étape 1 - Unless otherwise stated
Use Loctite 243 on all fasteners
Use Loctite 572 on all pneumatic threaded connections
Pen mark all bolts to show finalised
Étape 2 - Assemble chain tensioner
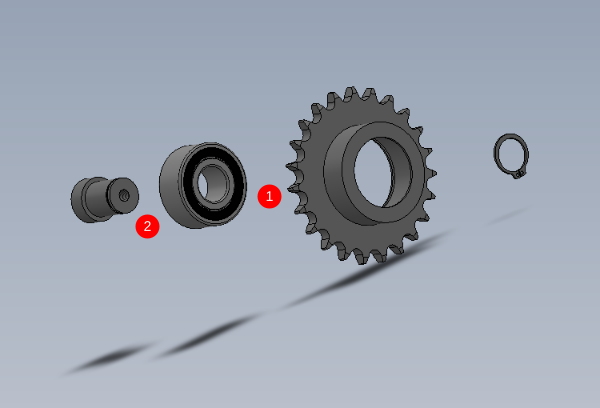
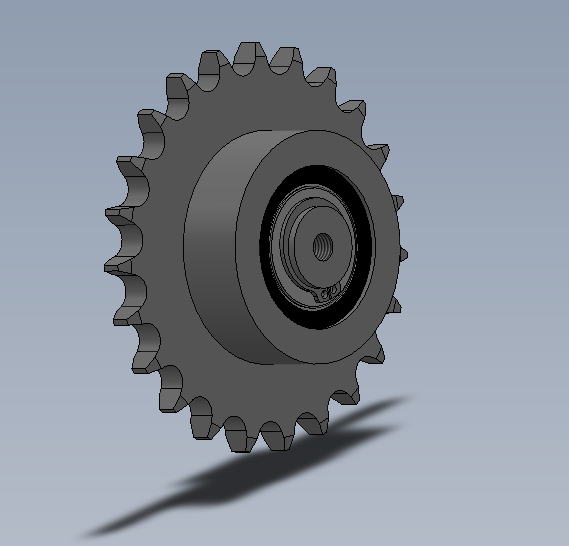
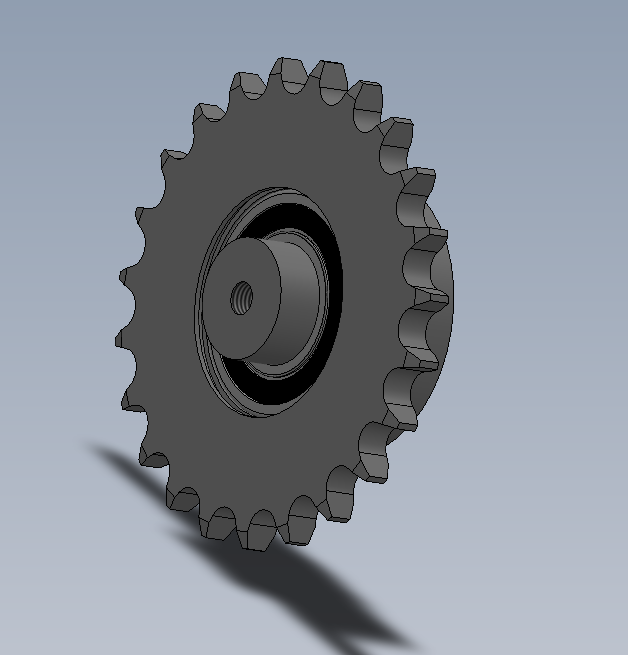
2 off
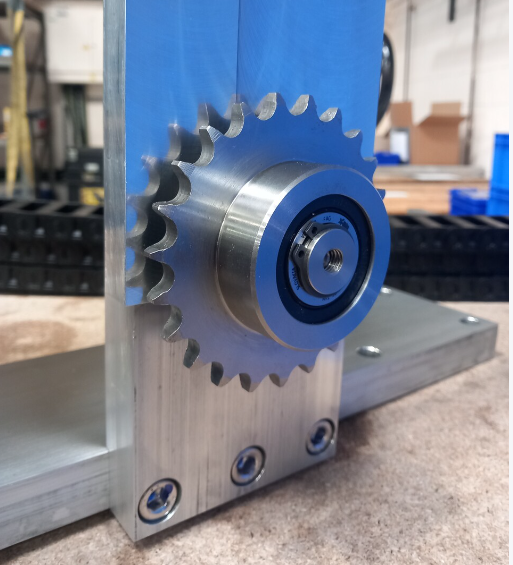
1 Press bearing B0000139 into sprocket H0007576.
If fit is loose, use FE10 solvent to degrease parts and apply bearing fit to fix.
If fit is tight, inspect parts to Drawing to confirm correct sizes
2 Press D0007577 into sprocket and follow above for correct fitment .
3 Captivate with 20mm external circlip
Étape 3 - Attach to mounting plate
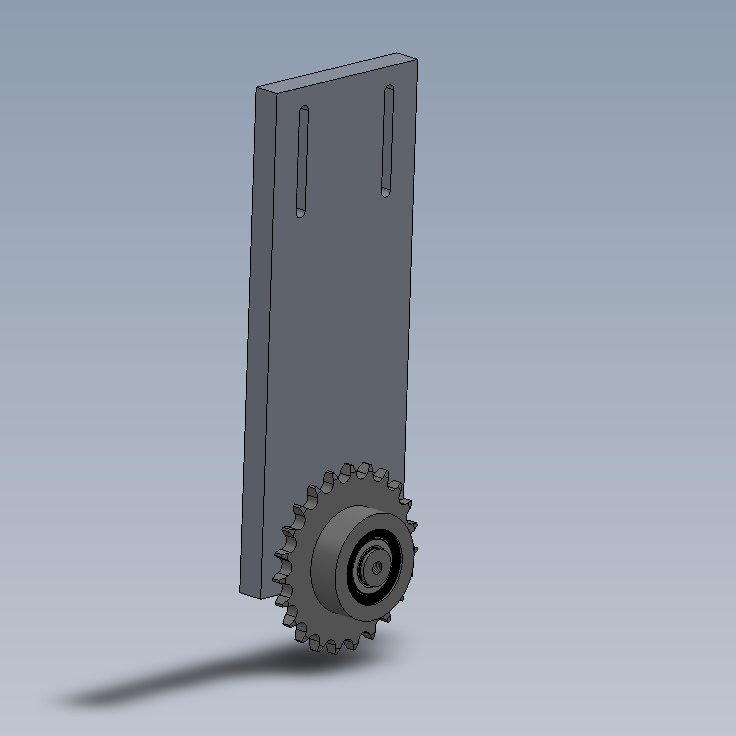
2 off
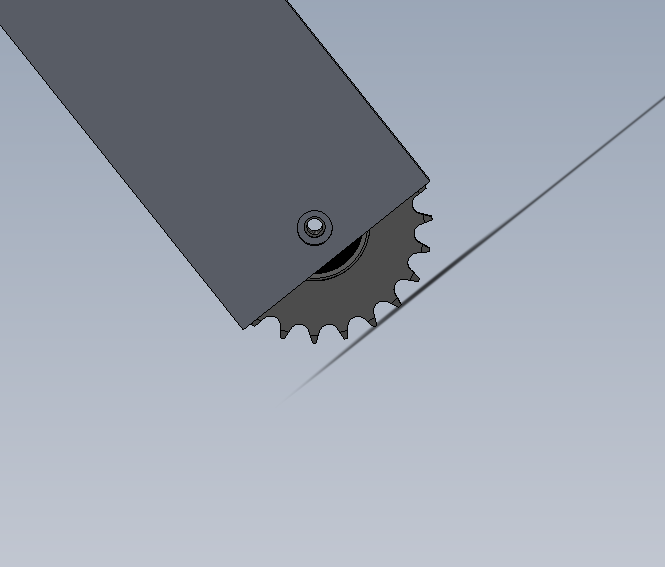
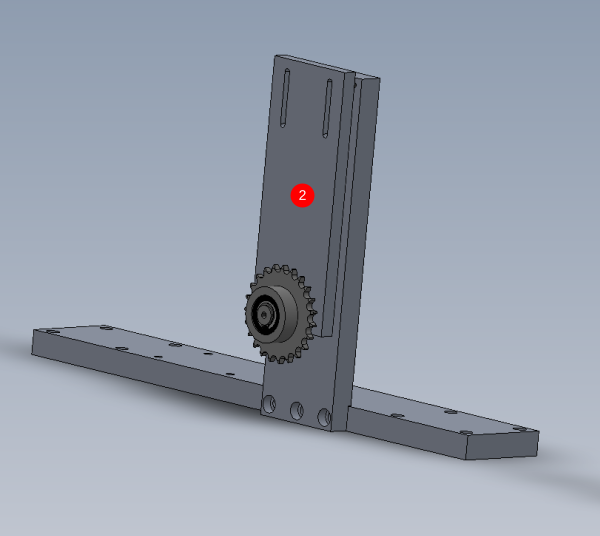
Attach sprocket assembly to D0015626 Using M8 x 35 Socket cap
Étape 4 - Attach Base
2 off
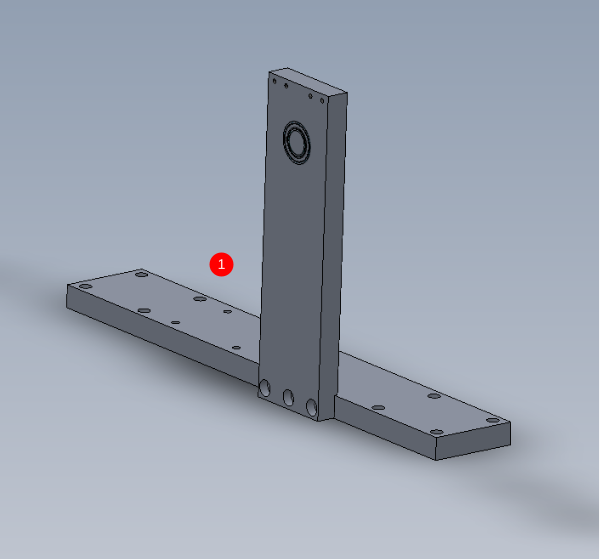
1 Attach D0015561 to D0015562 as shown using 3 off M10 x 30 socket caps
2 Mount assembled sprocket plate using M6 x 30 socket caps and heavy F0000247 M6 washers
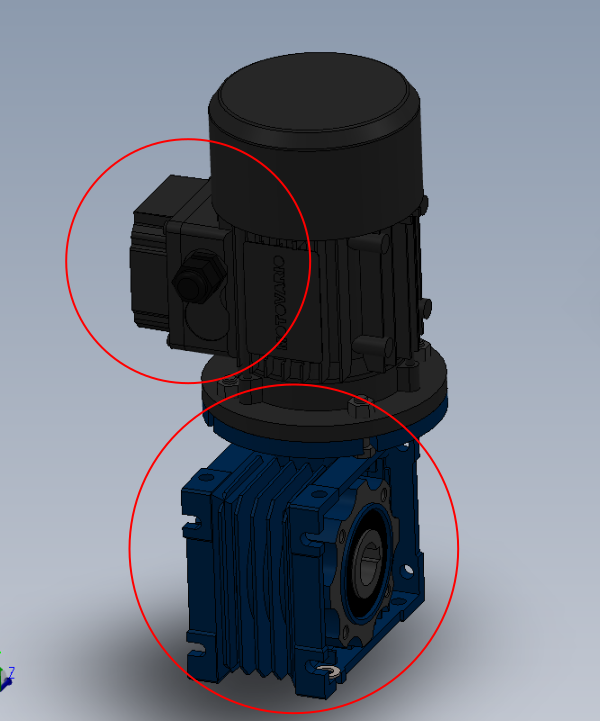
Étape 5 - Check motor assembly configuration
Check motor has been supplied in the shown configuration.
Gearbox may need rotating on supplied motor assembly to match orientation shown.
Motor terminal box position is vital
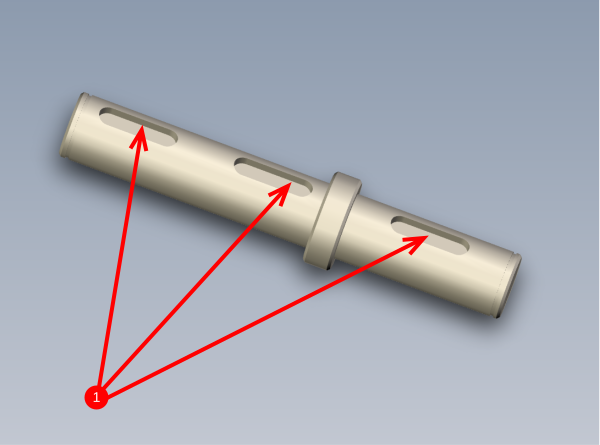
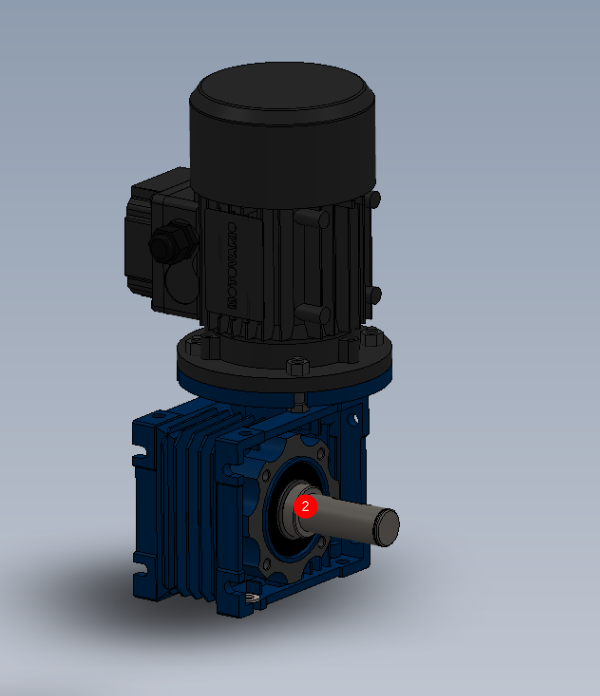
Étape 6 - Fit Drive shaft
2 off
1 Insert 3 off B0001100 key into driveshaft
2 Insert driveshaft D0015024 as shown and captivate either side with external circlip (size required)
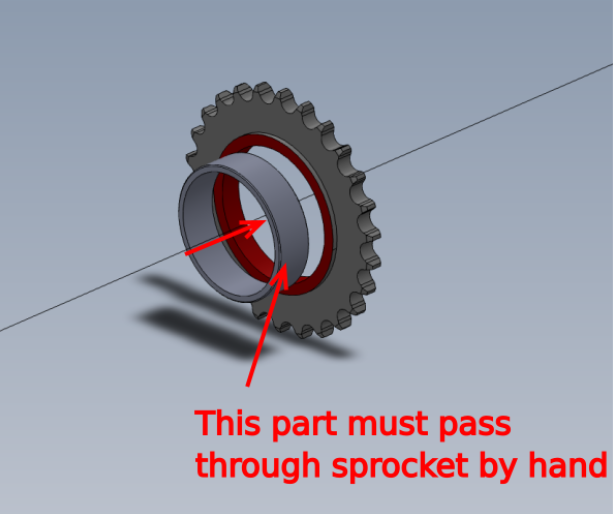
Étape 7 - Quality check
It is vital that the alignment bush can pass through the drive sprocket by hand
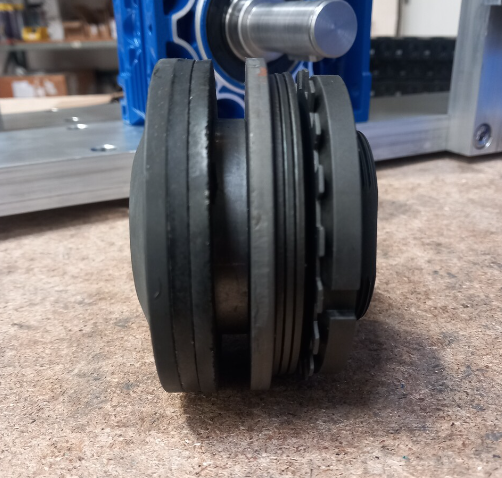
Étape 8 - Check Configuration of clutch
Check B0000229 has been assembled in the correct order
1 C Spanner pressure nut
2 Locking washer
3 Spring washer 3 off
4 Spreader plate
5 Friction washer
6 Centralise boss
7 Drive sprocket
8 Main Flange
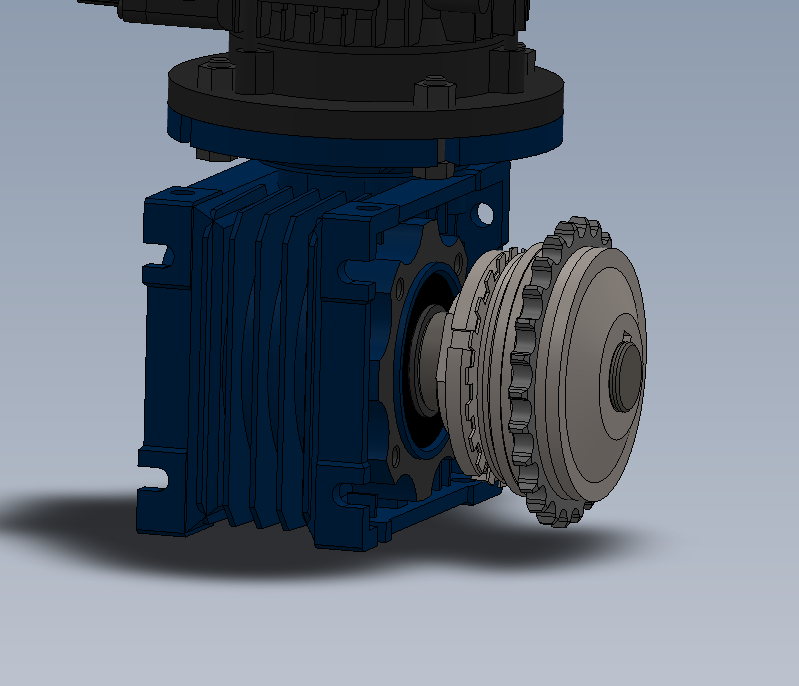
Étape 9 - Fit clutch to motor
2 off
Mount clutch assembly as shown and captivate with 25mm external circlip
ECR raised 12/06/23 to address problem of grubscrew lock off missing key fitted.
Until corrected , use M6 x 10 kcp grubscrew to lock on to shaft
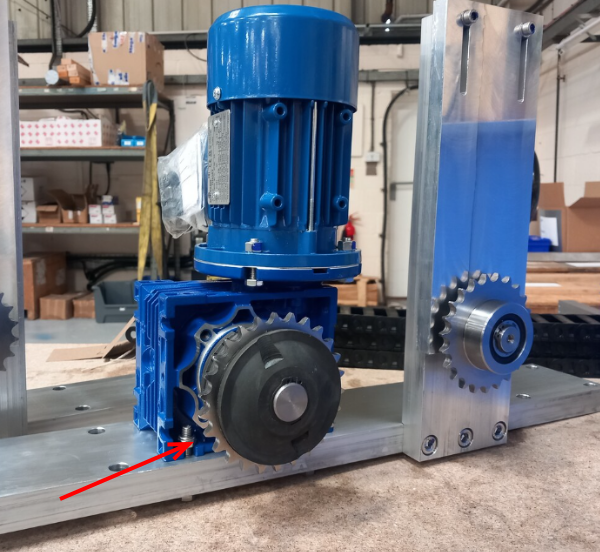
Étape 10 - Mount motor to base
2 off
Attach motor to base as shown
Use M8 x 50 hex set bolts , A form washers and M8 nyloc nuts to secure 4 off mounting points
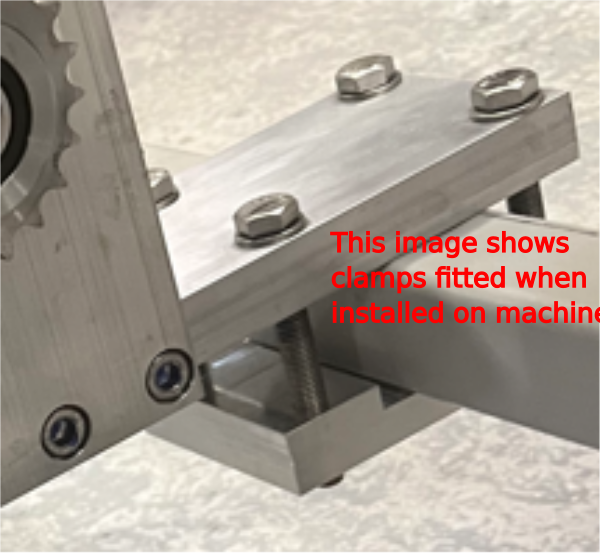
Étape 11 - Attach clamps
2 off per assembly
2 off assemblies
Use M12 x 100 hex set bolts (check size) and A form washers to attach 2 off clamp plates D0015610 to assembly as shown
Draft





 Français
 English
 Deutsch
 Español
 Italiano
 Português