Instructions to bench assemble transfer sliders
Sommaire
- 1 Introduction
- 2 Étape 1 - Unless otherwise stated
- 3 Étape 2 - Warning!!!
- 4 Étape 3 - Attach cylinder plate to rack bracket
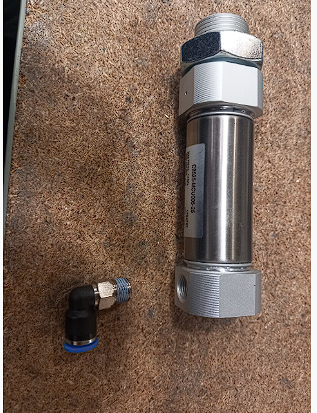
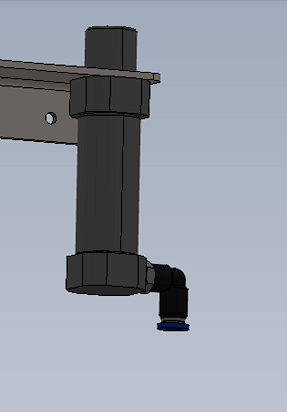
- 5 Étape 4 - Attach air fitting
- 6 Étape 5 - Attach cylinder to bracket
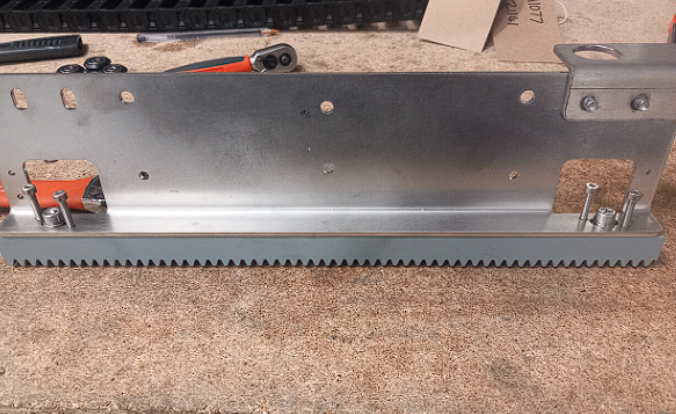
- 7 Étape 6 - Attach drive rack
- 8 Étape 7 - Fit concentric Delrin wheels
- 9 Étape 8 - Fit Eccentric wheels
- 10 Commentaires
Introduction
Tools Required
Standard spanner set
Standard hex key set
Parts Required
D0015551 x 9
D0015255 x 9
D0015549 x 9
P0001111 x 9
P0000010 x 9
B0001160 x 36
B0001161 x 18
B0001162 x 18Étape 1 - Unless otherwise stated
Use Loctite 243 on all fasteners
Use Loctite 570 on all threaded pneumatic connections
Pen mark all bolts when finalised
Étape 3 - Attach cylinder plate to rack bracket
9 off
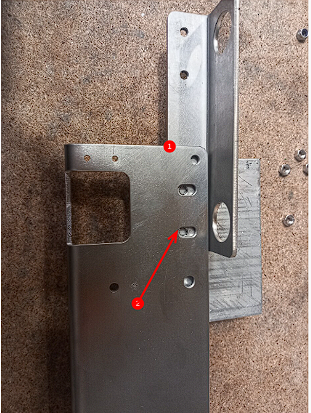
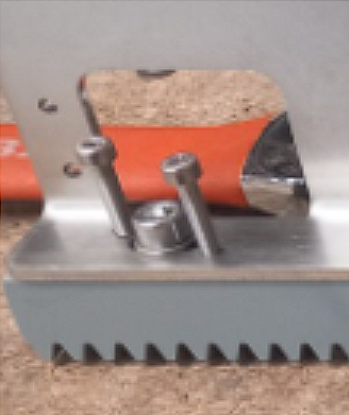
1 Attach D0015550 to D0015551 as shown. Use 2 off M6 x 10 socket caps with A form washers
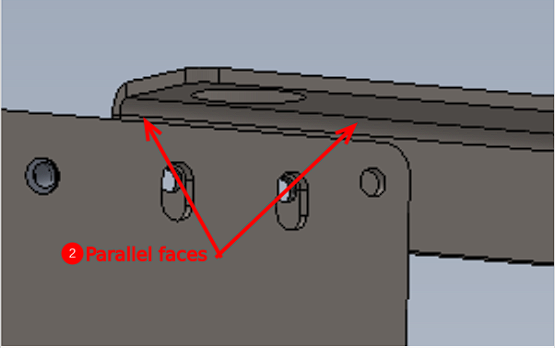
2 Ensure bracket is positioned bottom slot as shown and faces marked are parallel
Étape 5 - Attach cylinder to bracket
9 off
Mount cylinder to bracket as shown. Loctite 243 should be used on cylinder locking nut
Étape 6 - Attach drive rack
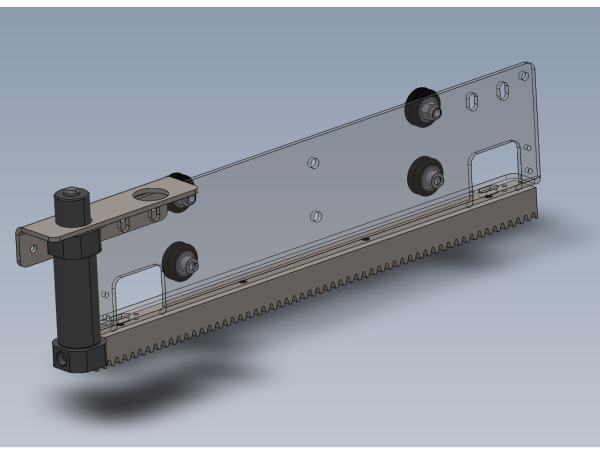
Attach drive rack D0015255 to assembly as shown.
Use m6 x 16 socket caps, M6 A form washers and M4 x 20 socket caps
Étape 7 - Fit concentric Delrin wheels
2 off on each assembly
9 off in total
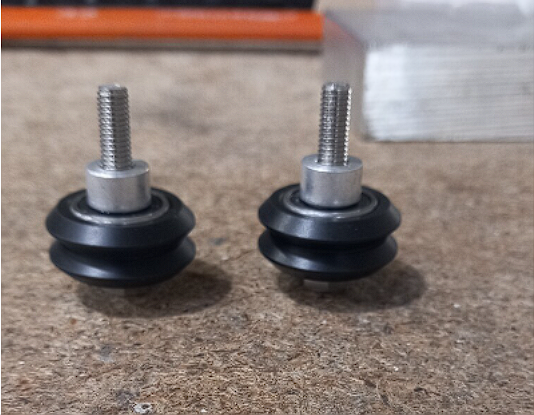
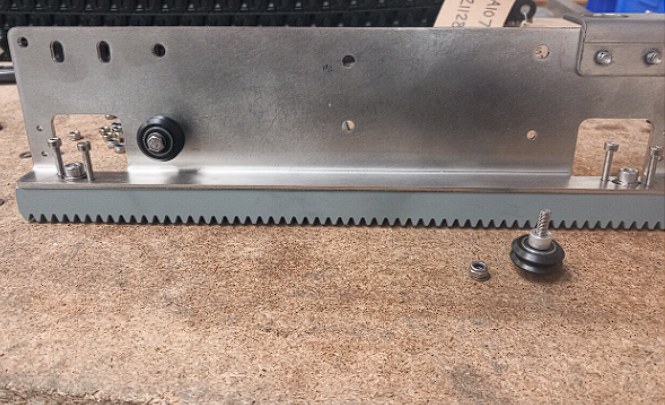
Fit concentric wheels to assembly .
Assemble with in this order
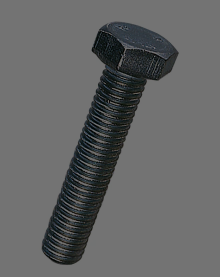
M5 x 30 set bolt- M5 A form washer- Delrin wheel assembly B0001160- spacer B0001161 - Main assembly - A form washer- M5 Nyloc nut
Étape 8 - Fit Eccentric wheels
2 off on each assembly
9 off in total
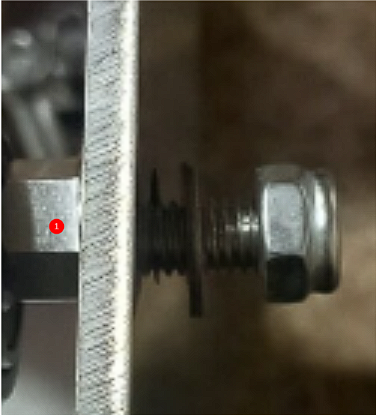
1 Check that part B0001162 sits flush into hole on rack mounting plate. It may be required to remove burrs from manufacture to achieve this
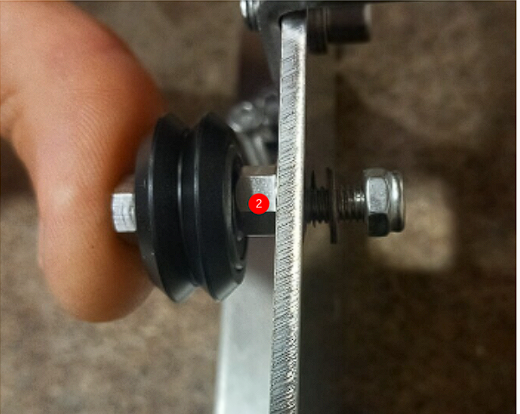
2 Attach delrin wheel in this order.
M5 x 30 Set bolt-M5 A form washer-Delrin Wheel (B0001160) -Eccentric cam(B0001162)- Assembly - M5 A Form Washer- M5 Nyloc nut
Do not add final tension to this wheel assembly as adjustment will be required at a later point
Draft

 Français
 English
 Deutsch
 Español
 Italiano
 Português