| [version en cours de rédaction] | [version en cours de rédaction] |
| Ligne 141 : | Ligne 141 : | ||
}} | }} | ||
{{Tuto Step | {{Tuto Step | ||
| − | |Step_Title=<translate>Fit Grease nipple</translate> | + | |Step_Title=<translate>Fit Grease nipple and check nut orientation n</translate> |
| − | |Step_Content=<translate>Fit B0000236 90 Deg Grease Nipple M6 ST/ST x 1 as shown</translate> | + | |Step_Content=<translate>Fit B0000236 90 Deg Grease Nipple M6 ST/ST x 1 as shown |
| + | |||
| + | |||
| + | Check Leadscrew nut is orientated correctly , rotate using leadscrew jig if incorrectly orientated</translate> | ||
|Step_Picture_00=R0000962E_Bench_assemble_Y_axis_Components_Screenshot_2023-07-18_104121.png | |Step_Picture_00=R0000962E_Bench_assemble_Y_axis_Components_Screenshot_2023-07-18_104121.png | ||
}} | }} | ||
Version du 18 septembre 2023 à 13:10
Instructions for assembling components

Difficulté
Difficile
Durée
1 heure(s)
Sommaire
- 1 Introduction
- 2 Étape 1 - Unless otherwise stated
- 3 Étape 2 - Check fit of D0001926
- 4 Étape 3 - Fit bearing
- 5 Étape 4 - Tension drive coupling
- 6 Étape 5 - Finalise
- 7 Étape 6 - Check fit of leadscrew to coupling
- 8 Étape 7 - Check bearing fit
- 9 Étape 8 - Fit Grease nipple and check nut orientation n
- 10 Commentaires
Introduction
Tools Required
Standard hex key set
Fine emery tape
solvent
Standard drill set
Parts Required
B0000086 Ball Bearing 15 D 32 D 9 Long + seals x 2
B0000139 Double Angular Bearing 20 D 47 D 20.6 Long + seals x 1
B0000236 90 Deg Grease Nipple M6 ST/ST x 1
C0001122K Servo Motor: Beckhoff AM8032-1E10 (Keyed) x 1
D0001926 Servo Drive Coupling M20 (Ø14mm) Beckhoff x 1
D0006488 Y Leadscrew Sleeve x 1
H0007789 Y Leadscrew x 1
Étape 1 - Unless otherwise stated
Use locktite 243 on all fasteners
Use loctite 572 on all threaded pneumatic connection
Pen mark all fasteners to show finalised

Étape 2 - Check fit of D0001926
Ensure D0001926 Servo Drive Coupling M20 (Ø14mm) Beckhoff x 1
fits onto C0001122K Servo Motor: Beckhoff AM8032-1E10 (Keyed) x 1
Fit should be a snug slide fit
Part can be reamed with hand reamer if fit is tight


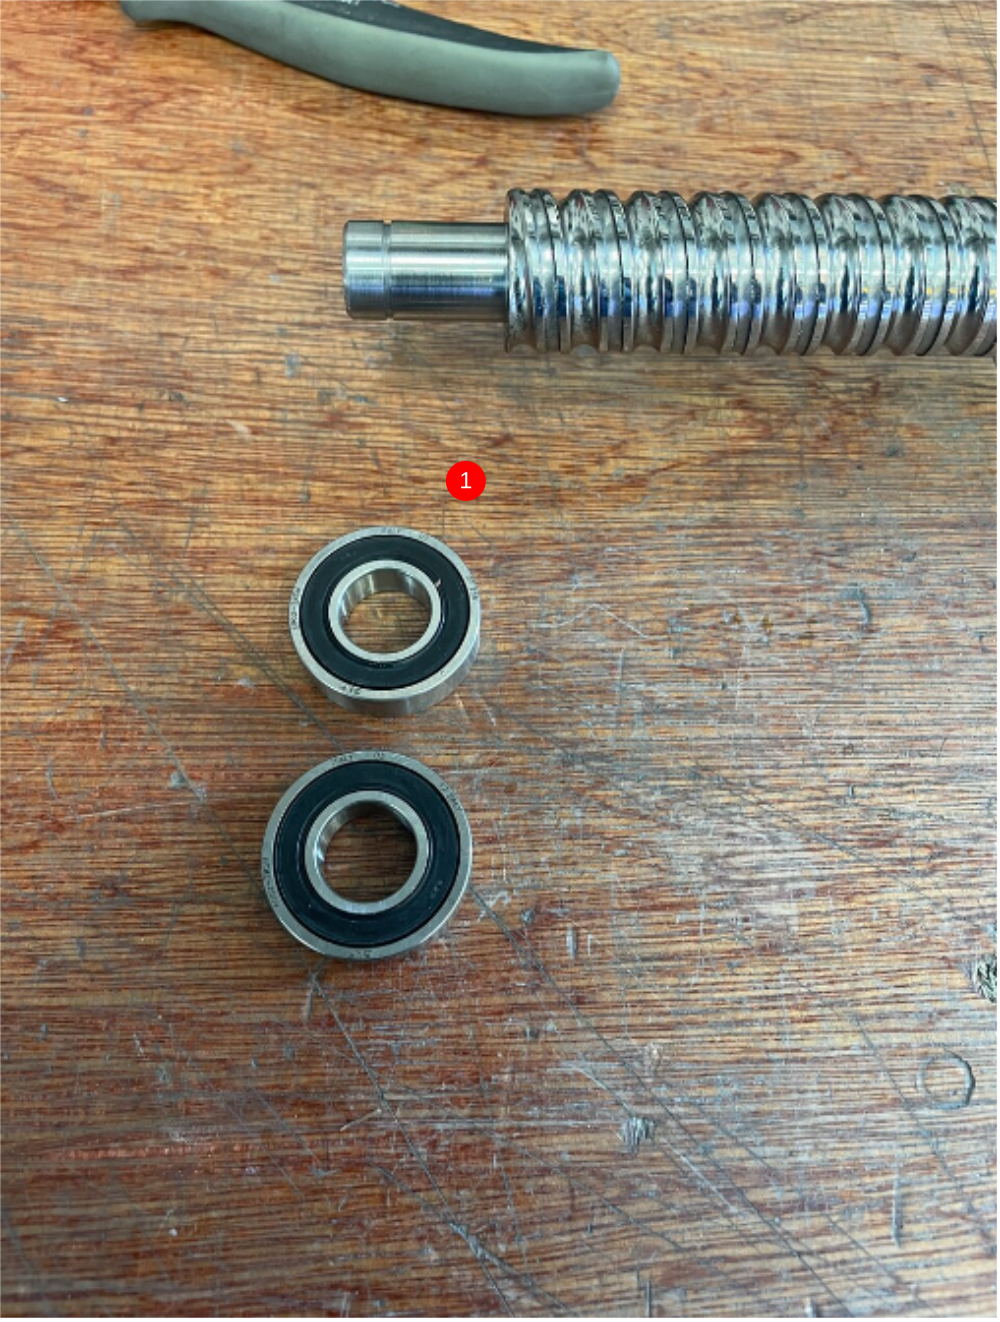
Étape 3 - Fit bearing
1 Check and adjust fit of B0000139 Double Angular Bearing 20 D 47 D 20.6 Long + seals x 1 onto D0006488 Y Leadscrew Sleeve x 1
2 Fit should be a smooth press fit onto sleeve. Indicated face can be polished down with fine emery to obtain desired fit


Étape 4 - Tension drive coupling
1 Add m8 socket caps as shown to hold assembly in vice
2 Use 2 off m8 long socket caps and Standard M8 nuts and lock onto drive coupling .
Tension using long M8s as leverage
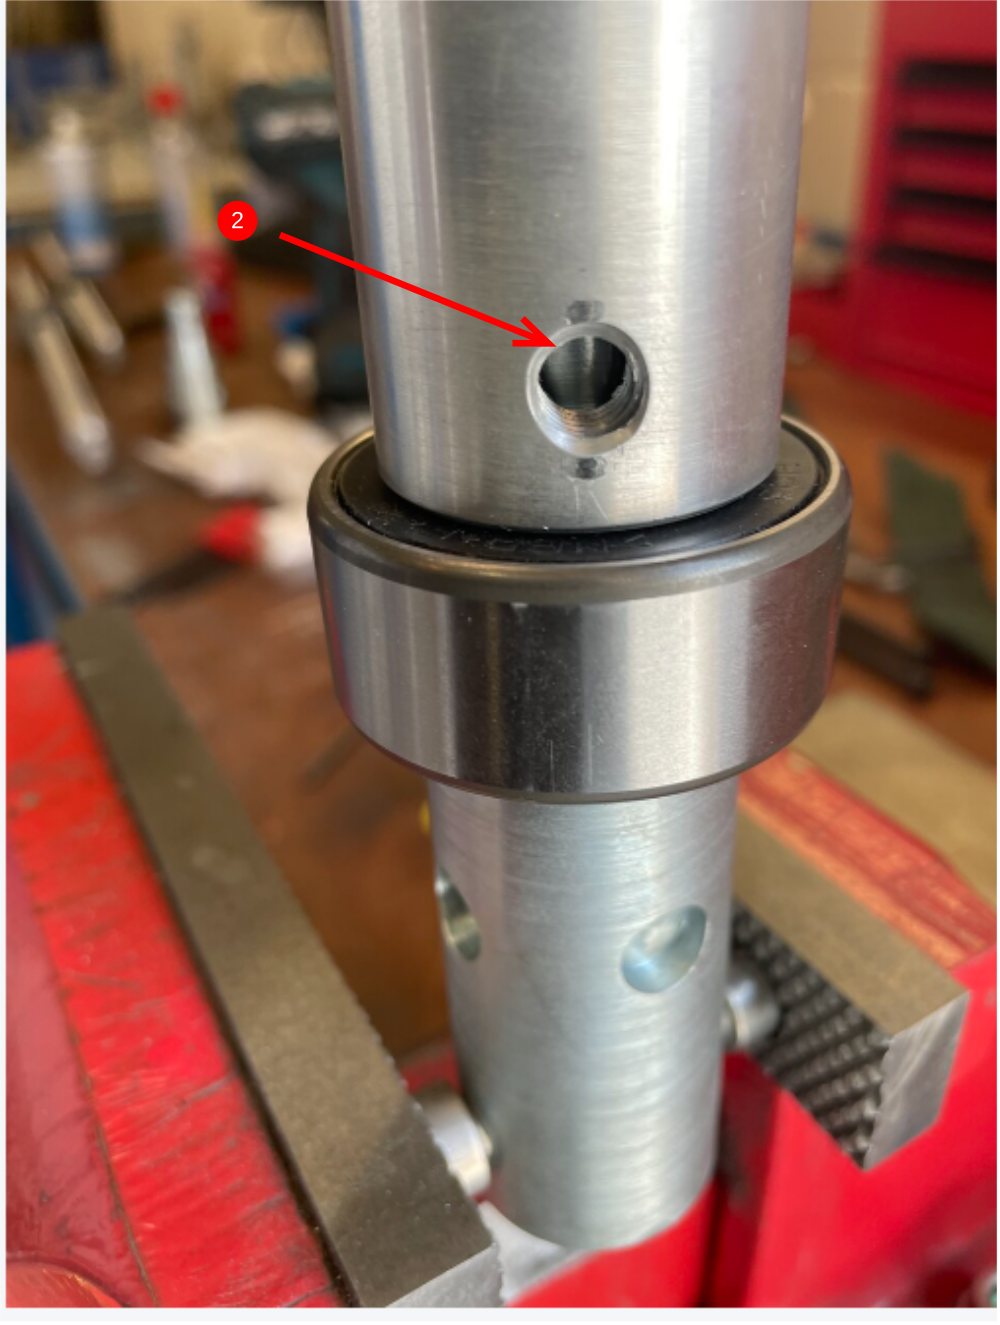
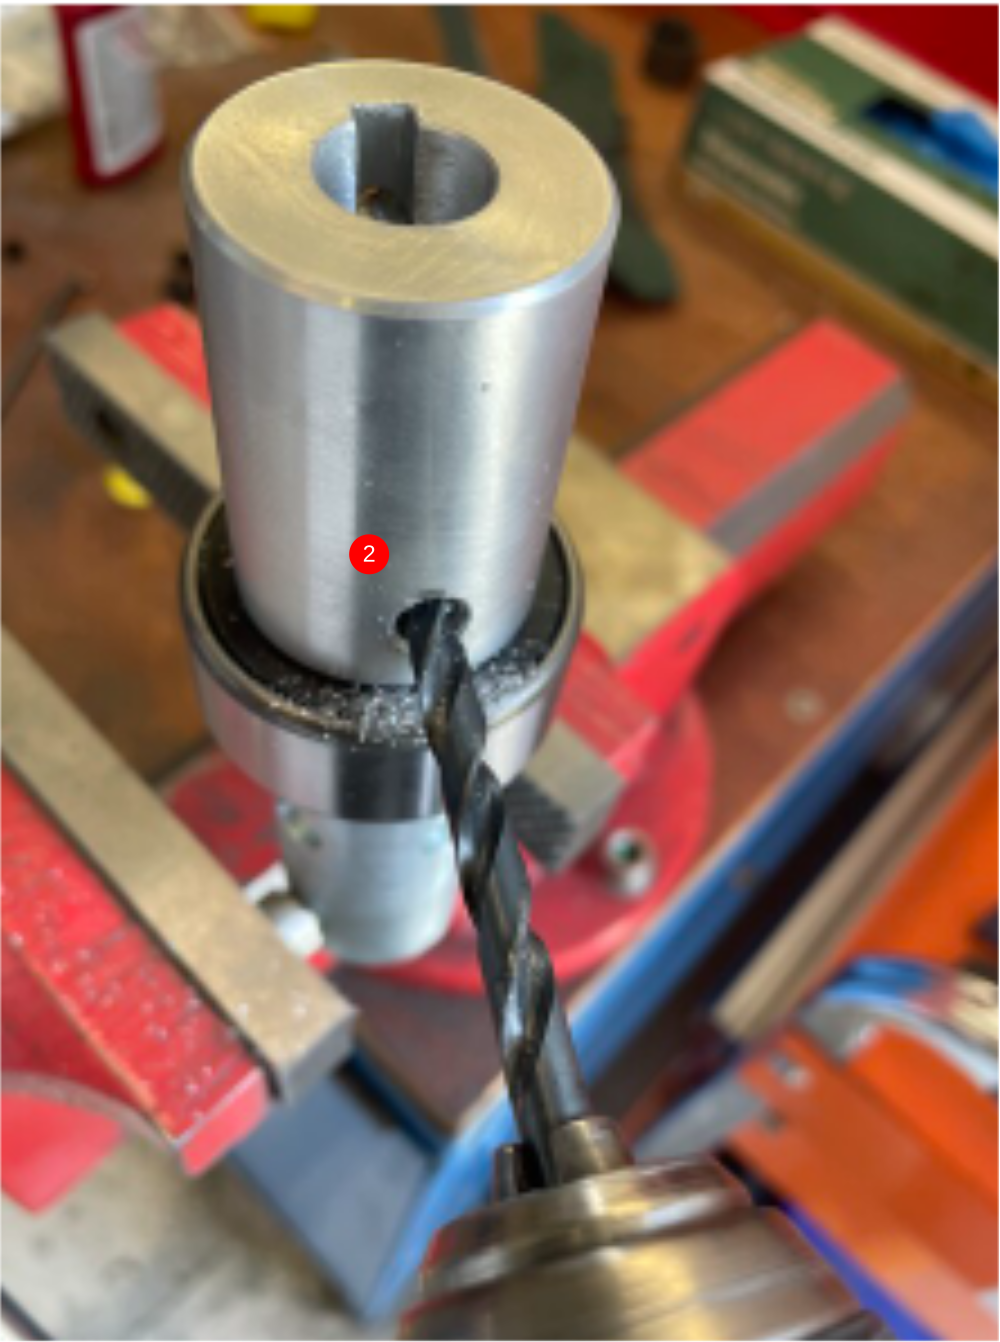
Étape 5 - Finalise
1 Remove 1 off Long M8 socket cap and tension an M8 x 12 kcp grubscrew into the hole (do not add adhesive )
2 Remove second Long M8 socket cap and dimple inner shaft using 6.8mm drill
Clean with compressed air and add M8x 8 kcp with adhesive and tension
3 Remove m8 x 12 kcp grub screw and repeat above step
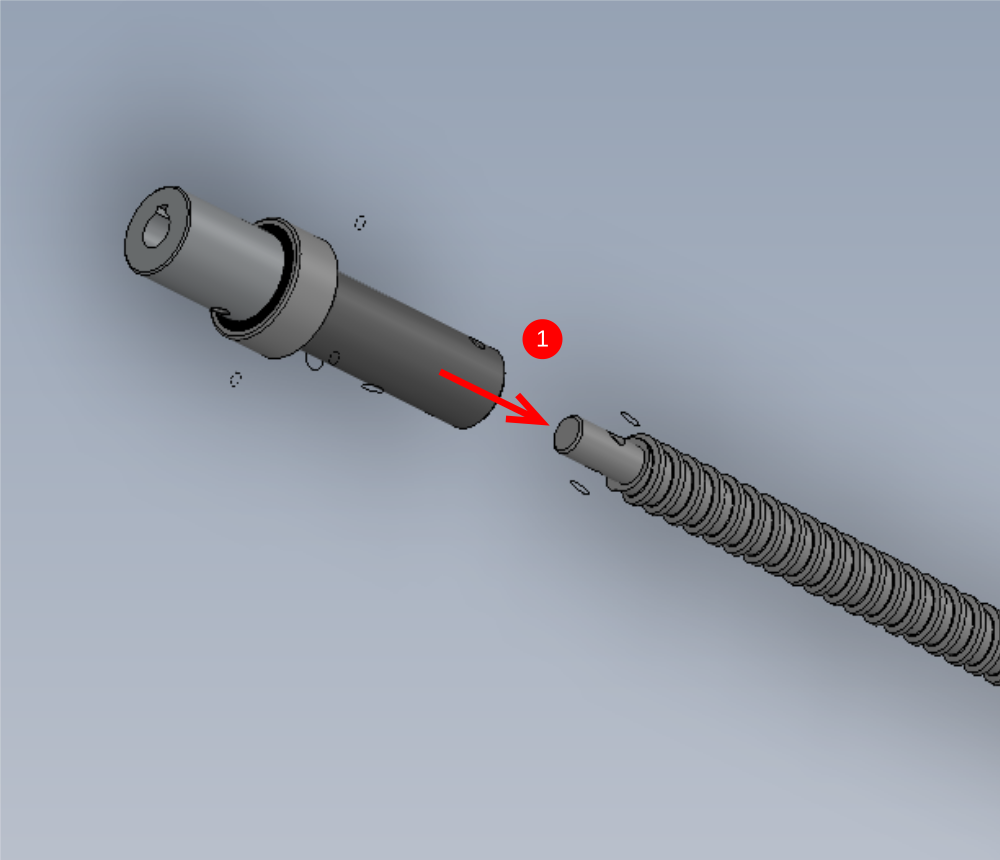
Étape 6 - Check fit of leadscrew to coupling
1 Check fit of coupling to leadscrew H0007789
2 Use reamer / Emery tape if fit is tight
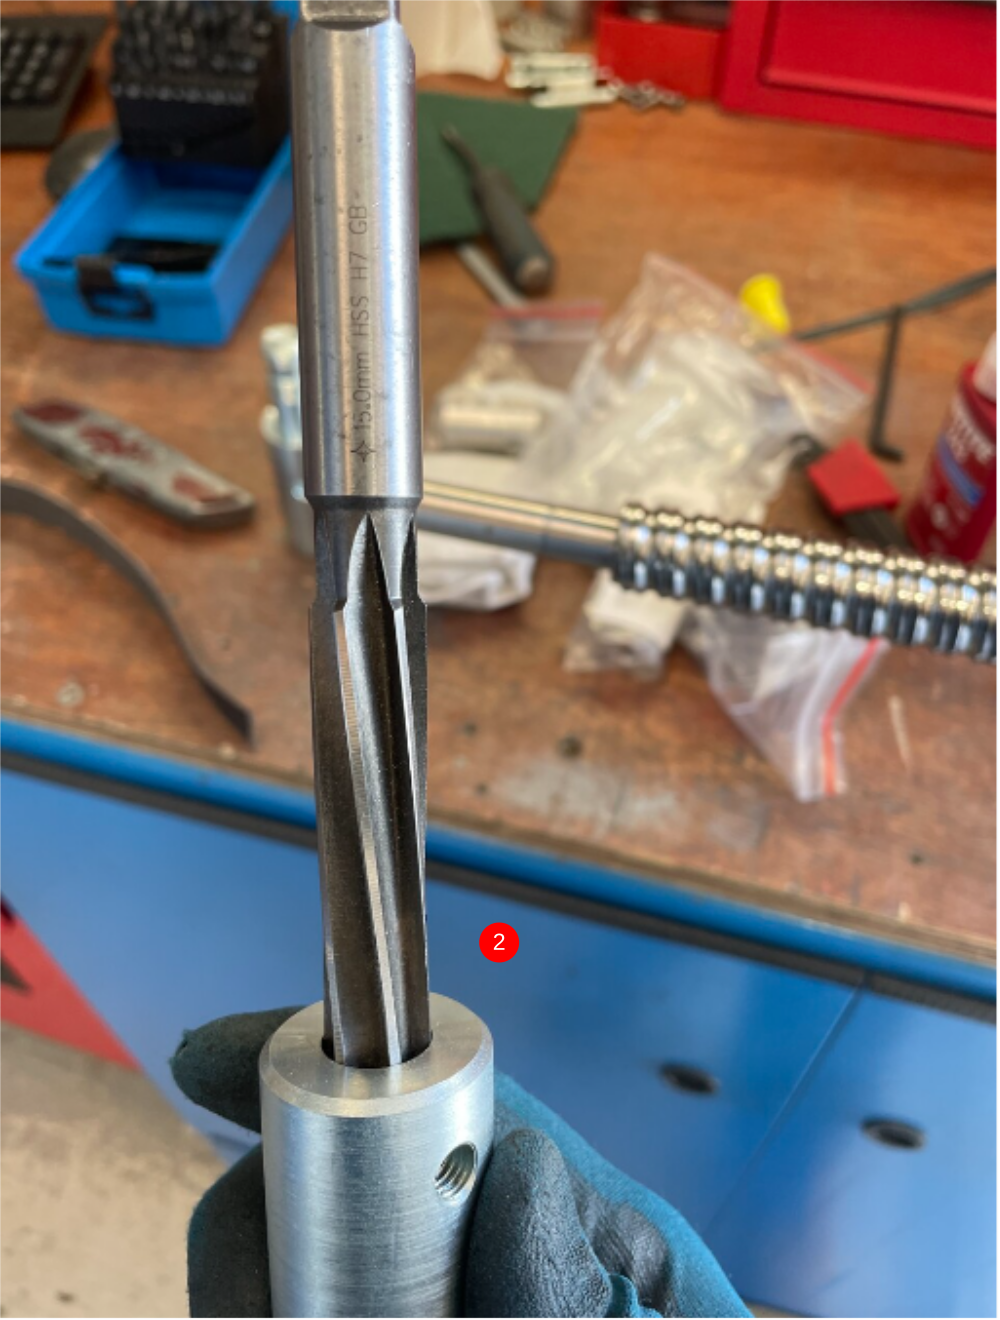
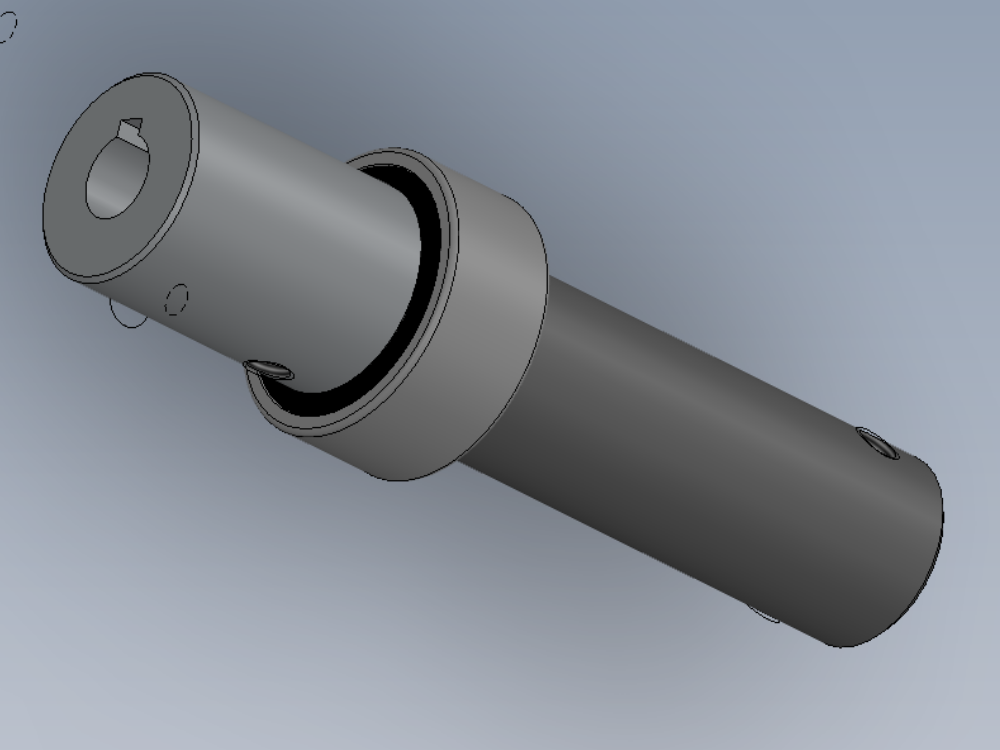
Étape 7 - Check bearing fit
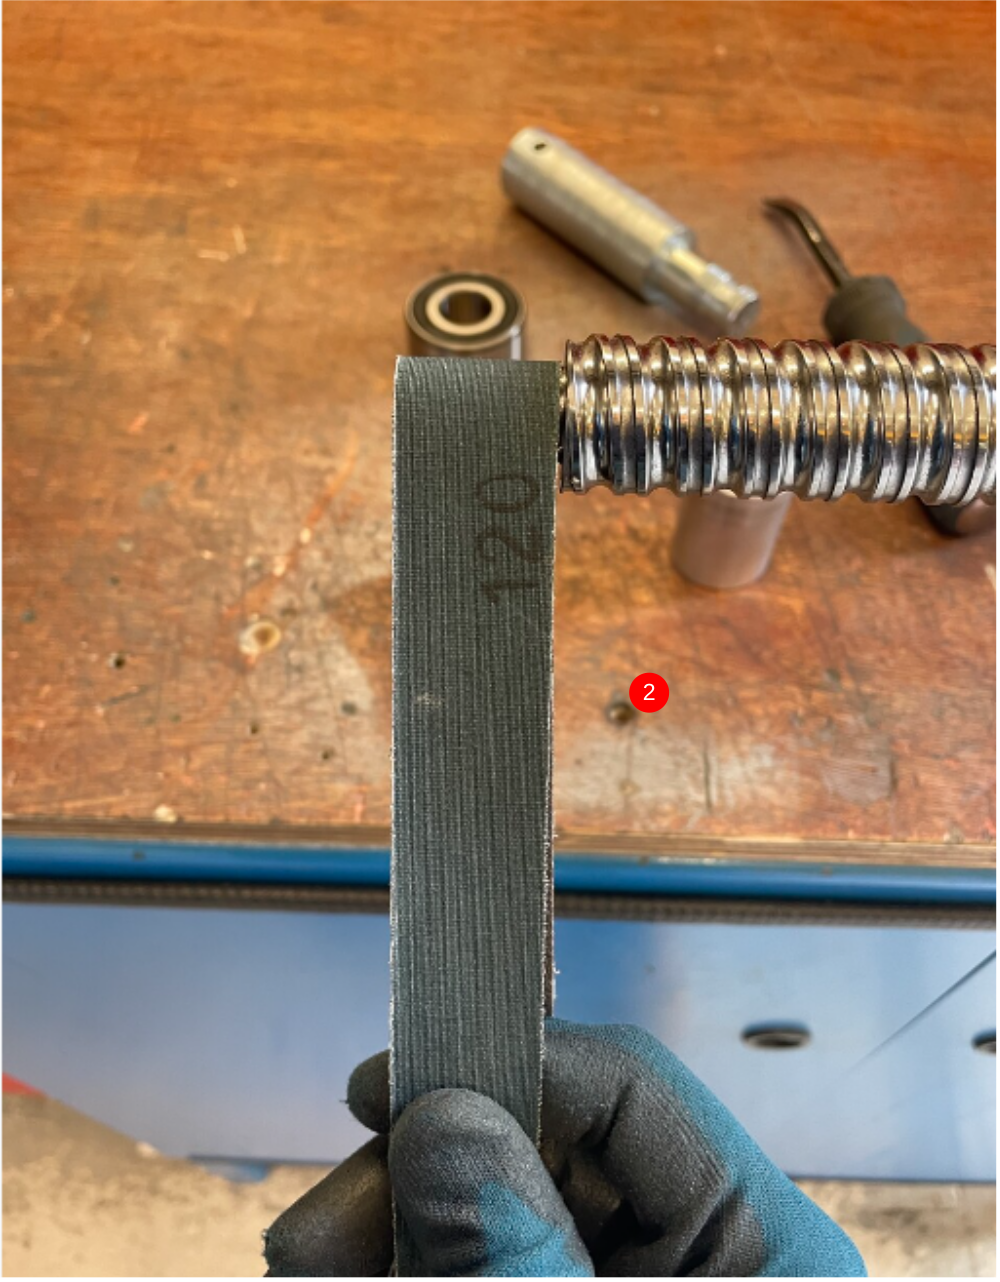
1 Check bearing B0000086 Ball Bearing 15 D 32 D 9 Long + seals fit is acceptable on leadscrew H0007789
2 Adjust with emery tape if fit is tight

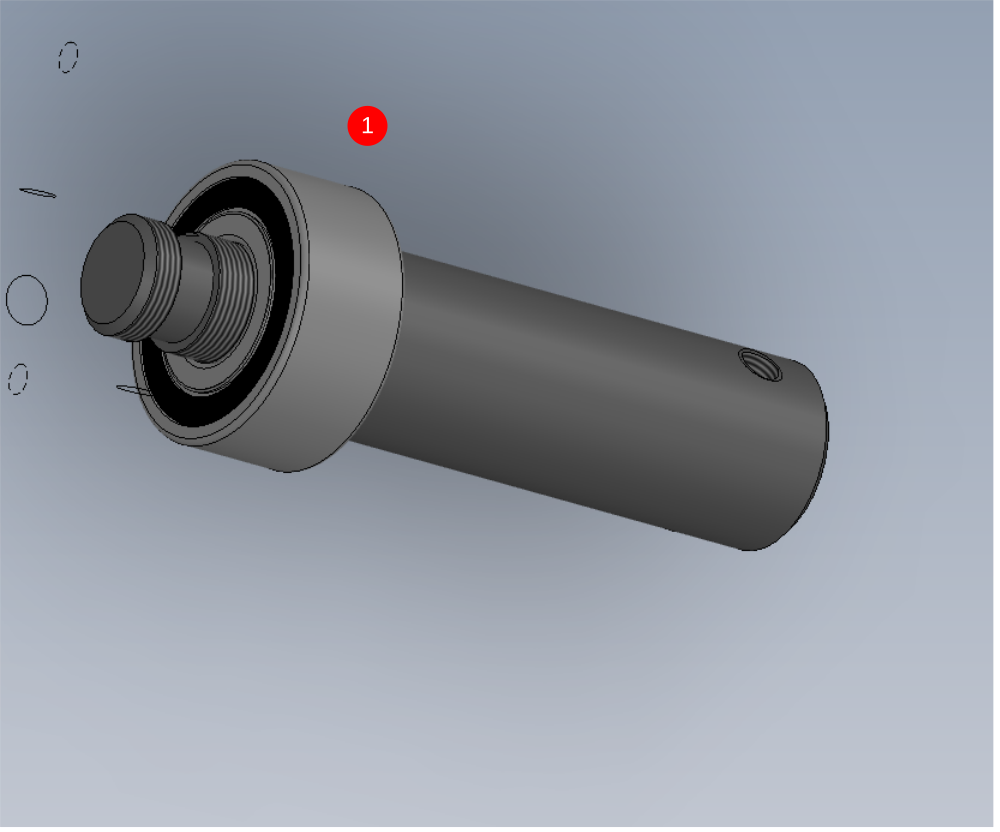
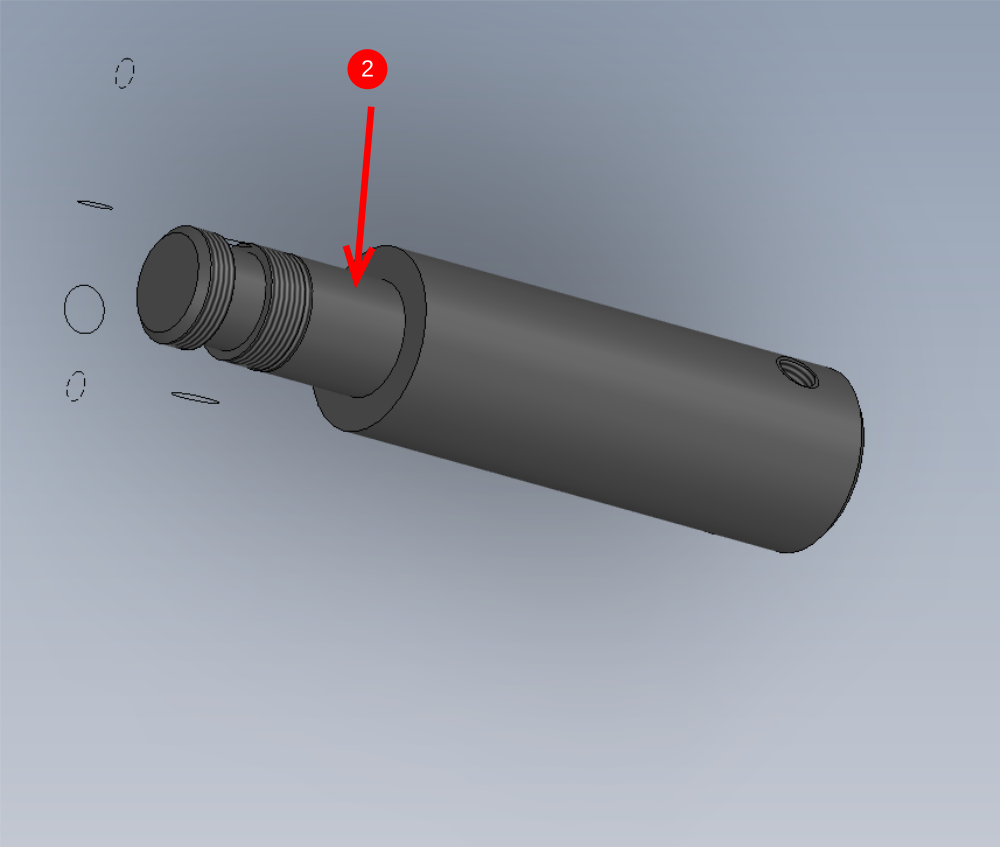
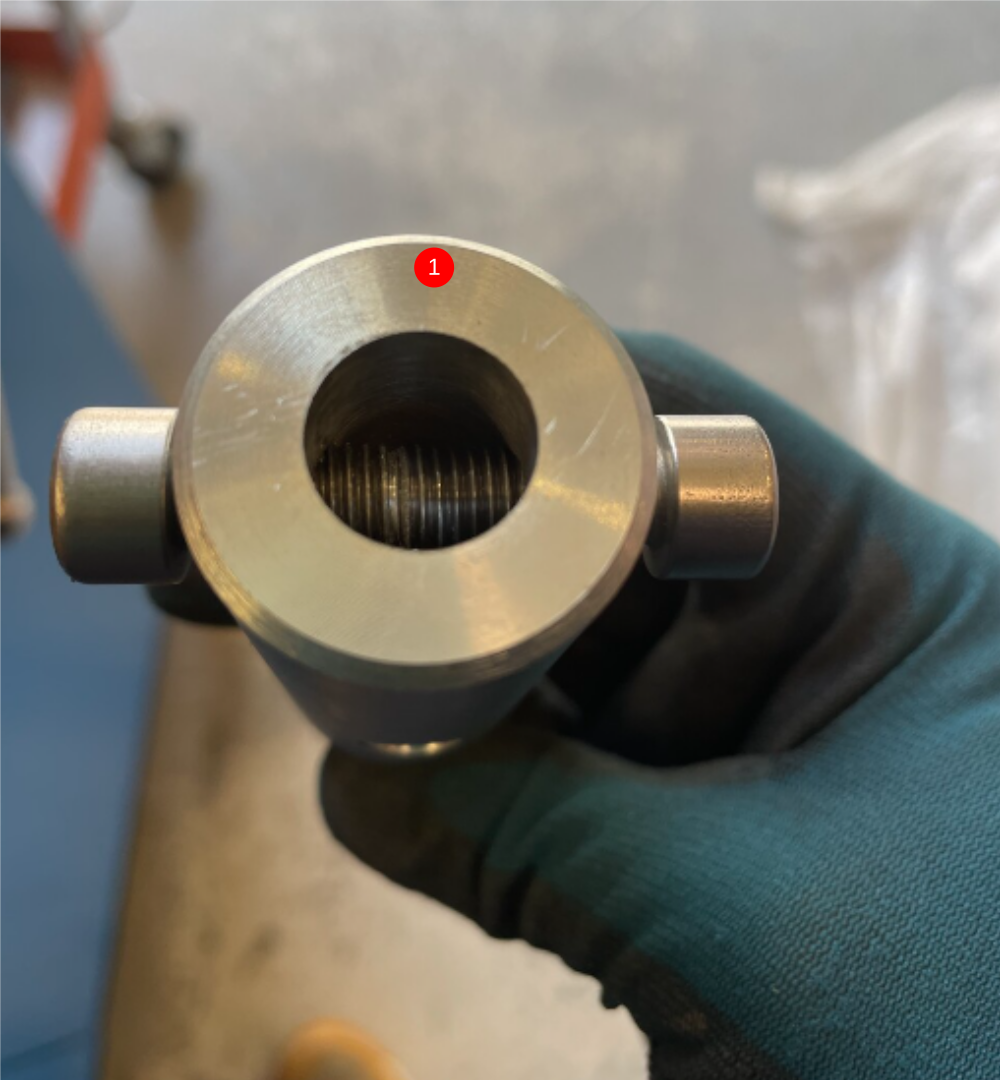
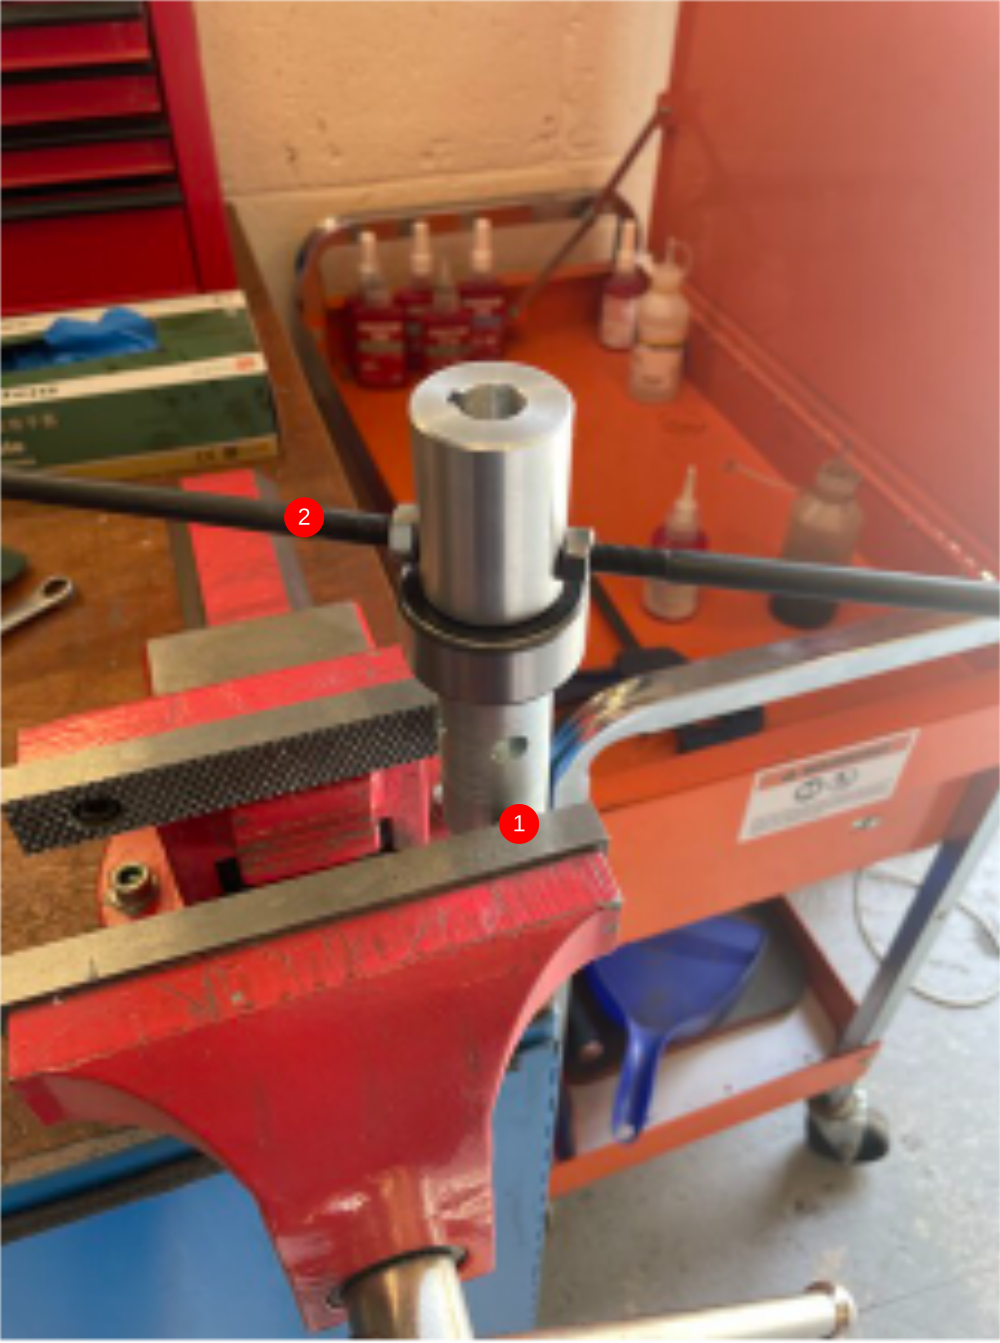
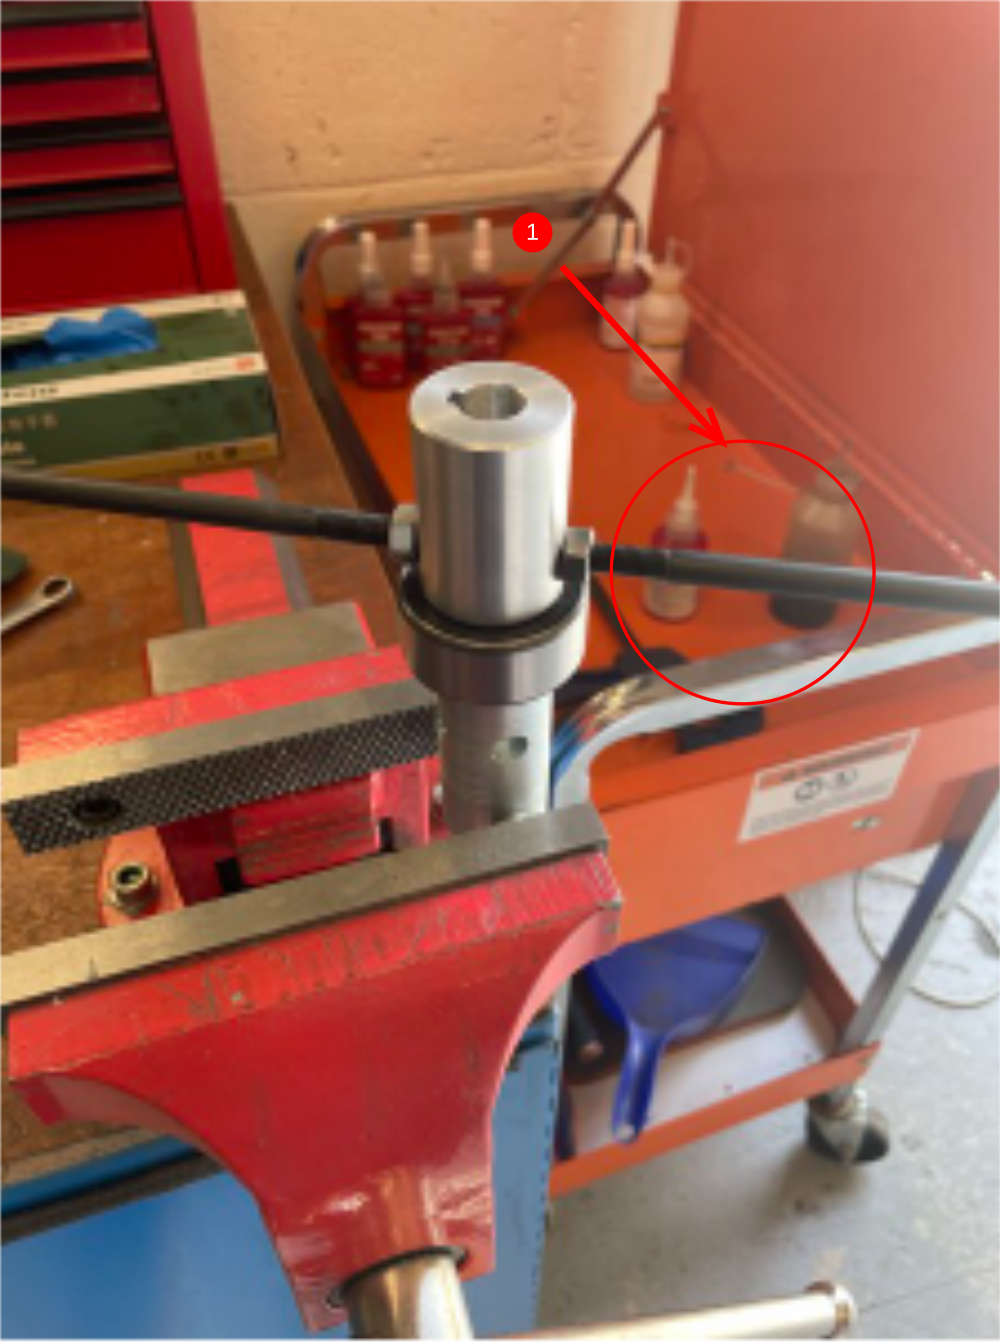
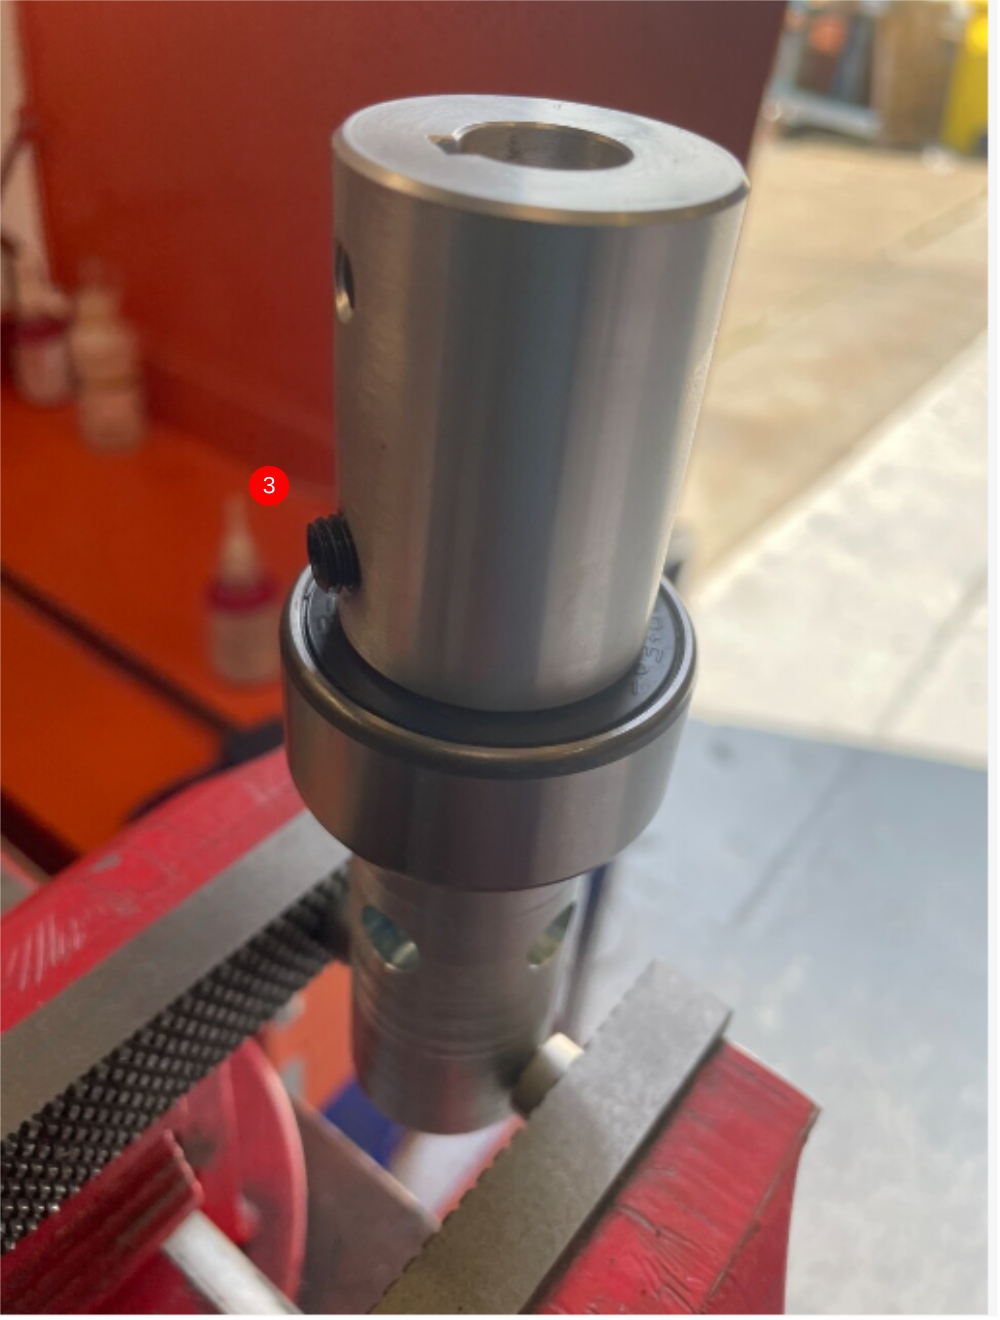
Étape 8 - Fit Grease nipple and check nut orientation n
Fit B0000236 90 Deg Grease Nipple M6 ST/ST x 1 as shown
Check Leadscrew nut is orientated correctly , rotate using leadscrew jig if incorrectly orientated

Draft
 Français
 English
 Deutsch
 Español
 Italiano
 Português