| [version en cours de rédaction] | [version en cours de rédaction] |
(Page créée avec « {{Tuto Details |Main_Picture=GY_GZ_axis_setup_with_Jetter_Motors_IMG_20230113_111650_482_1_.jpg |Main_Picture_annotation={"version":"2.4.6","objects":[{"type":"image","ver... ») |
|||
| Ligne 1 : | Ligne 1 : | ||
{{Tuto Details | {{Tuto Details | ||
| − | |Main_Picture= | + | |Main_Picture=GY_GZ_axis_setup_with_Jetter_Motors_GZAxis.jpg |
| − | |Main_Picture_annotation={"version":"2.4.6","objects":[{"type":"image","version":"2.4.6","originX":"left","originY":"top","left":- | + | |Main_Picture_annotation={"version":"2.4.6","objects":[{"type":"image","version":"2.4.6","originX":"left","originY":"top","left":-34,"top":-366,"width":519,"height":693,"fill":"rgb(0,0,0)","stroke":null,"strokeWidth":0,"strokeDashArray":null,"strokeLineCap":"butt","strokeDashOffset":0,"strokeLineJoin":"miter","strokeMiterLimit":4,"scaleX":1.47,"scaleY":1.47,"angle":0,"flipX":false,"flipY":false,"opacity":1,"shadow":null,"visible":true,"clipTo":null,"backgroundColor":"","fillRule":"nonzero","paintFirst":"fill","globalCompositeOperation":"source-over","transformMatrix":null,"skewX":0,"skewY":0,"crossOrigin":"","cropX":0,"cropY":0,"src":"https://stuga.dokit.app/images/a/a3/GY_GZ_axis_setup_with_Jetter_Motors_GZAxis.jpg","filters":[]}],"height":450,"width":600} |
|Description=<translate>Autoflow MK4 | |Description=<translate>Autoflow MK4 | ||
GY&GZ axis setup with Jetter Motors</translate> | GY&GZ axis setup with Jetter Motors</translate> | ||
| Ligne 44 : | Ligne 44 : | ||
|Step_Content=<translate>Check that proximity arm is in between the proximity sensor | |Step_Content=<translate>Check that proximity arm is in between the proximity sensor | ||
| − | This has a brake and you can only turn the leadscrew by hand | + | This has a brake and you can only turn the leadscrew by hand if the counterbalance is fitted.</translate> |
|Step_Picture_00=GY_GZ_axis_setup_with_Jetter_Motors_GZAxis.jpg | |Step_Picture_00=GY_GZ_axis_setup_with_Jetter_Motors_GZAxis.jpg | ||
}} | }} | ||
| Ligne 60 : | Ligne 60 : | ||
{{Notes}} | {{Notes}} | ||
{{PageLang | {{PageLang | ||
| + | |Language=en | ||
|SourceLanguage=none | |SourceLanguage=none | ||
|IsTranslation=0 | |IsTranslation=0 | ||
| − | |||
}} | }} | ||
{{Tuto Status | {{Tuto Status | ||
|Complete=Draft | |Complete=Draft | ||
}} | }} | ||
Version du 17 janvier 2023 à 14:44
Autoflow MK4 GY&GZ axis setup with Jetter Motors

Difficulté
Moyen
Durée
2 heure(s)
Introduction
WARNING:
The Jetter motor on the GZ axis has a brake. Release the brake without control could be harmful.
Use the Air Counterbalance rig to assist if necessary.
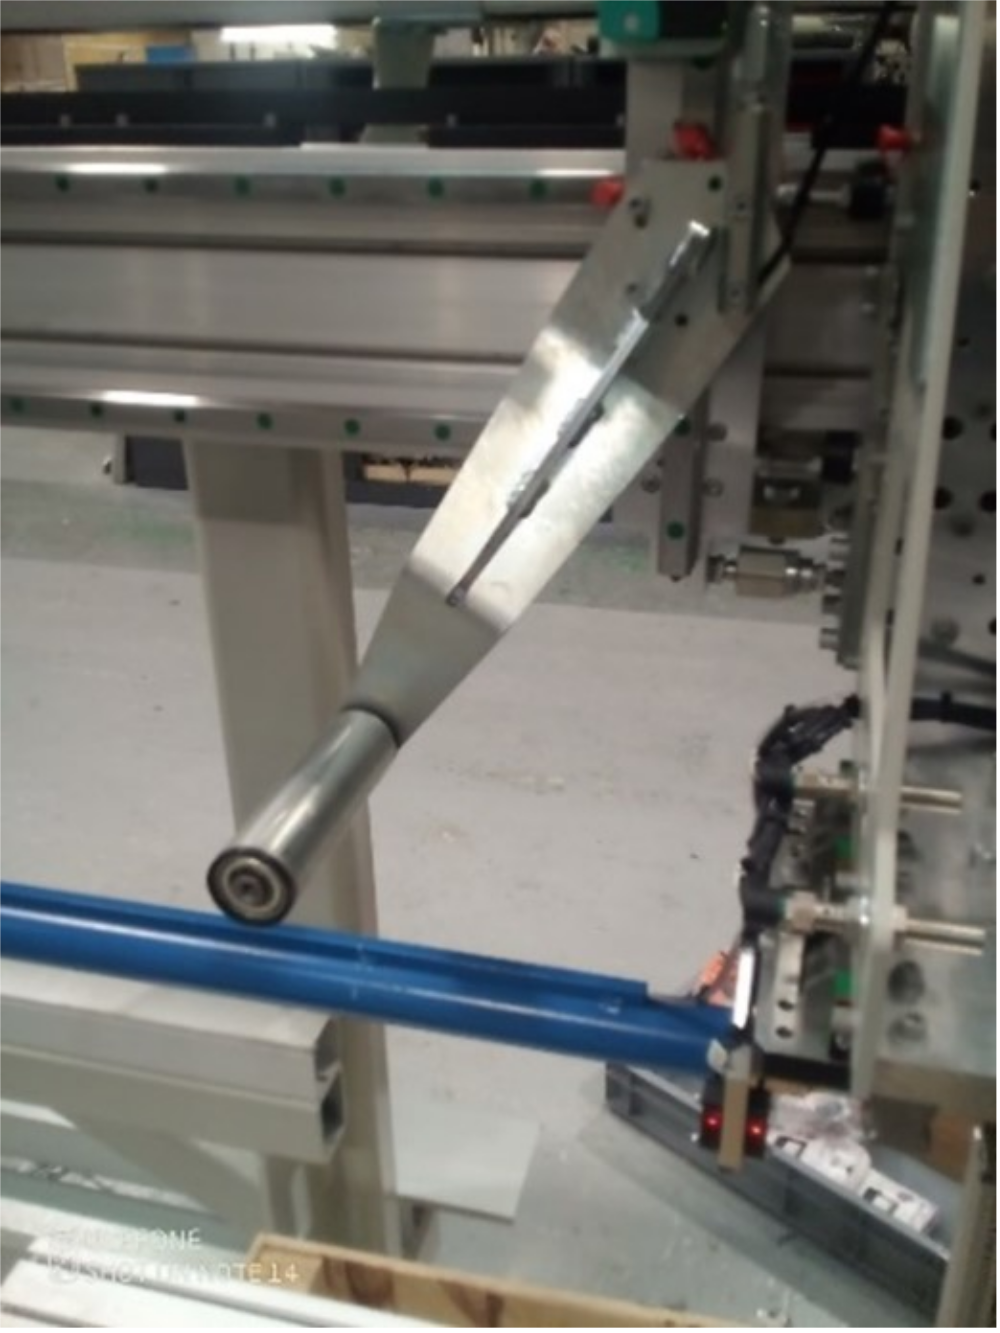
Étape 1 - Initial Preperation
Ensure that the profile support arm is held out of the way to avoid marking the blue infeed arm.
Étape 2 - GY Axis:
Check that proximity arm is in between the proximity sensor.
You should be able to turn the leadscrew by hand to move it.
Do not move the GY axis if the counterbalance is active.

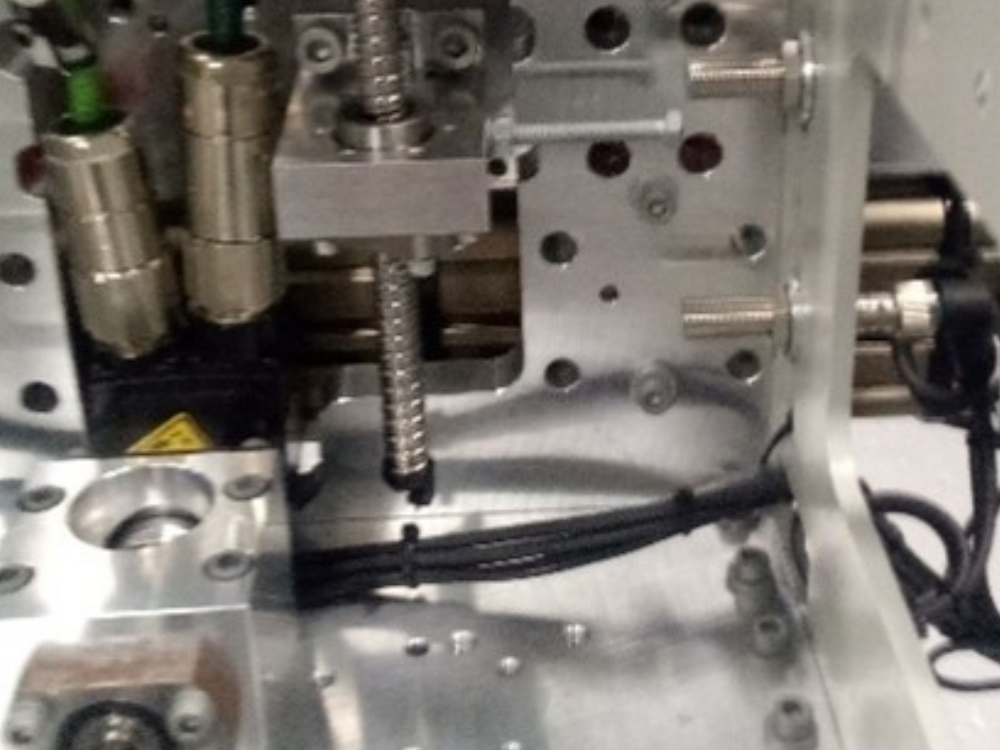
Étape 3 - GZ Axis
Check that proximity arm is in between the proximity sensor
This has a brake and you can only turn the leadscrew by hand if the counterbalance is fitted.

Étape 4 - Counterbalance
Counterbalance fitted under the carriage.
Use adjust the pressure until you can turn the leadscrew of the GZ axis by hand. (6 bar)
Do not move the GY axis if the counterbalance is active.

Draft
 Français
 English
 Deutsch
 Español
 Italiano
 Português