| [version en cours de rédaction] | [version en cours de rédaction] |
| Ligne 46 : | Ligne 46 : | ||
Pen mark all bolts when finalised</translate> | Pen mark all bolts when finalised</translate> | ||
|Step_Picture_00=R0015086_Assemble_Pneumatics_on_to_electrical_cabinet_loctite_243.png | |Step_Picture_00=R0015086_Assemble_Pneumatics_on_to_electrical_cabinet_loctite_243.png | ||
| + | }} | ||
| + | {{Tuto Step | ||
| + | |Step_Title=<translate>Quality check on part D0015551 Rack mounting plate</translate> | ||
| + | |Step_Content=<translate>Check that part B0001162 sits flush into hole on rack mounting plate. It may be required to remove burrs from manufacture to achieve this</translate> | ||
| + | |Step_Picture_00=R0008013_Clacker_assembly_quality.png | ||
| + | |Step_Picture_01=R0015281_Bench_Assemble_Transfer_Sliders_Screenshot_2023-12-11_075218.png | ||
| + | |Step_Picture_01_annotation={"version":"2.4.6","objects":[{"type":"image","version":"2.4.6","originX":"left","originY":"top","left":0,"top":0,"width":1061,"height":714,"fill":"rgb(0,0,0)","stroke":null,"strokeWidth":0,"strokeDashArray":null,"strokeLineCap":"butt","strokeDashOffset":0,"strokeLineJoin":"miter","strokeMiterLimit":4,"scaleX":0.57,"scaleY":0.57,"angle":0,"flipX":false,"flipY":false,"opacity":1,"shadow":null,"visible":true,"clipTo":null,"backgroundColor":"","fillRule":"nonzero","paintFirst":"fill","globalCompositeOperation":"source-over","transformMatrix":null,"skewX":0,"skewY":0,"crossOrigin":"","cropX":0,"cropY":0,"src":"https://stuga.dokit.app/images/8/88/R0015281_Bench_Assemble_Transfer_Sliders_Screenshot_2023-12-11_075218.png","filters":[]},{"type":"wfellipse","version":"2.4.6","originX":"center","originY":"center","left":155.93,"top":213.07,"width":85.51,"height":85.51,"fill":"rgba(255,0,0,0)","stroke":"#FF0000","strokeWidth":2,"strokeDashArray":null,"strokeLineCap":"butt","strokeDashOffset":0,"strokeLineJoin":"miter","strokeMiterLimit":4,"scaleX":1,"scaleY":1,"angle":0,"flipX":false,"flipY":false,"opacity":1,"shadow":null,"visible":true,"clipTo":null,"backgroundColor":"","fillRule":"nonzero","paintFirst":"fill","globalCompositeOperation":"source-over","transformMatrix":null,"skewX":0,"skewY":0,"rx":42.754469940640455,"ry":42.754469940640455},{"type":"wfellipse","version":"2.4.6","originX":"center","originY":"center","left":376.18,"top":91.82,"width":85.96,"height":85.96,"fill":"rgba(255,0,0,0)","stroke":"#FF0000","strokeWidth":2,"strokeDashArray":null,"strokeLineCap":"butt","strokeDashOffset":0,"strokeLineJoin":"miter","strokeMiterLimit":4,"scaleX":1,"scaleY":1,"angle":0,"flipX":false,"flipY":false,"opacity":1,"shadow":null,"visible":true,"clipTo":null,"backgroundColor":"","fillRule":"nonzero","paintFirst":"fill","globalCompositeOperation":"source-over","transformMatrix":null,"skewX":0,"skewY":0,"rx":42.97988676279881,"ry":42.97988676279881}],"height":404,"width":600} | ||
}} | }} | ||
{{Tuto Step | {{Tuto Step | ||
Version actuelle datée du 11 décembre 2023 à 08:53
Instructions to bench assemble transfer sliders
Sommaire
- 1 Introduction
- 2 Étape 1 - Unless otherwise stated
- 3 Étape 2 - Quality check on part D0015551 Rack mounting plate
- 4 Étape 3 - Warning!!!
- 5 Étape 4 - Attach cylinder plate to rack bracket
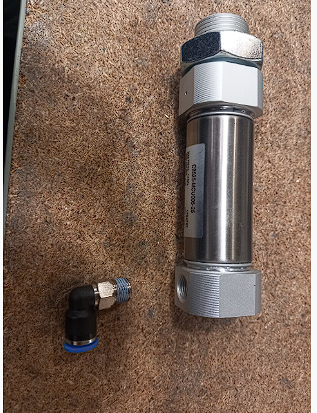
- 6 Étape 5 - Attach air fitting
- 7 Étape 6 - Attach cylinder to bracket
- 8 Étape 7 - Attach drive rack
- 9 Étape 8 - Fit concentric Delrin wheels
- 10 Étape 9 - Fit Eccentric wheels
- 11 Commentaires
Introduction
Tools Required
Standard spanner set
Standard hex key set
Parts Required
D0015551 x 9
D0015255 x 9
D0015549 x 9
P0001111 x 9
P0000010 x 9
B0001160 x 36
B0001161 x 18
B0001162 x 18Étape 1 - Unless otherwise stated
Use Loctite 243 on all fasteners
Use Loctite 570 on all threaded pneumatic connections
Pen mark all bolts when finalised
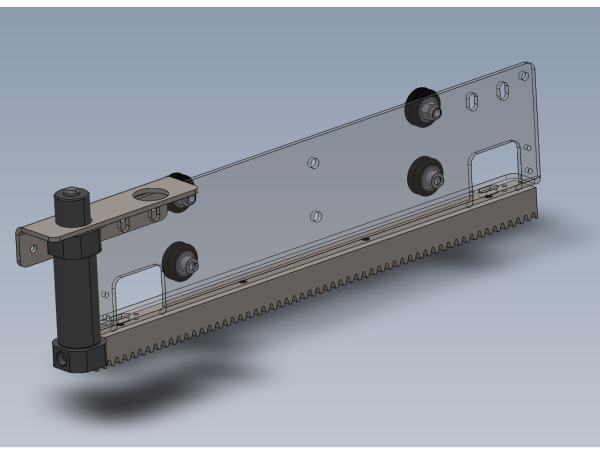
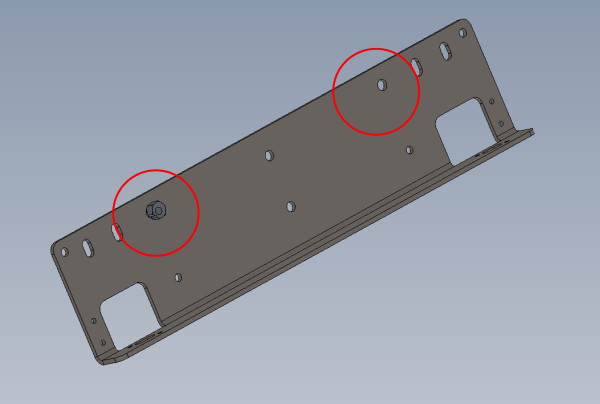
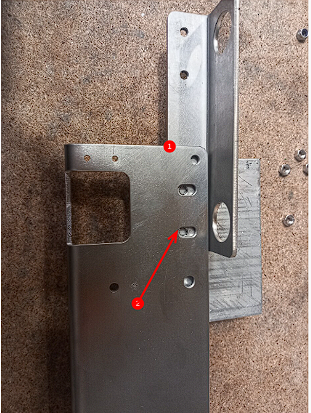
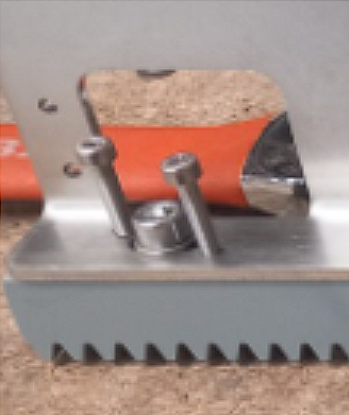
Étape 2 - Quality check on part D0015551 Rack mounting plate
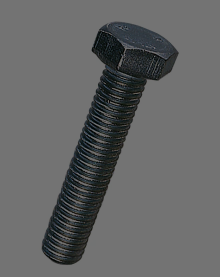
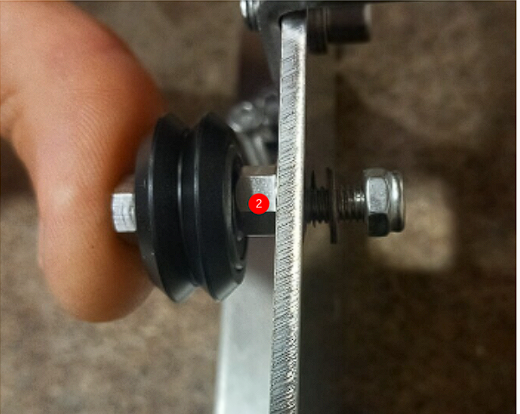
Check that part B0001162 sits flush into hole on rack mounting plate. It may be required to remove burrs from manufacture to achieve this
Étape 4 - Attach cylinder plate to rack bracket
9 off
1 Attach D0015550 to D0015551 as shown. Use 2 off M6 x 10 socket caps with A form washers
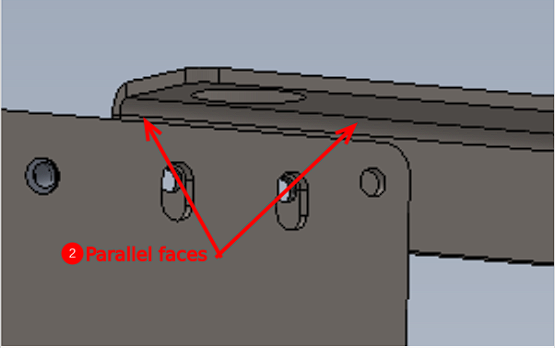
2 Ensure bracket is positioned bottom slot as shown and faces marked are parallel
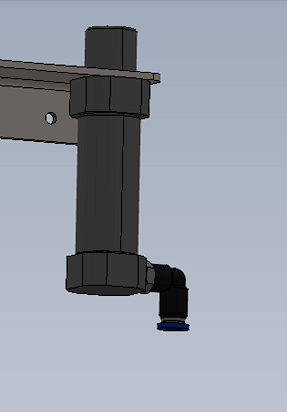
Étape 6 - Attach cylinder to bracket
9 off
Mount cylinder to bracket as shown. Loctite 243 should be used on cylinder locking nut
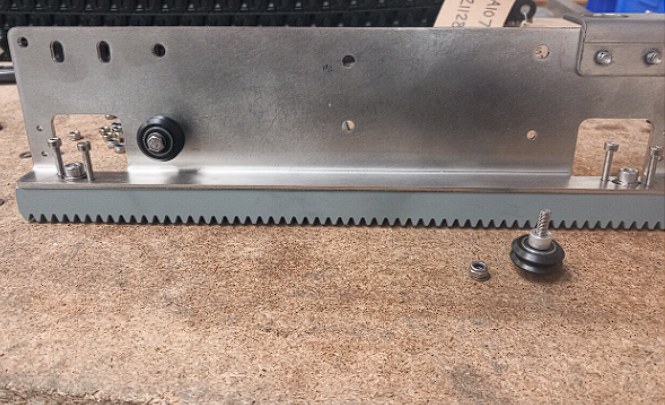
Étape 7 - Attach drive rack
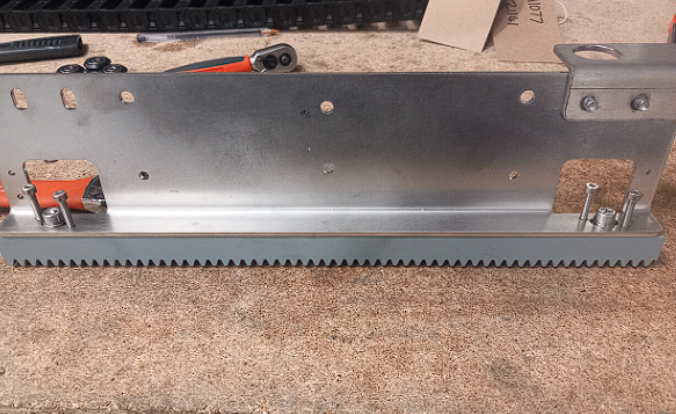
Attach drive rack D0015255 to assembly as shown.
Use m6 x 16 socket caps, M6 A form washers and M4 x 20 socket caps
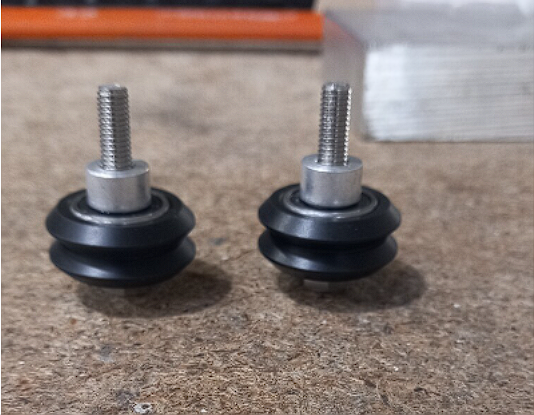
Étape 8 - Fit concentric Delrin wheels
2 off on each assembly
9 off in total
Fit concentric wheels to assembly .
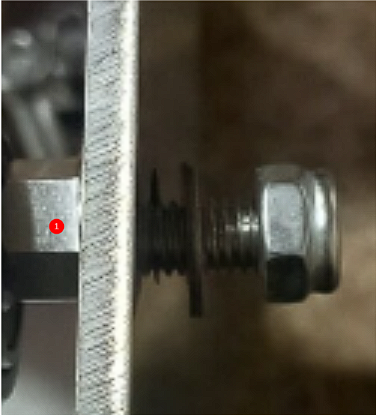
Assemble with in this order
M5 x 30 set bolt- M5 A form washer- Delrin wheel assembly B0001160- spacer B0001161 - Main assembly - A form washer- M5 Nyloc nut
Étape 9 - Fit Eccentric wheels
2 off on each assembly
9 off in total
1 Check that part B0001162 sits flush into hole on rack mounting plate. It may be required to remove burrs from manufacture to achieve this
2 Attach delrin wheel in this order.
M5 x 30 Set bolt-M5 A form washer-Delrin Wheel (B0001160) -Eccentric cam(B0001162)- Assembly - M5 A Form Washer- M5 Nyloc nut
Do not add final tension to this wheel assembly as adjustment will be required at a later point
Draft


 Français
 English
 Deutsch
 Español
 Italiano
 Português