| [version en cours de rédaction] | [version en cours de rédaction] |
| Ligne 151 : | Ligne 151 : | ||
|Step_Picture_00=R0010260_Bench_Assemble_Tool_Break_Sensor_Screenshot_2023-09-25_075557.png | |Step_Picture_00=R0010260_Bench_Assemble_Tool_Break_Sensor_Screenshot_2023-09-25_075557.png | ||
|Step_Picture_01=R0010260_Bench_Assemble_Tool_Break_Sensor_Screenshot_2023-09-25_075552.png | |Step_Picture_01=R0010260_Bench_Assemble_Tool_Break_Sensor_Screenshot_2023-09-25_075552.png | ||
| − | |||
}} | }} | ||
{{Notes}} | {{Notes}} | ||
Version du 25 septembre 2023 à 07:56
Instructions for tool break assembly
Introduction
Tools Required
Standard tap set
Standard drill set
Standard hex key set
Pipe cutters
Flush cutters
M0001053 Stock 6mm copper tube
M0000153 small Stuga sticker
Parts Required
A0001046 P Clip 6mm Steel / Rubber Liner x 6
D0001962 Tool Sensor Mount x 1
D0001963 Tool Sensor Post x 1
D0001964 Tool Sensor Logo Plate x 1
E0001120 Sensor: Ultrasonic M8 20-150mm x 1
E0001082 4 pin m8 sensor single ended x 1
P0000046 Fitting: 'Y' Adaptor 6mm x 1
P0000149 6mm to 4mm reducing stem x 2
P0000160 Fitting: Flow Controller In Line 6mm x 1
P0000456 Compact straight male adapter 4mm- M5 x 2
Étape 1 - Unless otherwise stated
Use Loctite 243 on all fasteners
Use Loctite 572 on all threaded pneumatic connection
Pen mark all fasteners to show finalised
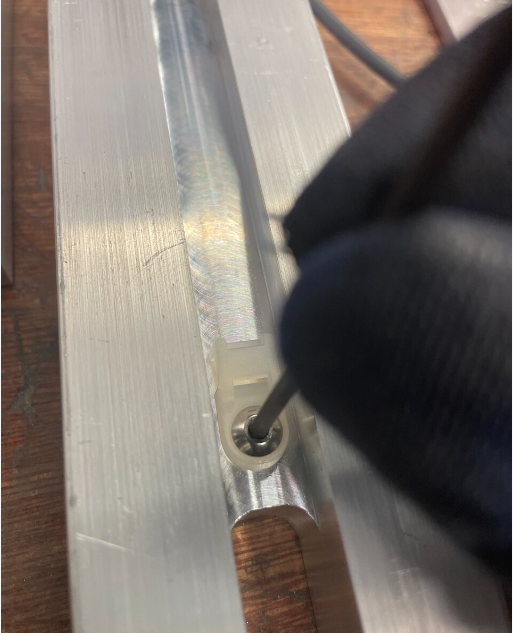
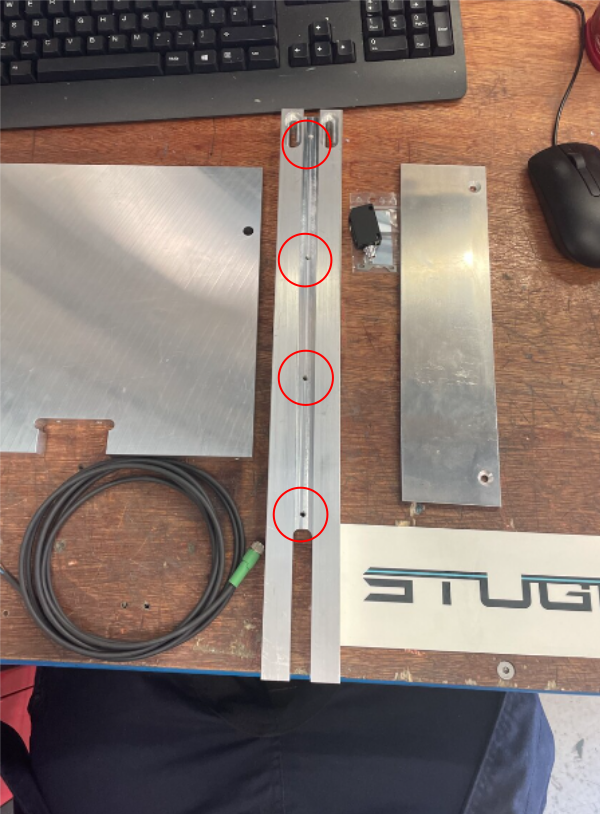
Étape 2 - Attach tie bases
Attach 4 off m4 tie bases with m4 x12 button sockets to D0001963 Tool Sensor Post
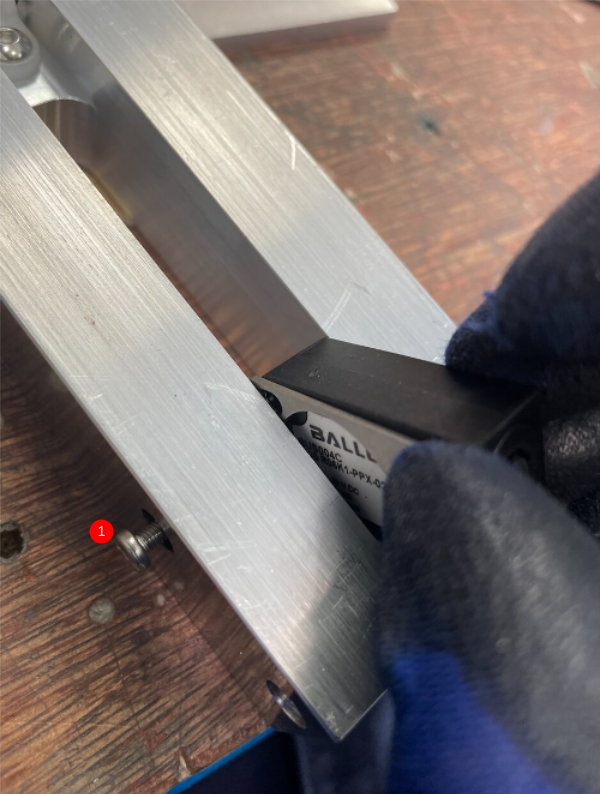
Étape 3 - Mount sensor and cable
Attach E0001120 Sensor: Ultrasonic M8 20-150mm to E0001082 4 pin m8 sensor single ended cable
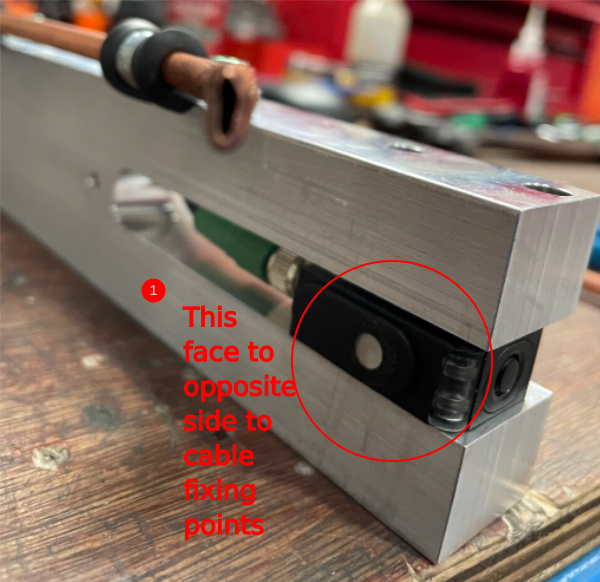
1 Fit sensor to tool mount post using using m3 x 20 pan head fasteners
Note orientation
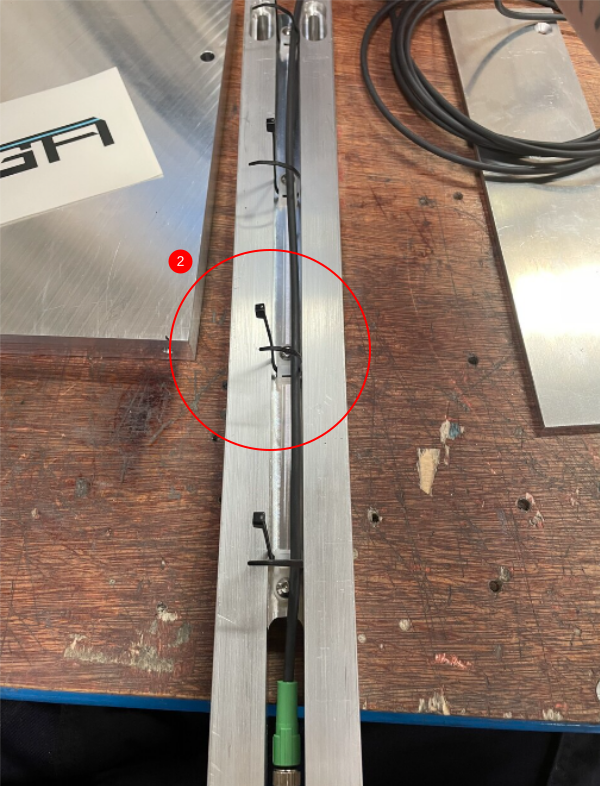
2 Use small tie wraps to secure cable
Étape 4 - Mount blowers
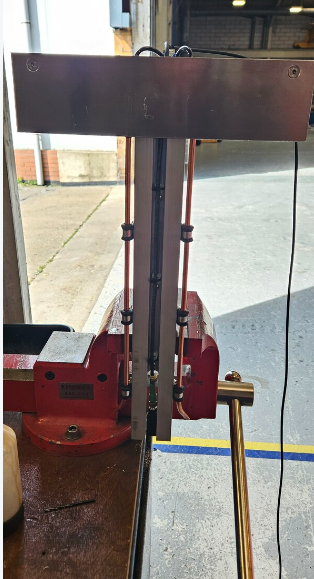
1 Cut 2 off pieces of M0001053copper tubing at 360mm and straighten in vice
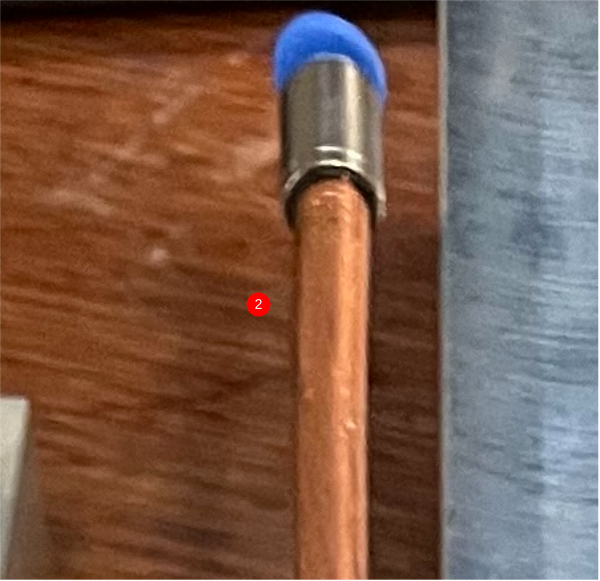
2 Tap one end on each pipe to M5 and add fitting P0000456 to end
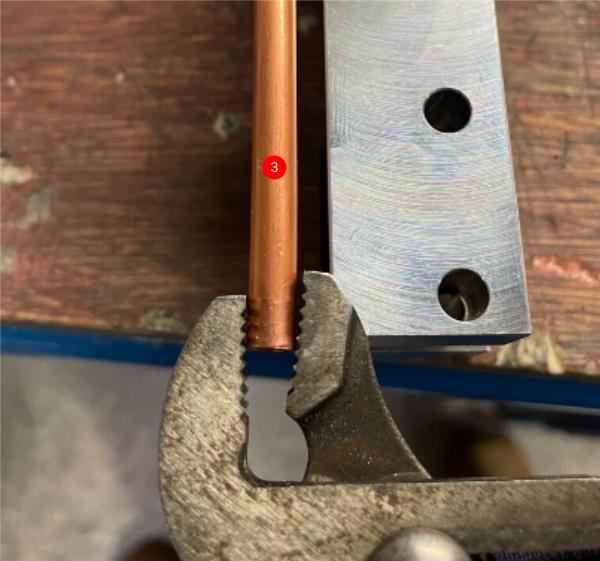
3 Pipe opposite end of fitting flatten
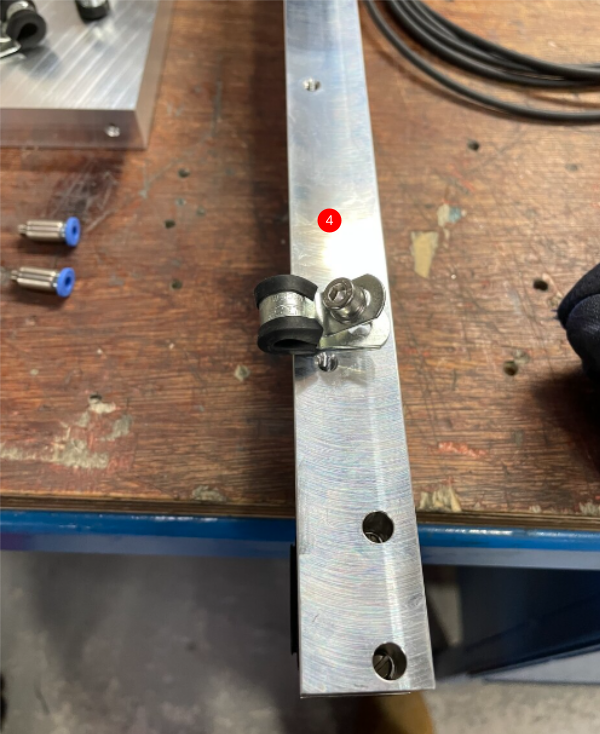
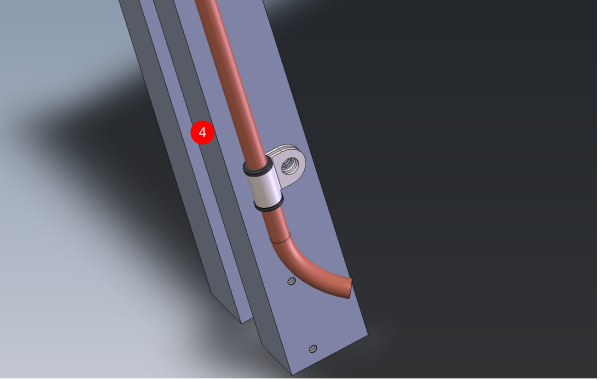
4 Mount pipes to tool post as shown using A0001046 P Clip 6mm Steel /Rubber Liner x 6 and M5 x 12 socket caps and heavy M5 washers
Ensure orientation is as shown
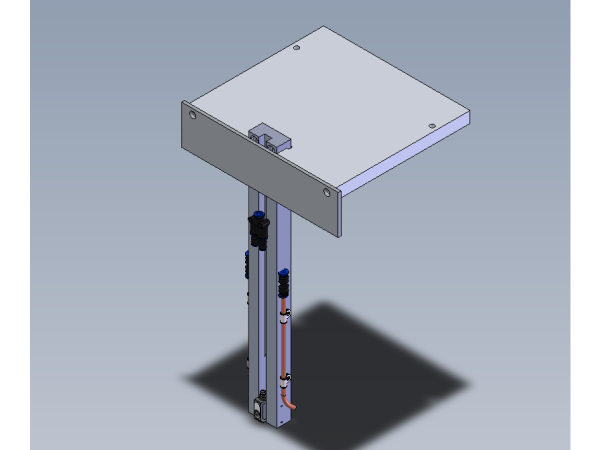
Étape 5 - Mount post to plate
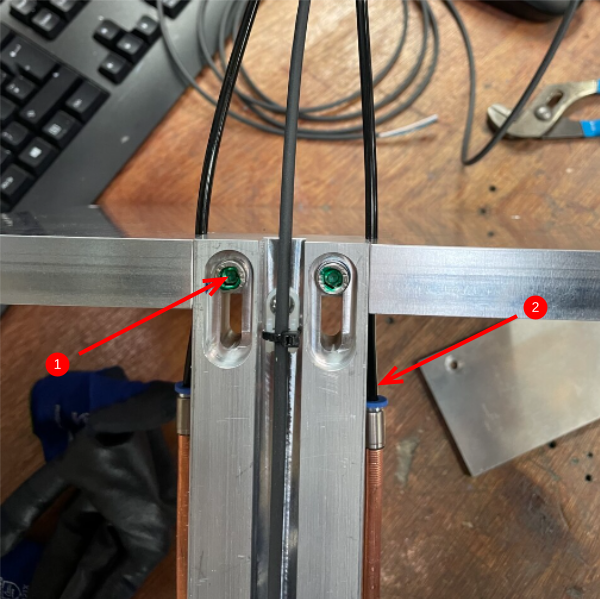
1 Use 2 off M6 x 30 socket cap to secure post as shown
2 Add 2 off pieces of 4mm black air pipe at 300mm
Étape 6 - Connect blowers
Drawing for mount plate updated 19/07/23 to include tapped holes for mounting of parts
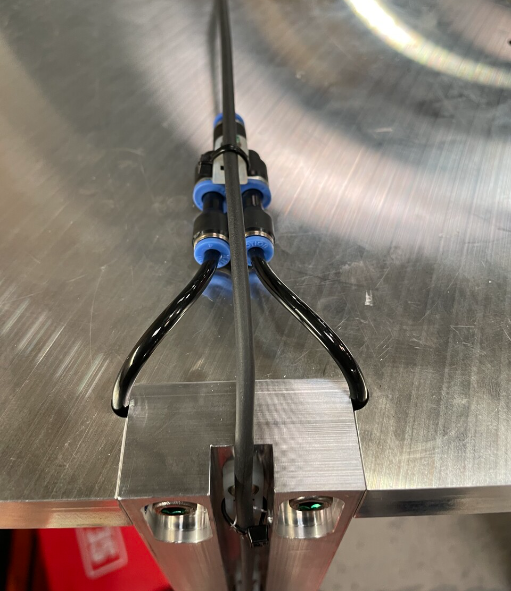
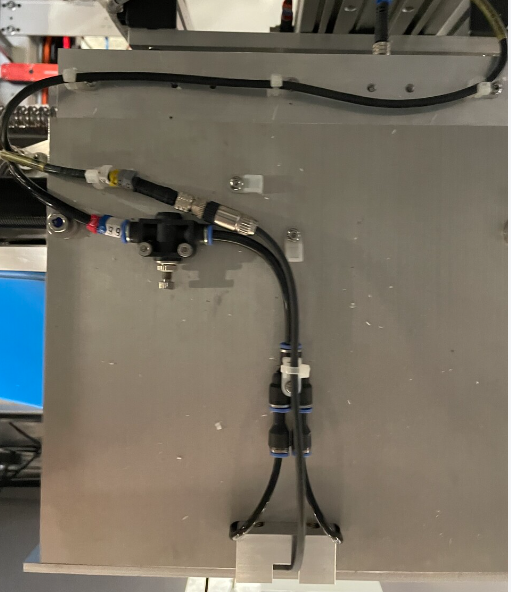
Pipe as shown using
P0000046 Fitting: 'Y' Adaptor 6mm x 1
P0000149 6mm to 4mm reducing stem x 2
Étape 7 - Add tie bases and flow regulation
Pipe identification 2699
Pay attention to P0000160 flow regulation direction when mounting
Étape 8 - Add logo plate
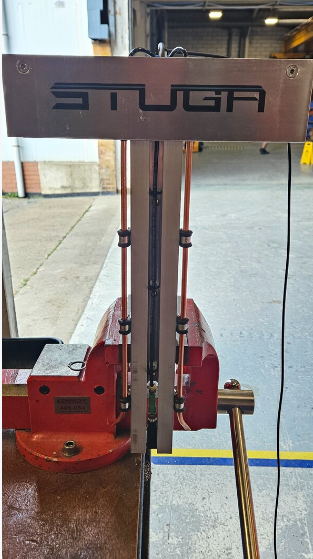
1 Mount D0001964 Tool Sensor Logo Plate as shown using M5 x 10 socket counter sunk
2 Add M0000153 small sticker to face
Draft

 Français
 English
 Deutsch
 Español
 Italiano
 Português