| [version en cours de rédaction] | [version en cours de rédaction] |
(Page créée avec « {{Tuto Details |Main_Picture=Fit_backplates_and_covers_Screenshot_2023-06-05_081648.png |Main_Picture_annotation={"version":"2.4.6","objects":[{"type":"image","version":"2... ») |
m (Gareth Green a déplacé la page Fit backplates and covers vers R0015303 Fit backplates and covers) |
(Aucune différence)
| |
Version actuelle datée du 23 juin 2023 à 12:24
Fitting of final parts to rotary ring after electrical installation and function testing
Sommaire
Introduction
Tools Required
Standard screw driver set
Standard hex key set
Countersink tool
Parts Required
D0007777 Back plate x 2
D0007844E Connection box lid x 8
Étape 1 - Unless otherwise stated
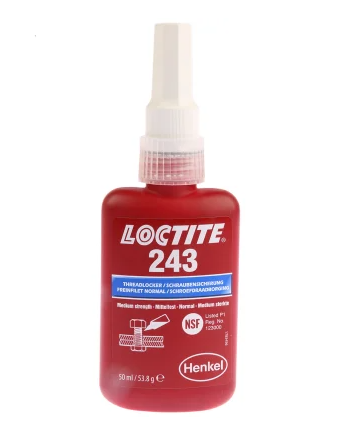
Use Loctite 243 on all fasteners
Pen mark all bolts to show finalised
Étape 2 - Prepare backplates D0007777
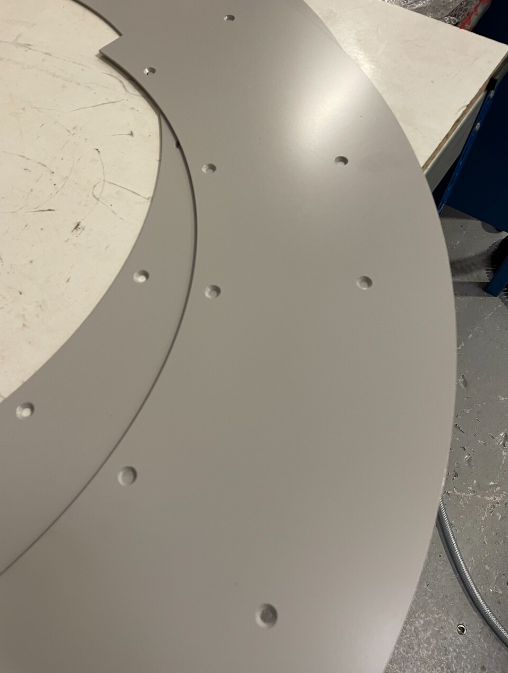
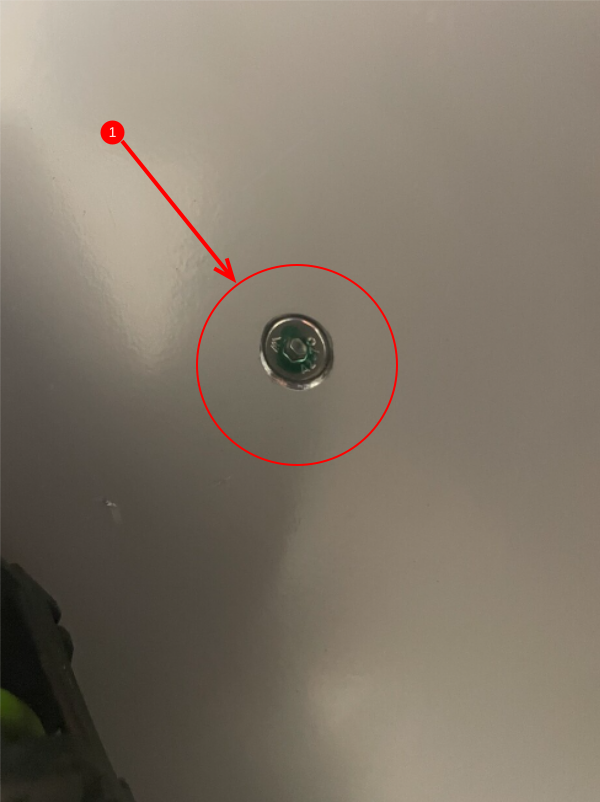
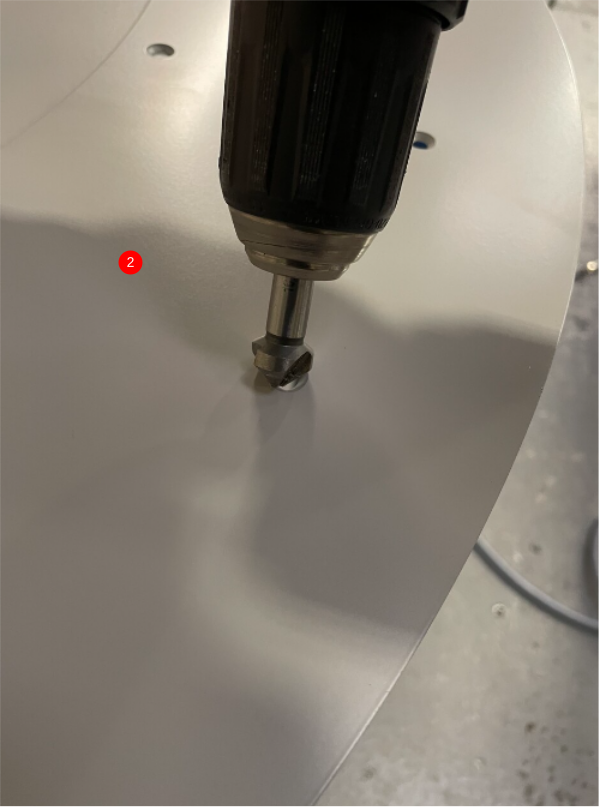
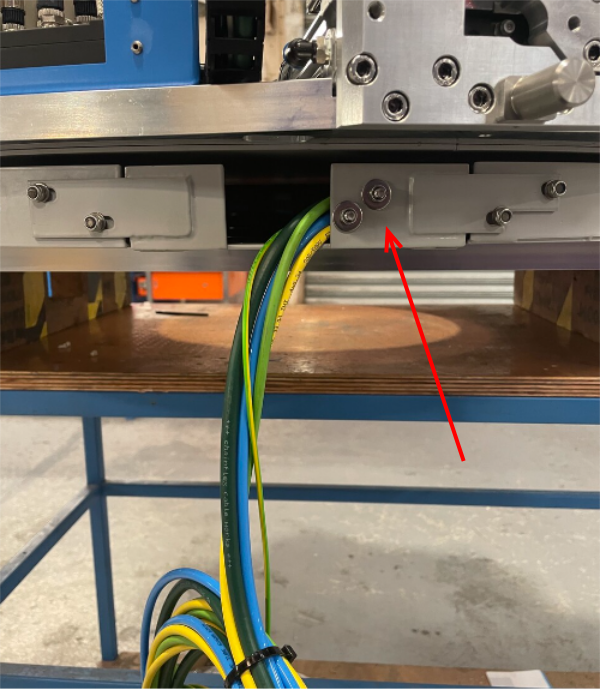
D0007777 backplate 2 off need checking before fitment to rotary ring. M5 countersink bolt should be flush when fitted .
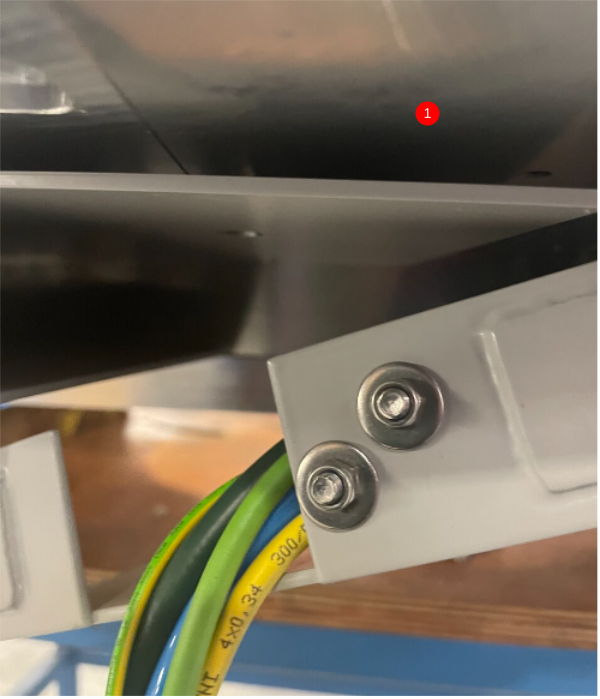
1 Fastener should be as shown
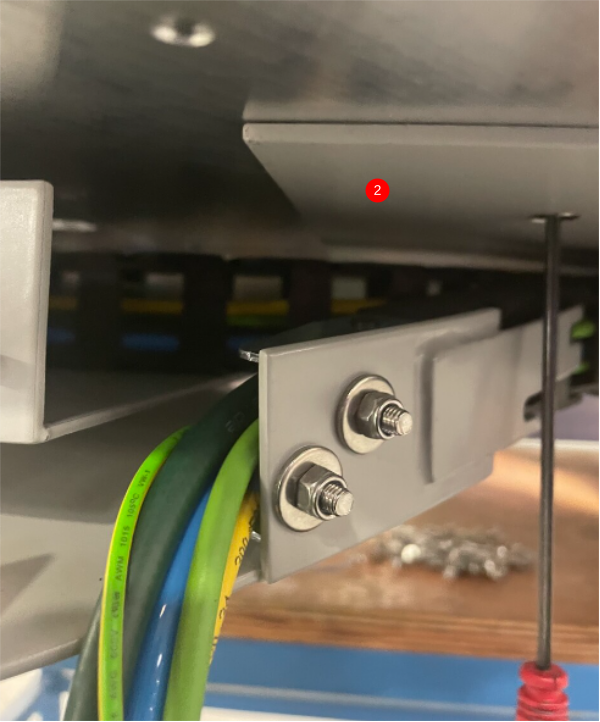
2 If fastener sits proud, rework plates with countersink tool to ensure correct seating of fastener
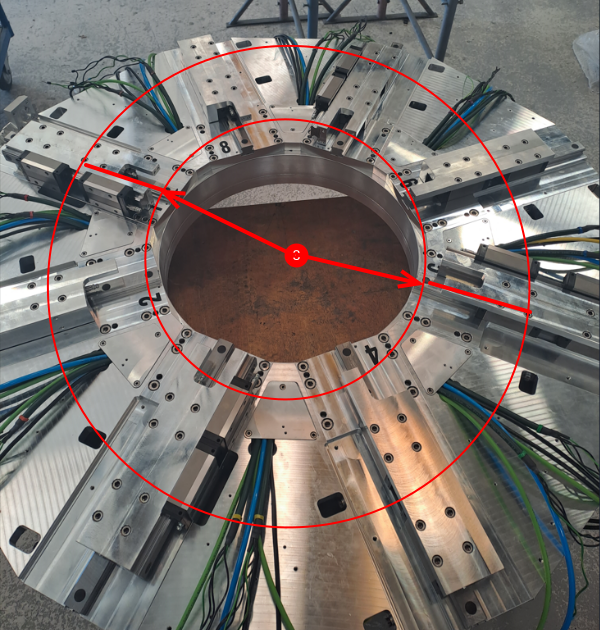
Étape 3 - Ring Rotation
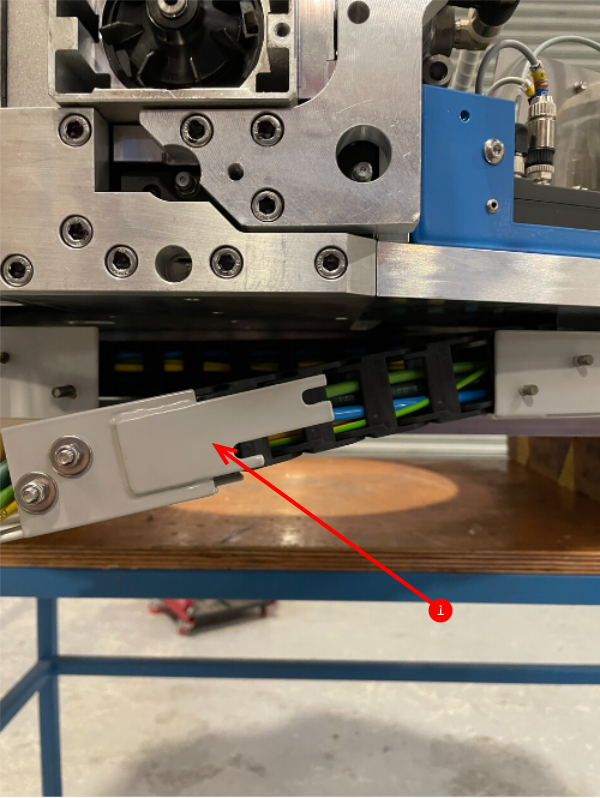
Étape 4 - Fit 1st Backplate A
1 Detach rotary trunking inspection cover.
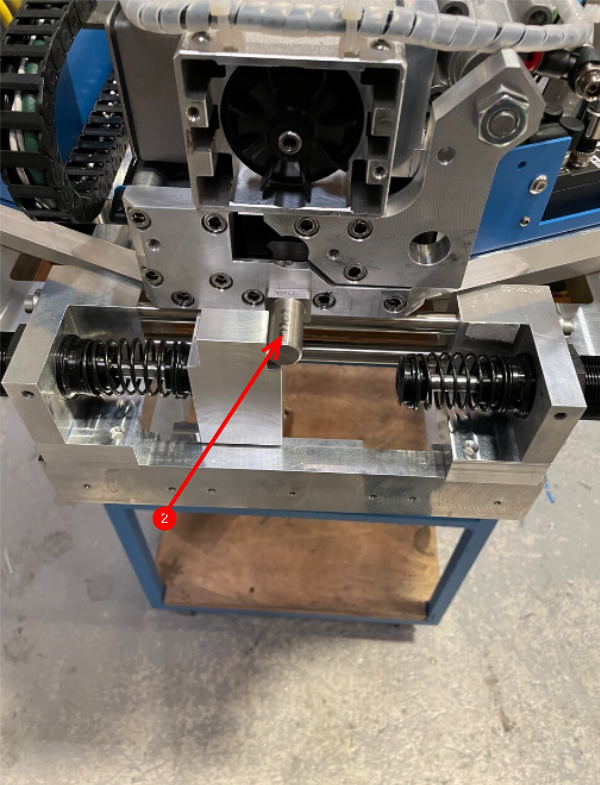
2 Rotate ring to set datum pin as shown
3 Slide backplate into position between points indicated
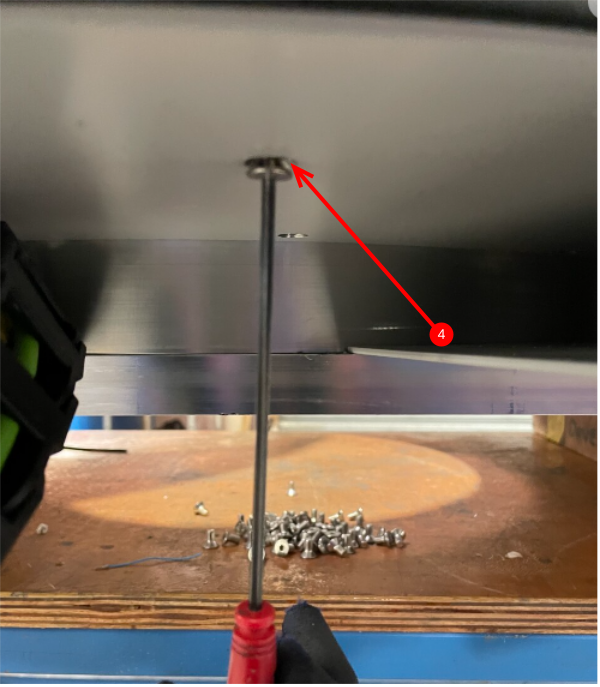
4 Use m5 x 10 countersink fasteners and add 1 off to point that is available in current position
Étape 5 - Fit 1st Backplate B
1 Now rotate ring to position one end of fitted backplate at access point, and add 2 off fasteners
2 Rotate ring until other end of back plate is above access point , and add 2 off fastener
3 Now add remaining fasteners to fitted backplate , rotating the ring to provide access at each point
Étape 6 - Fit 2nd backplate
1 Rotate ring to allow backplate 2 to be slid into correct position
2 Add 1st faster at point available, then rotate ring to add fasteners to both ends of back plate
3 Rotate and add remaining fasteners
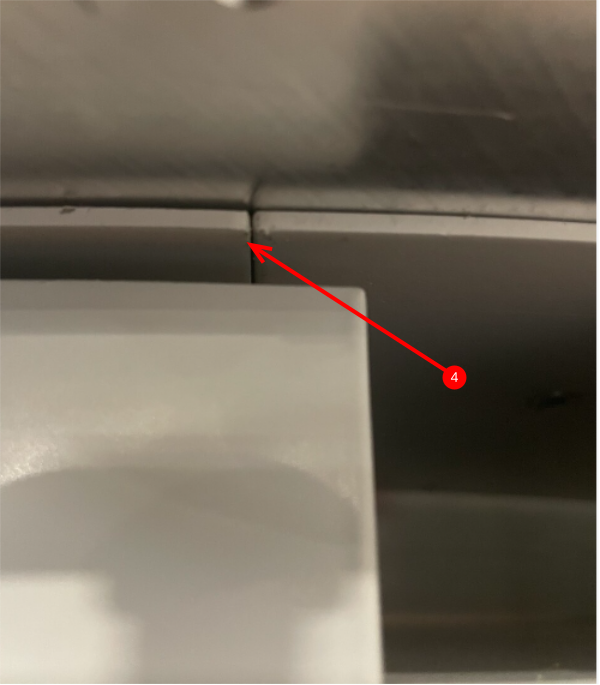
4 Ensure backplate joins sit flush to each other
Étape 8 - Fit connection box covers
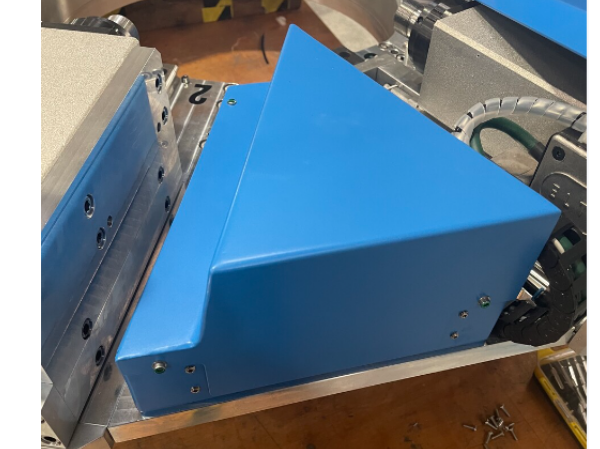
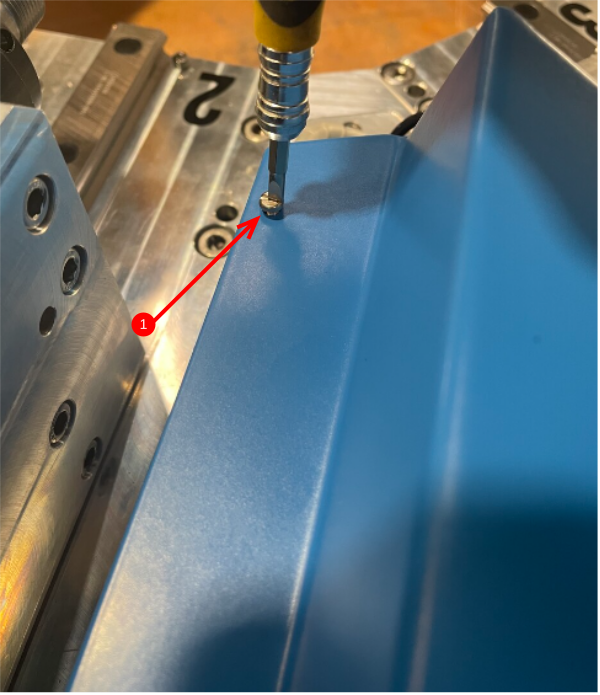
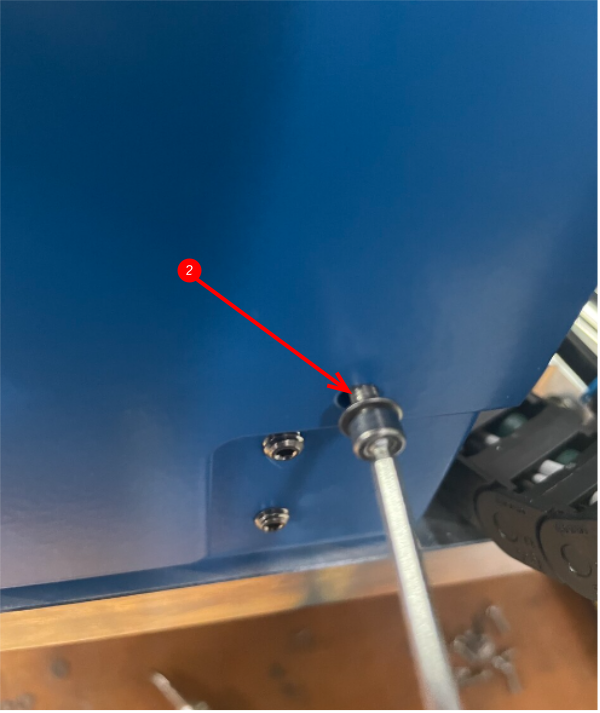
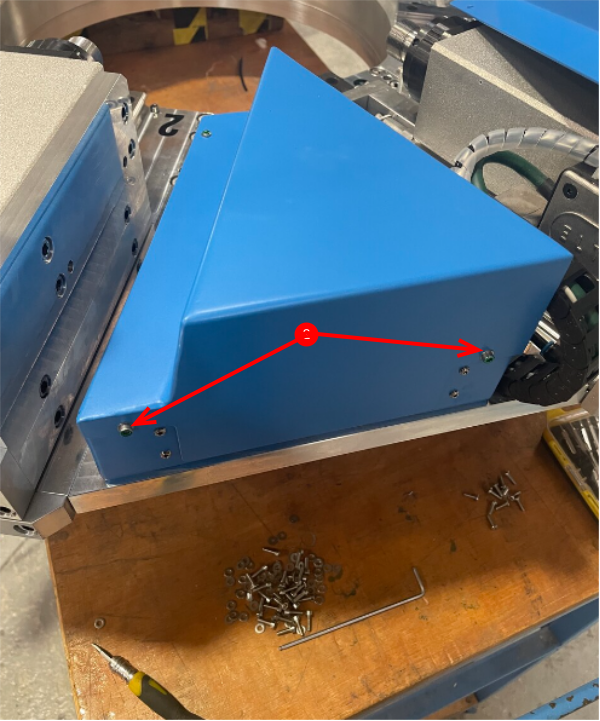
8 off D0007844E Connection box covers now need fitting
1 Position cover over connection box, and add 1 off m3 x 10 pan head fastener to point indicated
2 Add 2 off m3 x 12 socket caps with a form washer to point indicated
3 Check spindle slide movement on both assemblies that sit next to the fitted cover to ensure no contact occurs with fitted lid and slide assemblies
Repeat for 7 off remaining connection boxes
Draft
 Français
 English
 Deutsch
 Español
 Italiano
 Português