| [version en cours de rédaction] | [version en cours de rédaction] |
| Ligne 41 : | Ligne 41 : | ||
{{Tuto Step | {{Tuto Step | ||
|Step_Title=<translate>Wiring loom positioning 300hz power</translate> | |Step_Title=<translate>Wiring loom positioning 300hz power</translate> | ||
| − | |Step_Content=<translate></translate> | + | |Step_Content=<translate>1 Start at connection point with 3 power cables exiting . Set one cable as shown to 150mm</translate> |
}} | }} | ||
{{Notes}} | {{Notes}} | ||
Version du 31 mai 2023 à 16:43
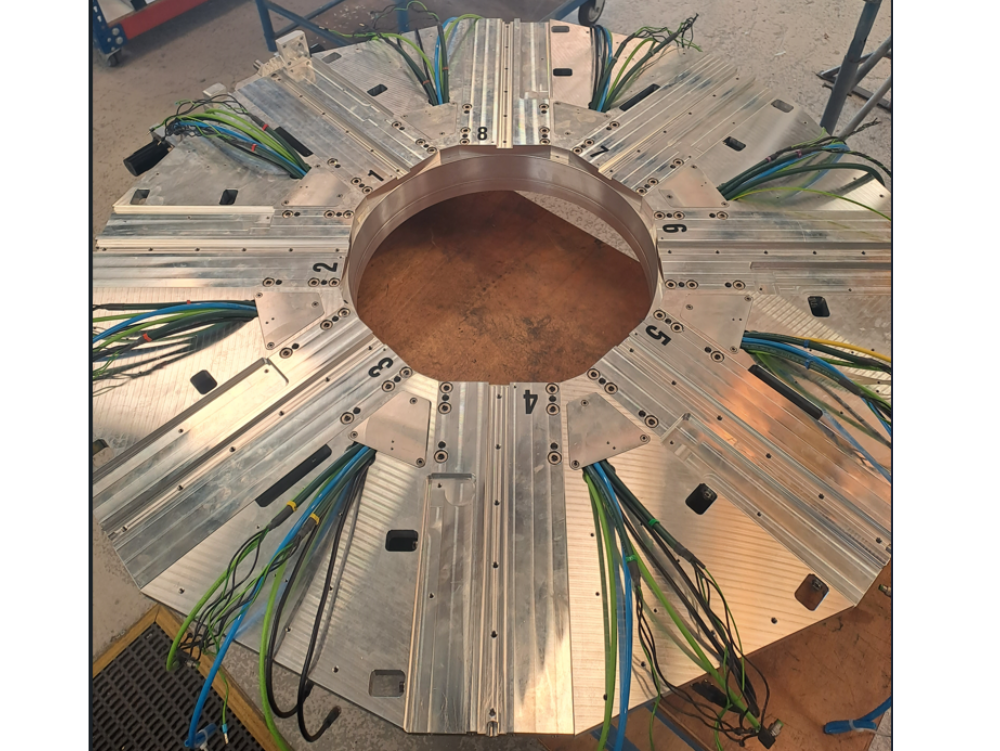
correct routing of cables ready for connection boxes

Difficulté
Moyen
Durée
1 heure(s)
Introduction
Tools required
Étape 1 - Wiring loom positioning Ethercat control
Cables must be adjusted between each spindle to ensure the cable lengths are correct .
1 Start at cable point between 6 and 5 . Start with the light green ethercat cable with the right angle plug. Adjust so that 200mm is past the end of the spindle plate . See picture for detail.
2 Move to the next spindle connection between 5 and 4 and adjust the new right angled ethercat cable to match the length of the previous adjusted cable
3 Repeat this process working your way around the spindles to set all ethercat cables


Étape 2 - Wiring loom positioning Ethercat power
1 Start at cable point between 6 and 5 . Adjust black power cable to 200mm from edge of plate. See picture for details
2 Move to the next spindle connection between 5 and 4 and adjust the new black power cable to match the length of the previous adjusted cable
3 Repeat this process working your way around the spindles to set all power cables


Étape 3 - Wiring loom positioning 300hz power
1 Start at connection point with 3 power cables exiting . Set one cable as shown to 150mm
Draft
 Français
 English
 Deutsch
 Español
 Italiano
 Português