| [version en cours de rédaction] | [version en cours de rédaction] |
| Ligne 57 : | Ligne 57 : | ||
'''.'''</translate> | '''.'''</translate> | ||
|Step_Picture_00=GY_GZ_axis_setup_with_Jetter_Motors_Counterbalance.jpg | |Step_Picture_00=GY_GZ_axis_setup_with_Jetter_Motors_Counterbalance.jpg | ||
| + | }} | ||
| + | {{Tuto Step | ||
| + | |Step_Title=<translate>CX5203 Firmware Upgrade</translate> | ||
| + | |Step_Content=<translate>The firmware on the CX5203 must be high enought to be supported under Drive manager 2. | ||
| + | |||
| + | |||
| + | Follow the Dokit .....................................................</translate> | ||
| + | }} | ||
| + | {{Tuto Step | ||
| + | |Step_Title=<translate>Drive Manager 2 and Support Jetter Files</translate> | ||
| + | |Step_Content=<translate>Ensure Drive Manager 2 is installed. | ||
| + | |||
| + | Copy the files from : | ||
| + | |||
| + | |||
| + | G:\Design\TwinCAT3\Other Motor Definition Files | ||
| + | |||
| + | |||
| + | GY Jetter JHN2-0028-18 SyncRot.dmmotor | ||
| + | |||
| + | GZ Jetter JHN2-0075-027 SyncRot.dmmotor | ||
| + | |||
| + | |||
| + | to ????? | ||
| + | |||
| + | |||
| + | |||
| + | <br /></translate> | ||
}} | }} | ||
{{Notes}} | {{Notes}} | ||
Version du 24 janvier 2023 à 13:23
Autoflow MK4 GY&GZ axis setup with Jetter Motors

Difficulté
Moyen
Durée
2 heure(s)
Introduction
WARNING:
The Jetter motor on the GZ axis has a brake. Release the brake without control could be harmful.
Use the Air Counterbalance rig to assist if necessary.
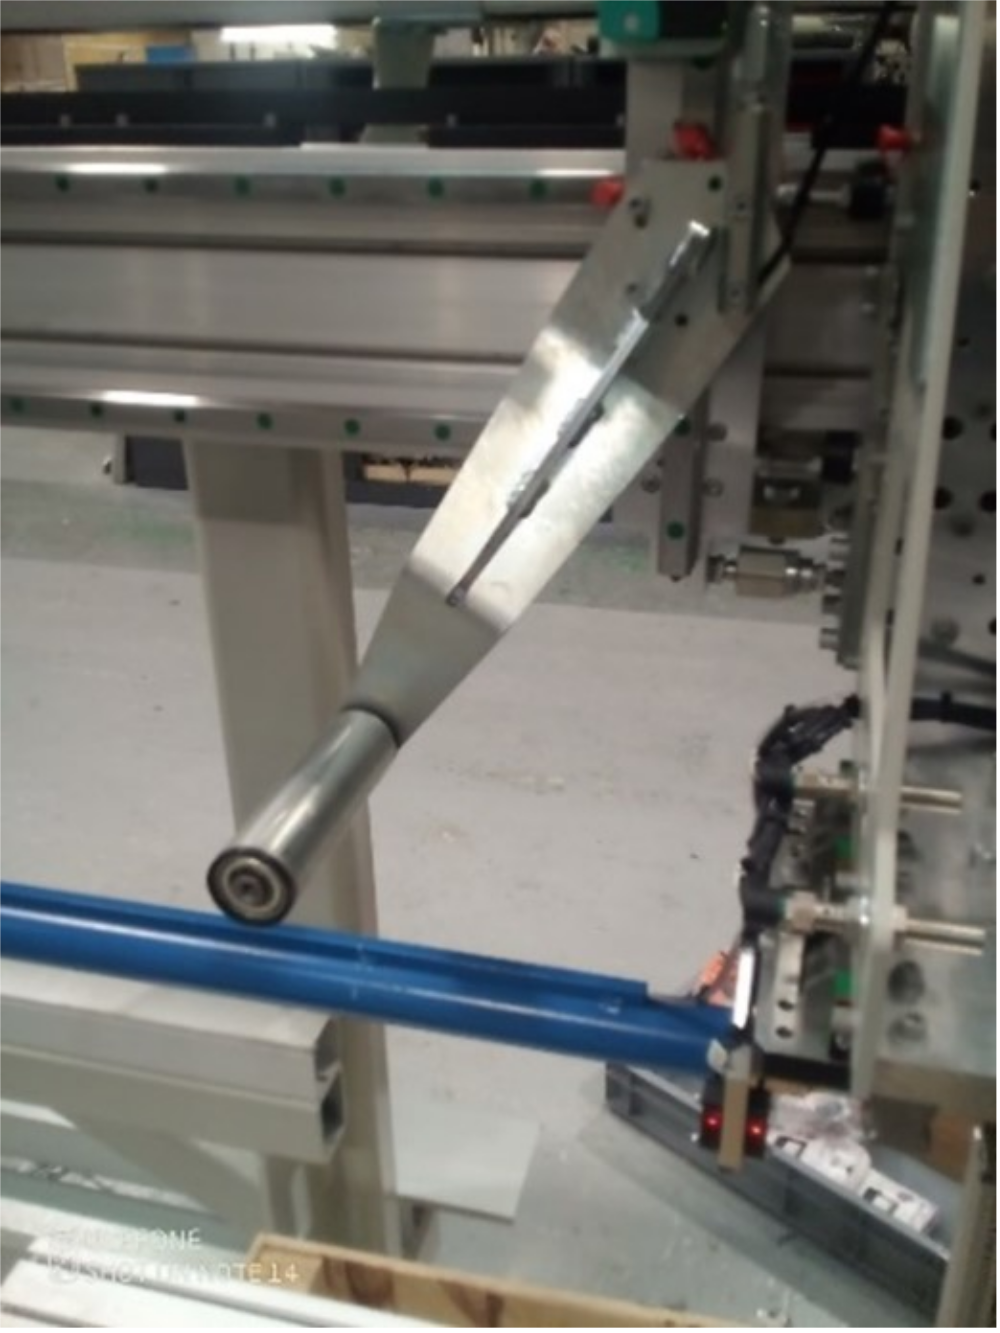
Étape 1 - Initial Preperation
Ensure that the profile support arm is held out of the way to avoid marking the blue infeed arm.
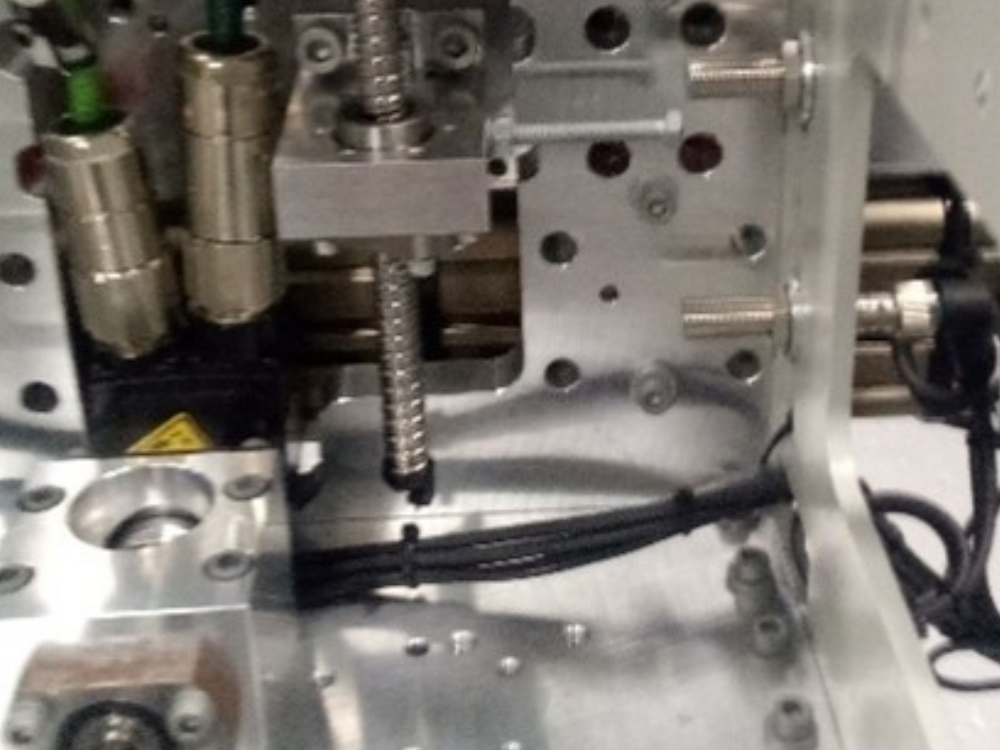
Étape 2 - GY Axis:
Check that proximity arm is in between the proximity sensor.
You should be able to turn the leadscrew by hand to move it.

Étape 3 - GZ Axis
Check that proximity arm is in between the proximity sensor
This has a brake and you can only turn the leadscrew by hand if the counterbalance is fitted.

Étape 4 - Counterbalance
Counterbalance fitted under the carriage.
Use adjust the pressure until you can turn the leadscrew of the GZ axis by hand. (6 bar)
.

Étape 5 - CX5203 Firmware Upgrade
The firmware on the CX5203 must be high enought to be supported under Drive manager 2.
Follow the Dokit .....................................................
Étape 6 - Drive Manager 2 and Support Jetter Files
Ensure Drive Manager 2 is installed.
Copy the files from :
G:\Design\TwinCAT3\Other Motor Definition Files
GY Jetter JHN2-0028-18 SyncRot.dmmotor
GZ Jetter JHN2-0075-027 SyncRot.dmmotor
to ?????
Draft
 Français
 English
 Deutsch
 Español
 Italiano
 Português